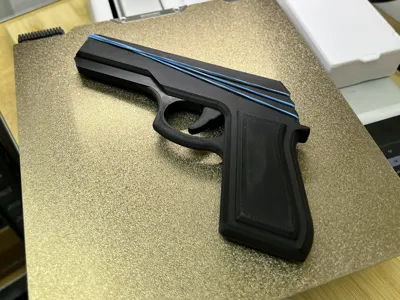
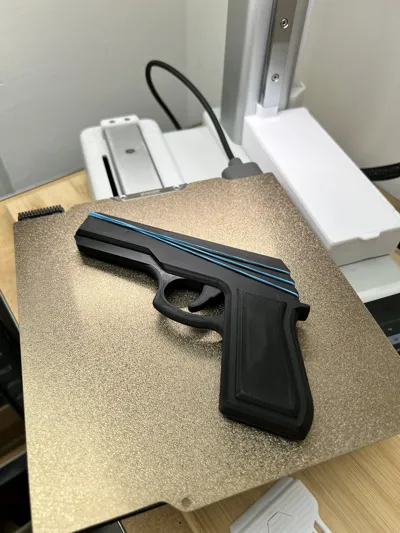
Rubber Band Gun remix


Print Profile(1)

Description
Original found here: Rubber Band Gun remix
- Super glue (optional)
- Rubber bands
Step-by-step instructions:
Step 1:
Clean the parts as needed.
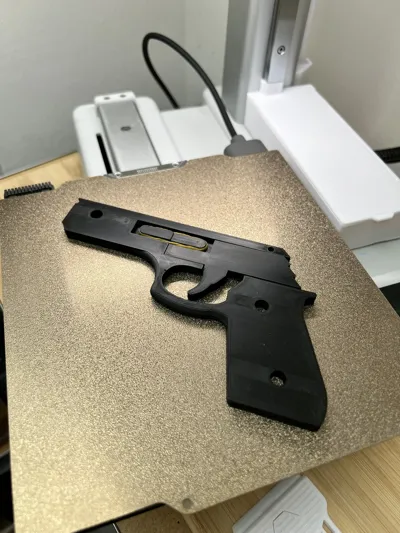
Step 2:
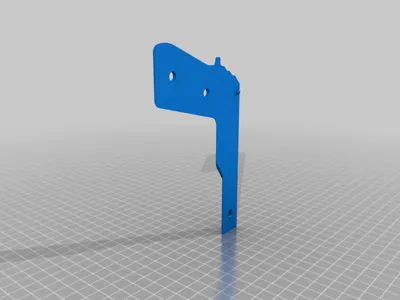
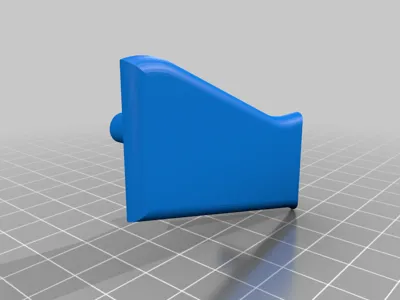
Take the bottom piece and place it on a stable surface so that the pins point upwards.
Step 3:
Take the middle piece and attach it to the bottom piece, aligning the holes with the pins and pressing firmly downwards. A small craft hammer can help compress the parts together.
Step 4:
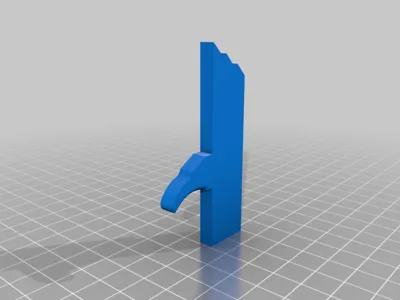
Take the trigger and place it in the recess of the already assembled parts. Use a small rubber band and place it in the cutout formed by the middle piece and the trigger.
Tip: A larger rubber band can be twisted and folded to form a smaller loop.
Step 5:
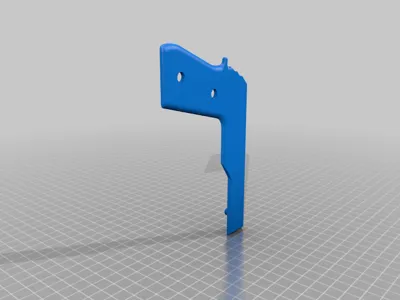
Take the top piece, align pins and holes, and firmly press it onto the assembly.
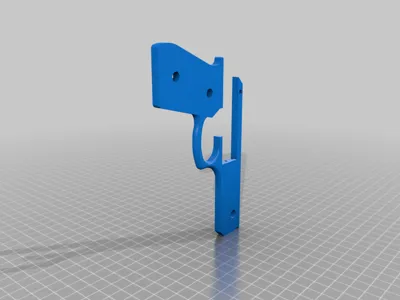
Step 6:
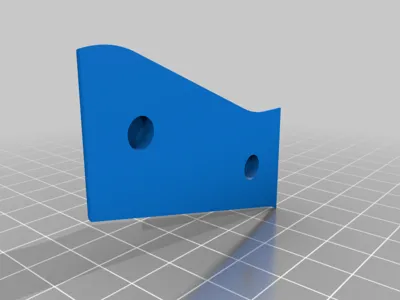
Take the lower grip shell and place it under the assembly, aligning the pins with the holes in the grip. Then take the upper grip shell and firmly press it over the pins and onto the assembly.
Tip: The grip shells should fit very tightly and may need to be fully secured with a small craft hammer to hold the gun together.
Ready to fire
Take three rubber bands (small ones, like those used for bundling money, are best) and load them individually: Stretch each rubber band over the recess at the muzzle end and then secure it over the hook on the back of the gun, near the grip – one over the other.
Aim and shoot.
Each pull of the trigger fires one rubber band and automatically moves the underlying bands upwards, ready for the next shot.

Comment & Rating (7)