
DC-DC Buck Voltage Converter LM2596S Case
Print Profile(2)


Description
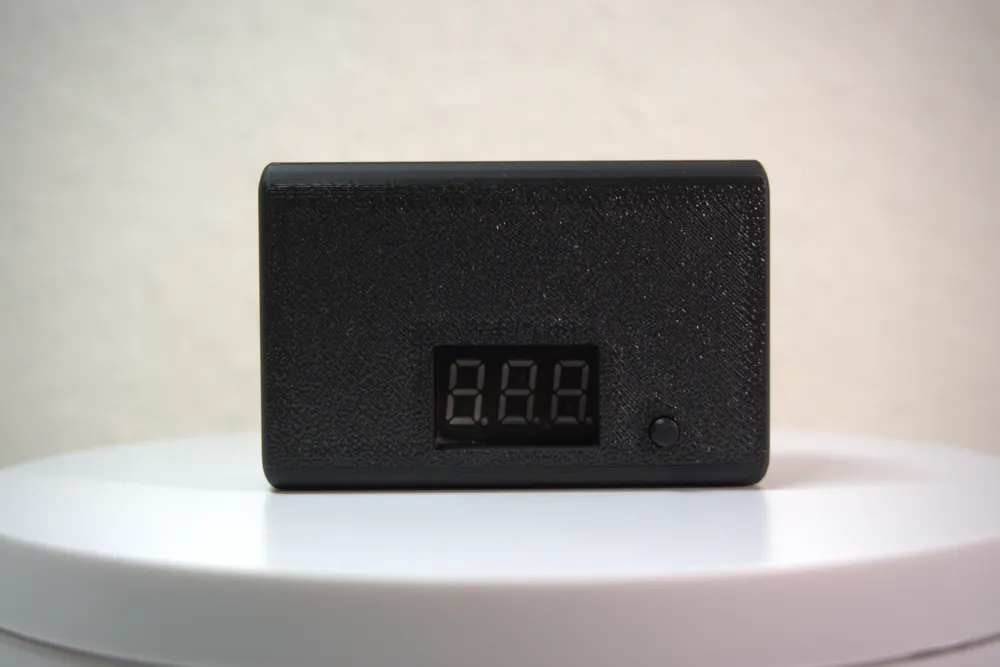
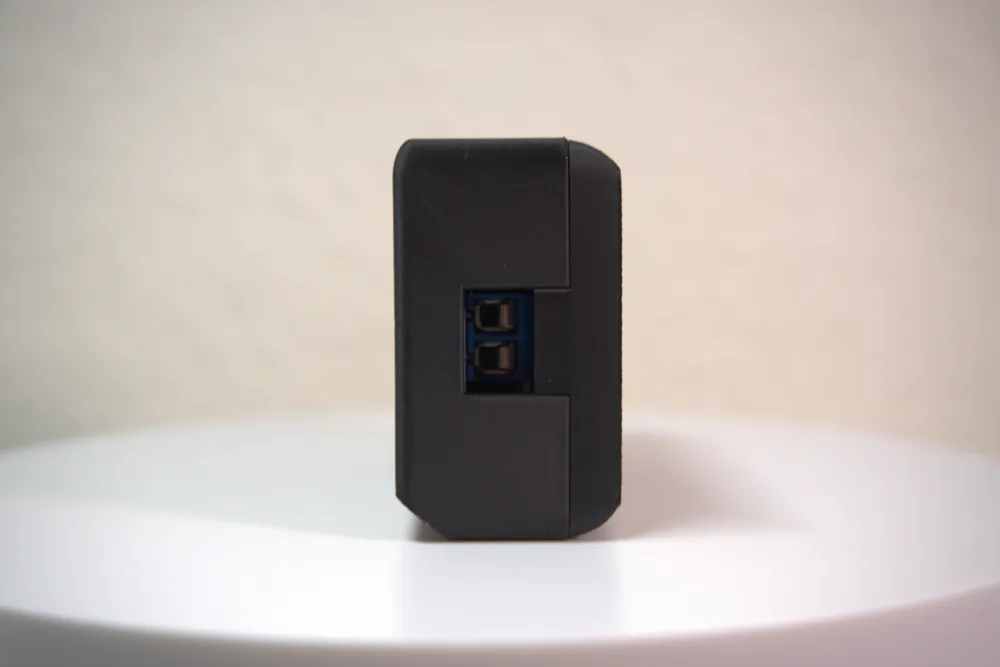
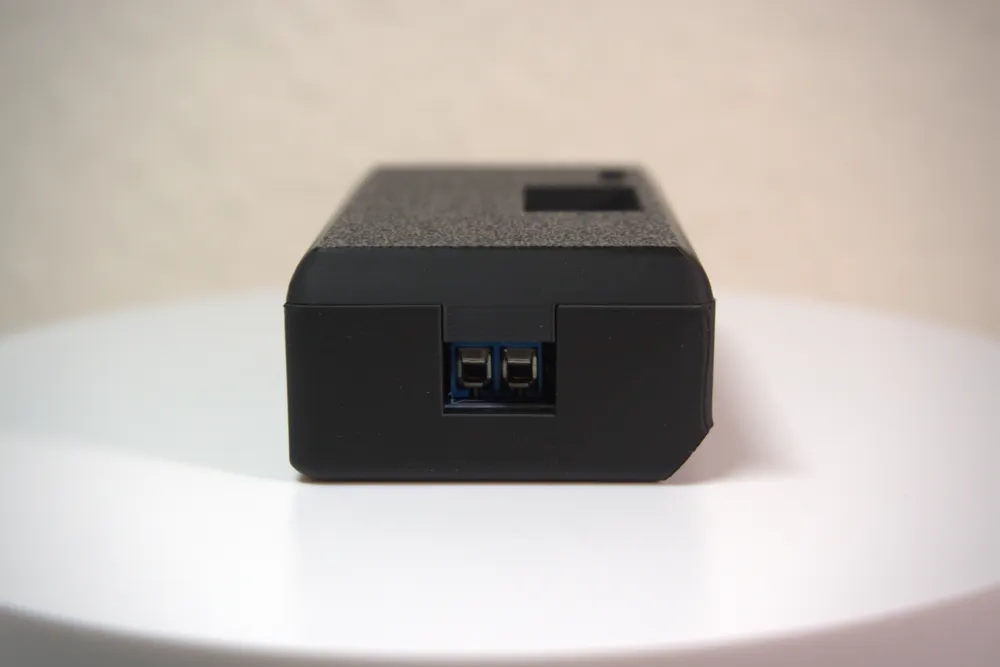
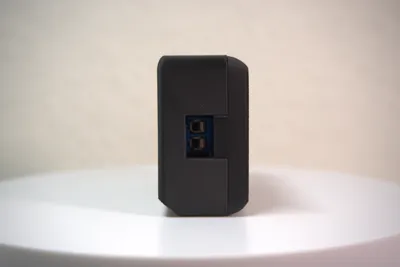
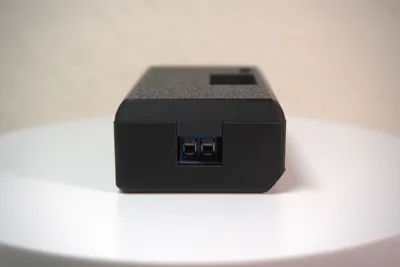
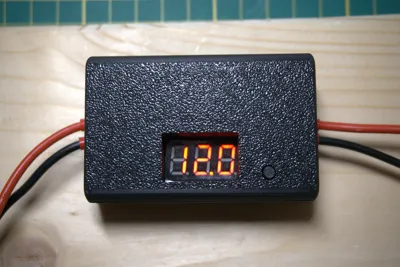
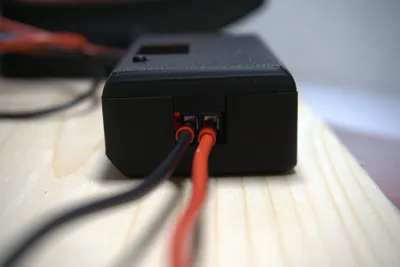
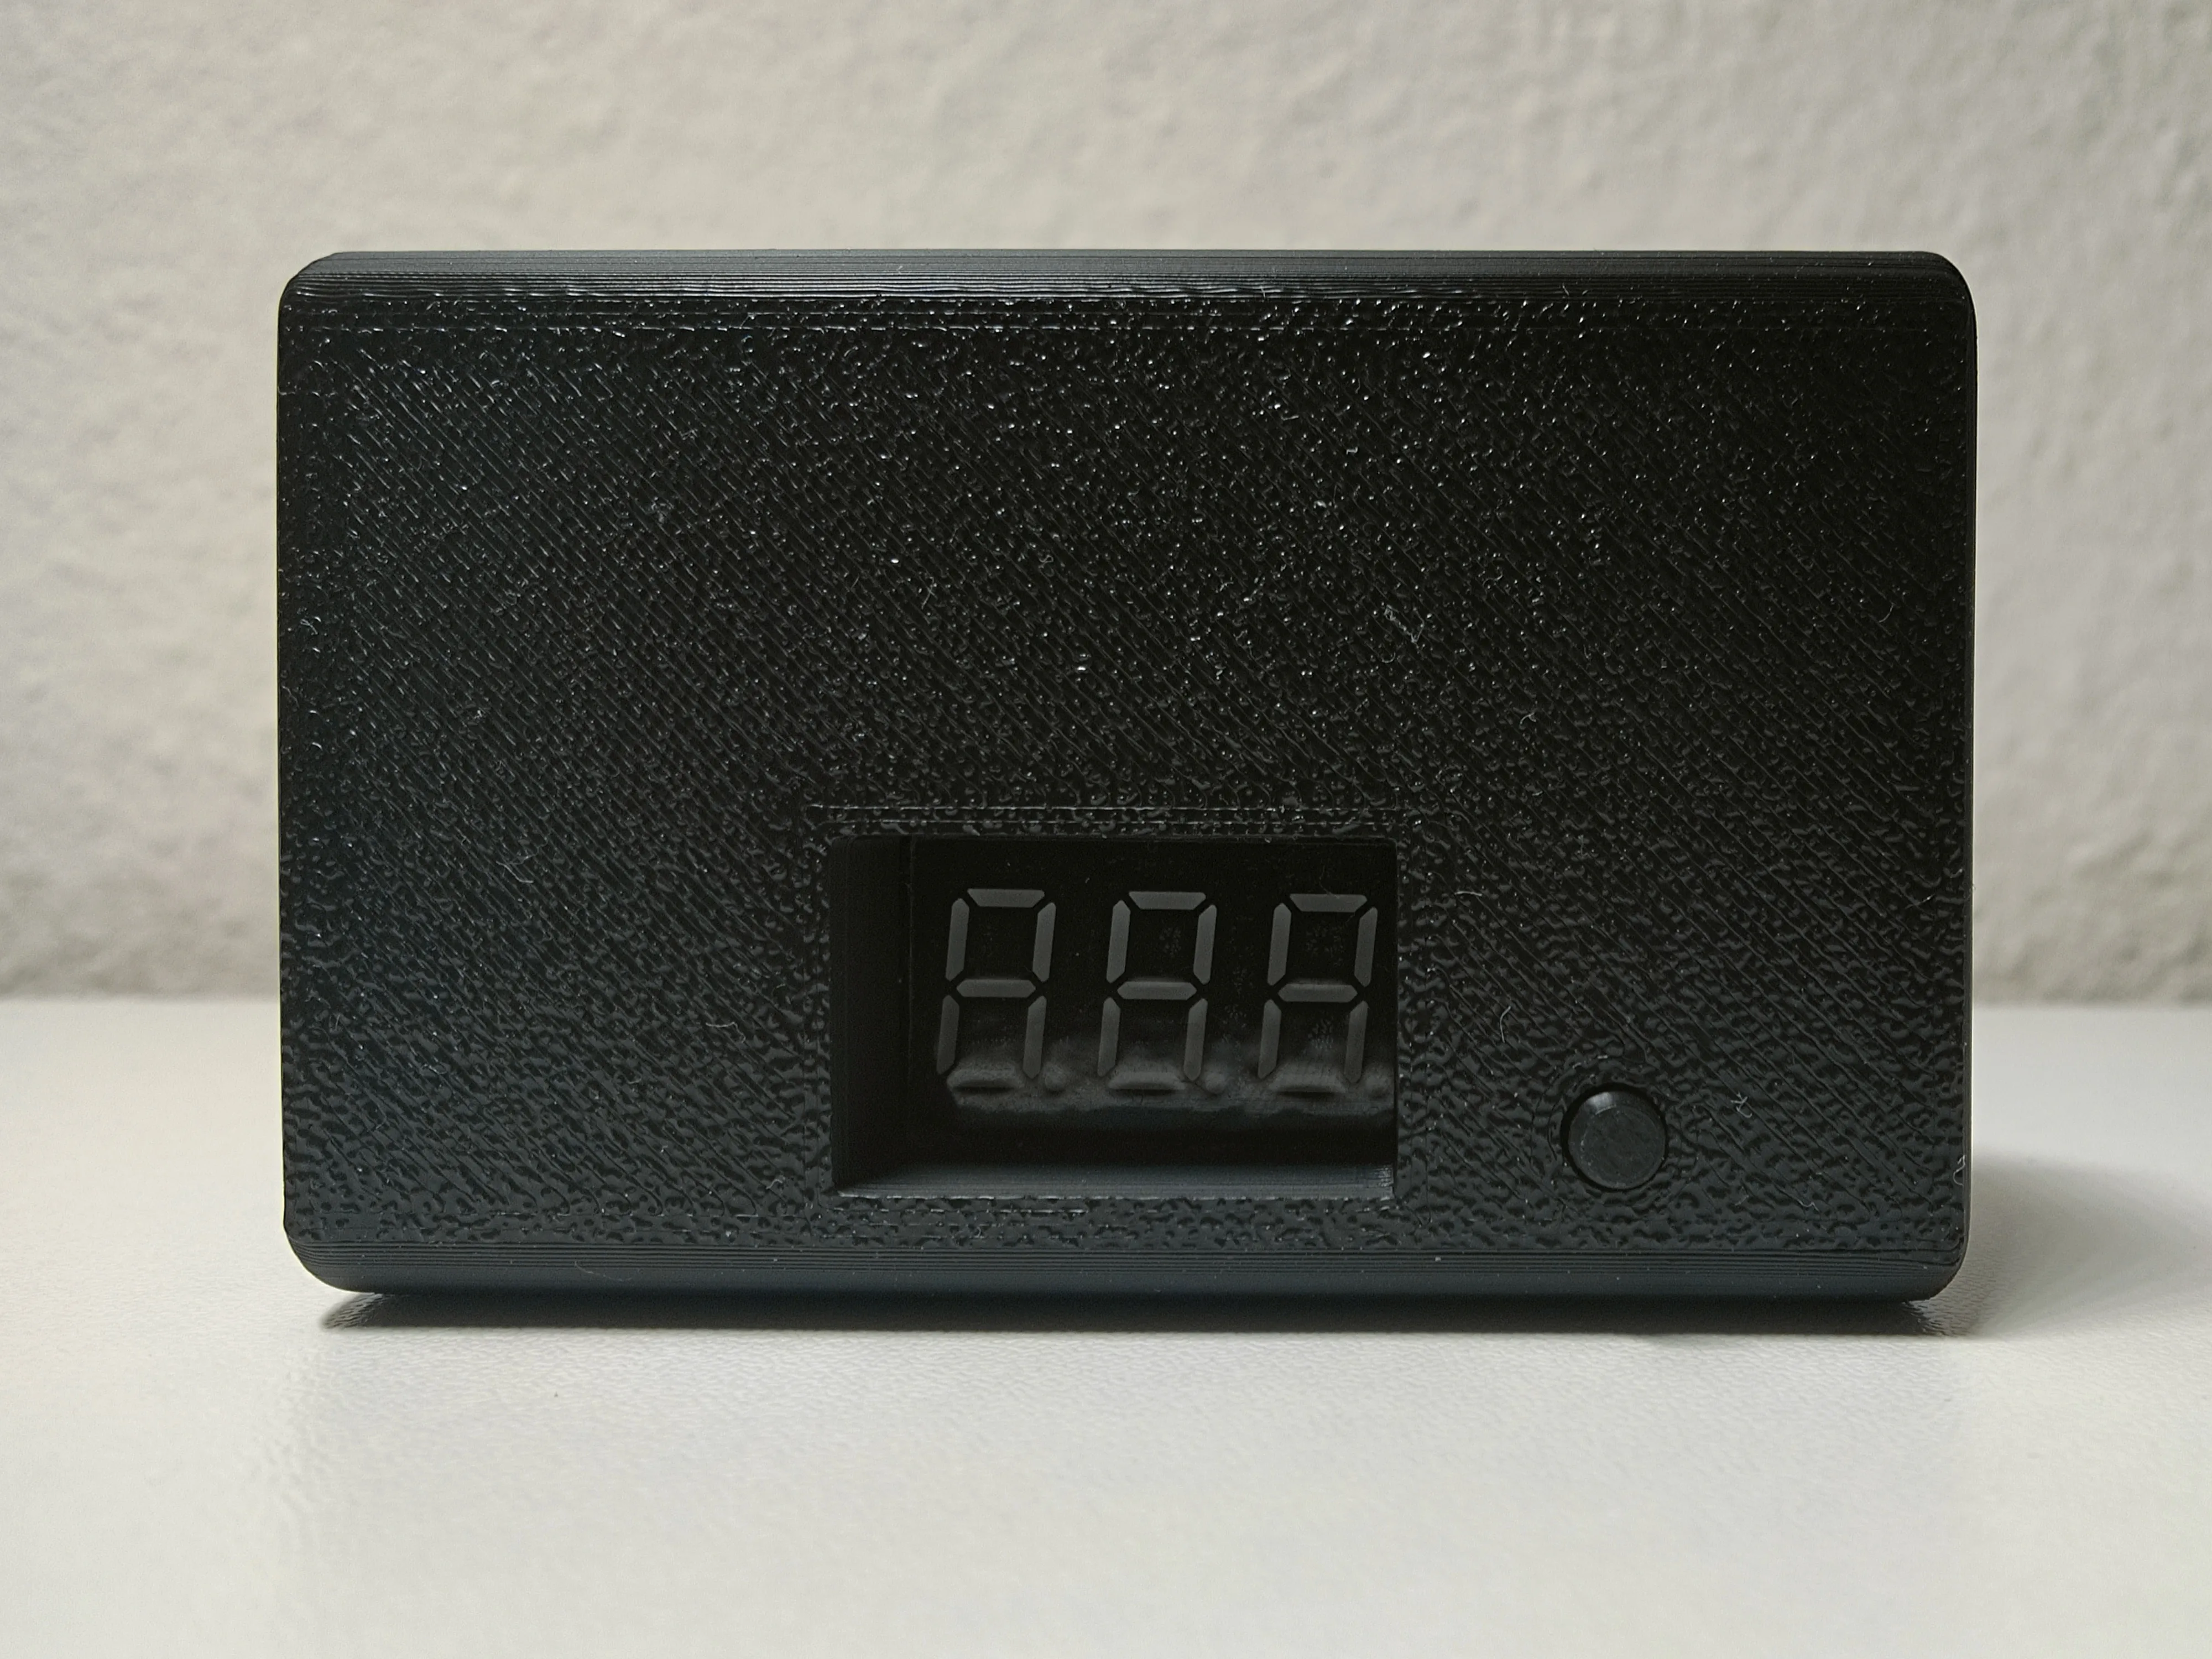
DC-DC Buck Converter Enclosure – Tool-Free Assembly, No Supports Needed
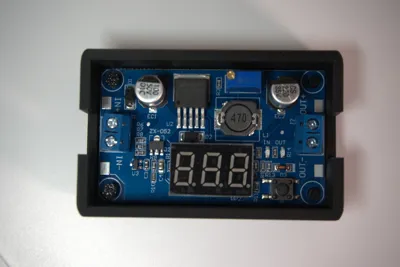
This enclosure was specifically designed for the DC-DC Buck Converter LM2596S (Converter) and can be printed completely without
support structures. Installing the PCB takes only a few simple steps:
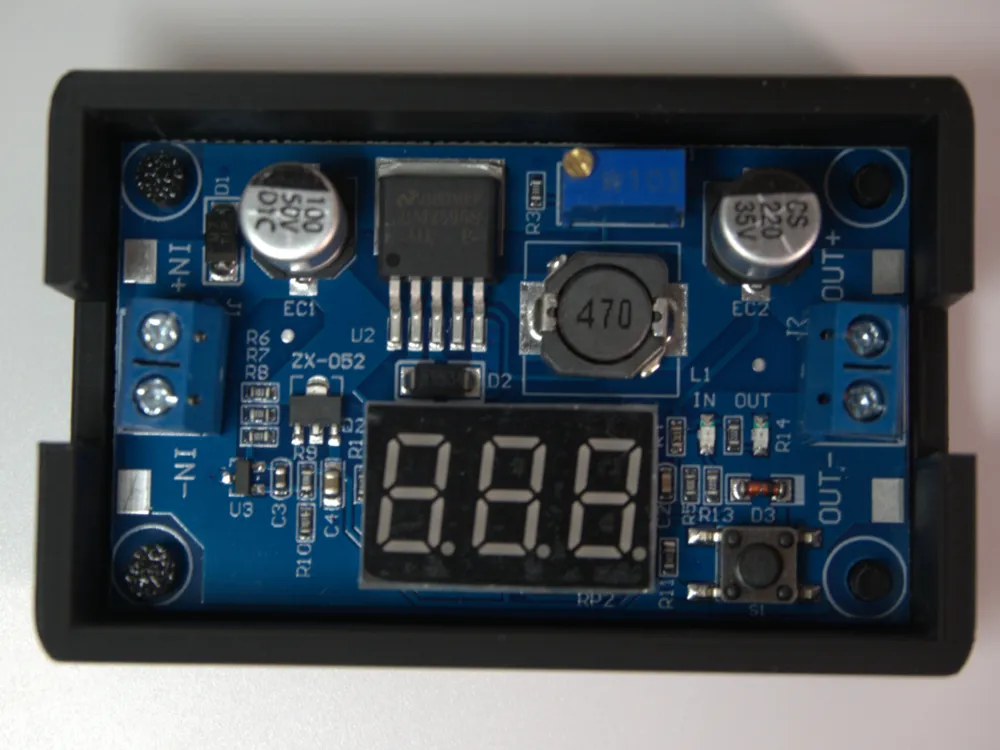
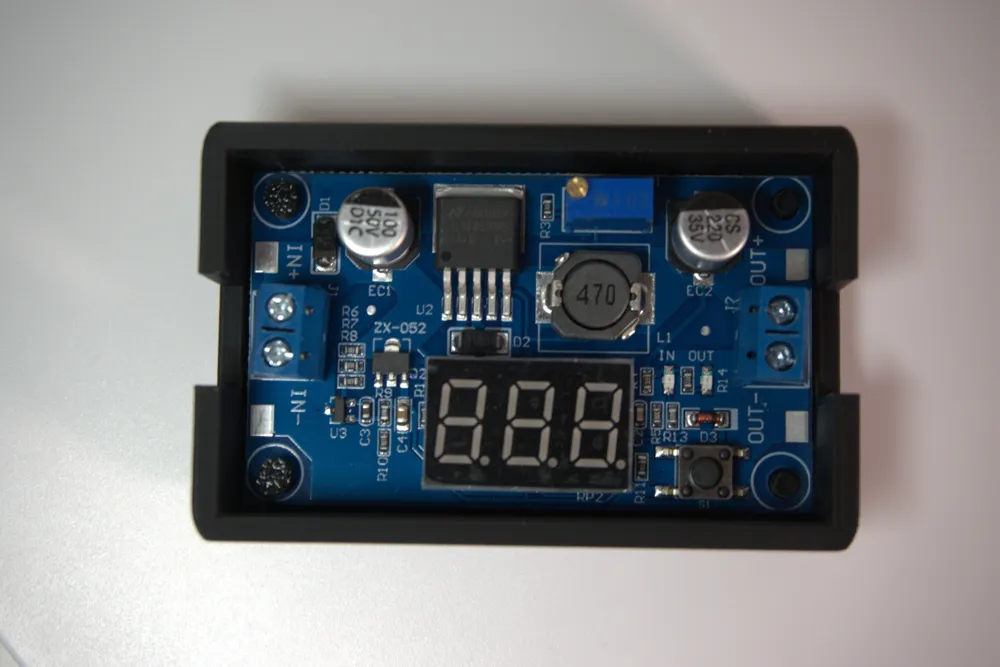
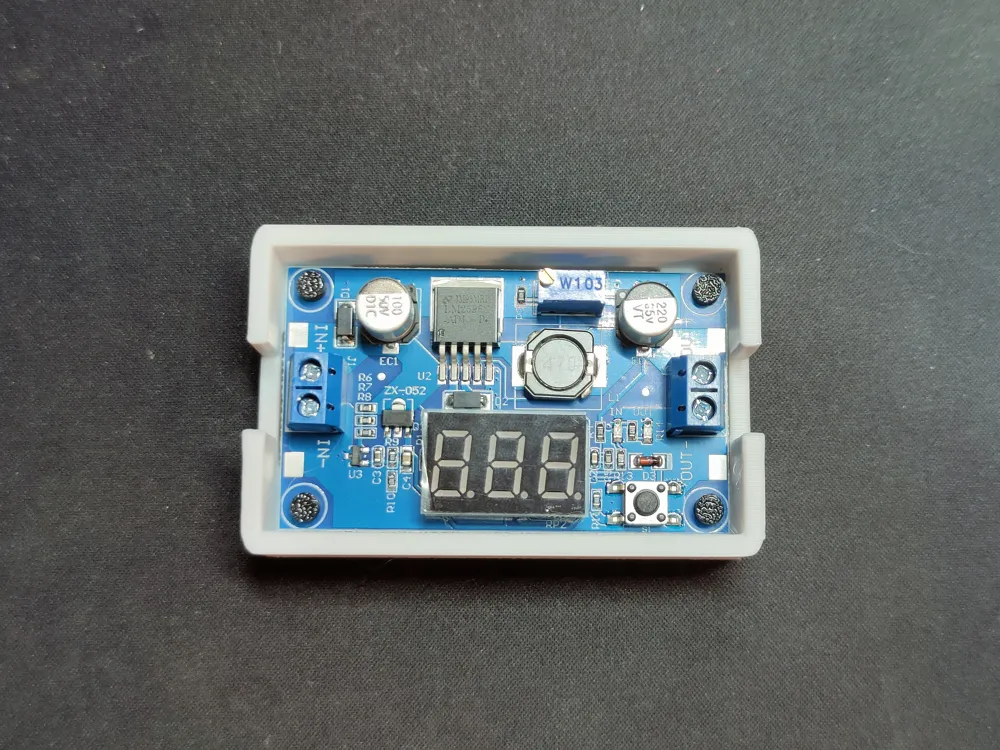
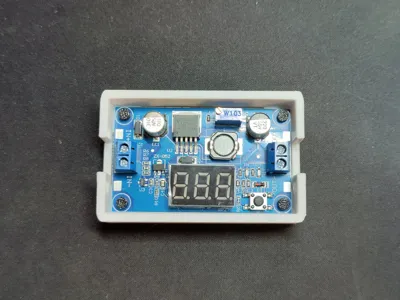
My Paltine is 65 mm long and 39 mm wide. It fit perfectly; the recess in the model is 66 mm.
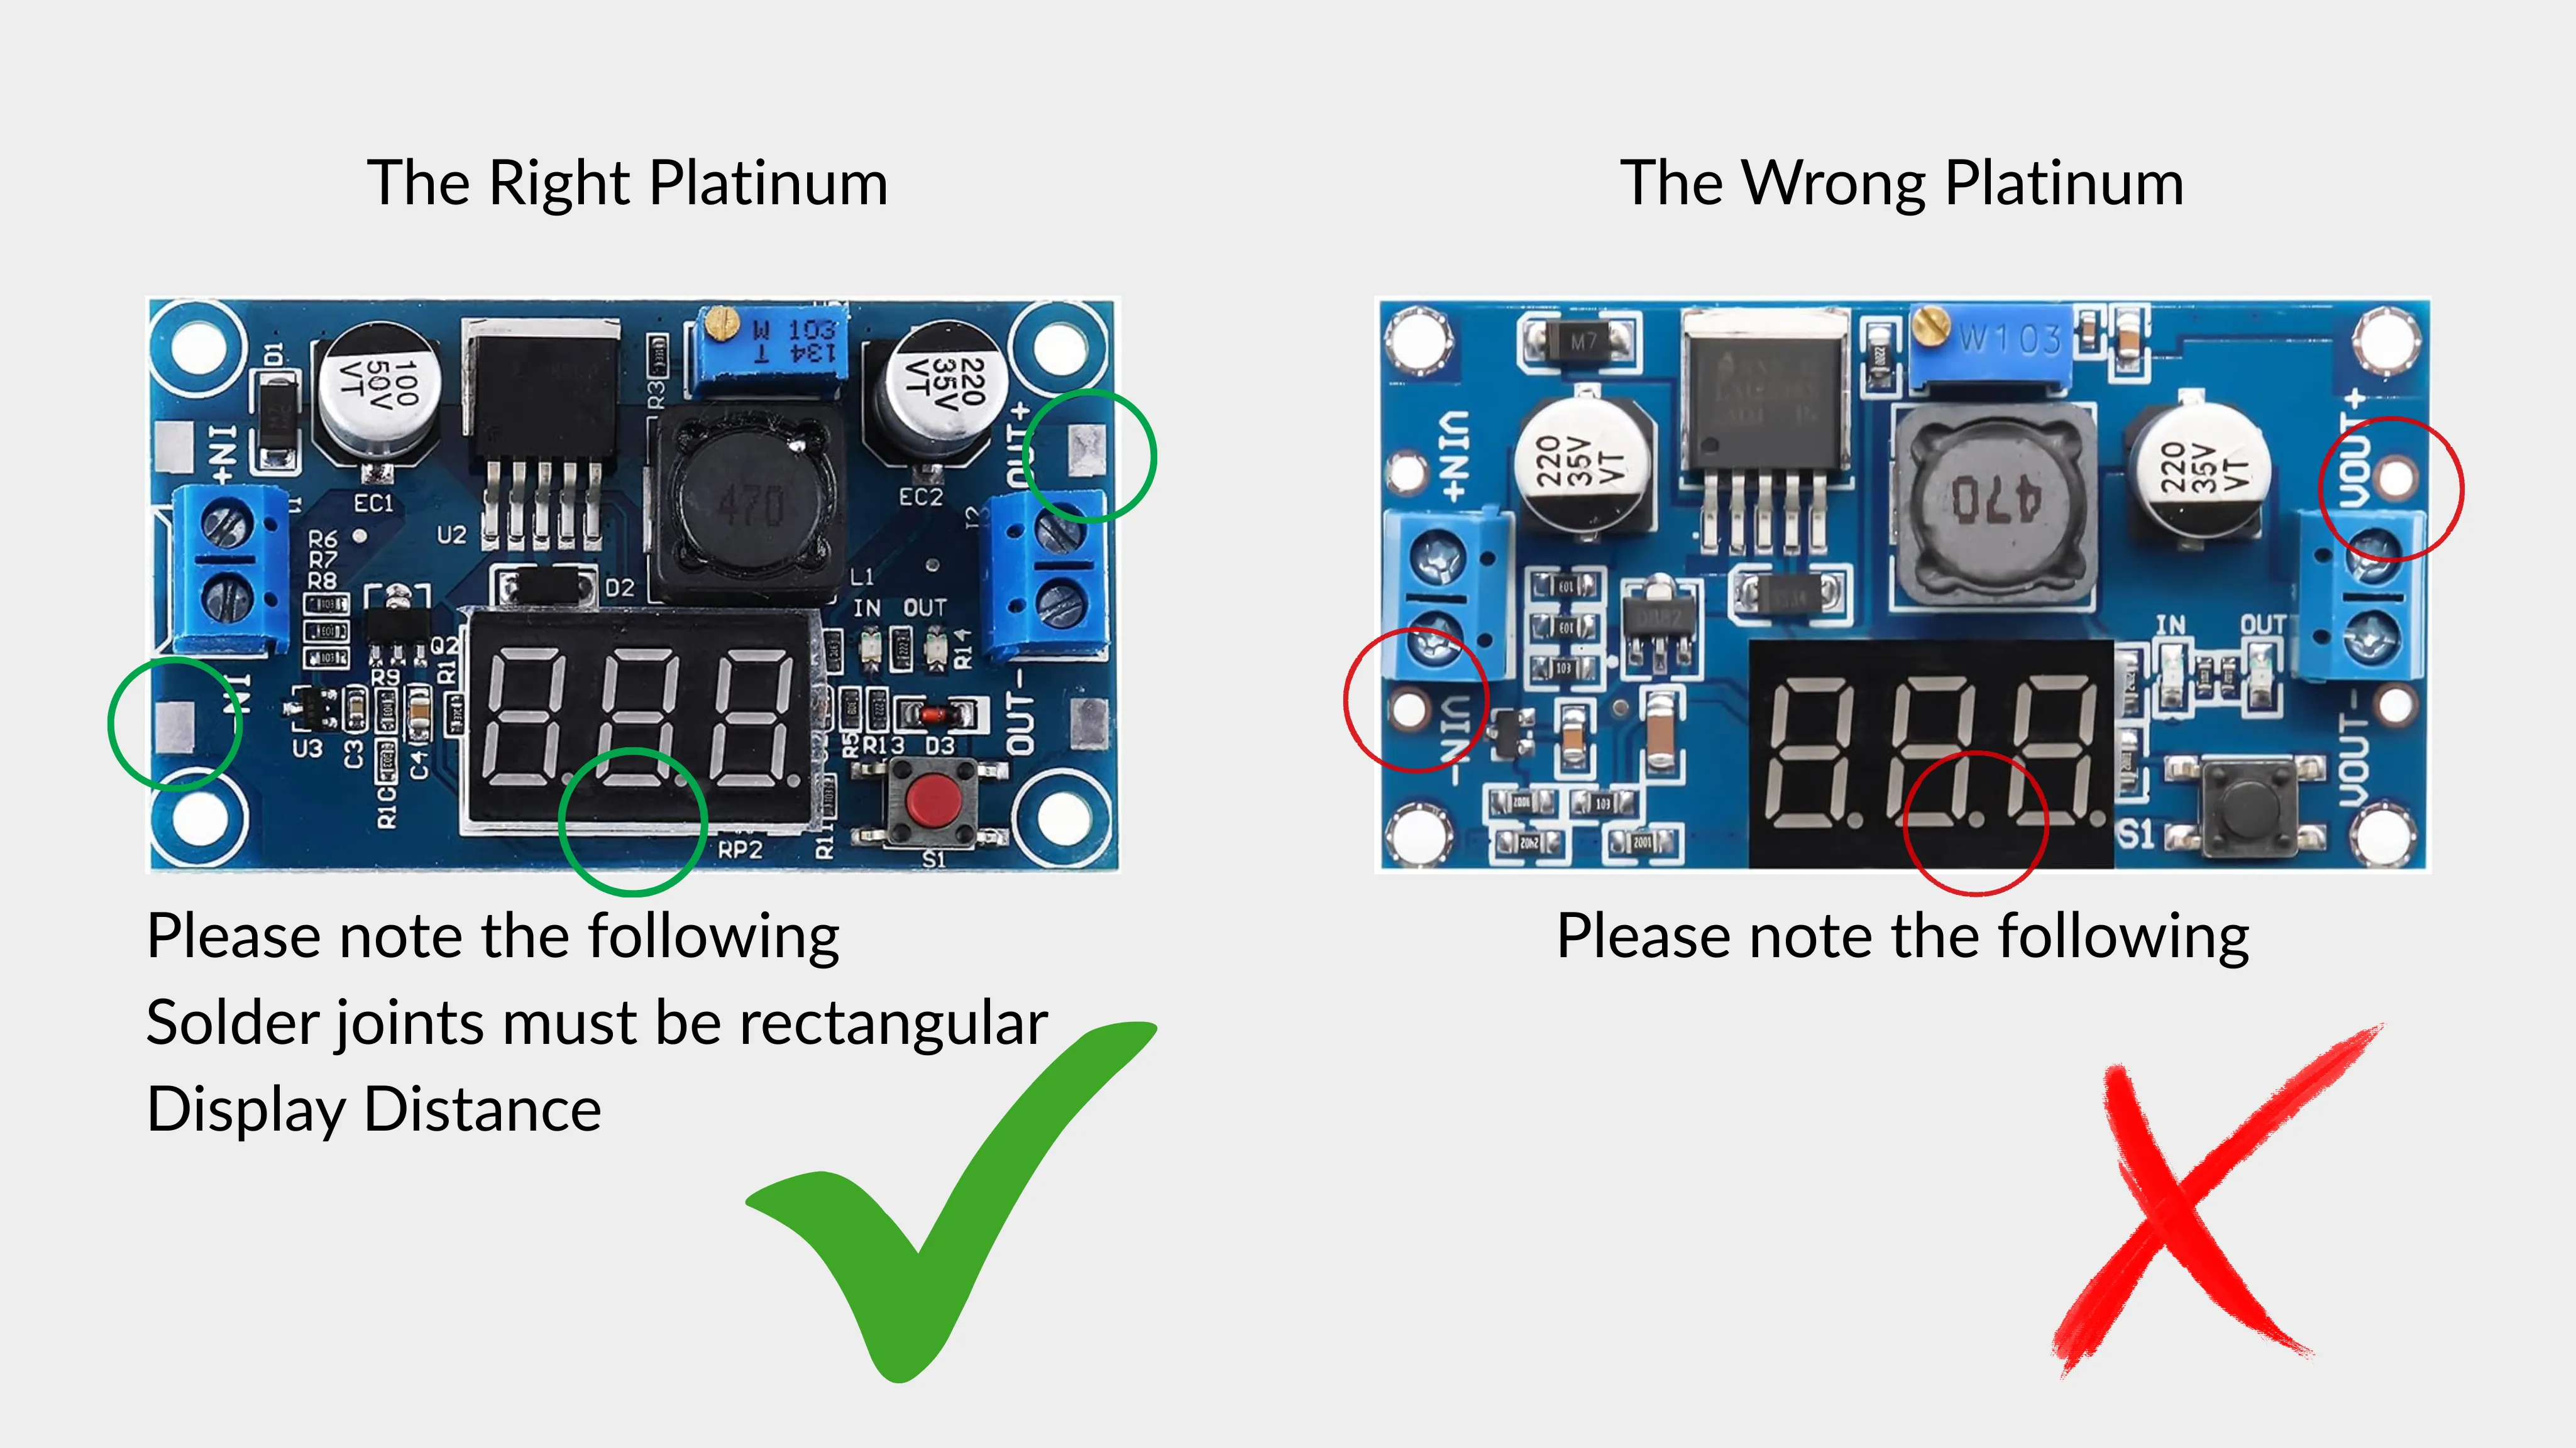
🔔 Important pre-print note:
Since this model includes small parts like pins and the switch tip, make sure to properly clean your print bed before starting. This ensures all parts stick well and prevents warping or shifting during the print.
🛠️ Assembly Instructions:
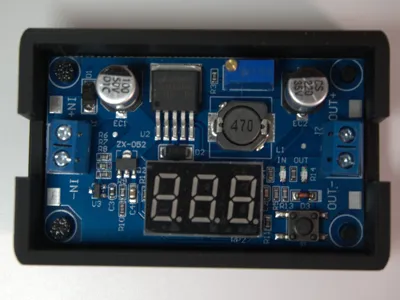
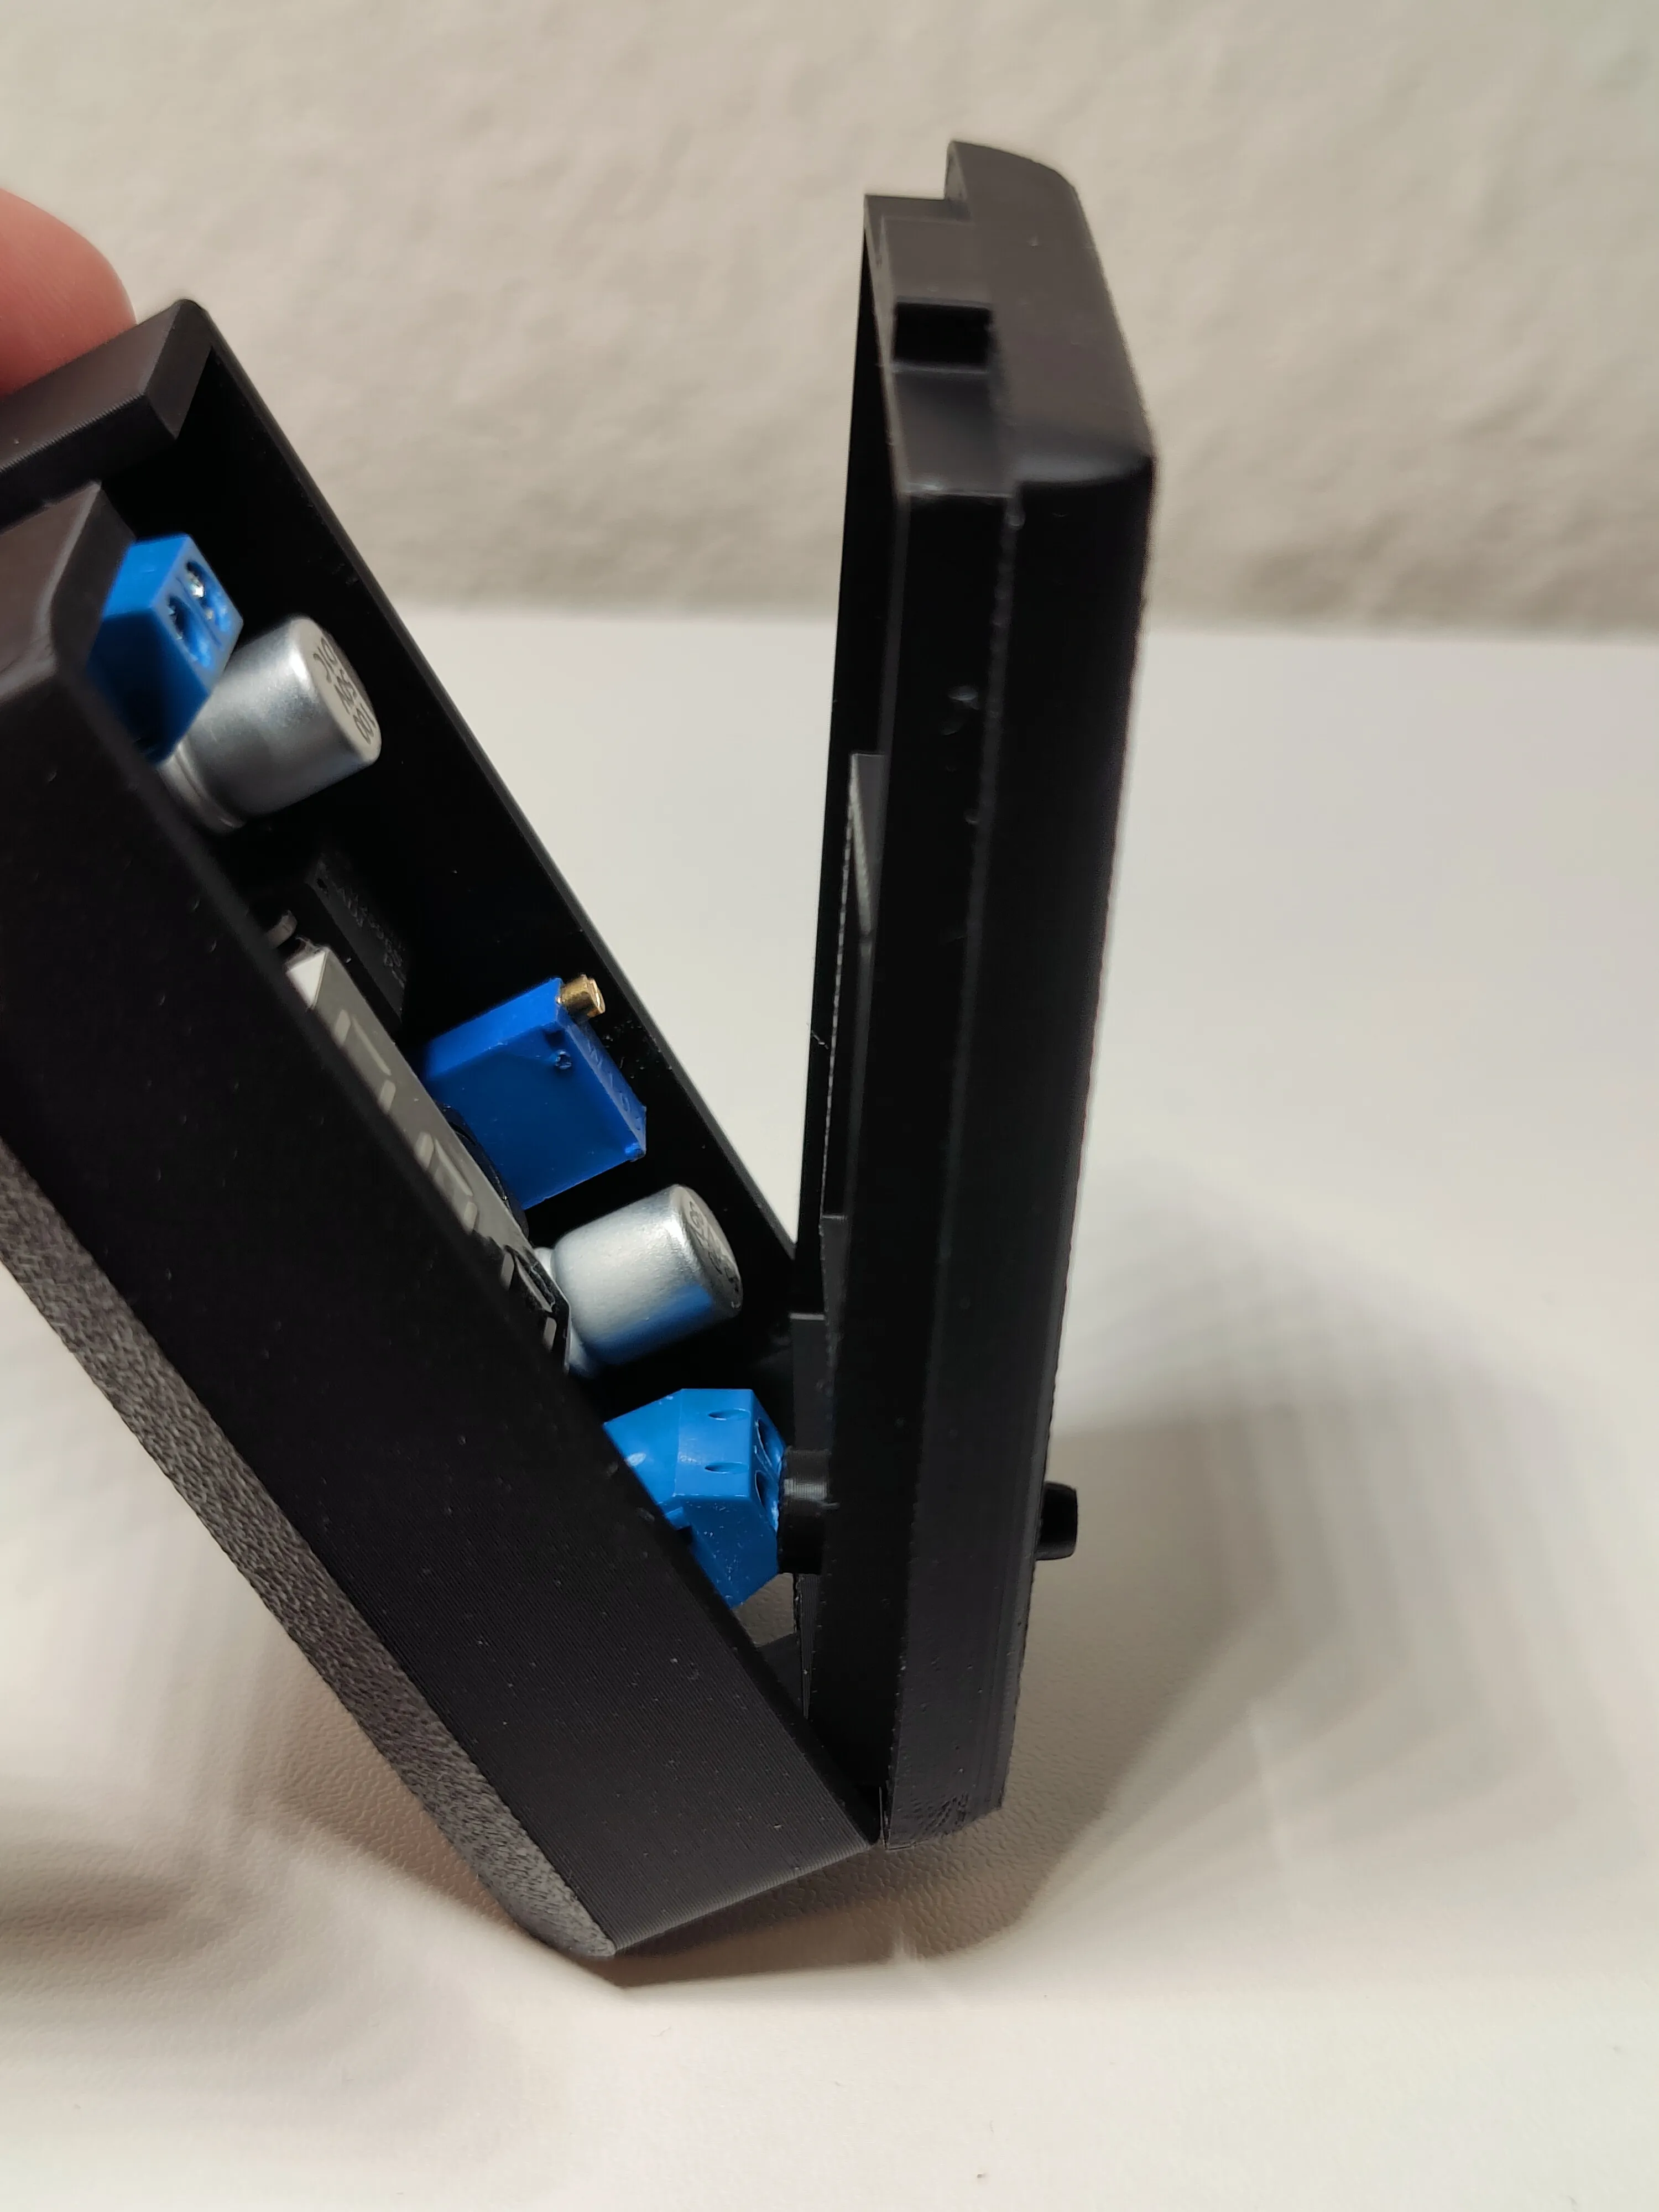
Insert the PCB
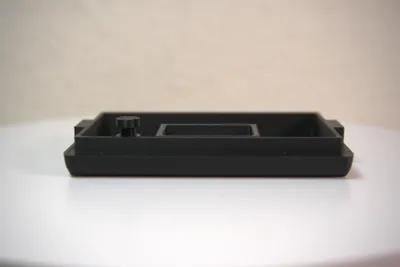
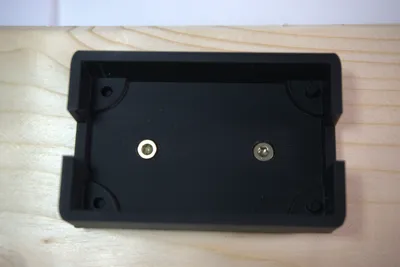
Fix the pins:
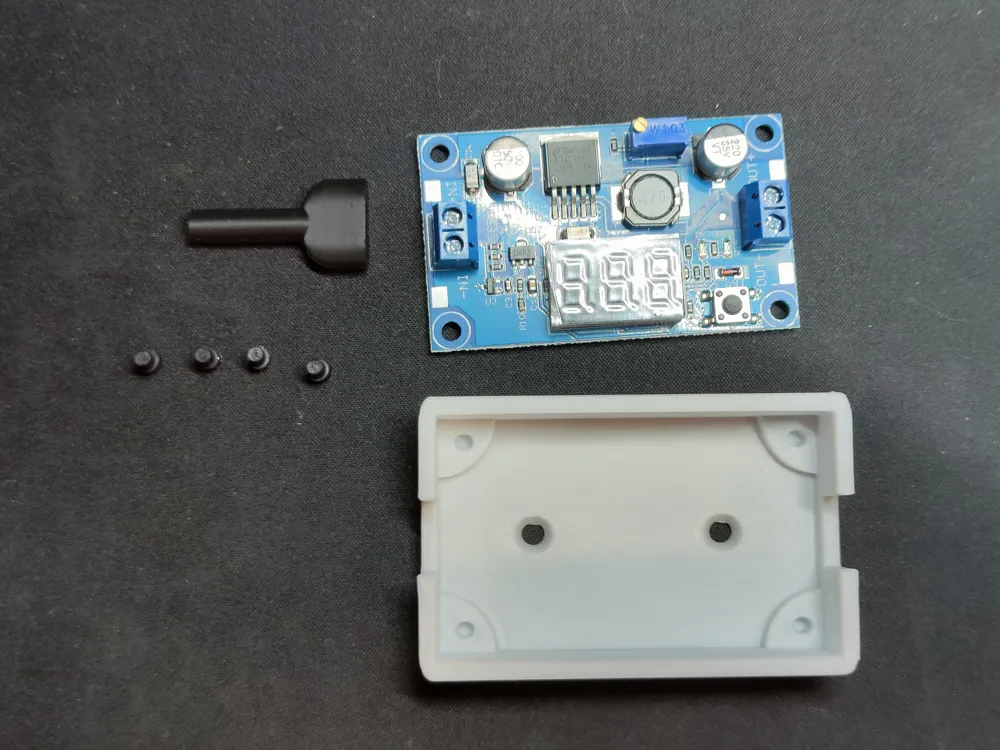
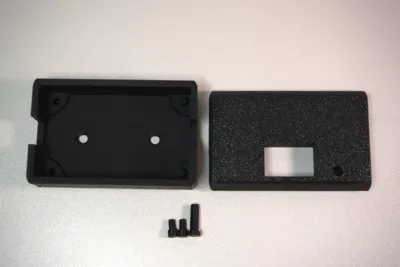
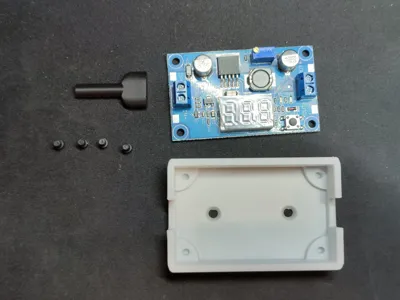
Use the included pin tool (Print Plate 3) or a pair of needle-nose pliers to insert the pins, turn them 90°, and carefully pull them out again.
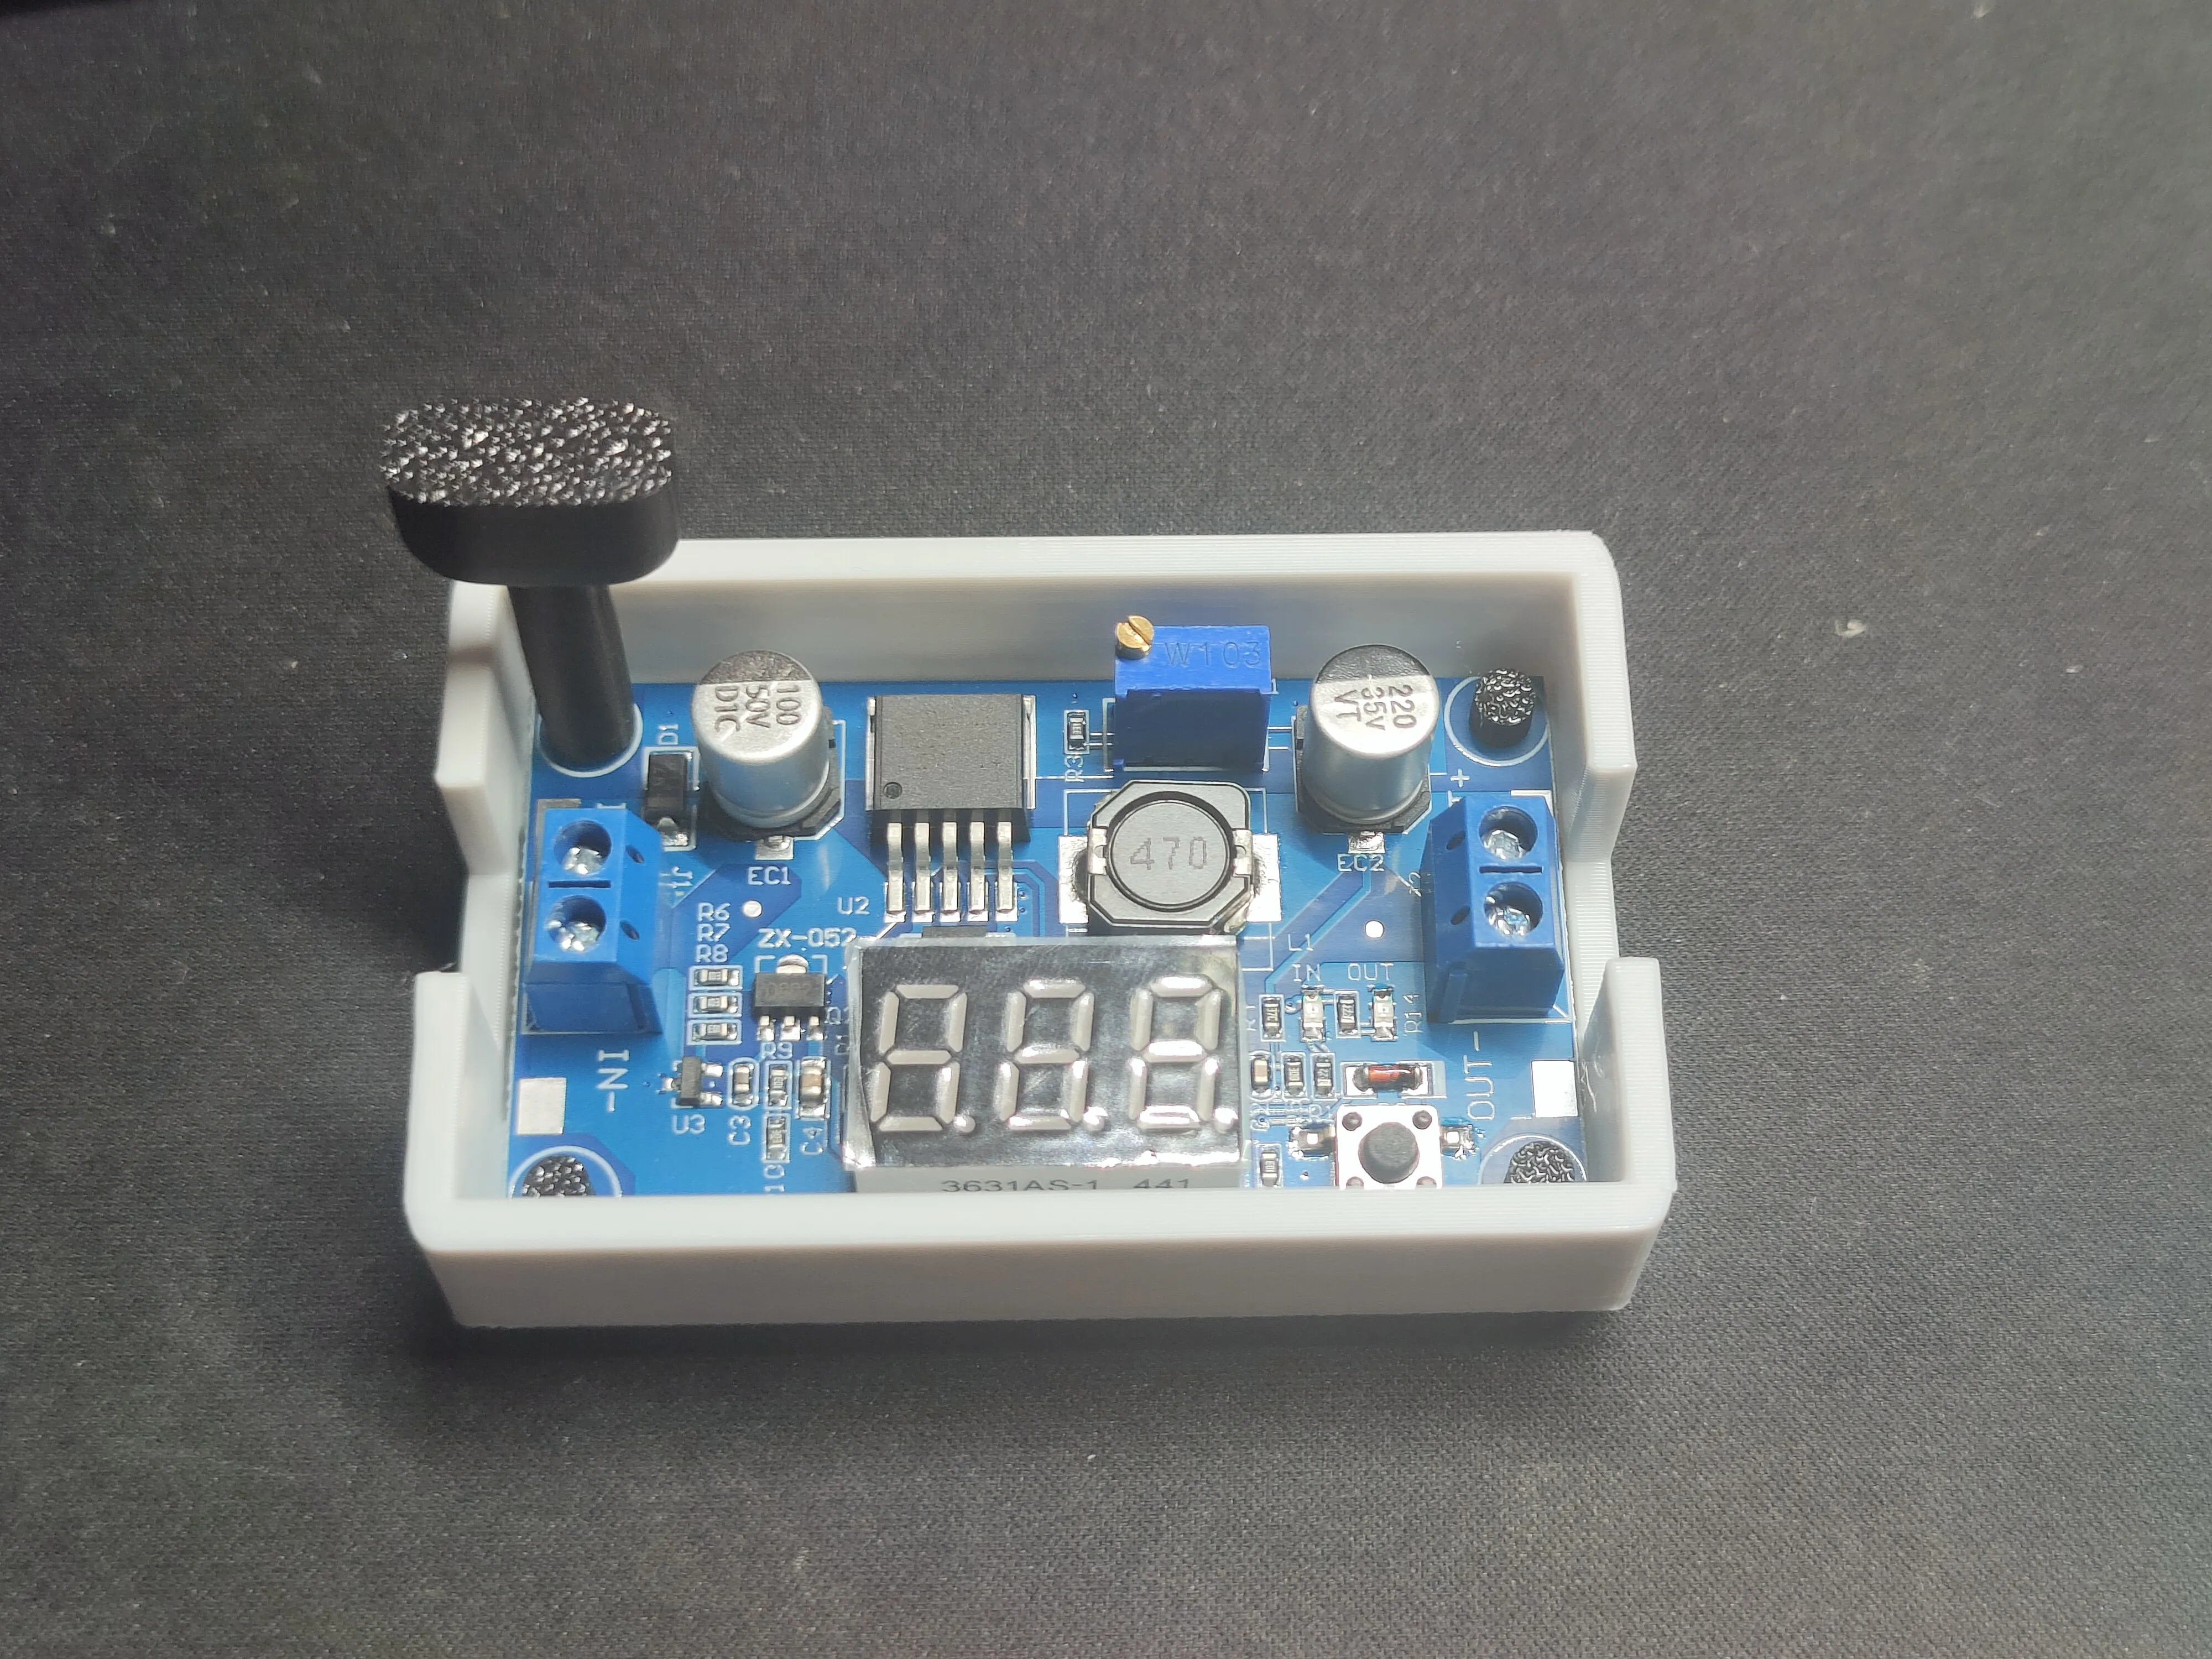
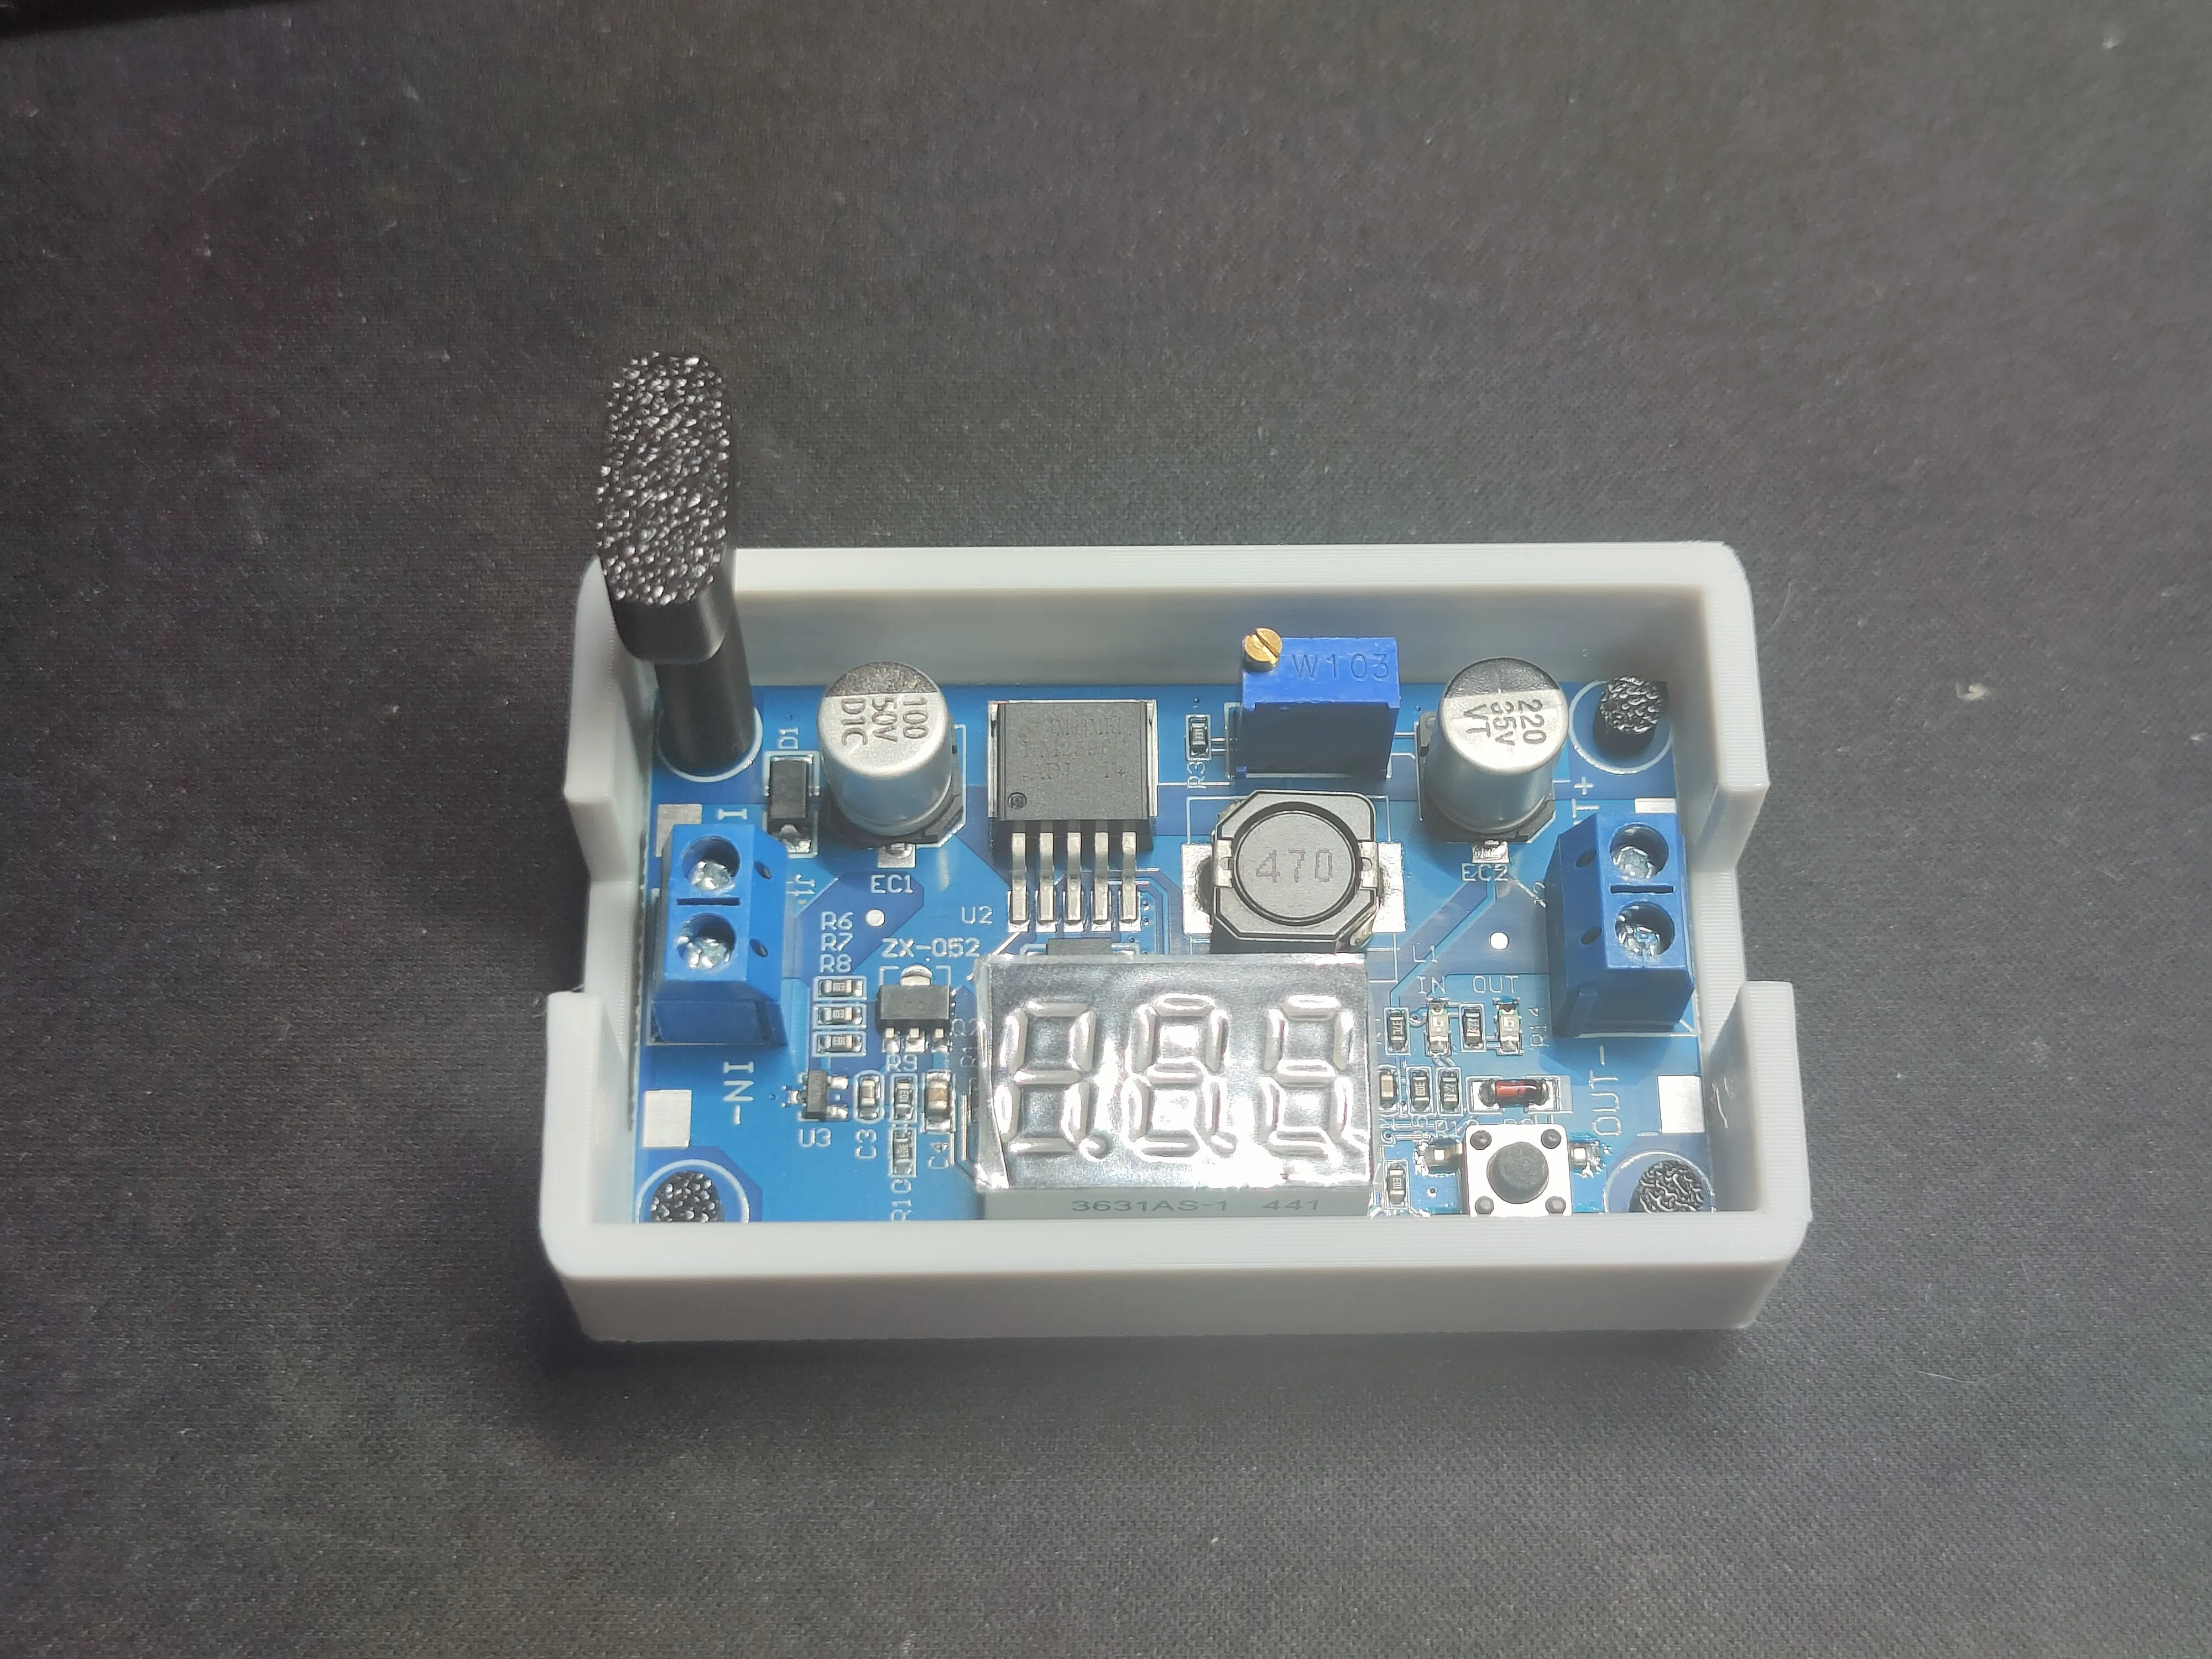
Tip: Since 3D printing may leave a small edge on the pins, it’s recommended to insert and remove the pins a few times into the pin tool to smooth the movement. This makes them much easier to insert and rotate.
Insert the switch pin:
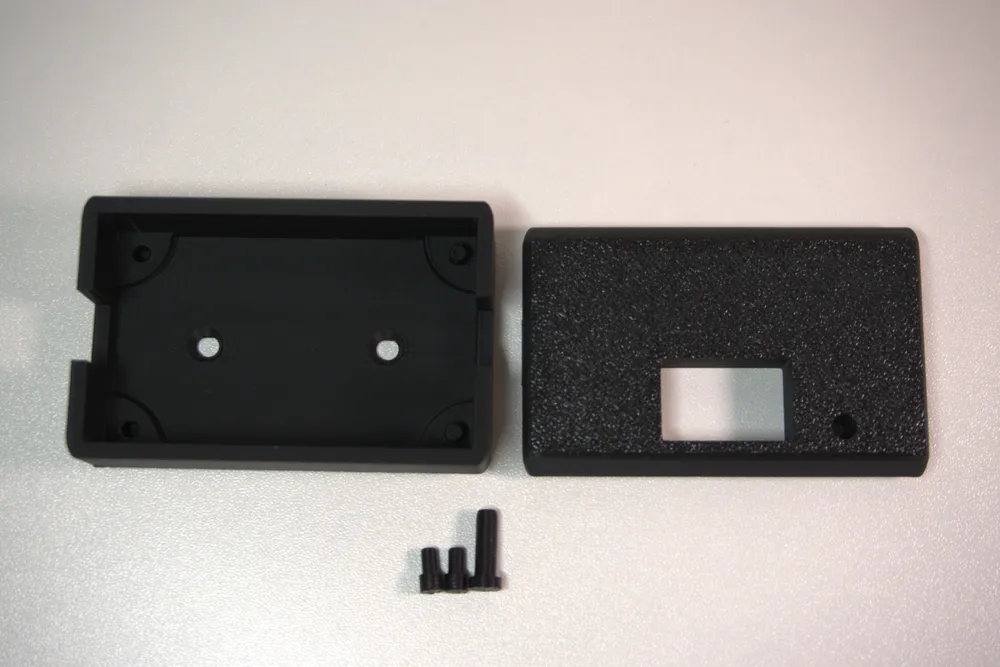
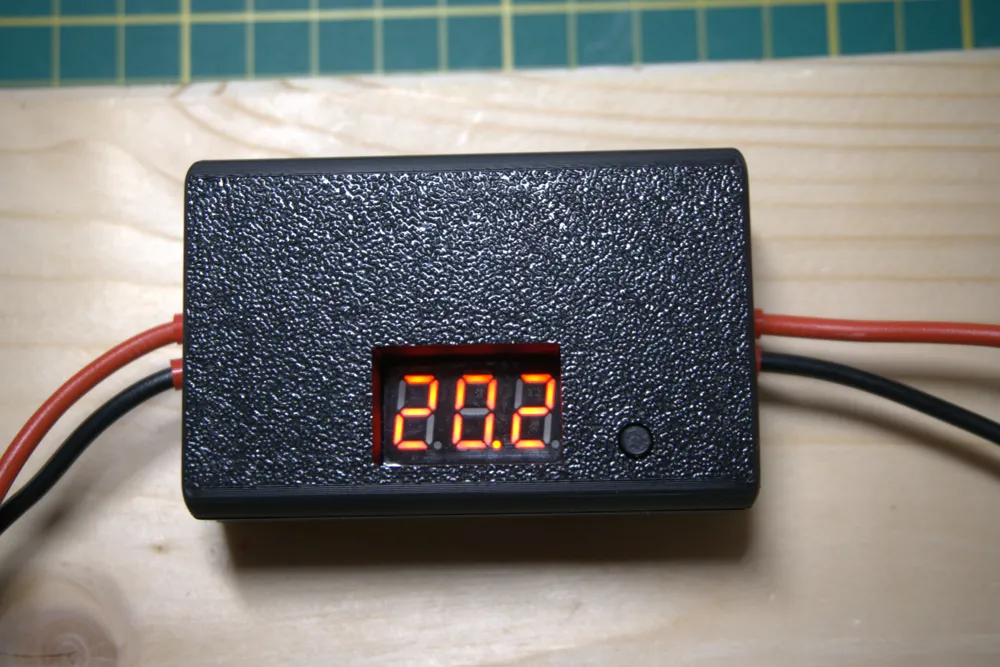
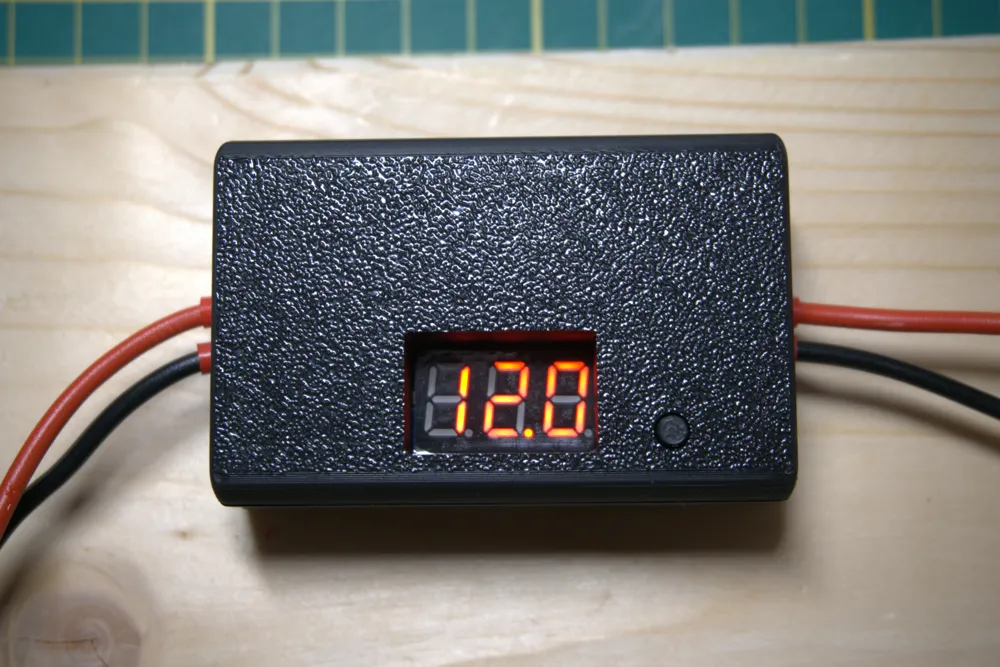
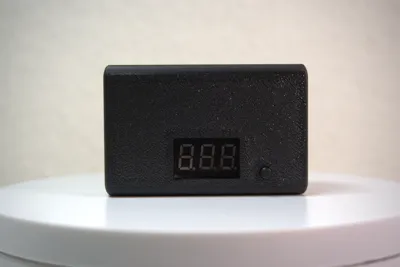
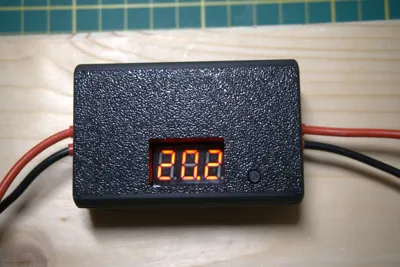
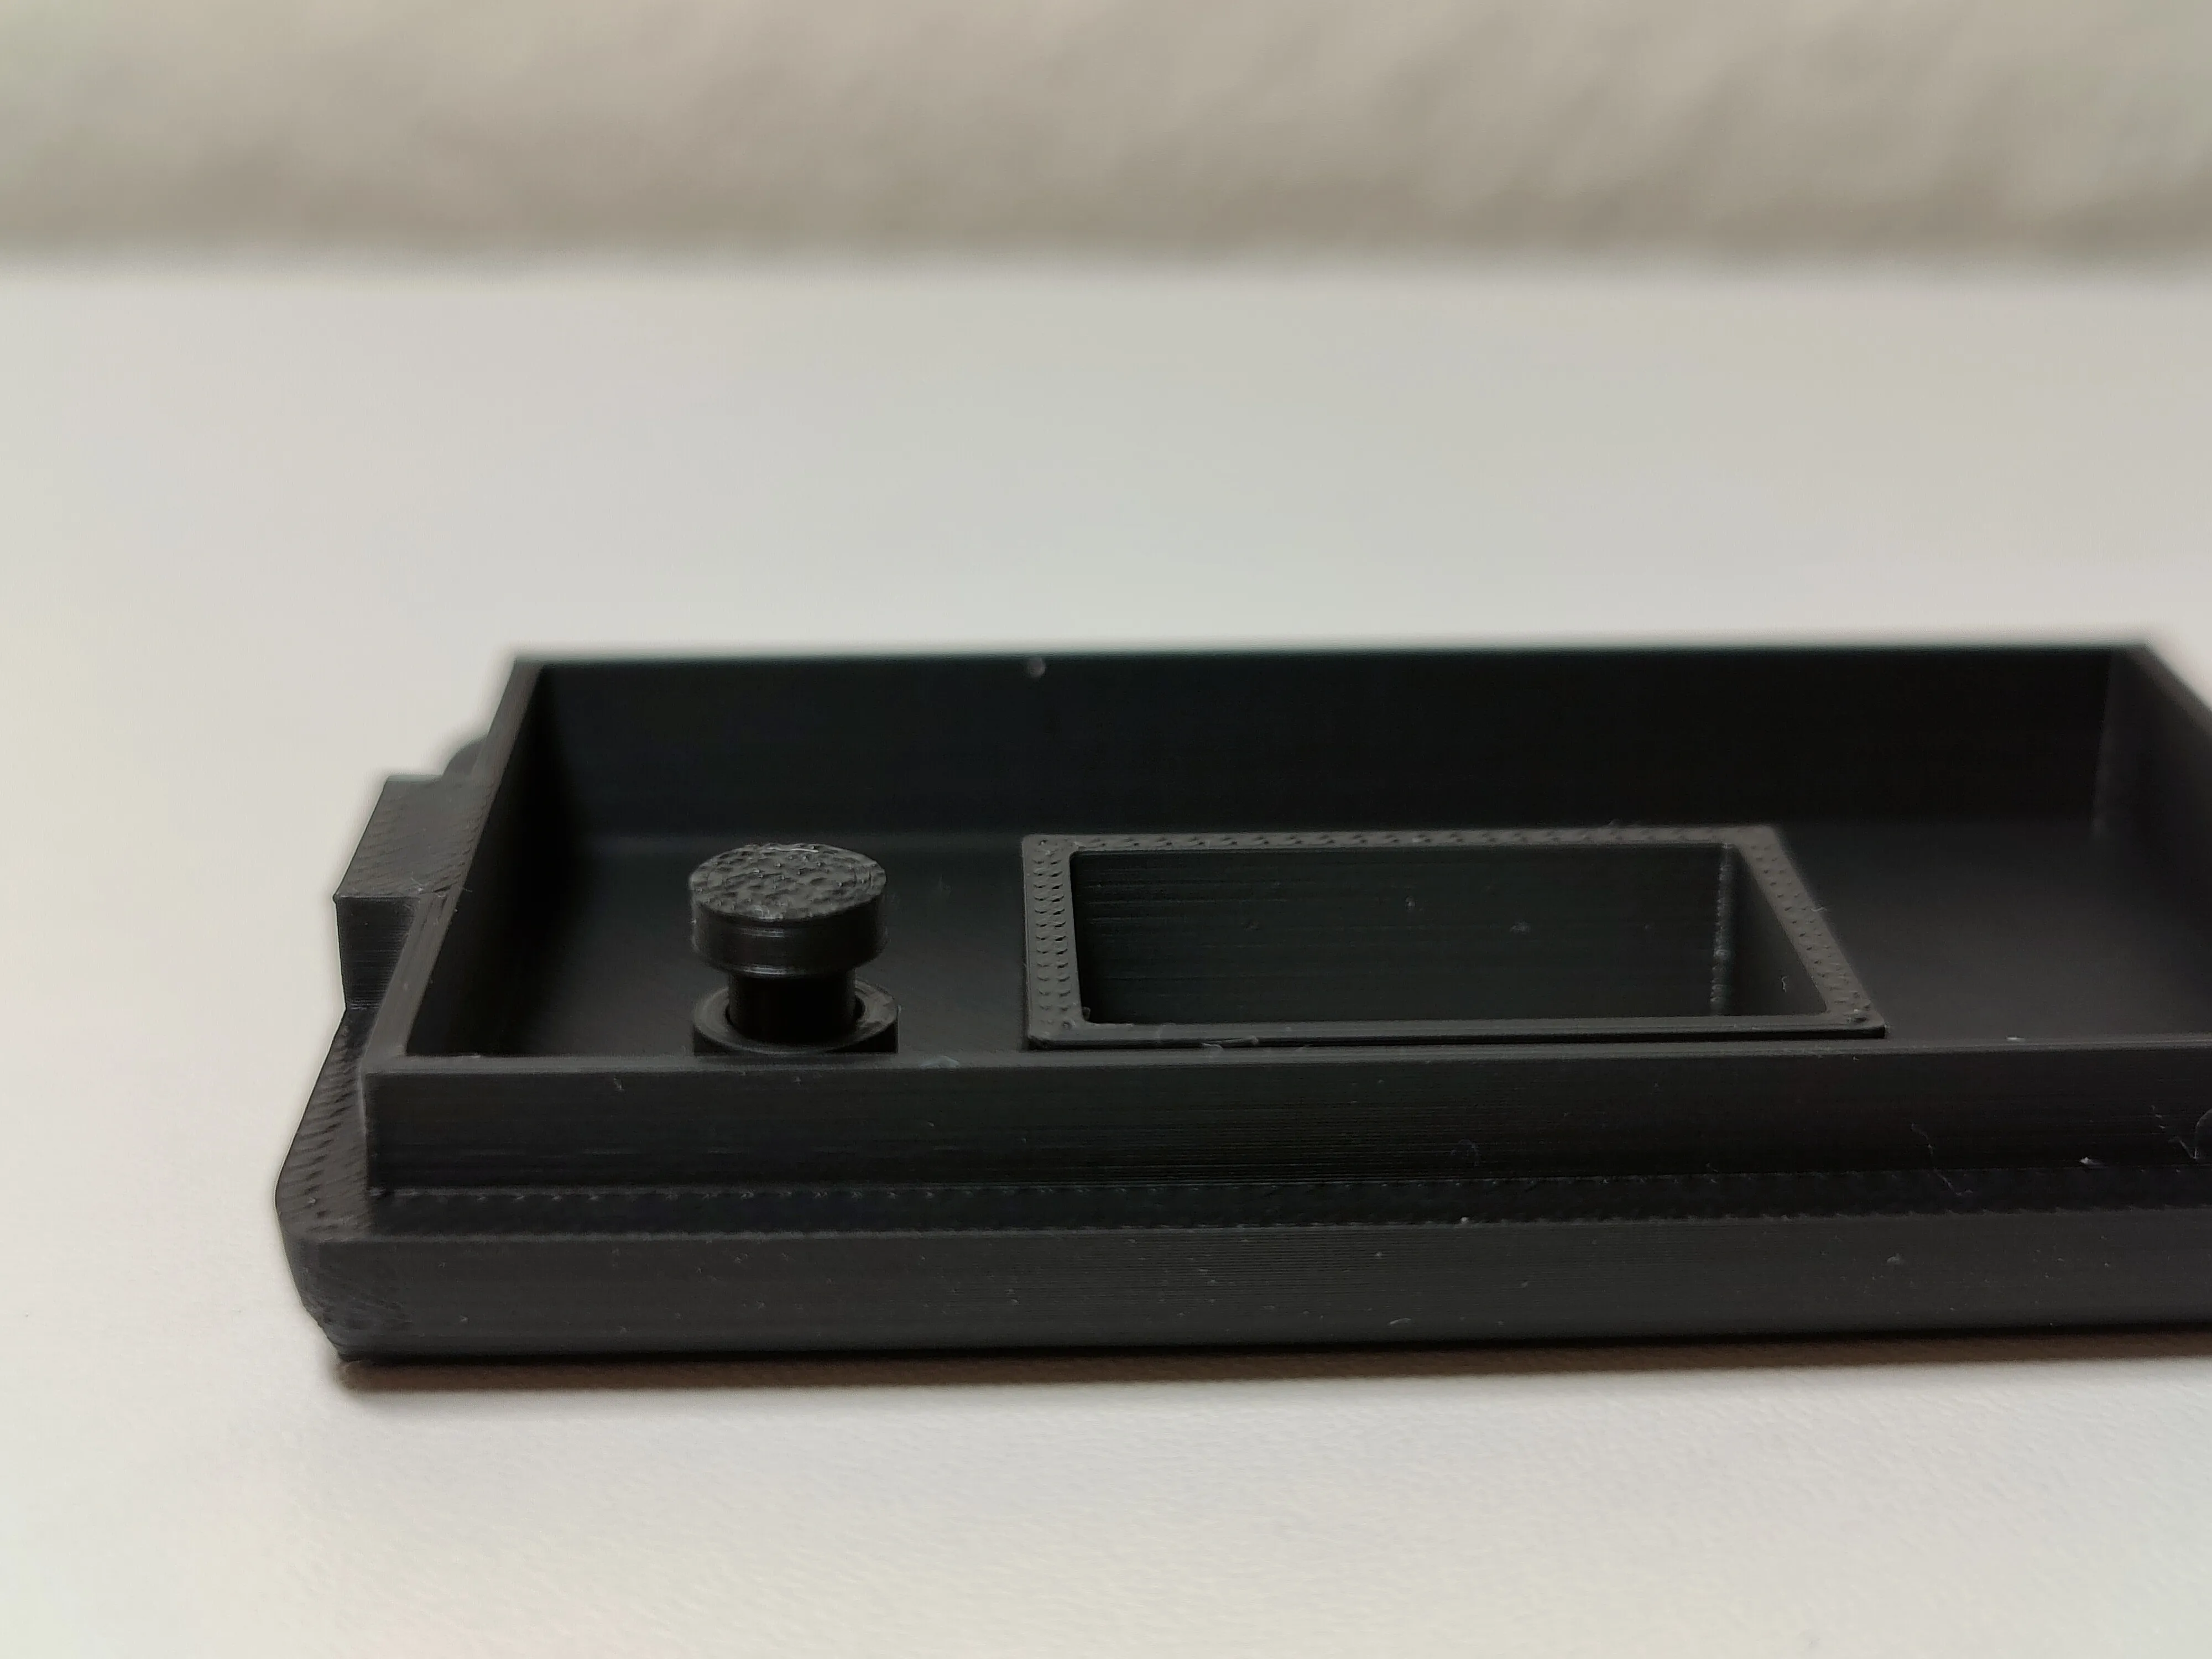
The longer switch pin (Print Plate 5) goes into the designated hole in the lid. It is used to toggle the display between input and output voltage readings.
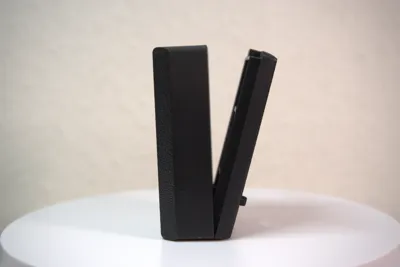
Close the case:
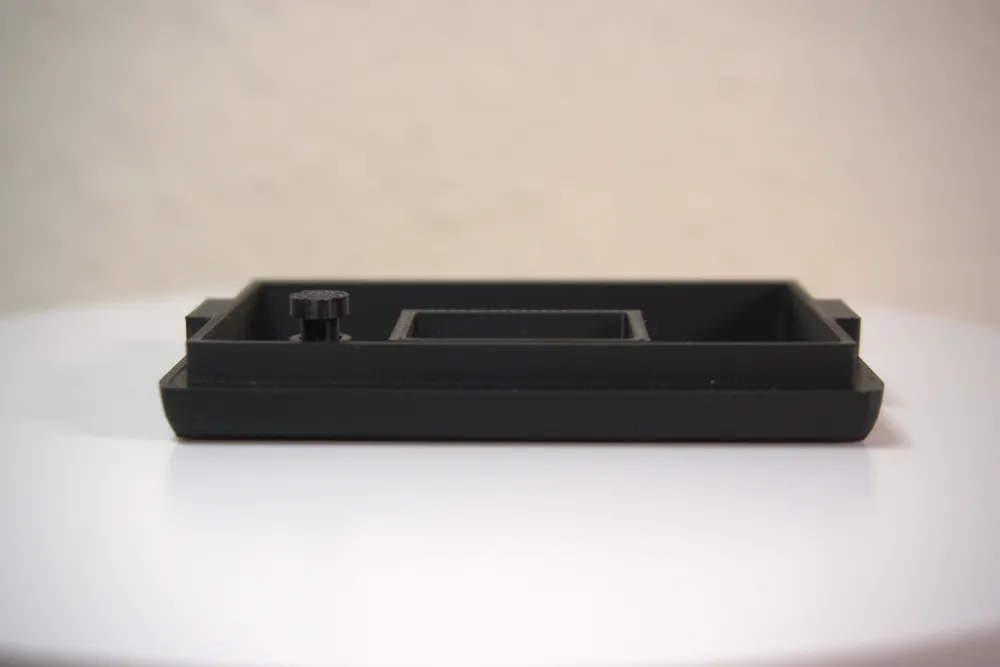
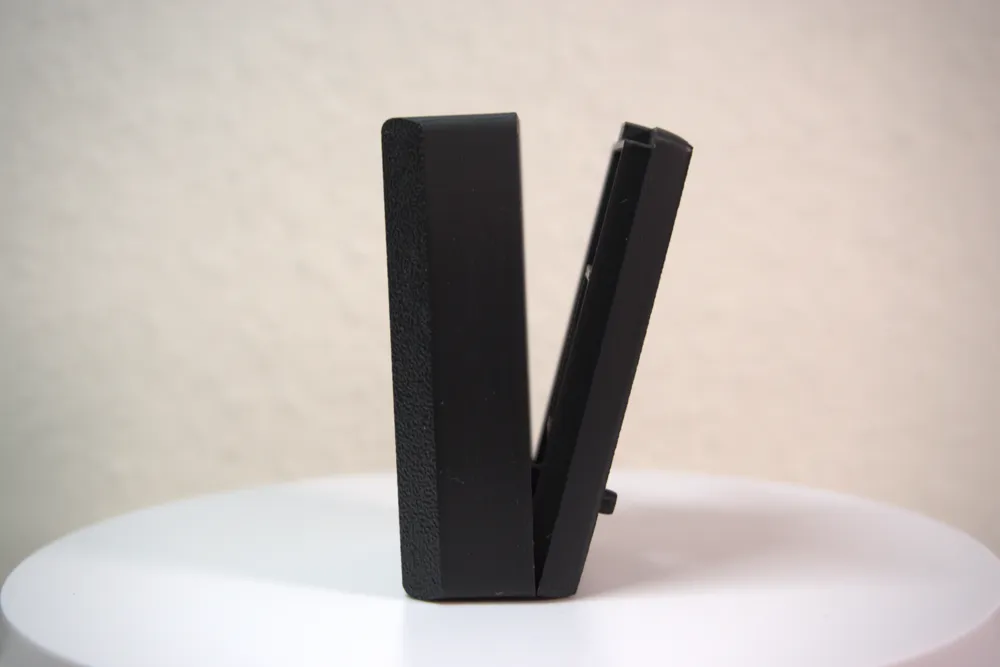
Stand up the bottom and lid, hook them together on one side, and gently press to snap them shut.
ℹ️ Note for Print Plate B (with fixed pins):
The PCB can only be inserted with the display facing down – with the beveled edge of the display also pointing down, to ensure proper fit.
📦 Versions Overview:
🧱 Bottom Parts:
- Version A: 4 plug-in pins to secure the PCB
- Version B: 2 fixed pins + 2 plug-in pins
✅ Recommendation: I recommend Version A with 4 plug-in pins as it's more flexible and allows for easier PCB insertion.
🖨️ Print Plates:
- Print Plate A: Complete model with 4 plug-in pins (matches bottom part Version A)
- Print Plate B: Model with 2 fixed + 2 plug-in pins (matches bottom part Version B)
- Print Plate 3: Pin tool to install the PCB pins without pliers
- Print Plate 4: Only the PCB pins – useful for replacements or extras
- Print Plate 5: Only the switch pin, to mark voltage input/output
🔩 Mounting:
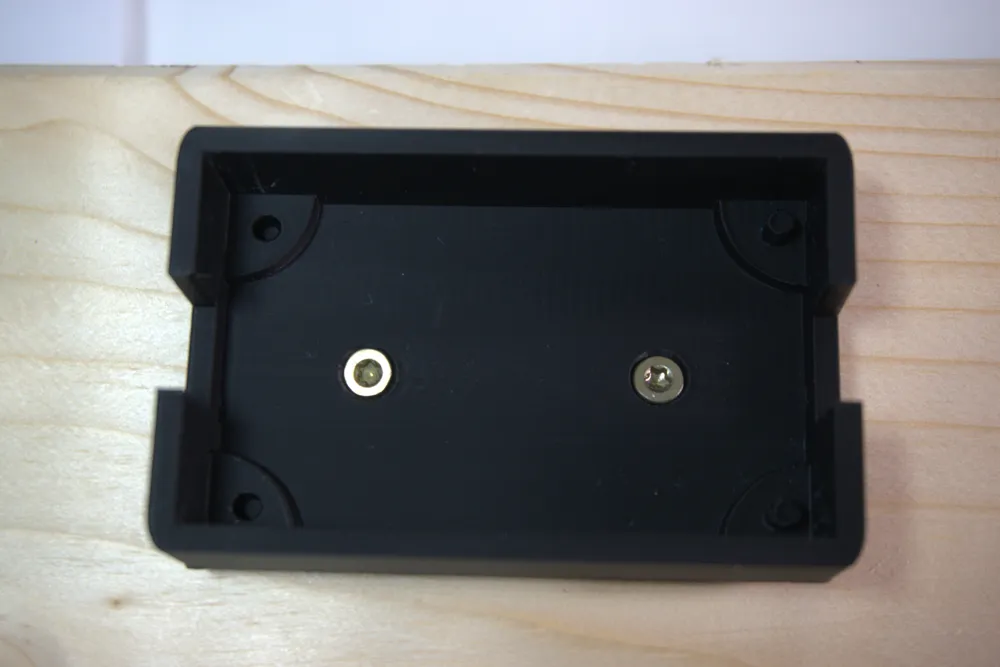
Both enclosure versions include two screw holes to securely mount the model to a surface – such as a workbench, wall, or project base.
Boost Me (for free)
If you like this model, I’d really appreciate a like, comment, or boost! Your support helps me keep sharing free 3D models with the community. Thank you!
License

You shall not share, sub-license, sell, rent, host, transfer, or distribute in any way the digital or 3D printed versions of this object, nor any other derivative work of this object in its digital or physical format (including - but not limited to - remixes of this object, and hosting on other digital platforms). The objects may not be used without permission in any way whatsoever in which you charge money, or collect fees.


Comment & Rating (15)