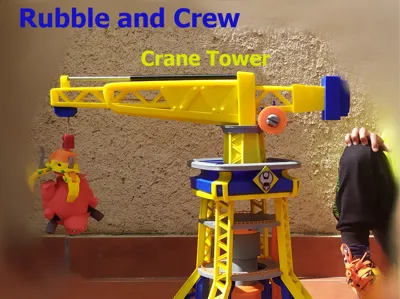
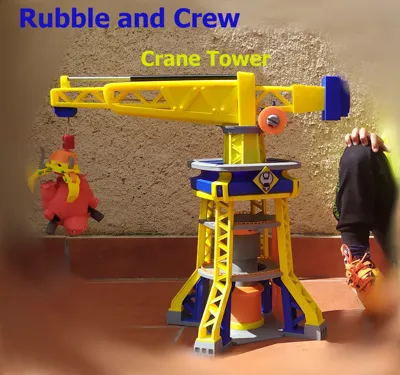
Rubble and crew Crane Tower


Print Profile(4)


Description
ATTENTION! Before printing, please note that the model is still under development and has minor imperfections. While I managed to assemble it successfully and my son absolutely loved it, I haven't had time to further refine it. As mentioned, it won't be perfect, but it functions completely. I will endeavor to address and resolve the most significant flaws.
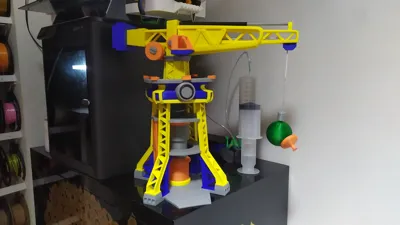
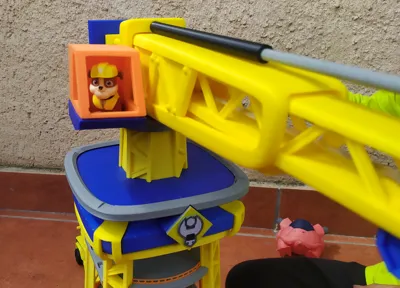
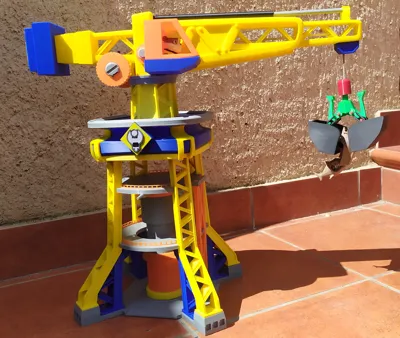
This is a Rubble crew crane featuring a mobile crane, a functional crusher operated by a syringe, a rotating tower, cable retrieval, and an extending arm.
Logo details are pending addition.
Tested by my son without breakage at both 50% and 73% scale (73% recommended). It requires no screws or glue, except for a few very small parts where it might be advisable.
I hope to find the time to finalize the details.
I hope you enjoy it.
Assembly:
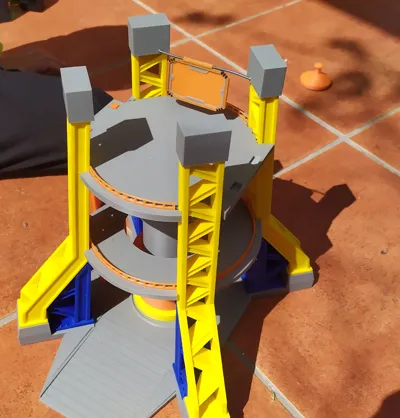
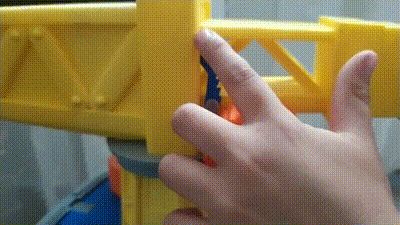
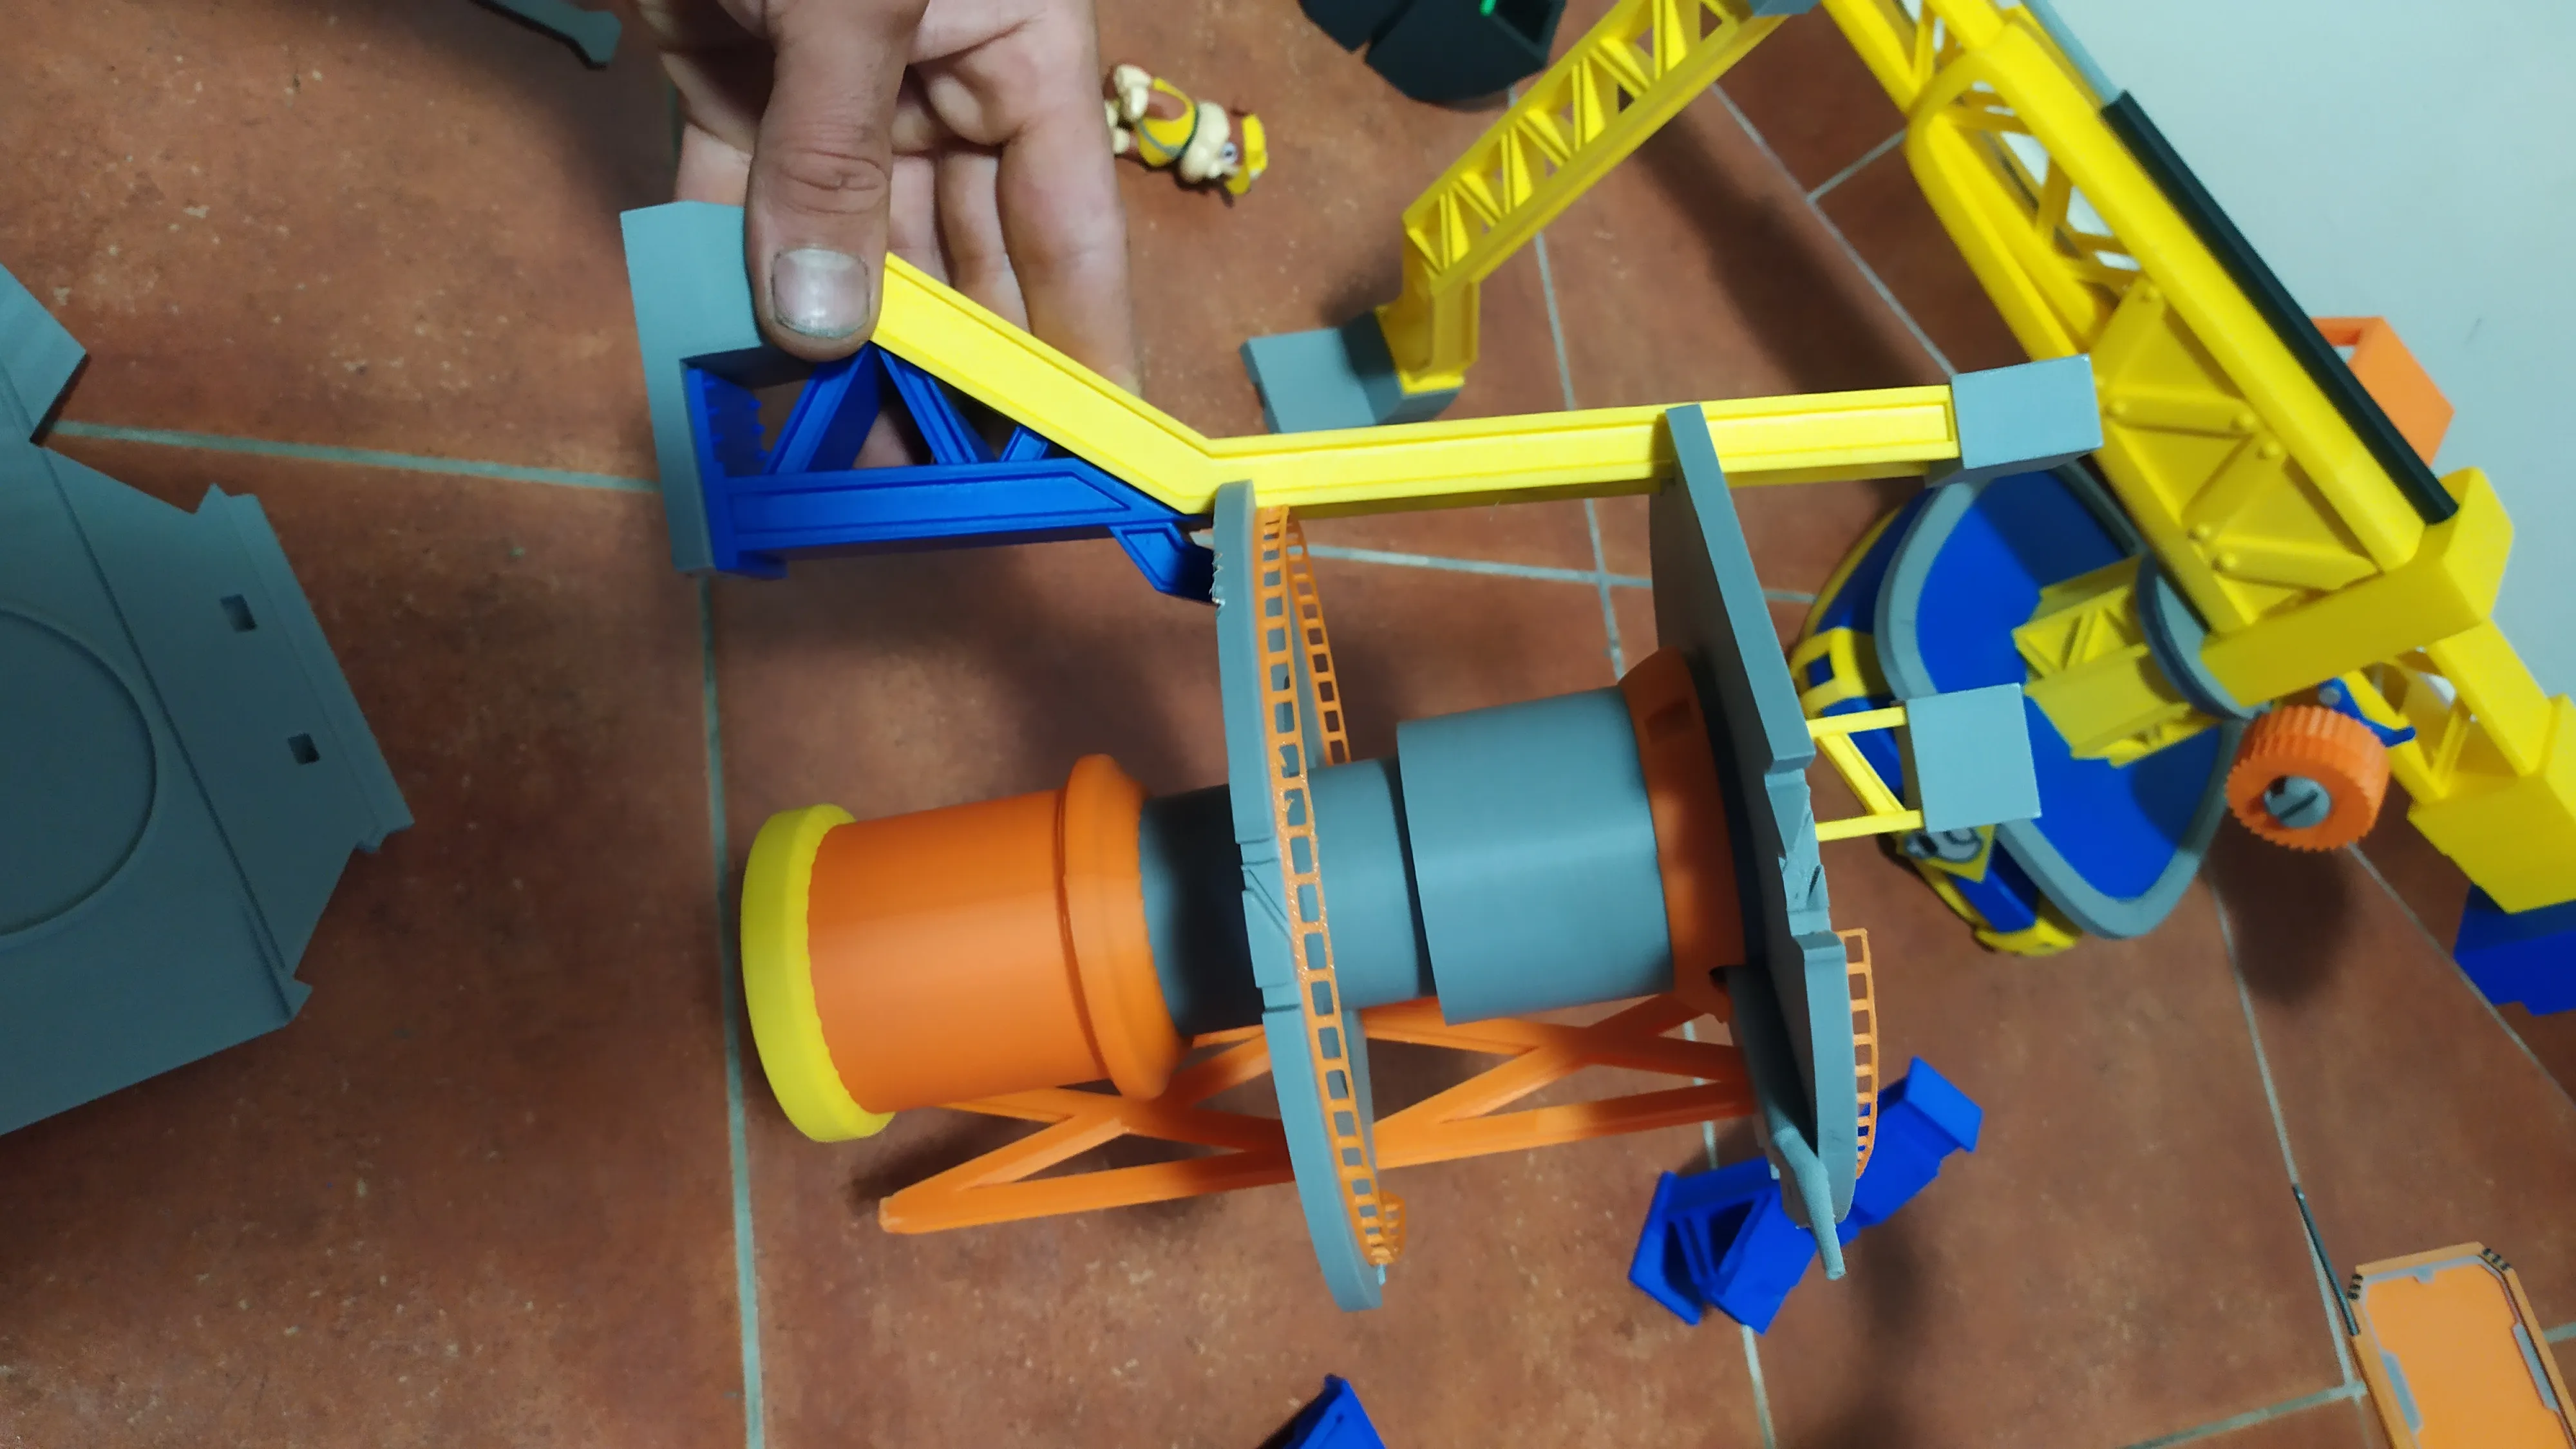
Join the parts by pressure fitting. First, attach the three gray levels to the yellow pillars. Attach two pillars to the three levels, then the other two. Simultaneously, assemble the crusher (central cylindrical part) – this may be slightly challenging. Ensure correct alignment with the yellow pillars.
Once assembled, mount the entire lower level. Attach the floor supports (this is quite difficult; they have an orientation and are not symmetrical, but once in place, supporting the crane on the ground will make them snap easily). Attach the blue parts to the pillars.
Continue assembling the upper gray part of the pillars and carefully attach the blue level, ensuring proper alignment with all four points.
Secure everything firmly and level the model.
For the speakers, the red eye, and the yellow parts, use adhesive to prevent easy detachment.
The upper crane is easy to assemble; the difficulty lies in threading the cord through the center. I used a thin, round shoelace, removing the outer fabric sheath for a slimmer fit.


License
You shall not share, sub-license, sell, rent, host, transfer, or distribute in any way the digital or 3D printed versions of this object, nor any other derivative work of this object in its digital or physical format (including - but not limited to - remixes of this object, and hosting on other digital platforms). The objects may not be used without permission in any way whatsoever in which you charge money, or collect fees.
Comment & Rating (34)