
Rotating Display Table with Arduino Control


Print Profile(1)

Description
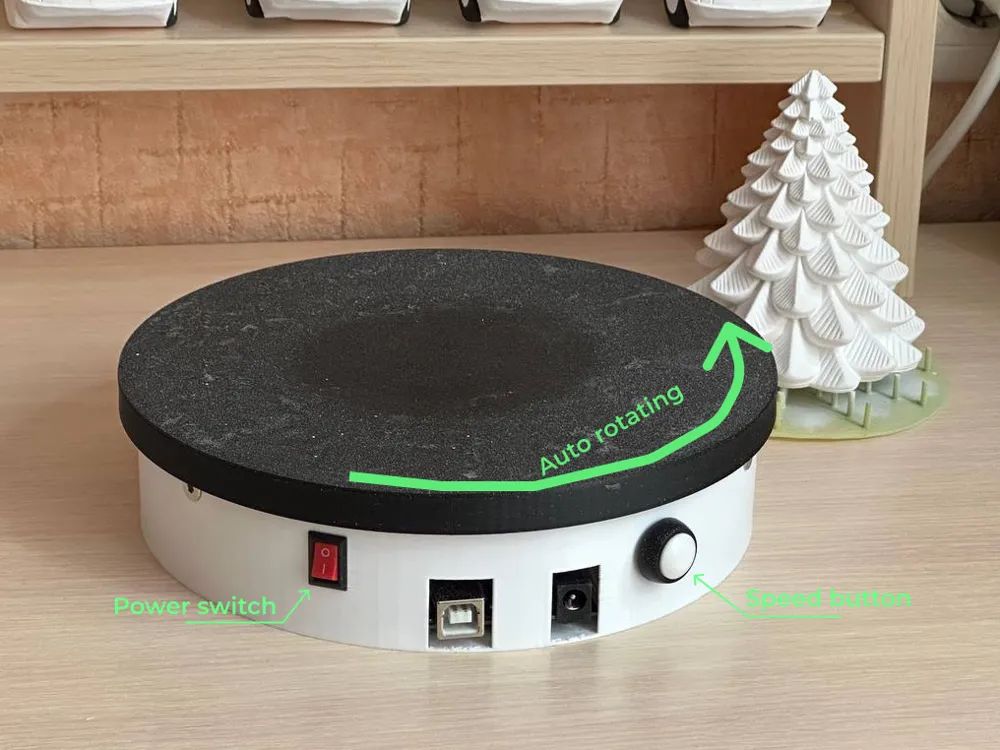
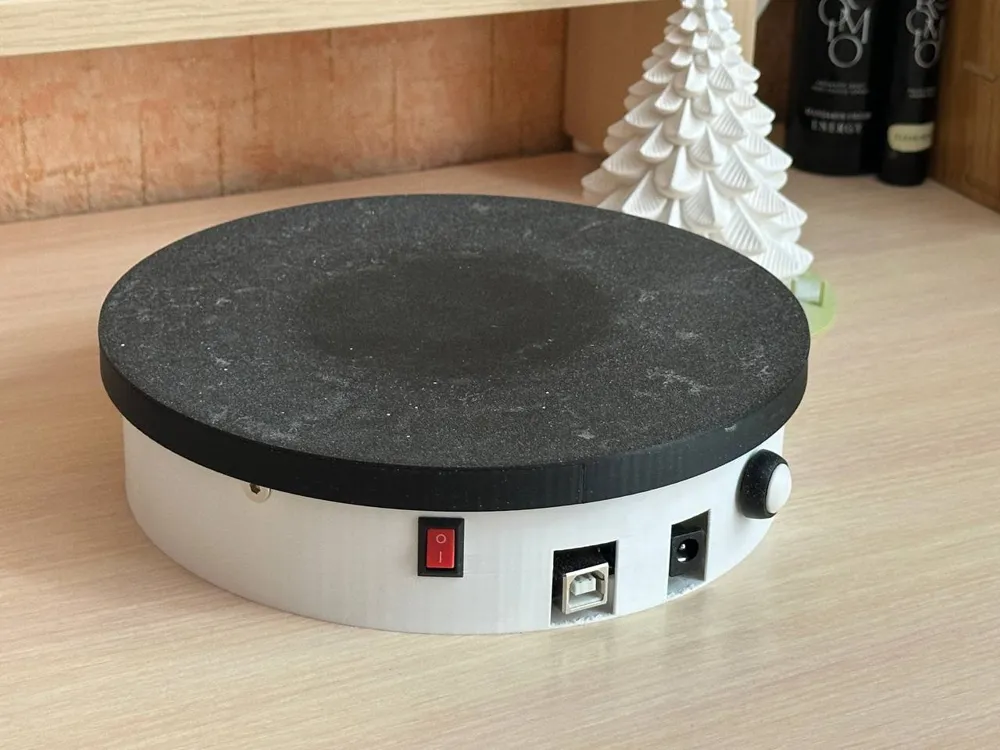
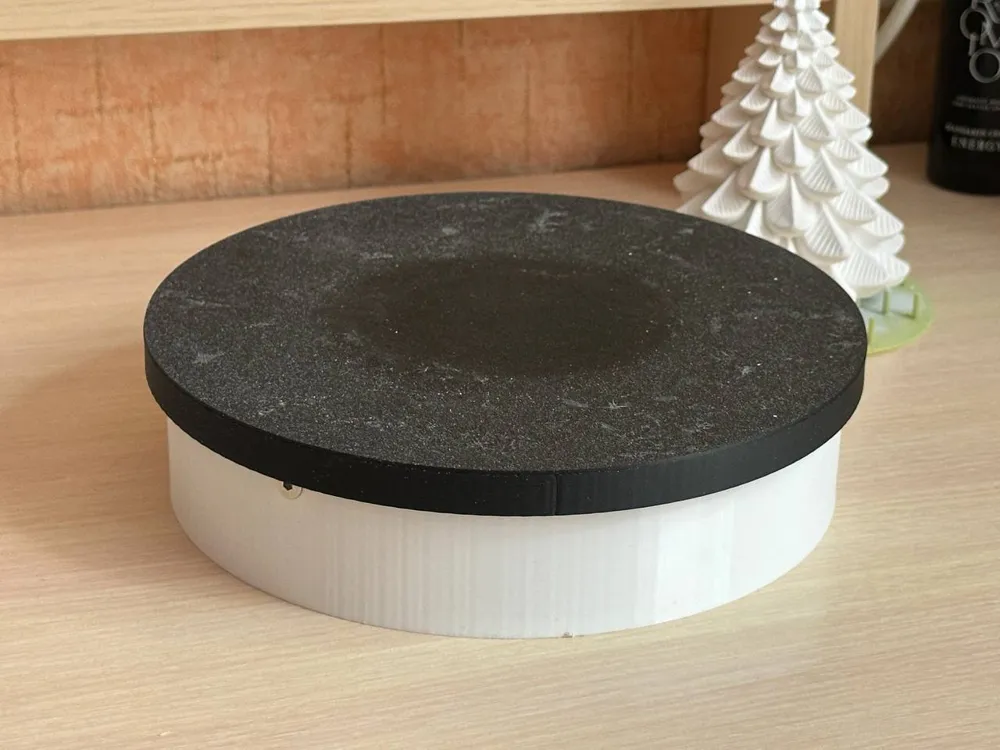
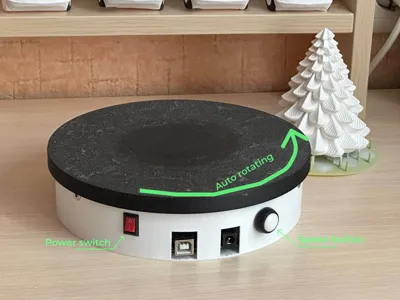
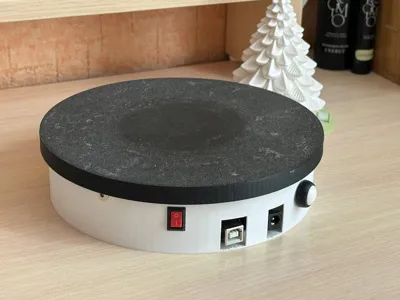
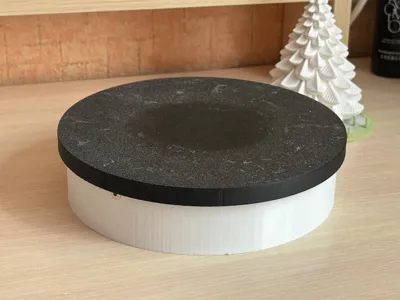
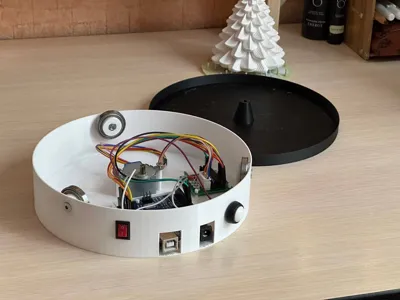
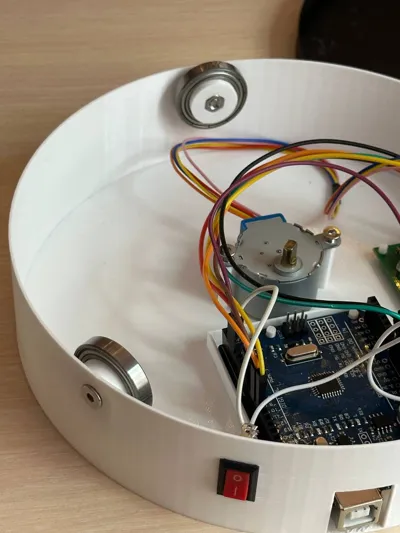
This is a motorized rotating table designed for displaying models, small products, or for photography setups. The table rotates automatically at one of four selectable speeds, controlled by an Arduino and a button. It’s compact, quiet, and fully 3D-printable.
🛠️ Features
- 180mm rotating platform
- 4 speed levels (adjustable by button press)
- Power switch to turn the system on/off
- Smooth rotation using stepper motor and bearings
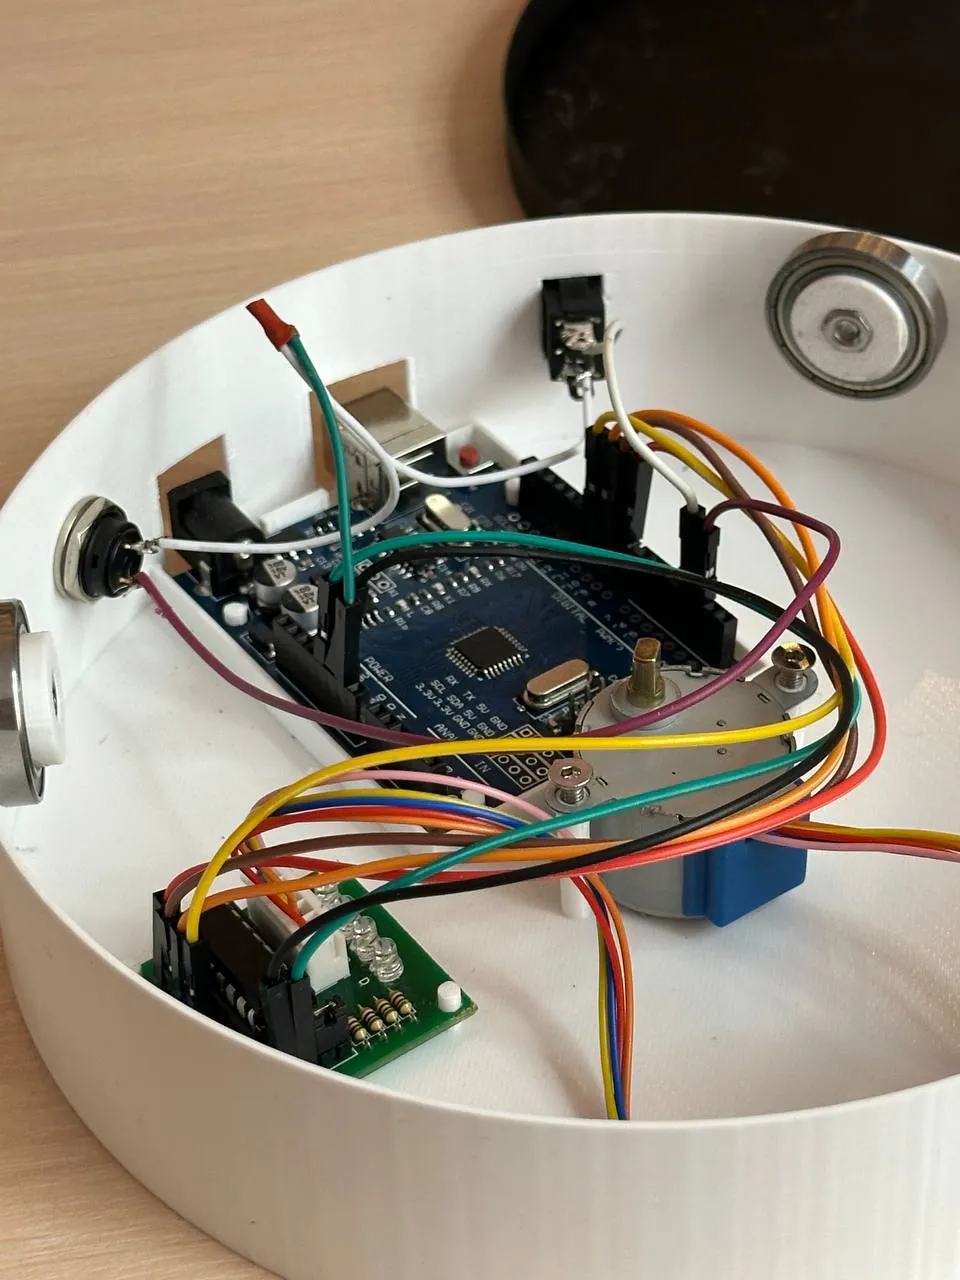
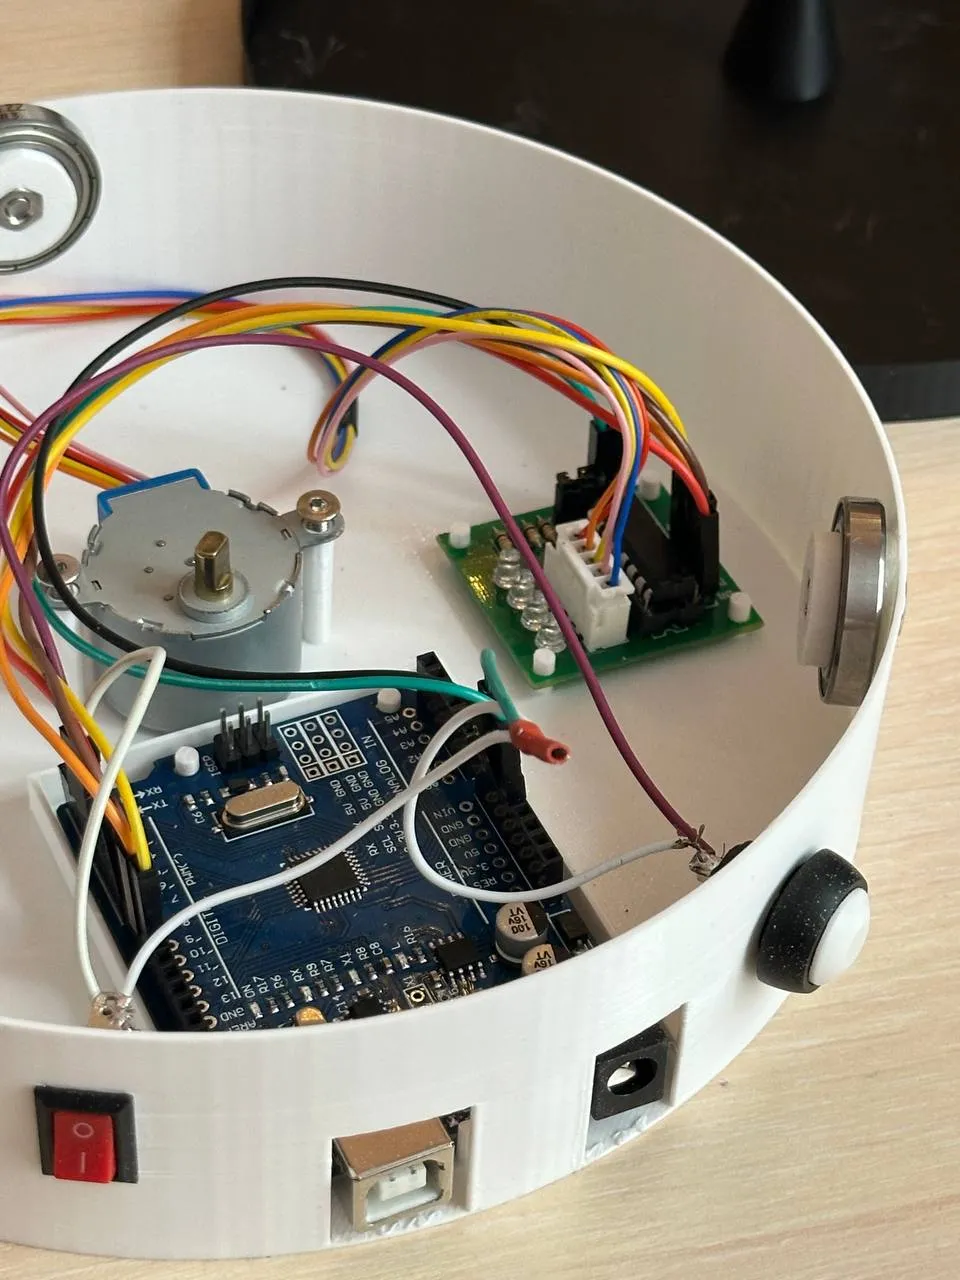
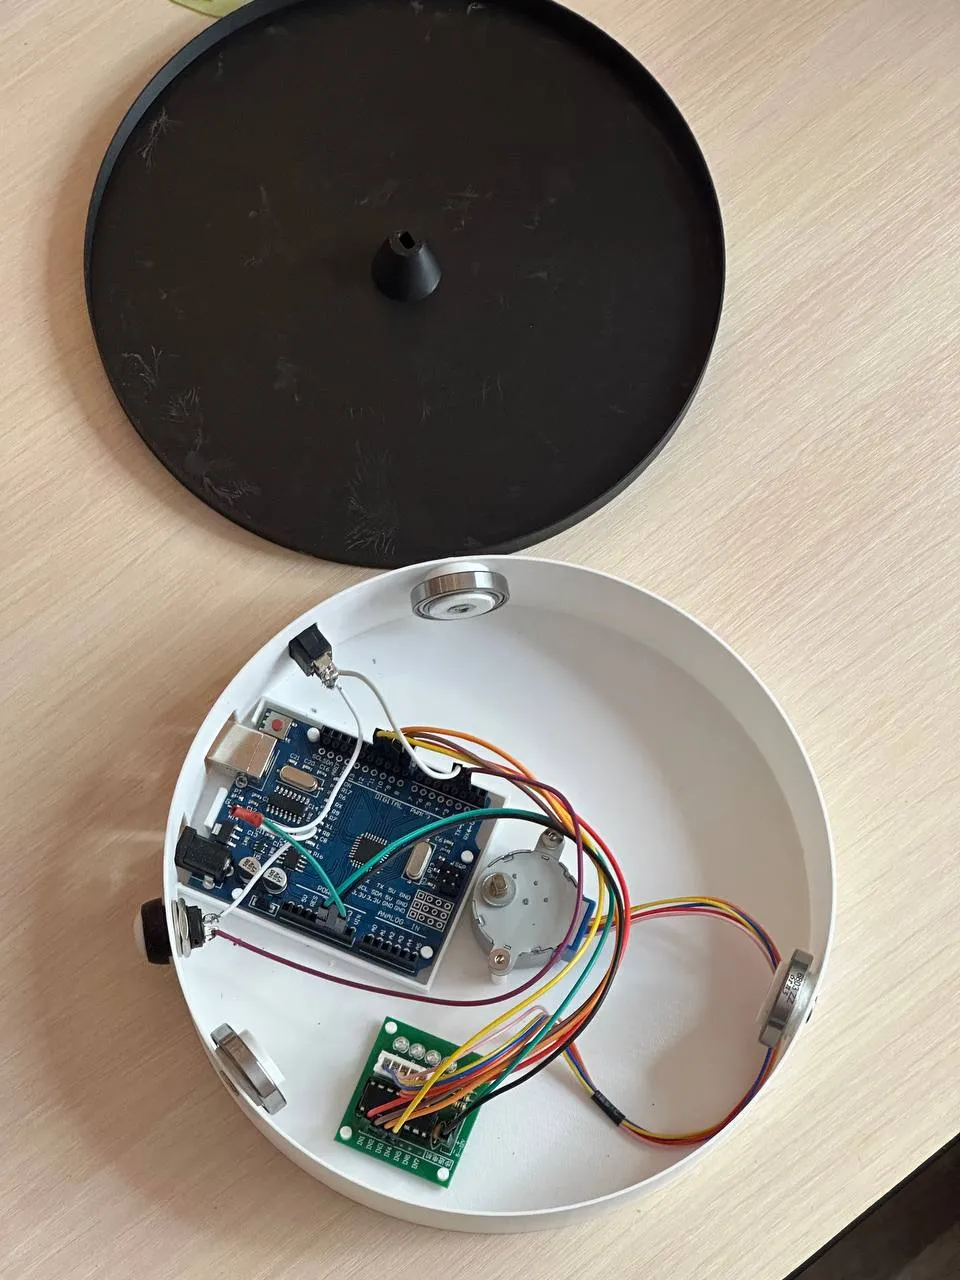
- Clean electronics enclosure
- Fully 3D printable design
📦 Required Components
| Item | Quantity | Notes | Link |
|---|---|---|---|
| Arduino Uno | 1 | Any compatible clone will work 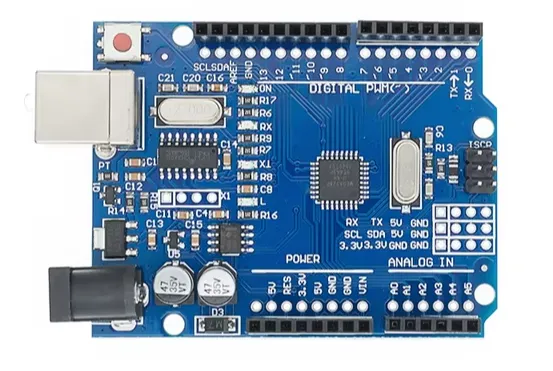 | https://sl.aliexpress.ru/p?key=tkvx3Sm |
| Stepper Motor 28BYJ-48 (5V) | 1 | With 5-wire connector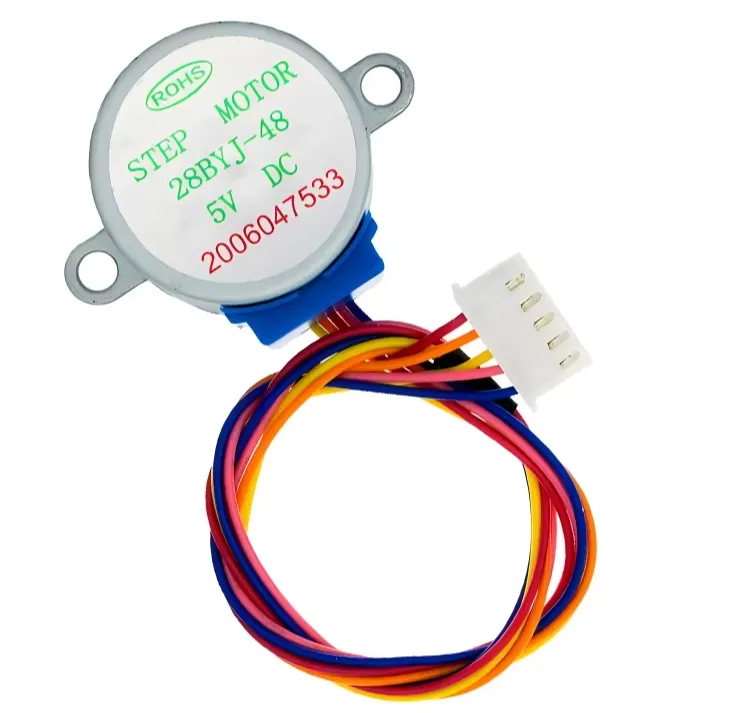 | https://sl.aliexpress.ru/p?key=rjvx3Cq |
| ULN2003 Driver Board | 1 | Usually comes with the motor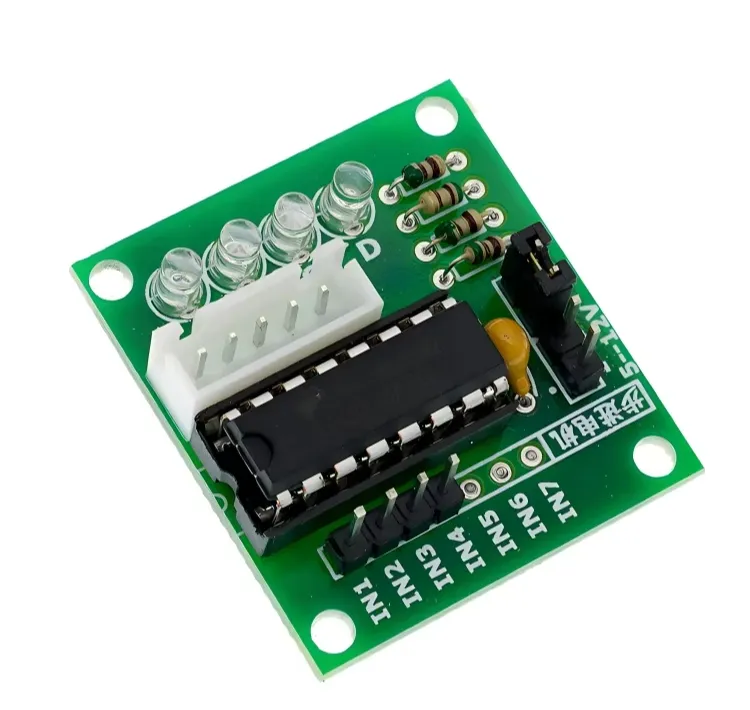 | https://sl.aliexpress.ru/p?key=rjvx3Cq |
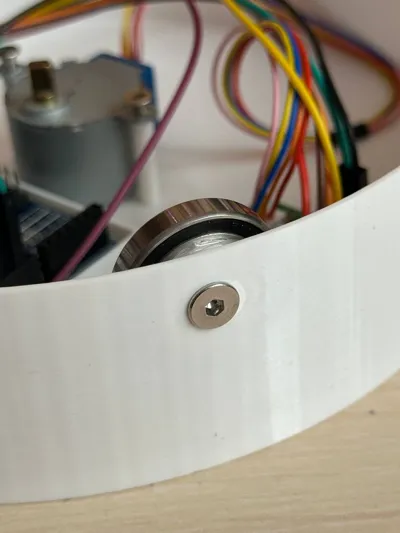
| 6803 Bearings | 3 | For smooth platform support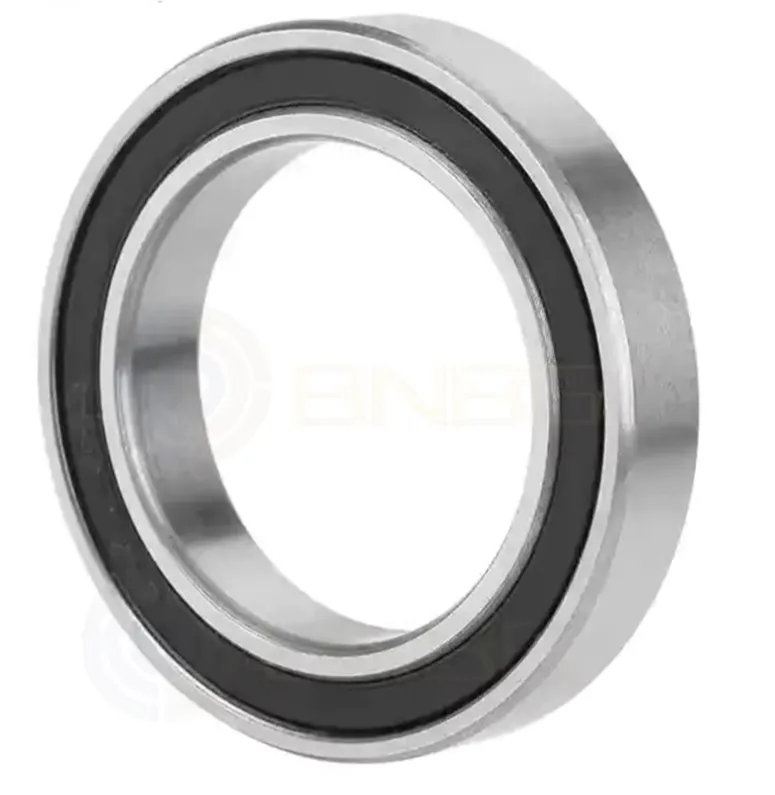 | https://sl.aliexpress.ru/p?key=Jwax3Qh |
| M3x8mm bolts | 2 | For mounting the stepper motor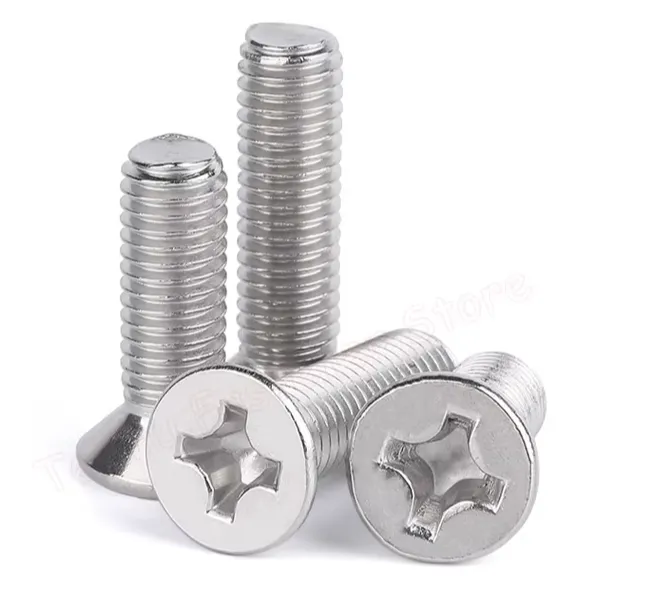 | https://sl.aliexpress.ru/p?key=MOax3Cy |
| M4x12mm bolts | 3 | For securing the bearings | https://sl.aliexpress.ru/p?key=MOax3Cy |
| M4 nuts | 3 | For the M4 bolts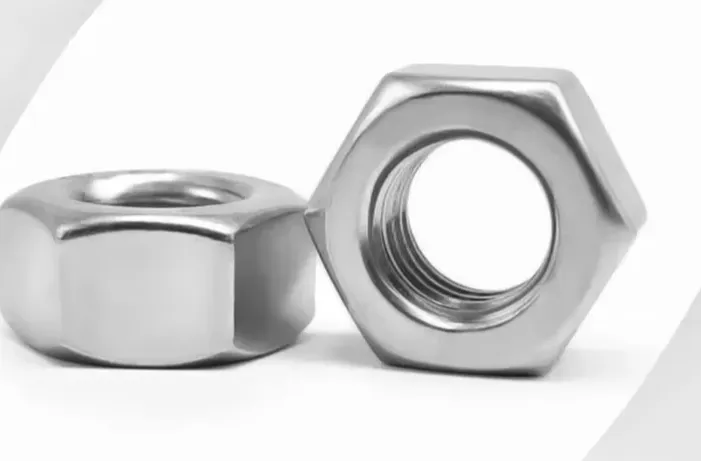 | https://sl.aliexpress.ru/p?key=JGax3LO |
| Toggle switch KCD11 (14.9 × 9.9 mm) | 1 | Fits the panel slot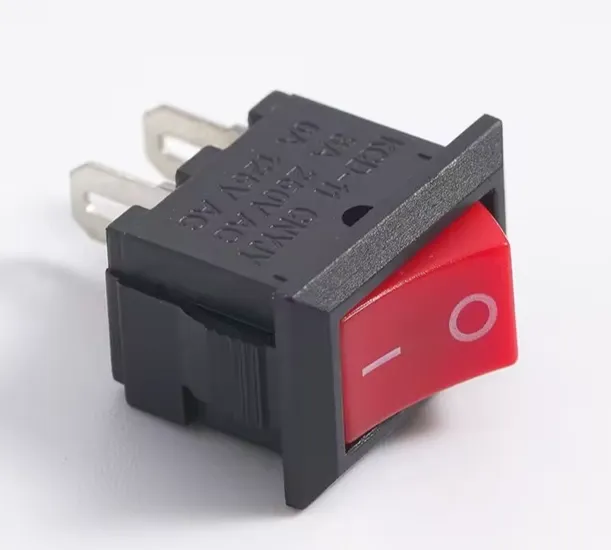 | https://sl.aliexpress.ru/p?key=Lsax3JX |
| PBS-33B Button (D 12 mm) | 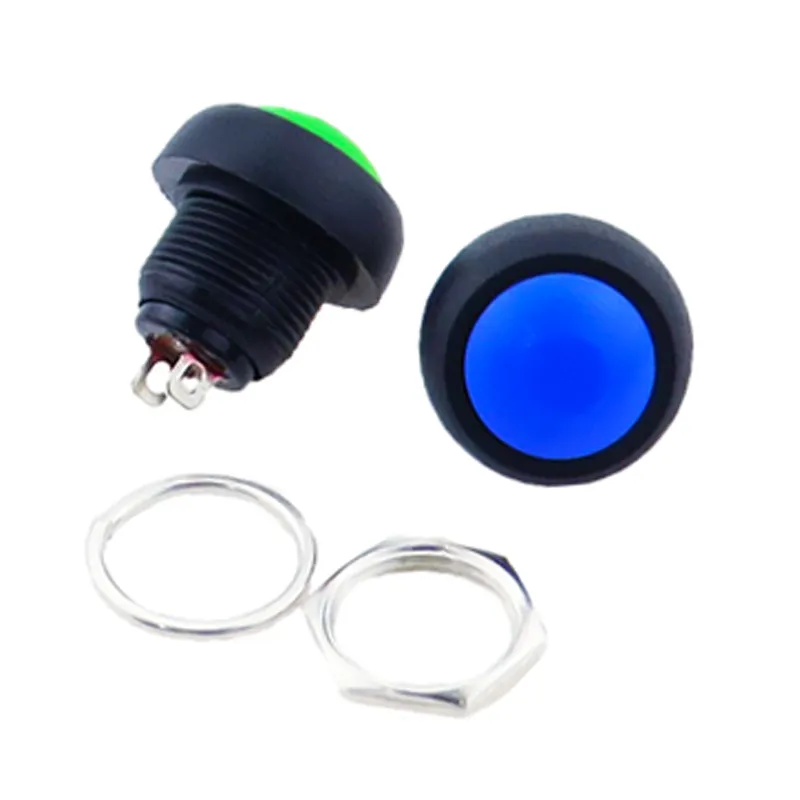 | https://sl.aliexpress.ru/p?key=dwuK3c8 | |
| Jumper Wires (Male–Female) | 1 set | For connecting components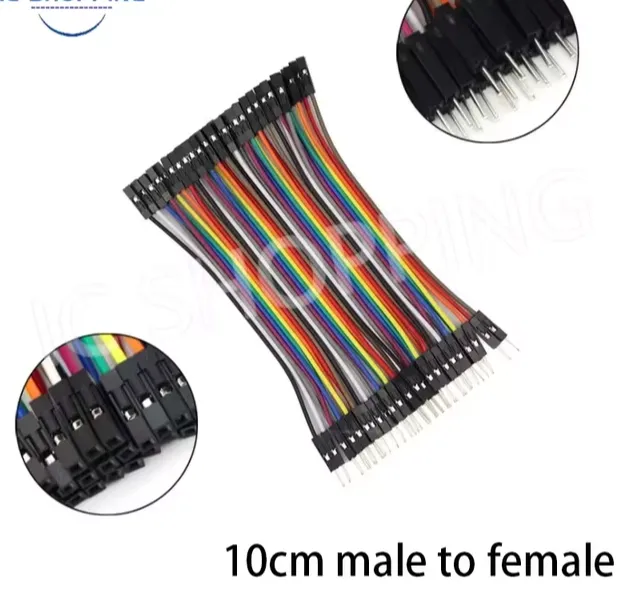 | https://sl.aliexpress.ru/p?key=53ax3R0 |
| 5V 2A Power Adapter | 1 | External power is highly recommended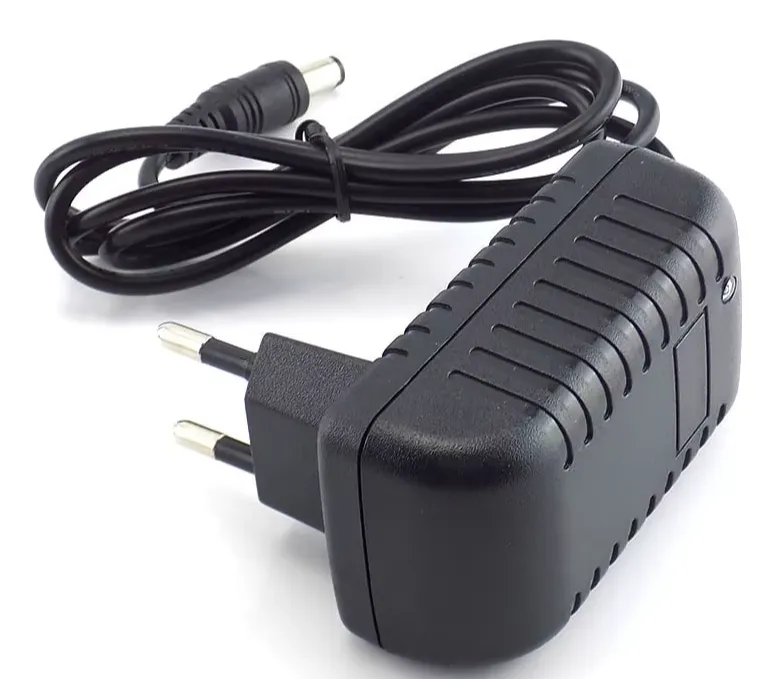 | https://sl.aliexpress.ru/p?key=Diax3qd |
Required Components Table
⚙️ Electronics & Functionality
- When the power switch is turned on, the table starts rotating at the first speed.
- Pressing the button cycles through 4 pre-set speeds.
- After the 4th speed, the next button press resets it back to the first.
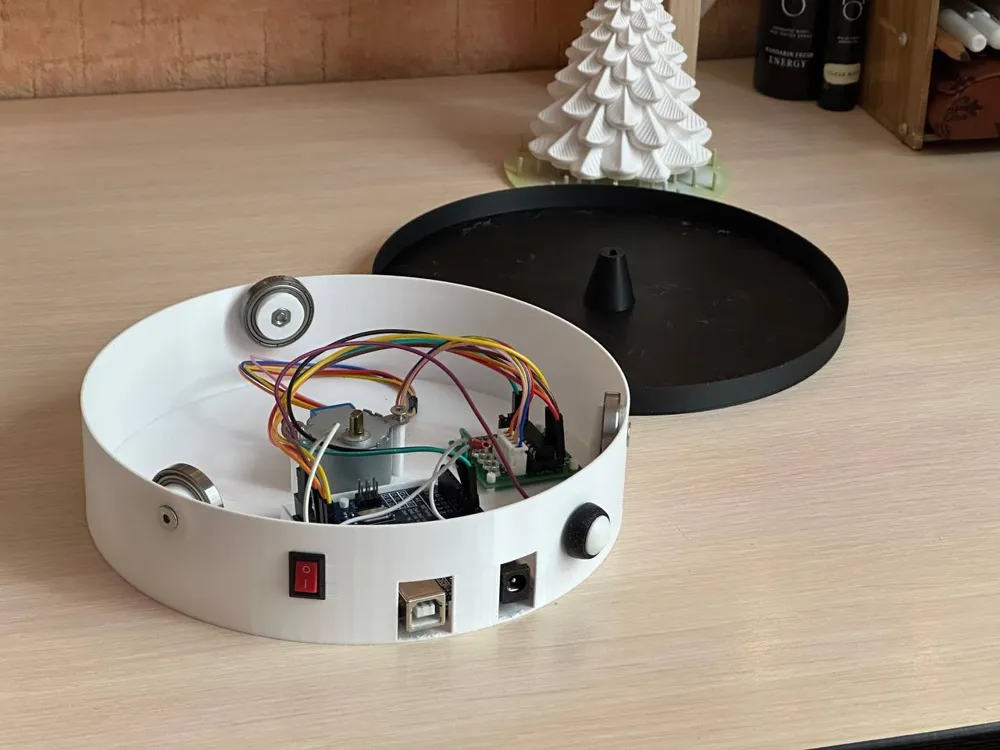
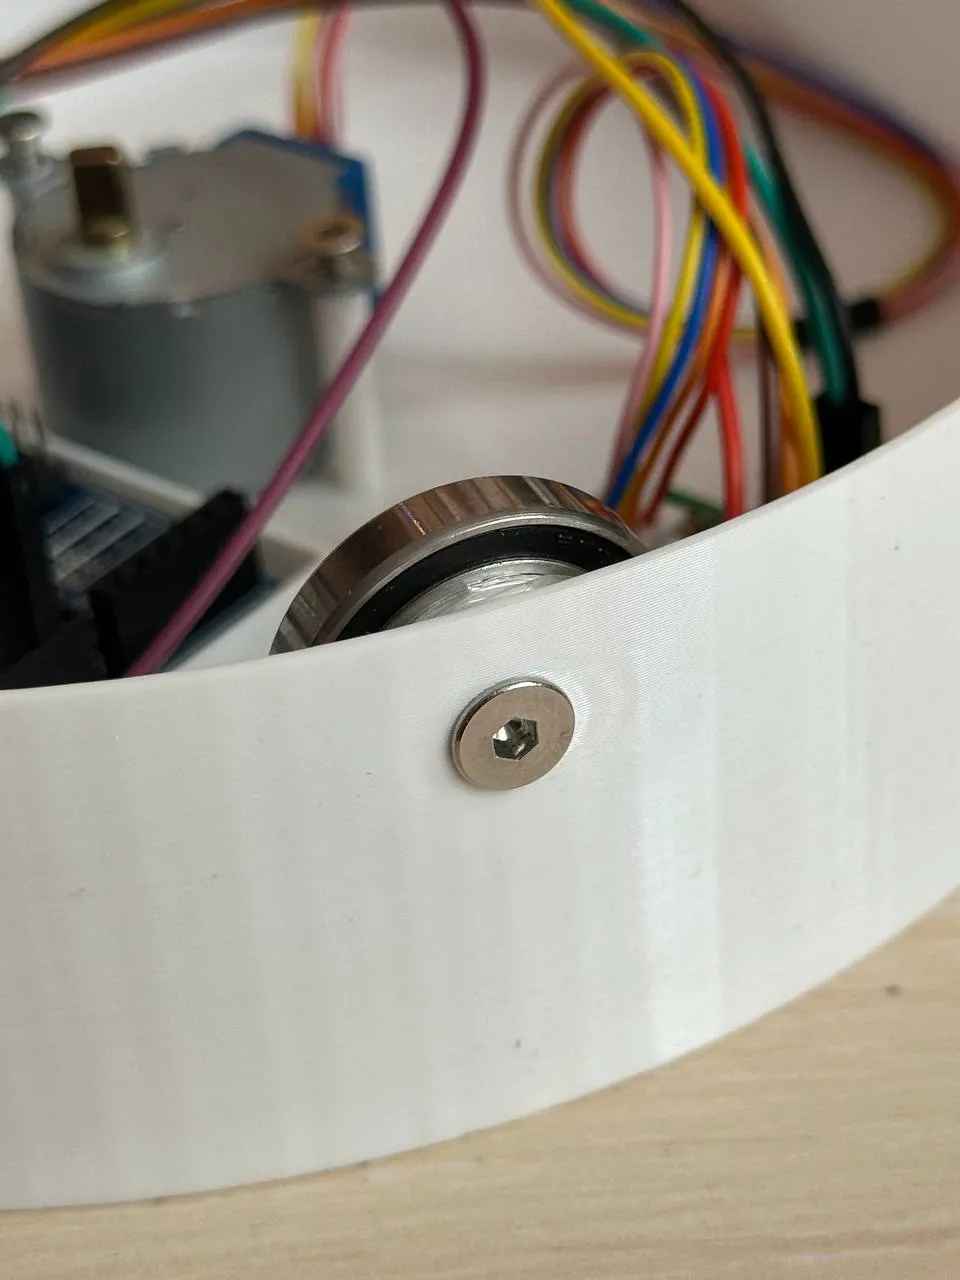
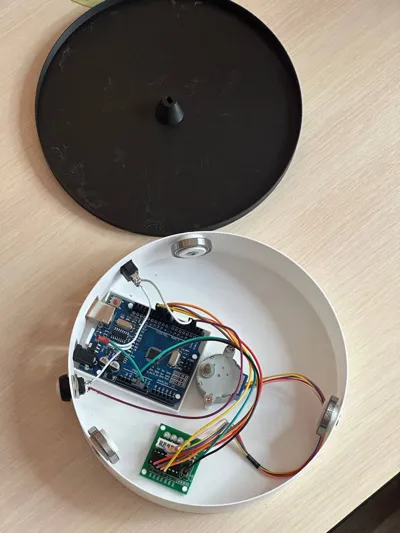
- The rotating top is mounted directly on the motor shaft and rests on three 6803 bearings, ensuring stable and low-friction rotation.
🧰 Assembly Instructions
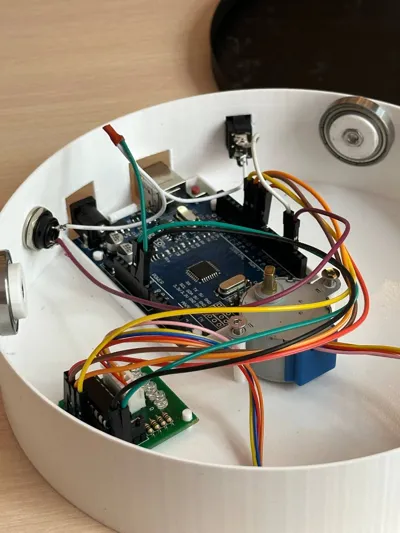
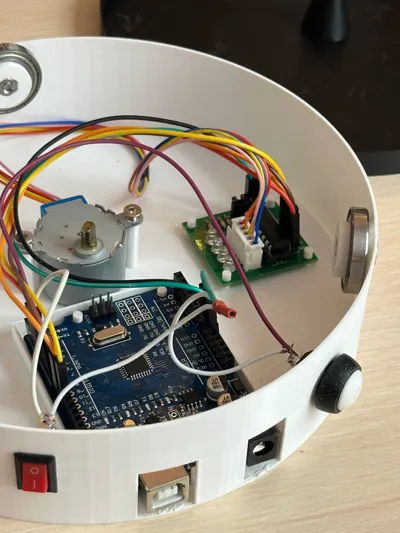
- Insert the Arduino Uno and ULN2003 driver
Place both boards into their dedicated slots inside the printed base. Make sure they sit securely. - Mount the stepper motor
Insert the 28BYJ-48 motor onto the positioning pins in the center of the base, so that the shaft is aligned perfectly in the middle. - Install M4 nuts into the bearing holders
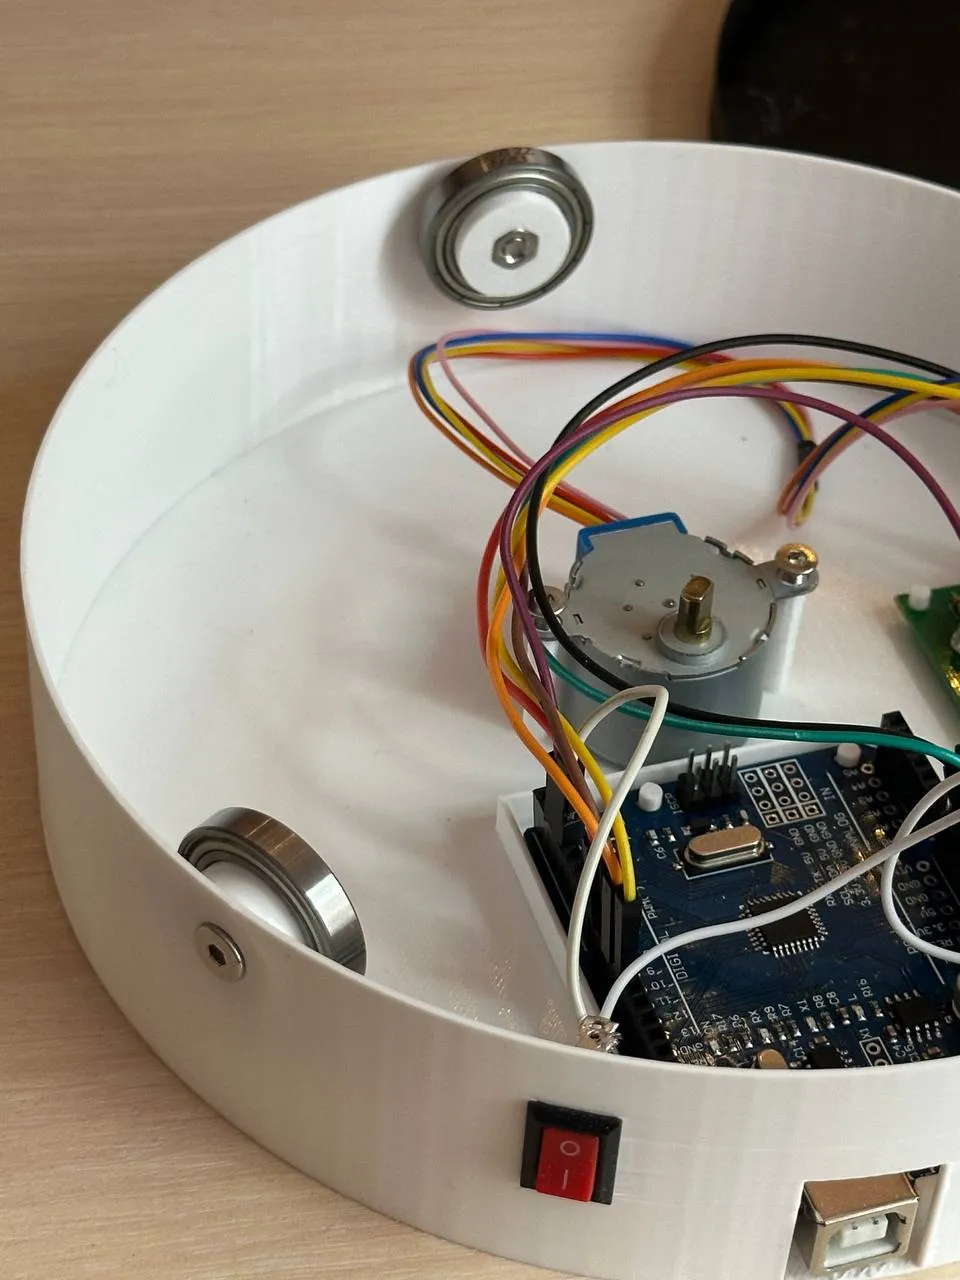
Press the M4 nuts into the hexagonal cutouts of the bearing brackets. Then attach the brackets to the side walls using the M4x12mm bolts. - Place the bearings
Slide the three 6803 bearings onto their holders. These will support the rotating platform smoothly. - Mount the button and power switch
Insert the momentary button and the KCD11 toggle switch into their designated panel slots. - Assemble and solder the electronics
Connect the motor, driver, Arduino, button, and switch using jumper wires. Solder the power lines securely and connect to a 5V 2A external power adapter.
🔌 Wiring Diagram (Text Version)
🧠 ULN2003 Driver → Arduino Uno
| ULN2003 Pin | Arduino Pin |
|---|---|
| IN1 | D8 |
| IN2 | D9 |
| IN3 | D10 |
| IN4 | D11 |
| VCC | 5V |
| GND | GND |
🔸 The stepper motor connects directly to the ULN2003 via the 5-pin header.
🔘 Momentary Button
| Button Pin | Connection |
|---|---|
| One contact | GND |
| Other contact | Arduino D2 |
- Use pinMode(D2, INPUT_PULLUP); in your code.
- When pressed, the button pulls the pin LOW.
Toggle Switch (SPDT or SPST)
| Switch Pin | Connection |
|---|---|
| COM (middle pin) | GND |
| One side pin | Arduino D3 |
- Use pinMode(D3, INPUT_PULLUP); in your code.
- The switch will pull D3 LOW when ON (closed).
 Arduino code
#include <Stepper.h>
const int stepsPerRevolution = 2048;
Stepper myStepper(stepsPerRevolution, 8, 10, 9, 11);const int buttonPin = 2;
const int switchPin = 3;const int numSpeeds = 4;
int speedSteps[numSpeeds] = {1, 3, 5, 8};
int currentSpeedIndex = 0;bool lastButtonState = HIGH;
void setup() {
pinMode(buttonPin, INPUT_PULLUP);
pinMode(switchPin, INPUT_PULLUP);
myStepper.setSpeed(speedSteps[currentSpeedIndex]);
}void loop() {
if (digitalRead(switchPin) == LOW) {
bool buttonState = digitalRead(buttonPin);if (lastButtonState == HIGH && buttonState == LOW) {
currentSpeedIndex = (currentSpeedIndex + 1) % numSpeeds;
myStepper.setSpeed(speedSteps[currentSpeedIndex]);Serial.print("Скорость изменена: ");
Serial.println(speedSteps[currentSpeedIndex]);
}
lastButtonState = buttonState;myStepper.step(1);
} else {
delay(100);
}
}
License

You shall not share, sub-license, sell, rent, host, transfer, or distribute in any way the digital or 3D printed versions of this object, nor any other derivative work of this object in its digital or physical format (including - but not limited to - remixes of this object, and hosting on other digital platforms). The objects may not be used without permission in any way whatsoever in which you charge money, or collect fees.


Comment & Rating (14)