
Mini Disc Golf
Print Profile(2)


Description
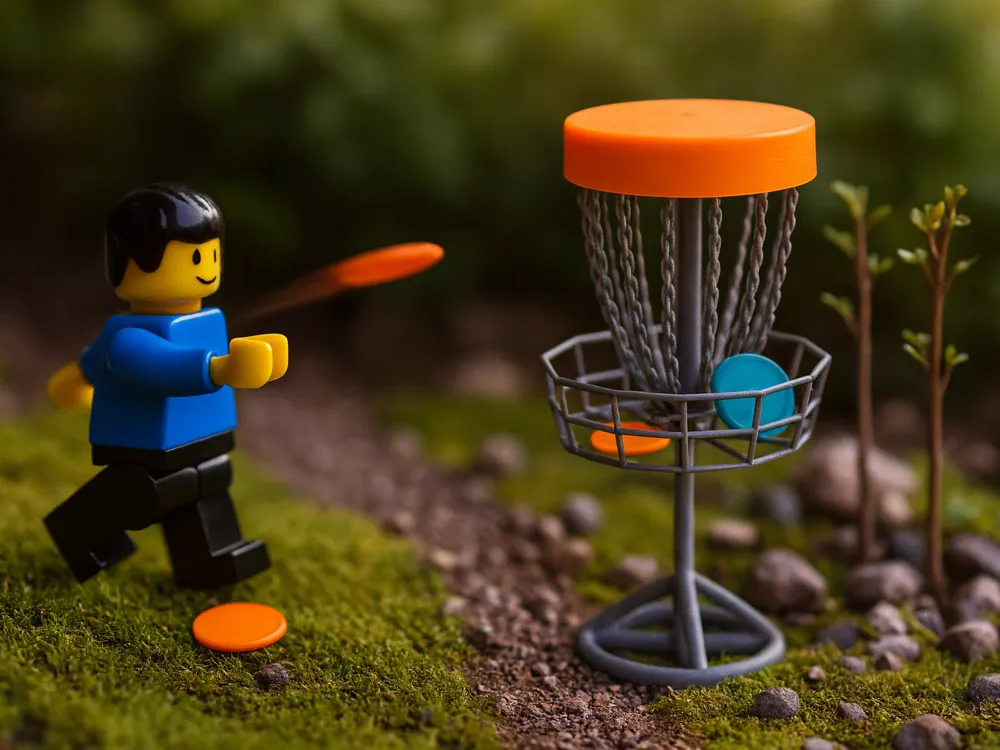
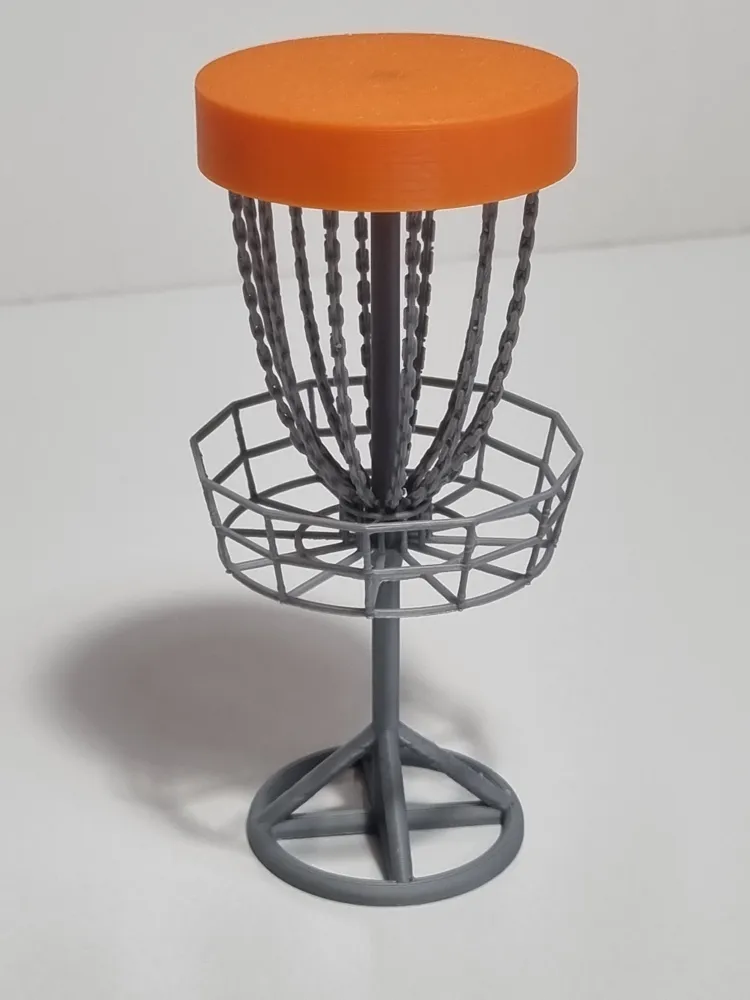
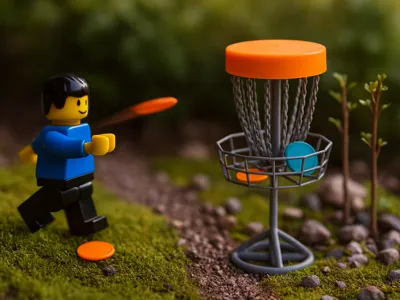
This is a 1:12 miniature of a Disc Golf basket and discs.
All parts 3D printed. Requires assembly of small parts, and glue is recommended.
This print should be handled gently but will withstand mini discs being thrown at it!
Note: The print profile says only A1 printer supported but it will work for most printers, you just need to download and slice it in Bambu Studio.
Assembly
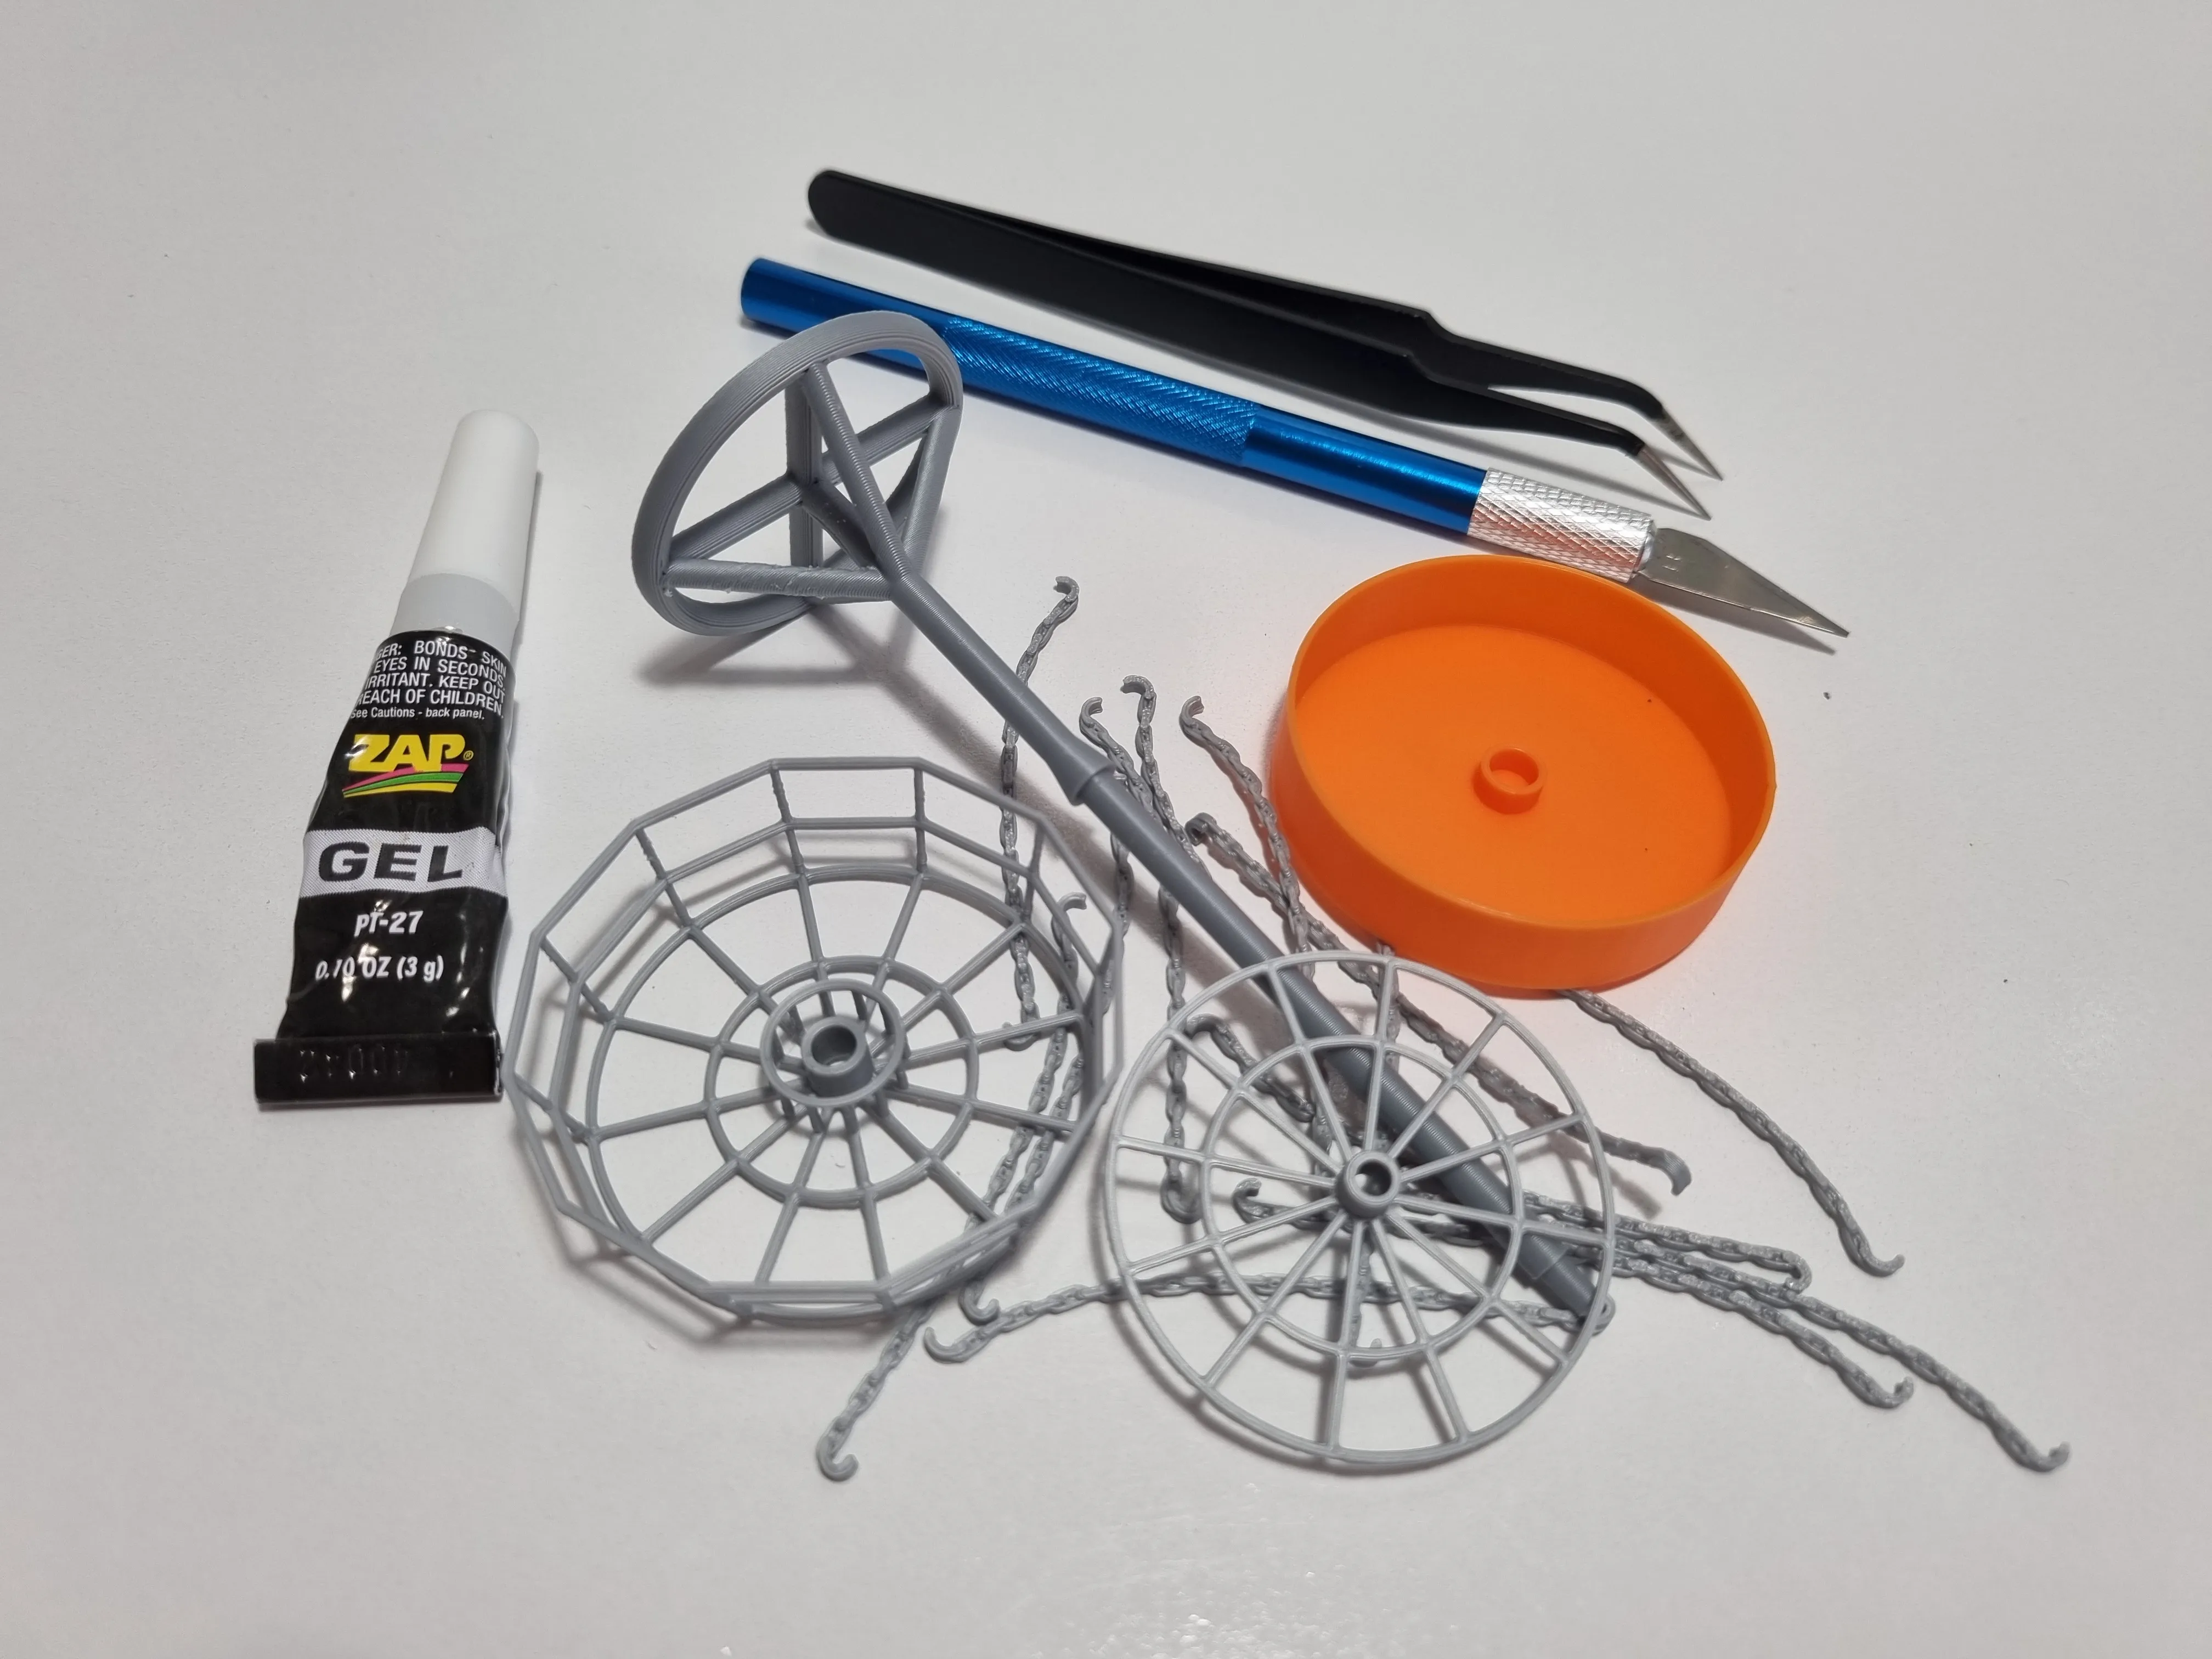
Recommended tools:
- Hobby knife
- Tweezers
- Glue (I used gel CA glue)
- Toothpick or other thin object to apply glue
Using glue is recommended to make assembly easier and keep everything together.
I use a very small amount, so that it could be pulled apart if needed.
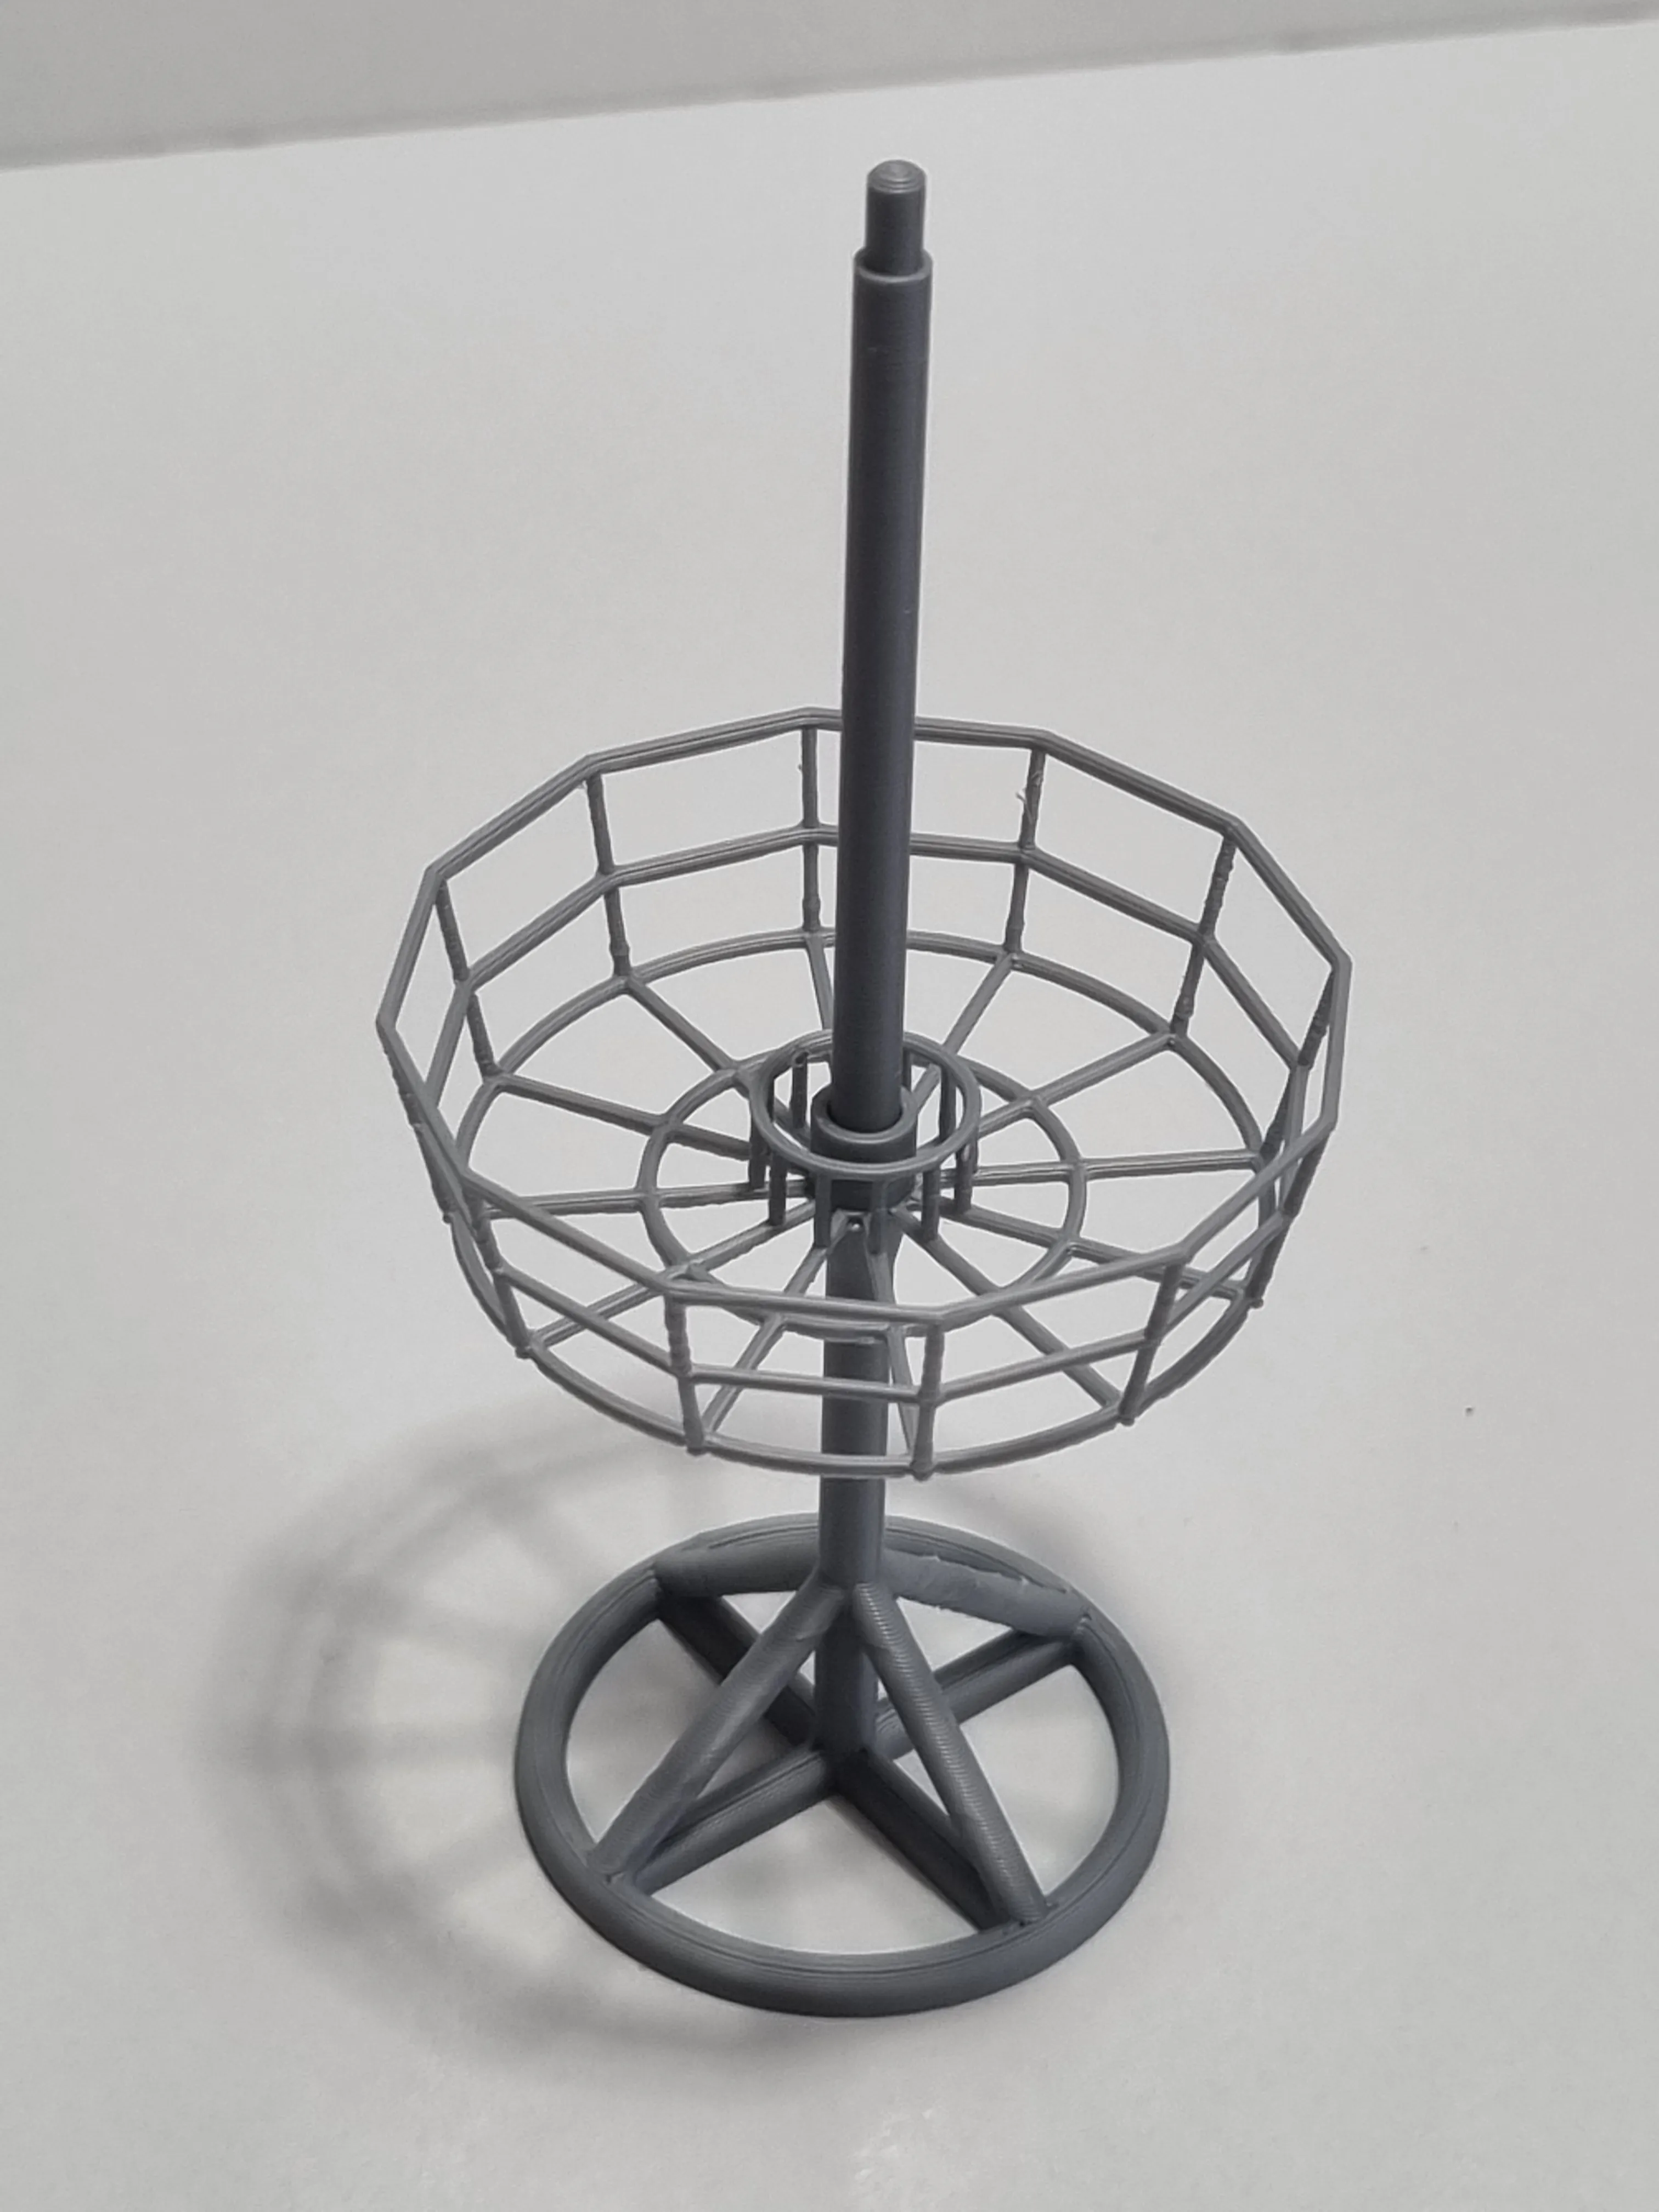
1. Attach basket to stem
The basket slides onto the top of the stem until it hits the ledge about halfway down.
Use the knife to remove any excess material from the bottom of the internal hole on the basket.
This should be enough to allow the basket to slide onto the stem with little force.
If the basket still will not fit, a small drill bit can be used to make the hole slightly bigger.
Apply a small amount of glue to the underside of the basket to keep it in place.
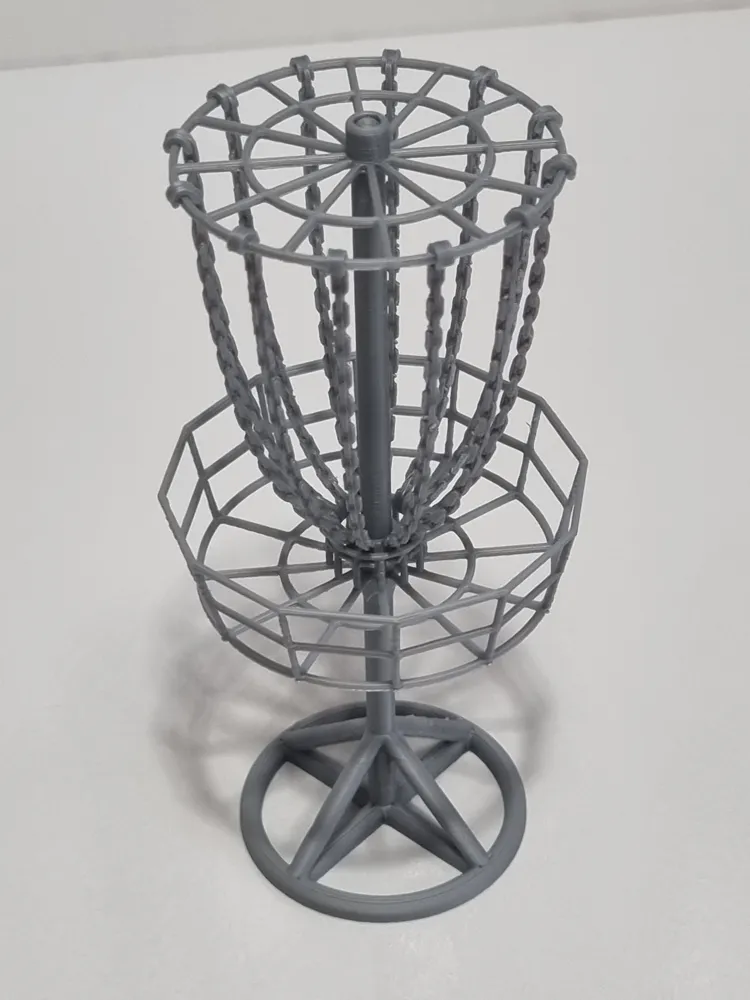
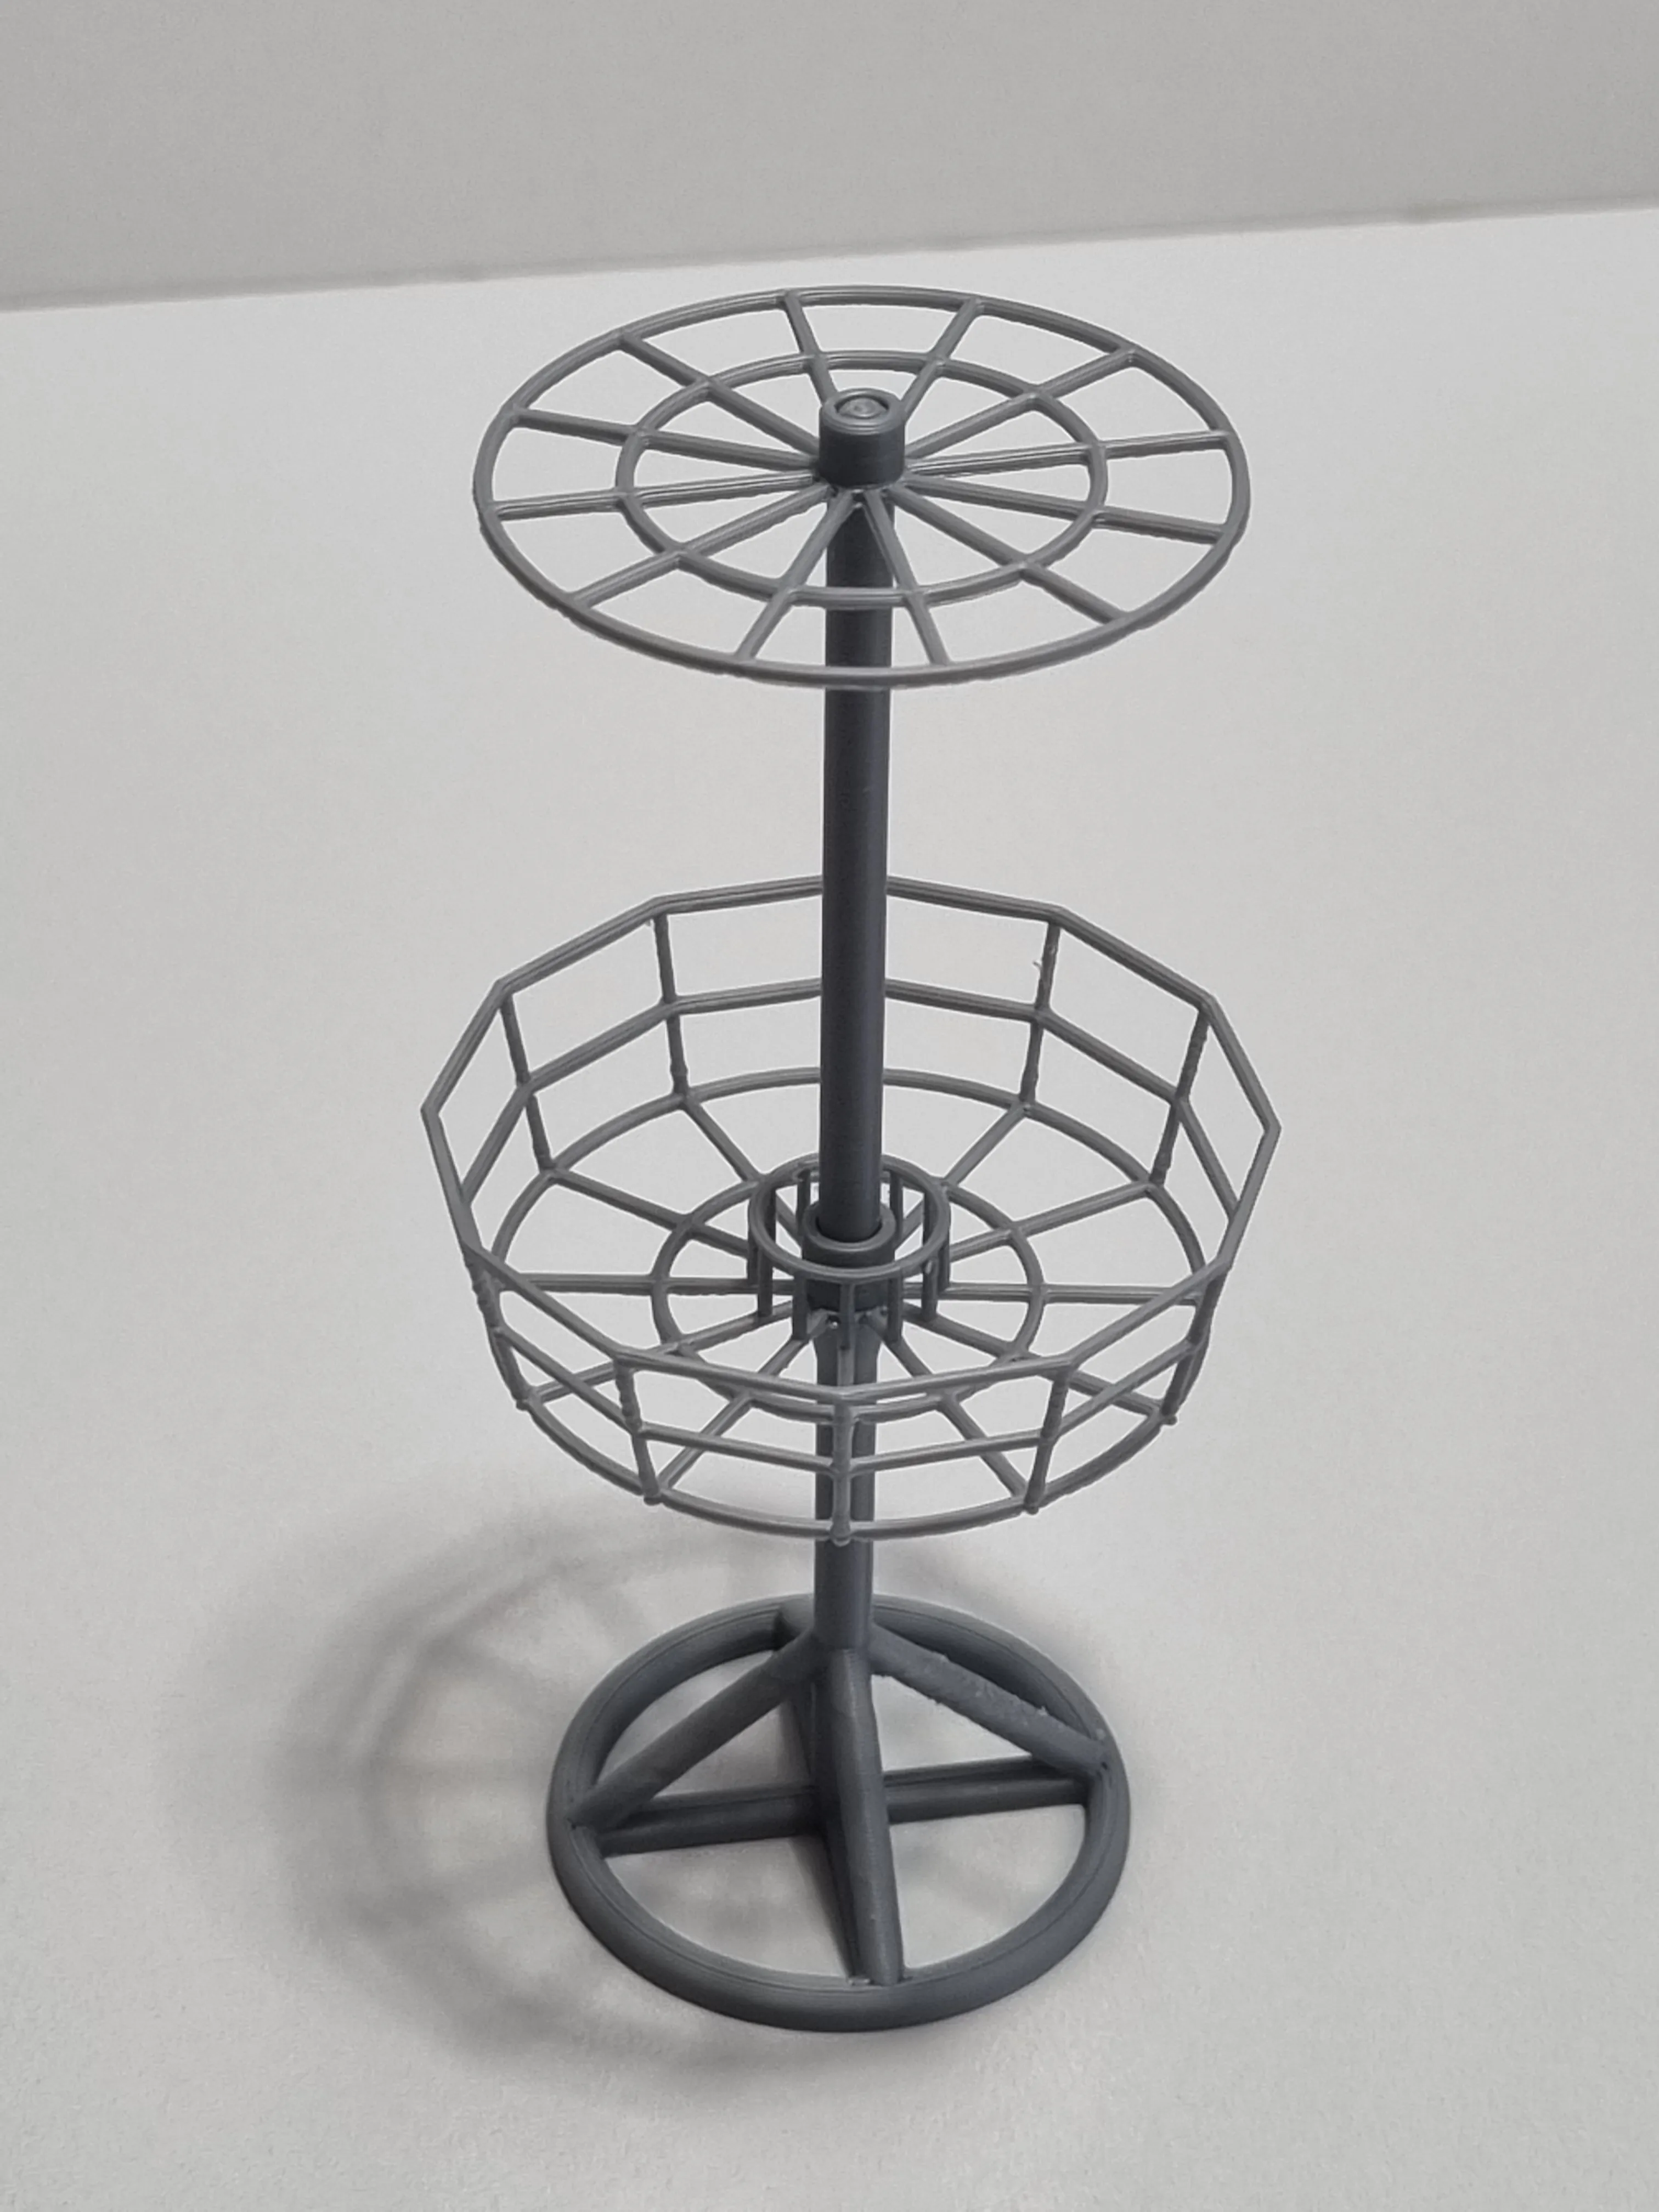
2. Attach chain bracket to stem
The chain bracket slides onto the top of the stem.
Use the knife to remove any excess material from the bottom of the internal hole on the chain bracket.
As in step 1, a small drill bit can be used if it still will not fit.
Apply a small amount of glue to the underside of the chain bracket to keep it in place.
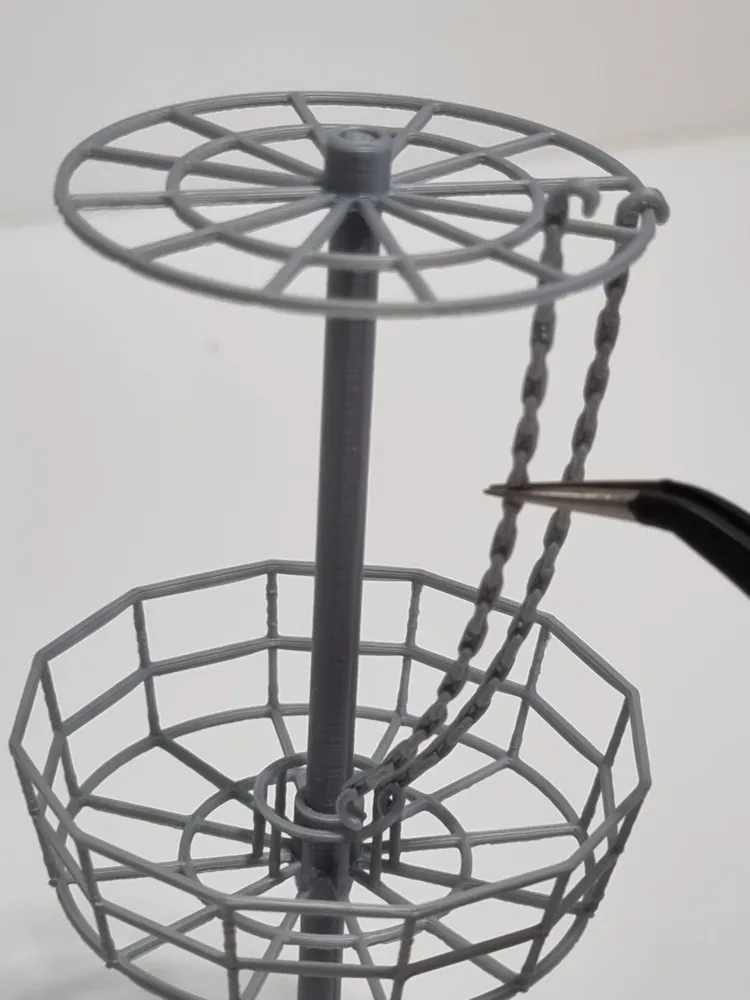
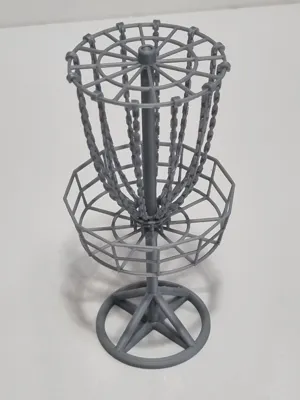
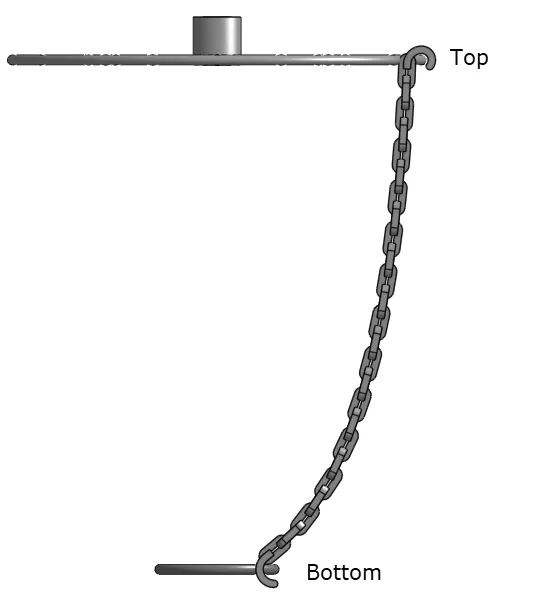
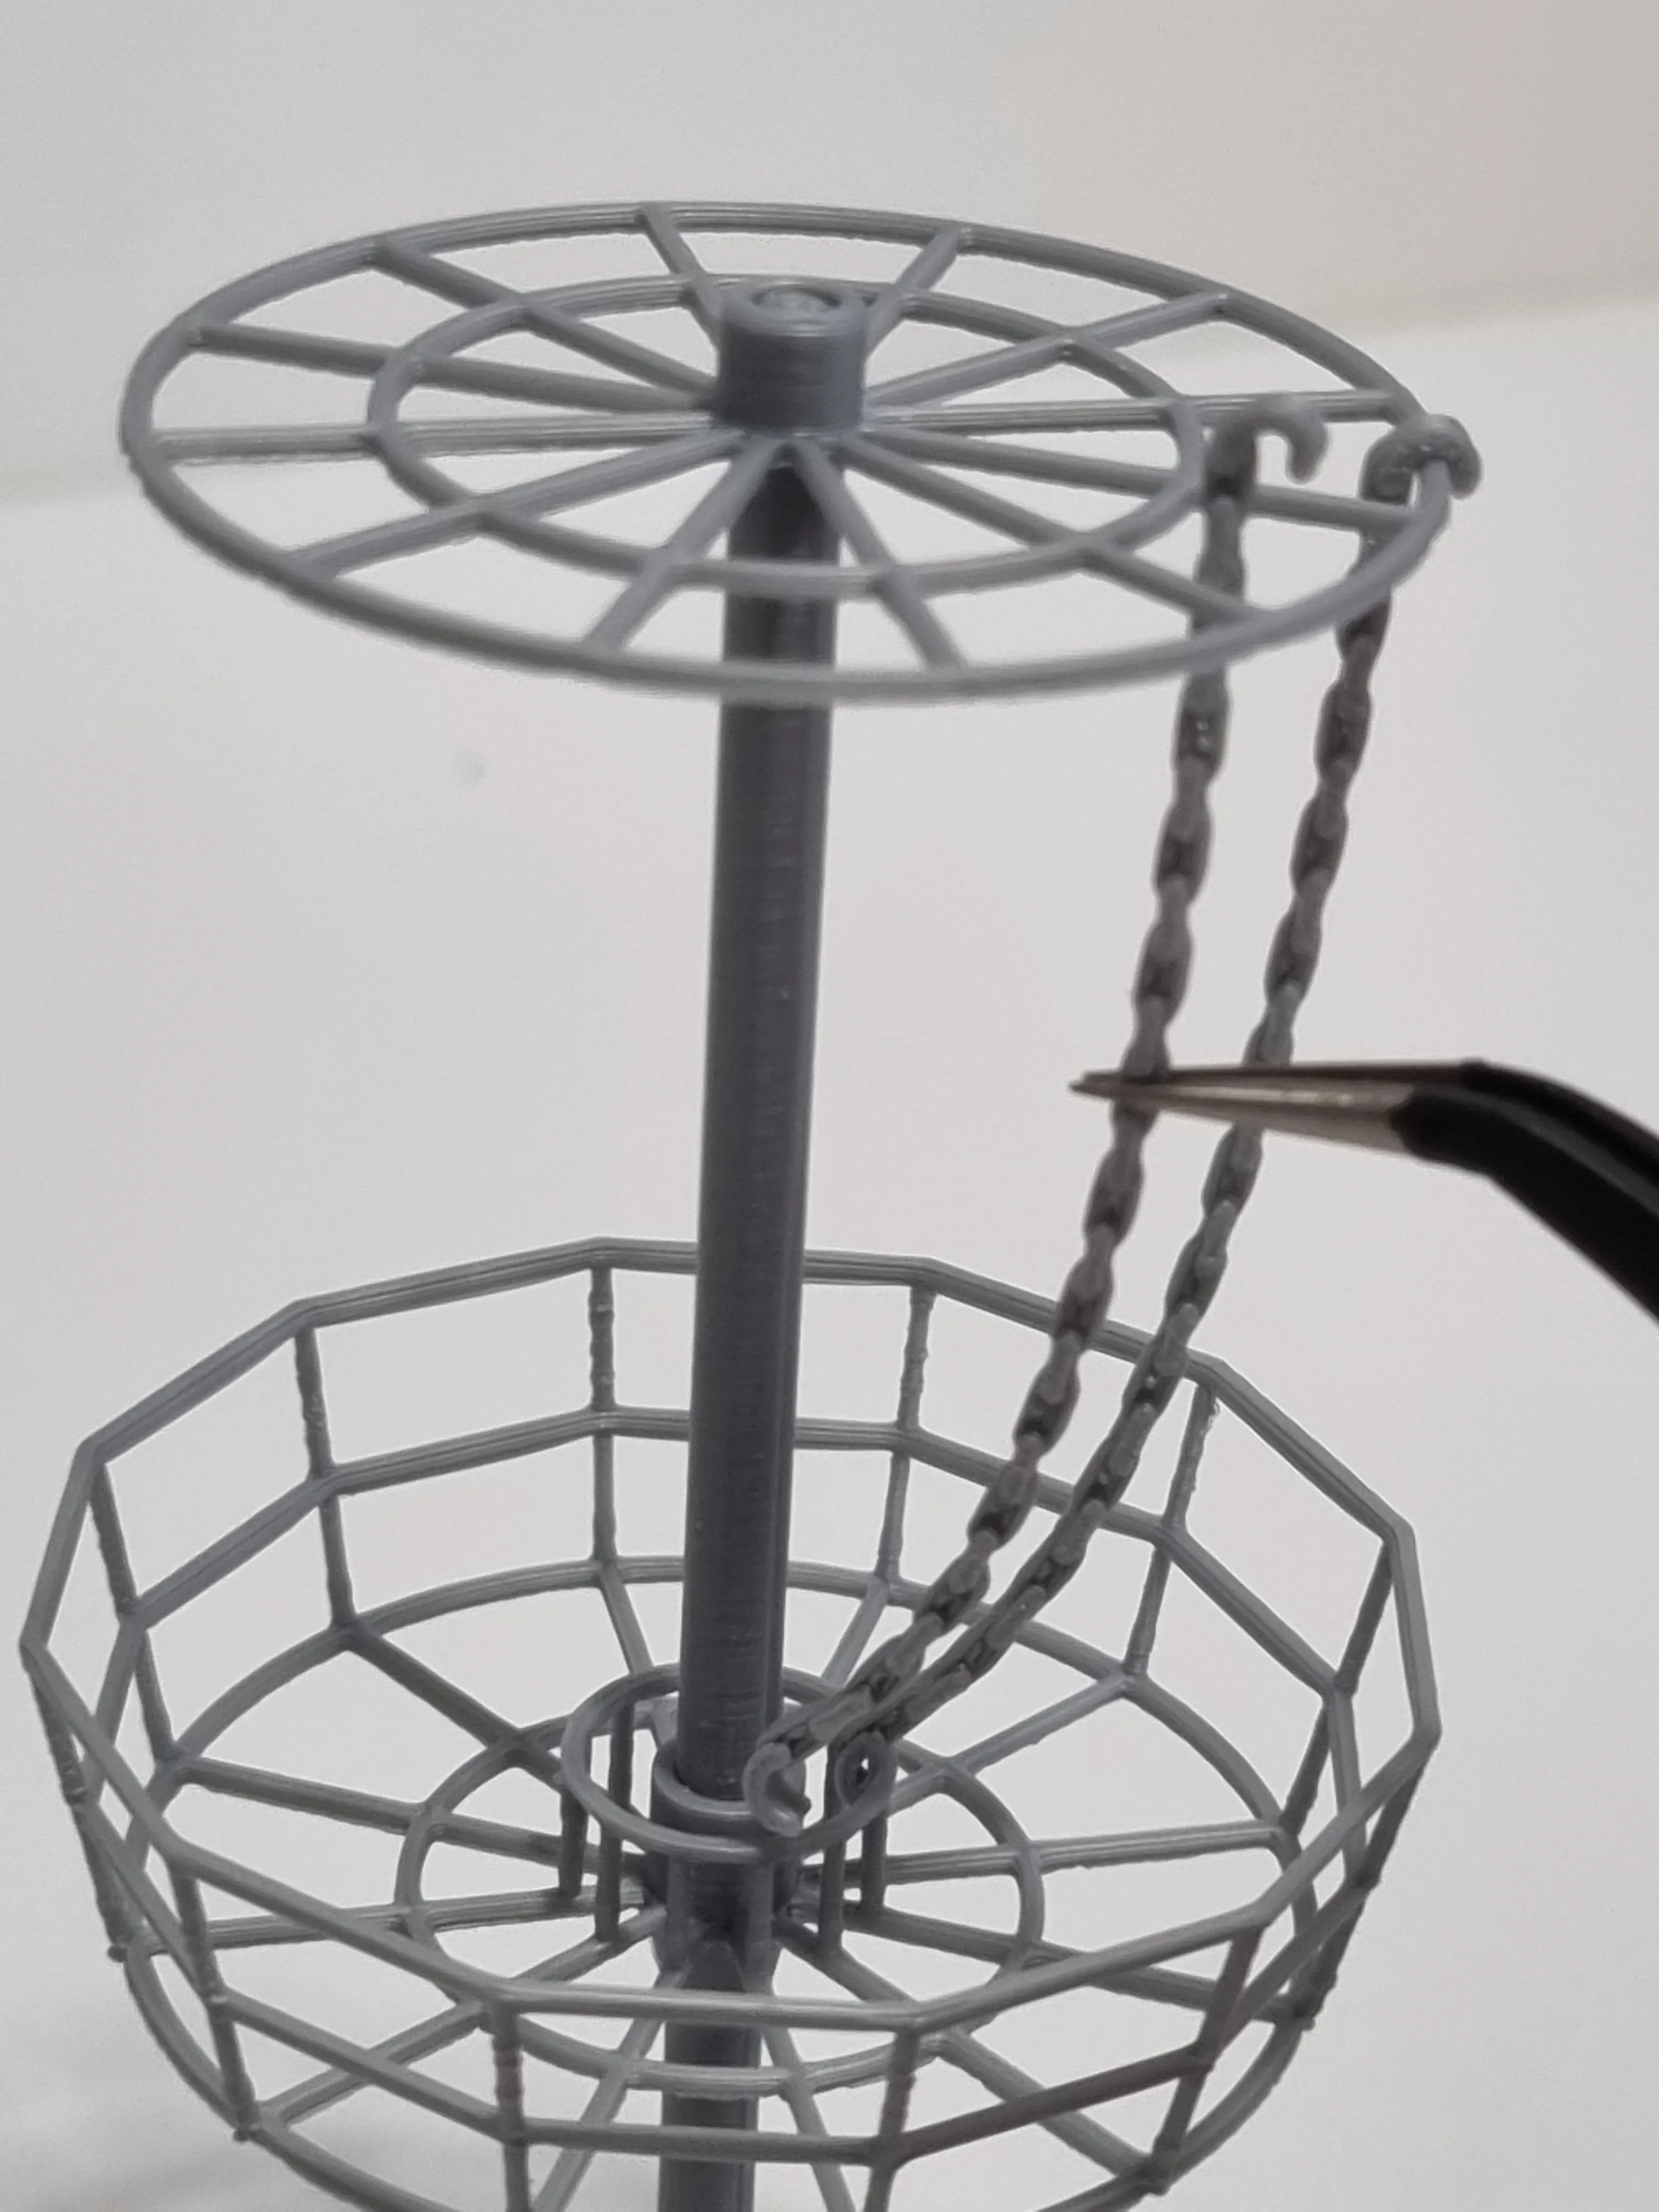
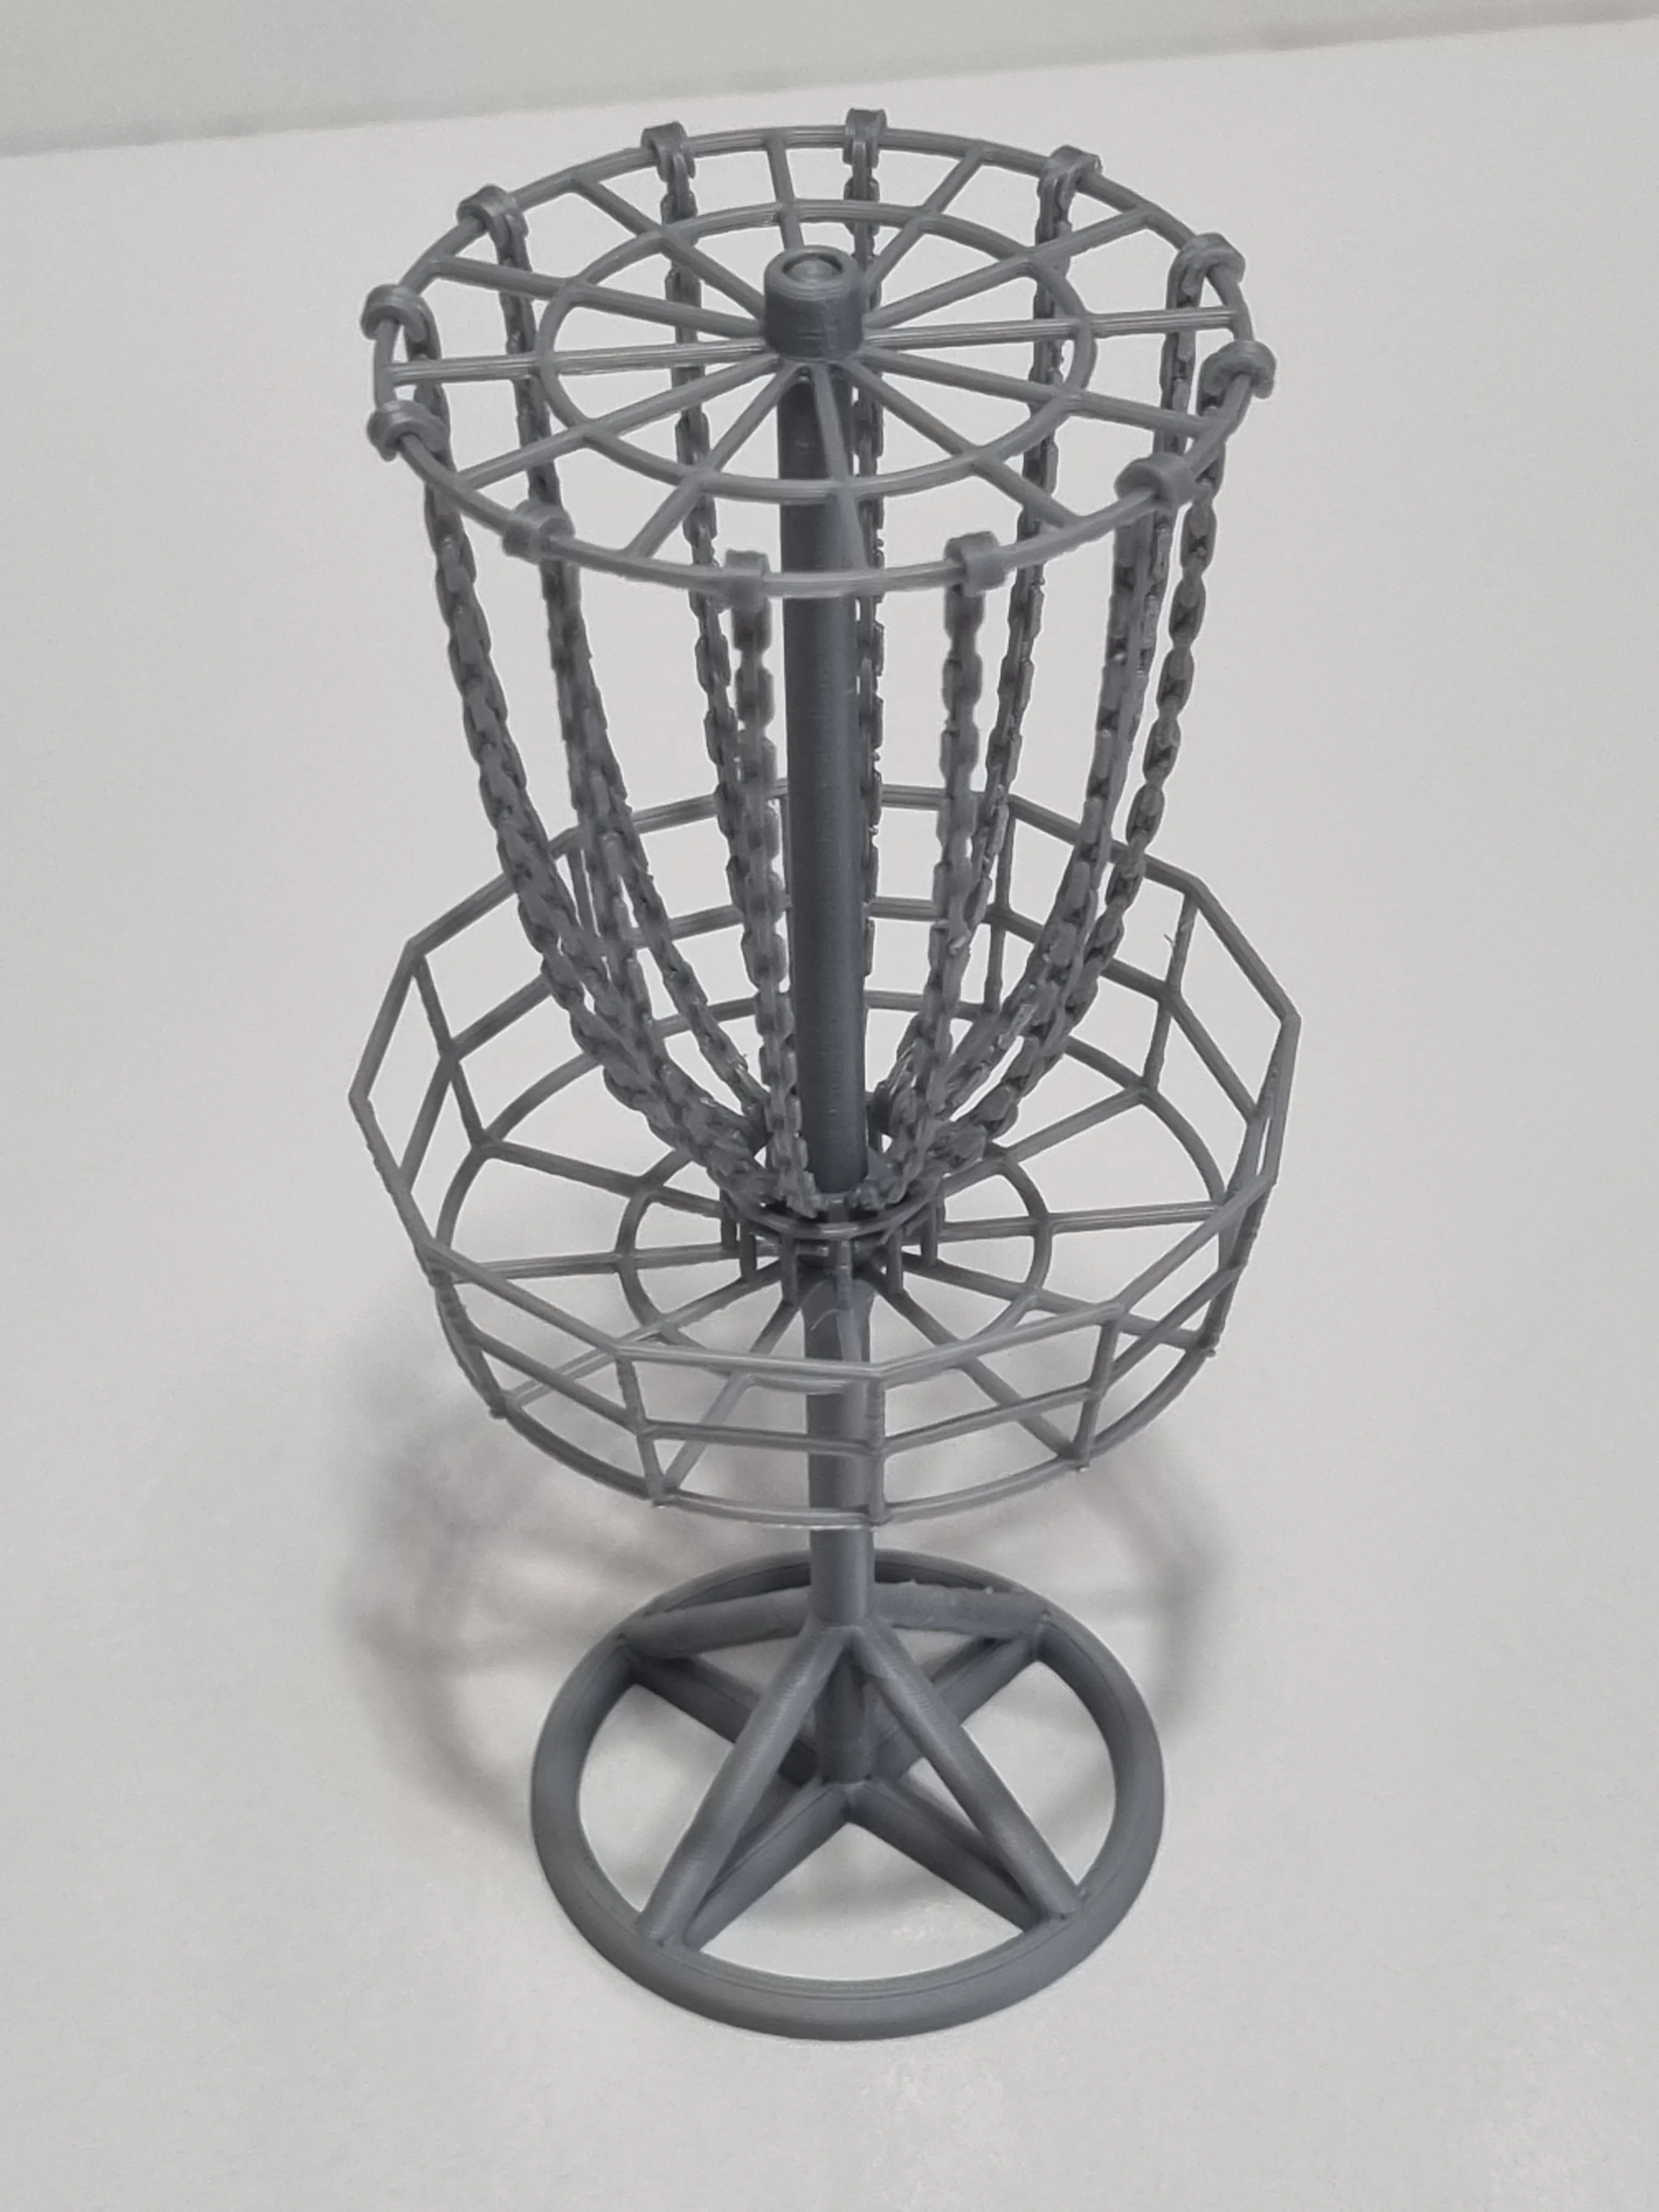
3. Attach chains to chain bracket
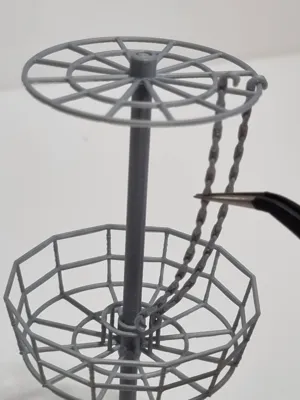
Using tweezers, poke the straighter end of the chain up through the bracket and hook onto the outer ring.
Hook the bottom of the chain over the inner ring on the basket.
Apply a small amount of glue to the top hook of the chain to keep it in place.
Repeat for all 12 chains. Note the print profile includes 14 chains (2 spares) in case of any print / assembly issues.
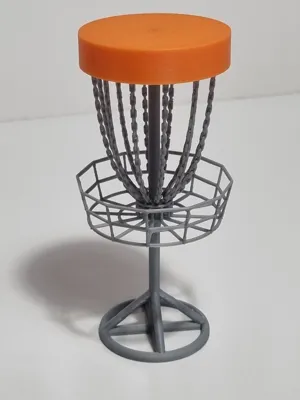
4. Attach hood
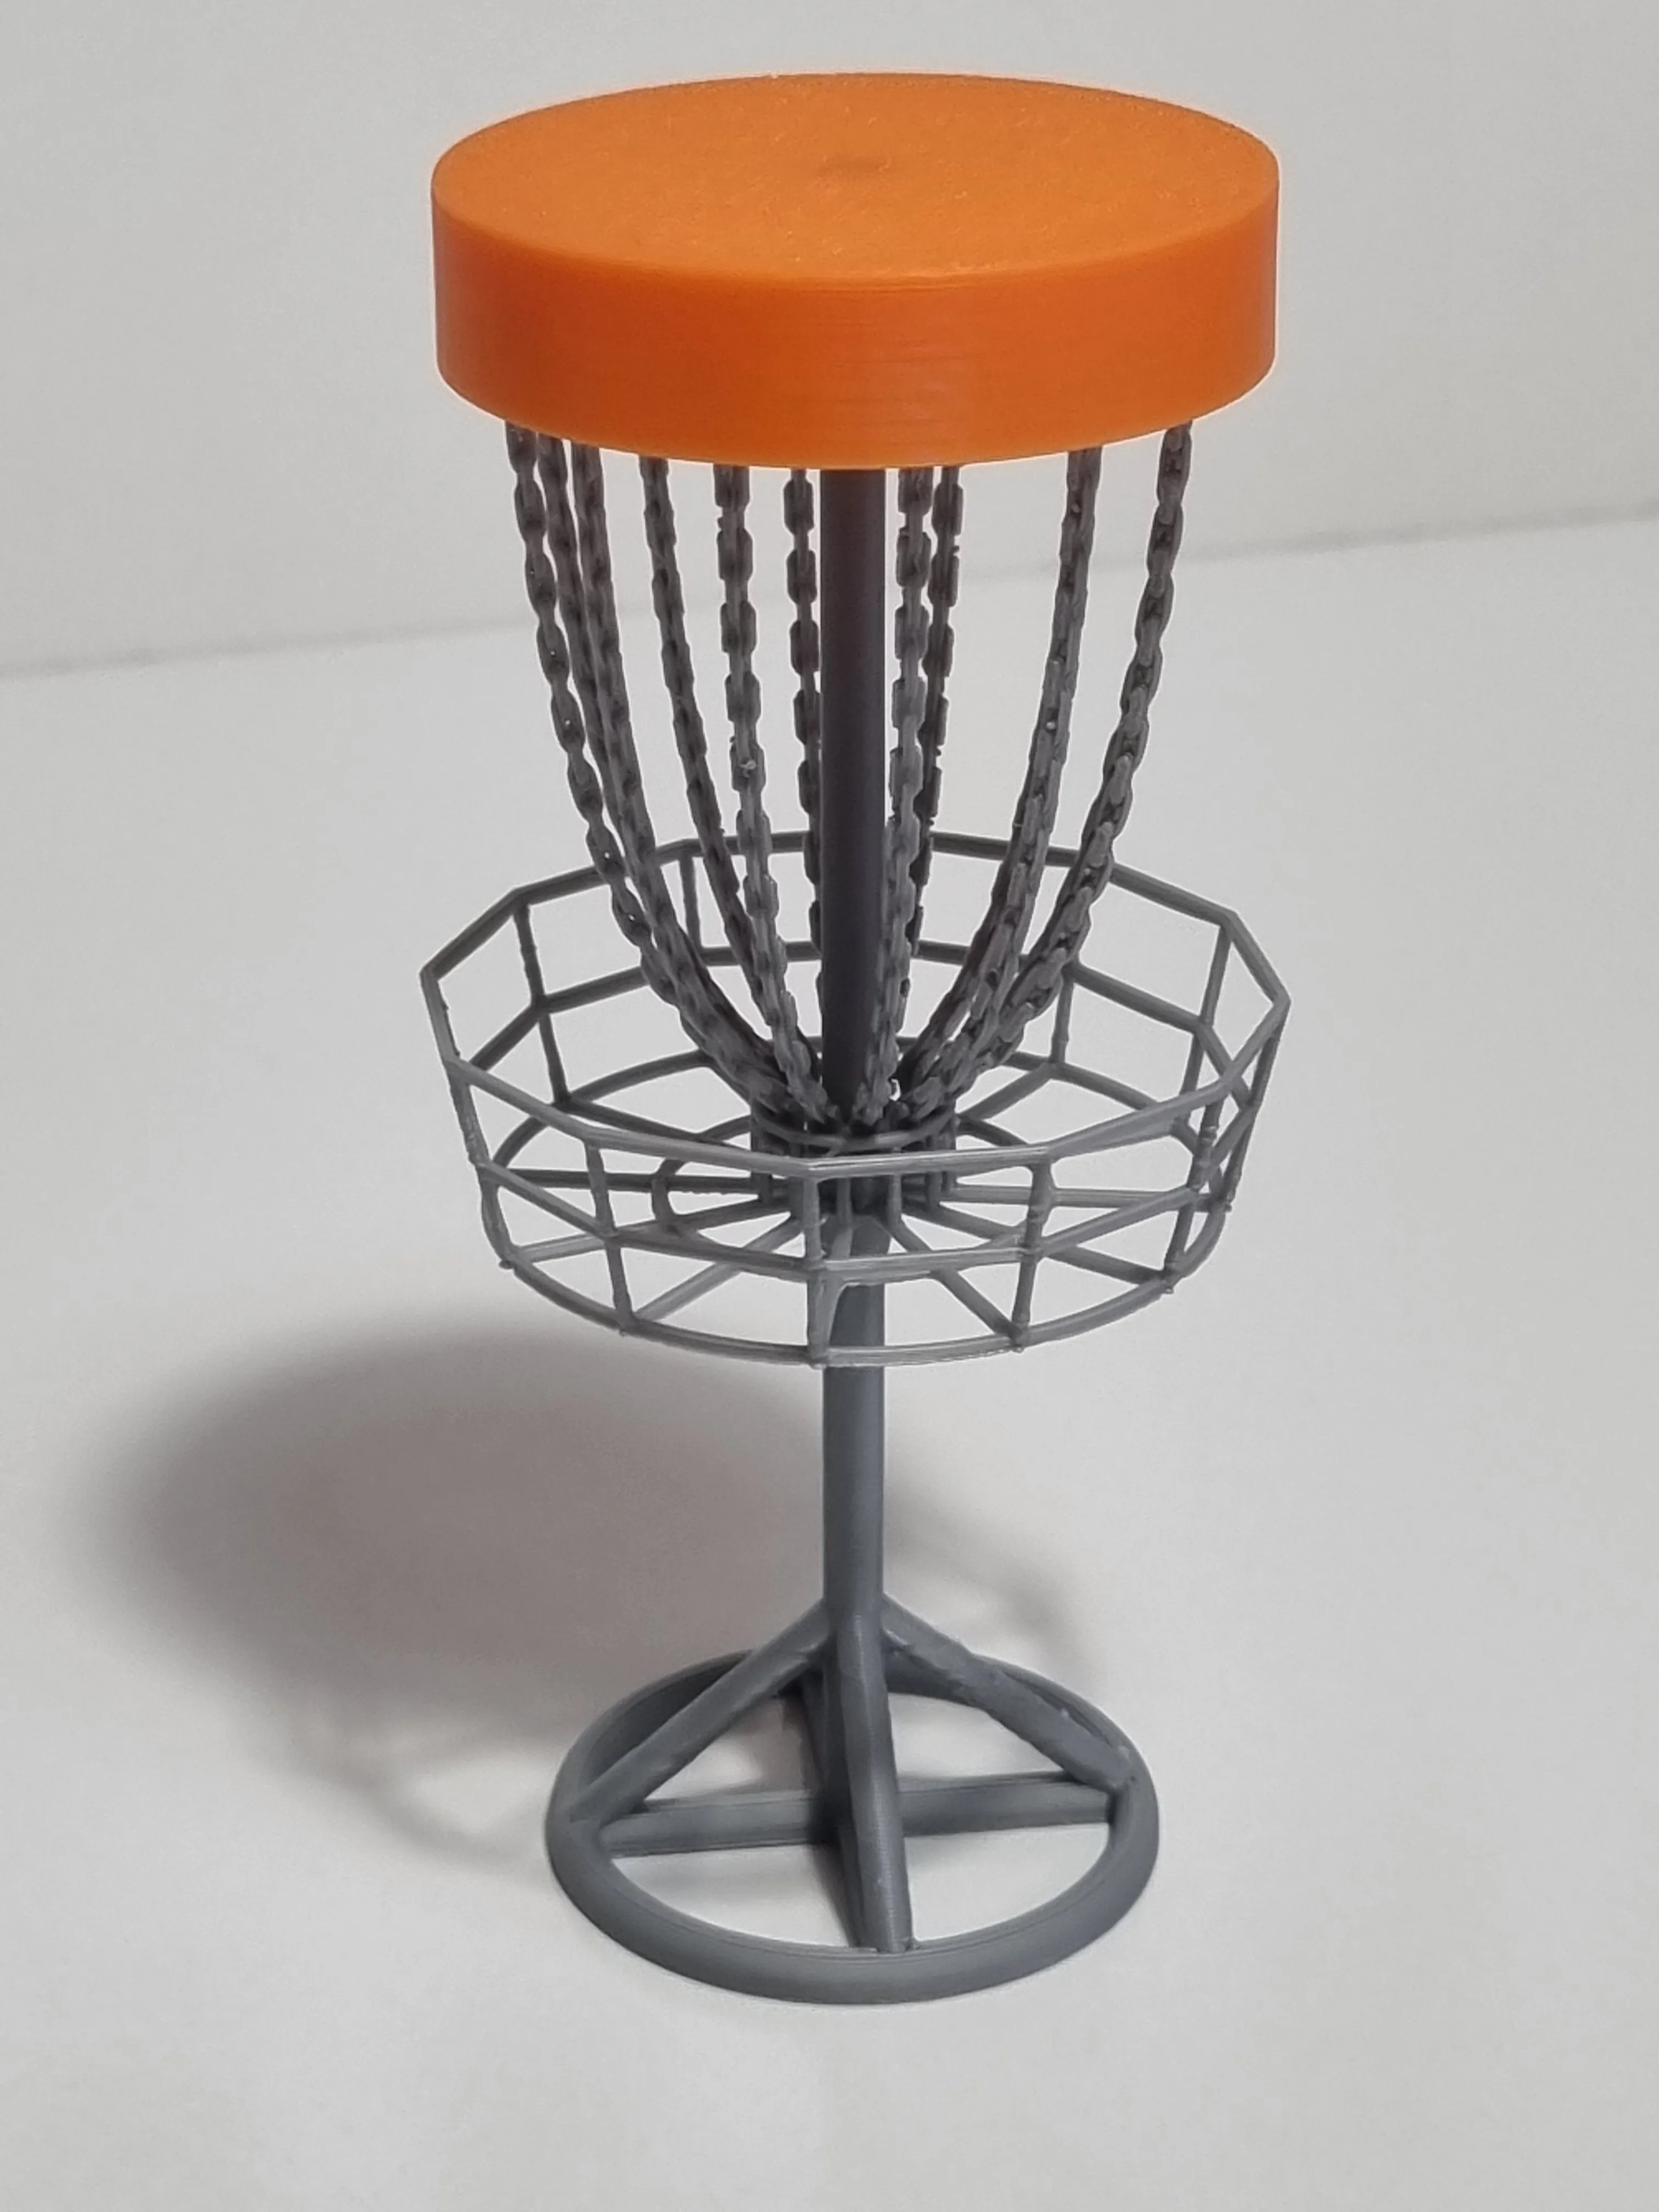
The hood slides onto the top of the chain bracket stem.
Use the knife to remove any excess material from the bottom of the internal hole on the chain bracket.
As in step 1, a small drill bit can be used if it still will not fit.
Apply a small amount of glue to the underside of the hood to keep it in place.
Finished!
License



Comment & Rating (54)