
External HDD SSD SATA Hard Drive Disk Case Housing
Print Profile(2)


Description
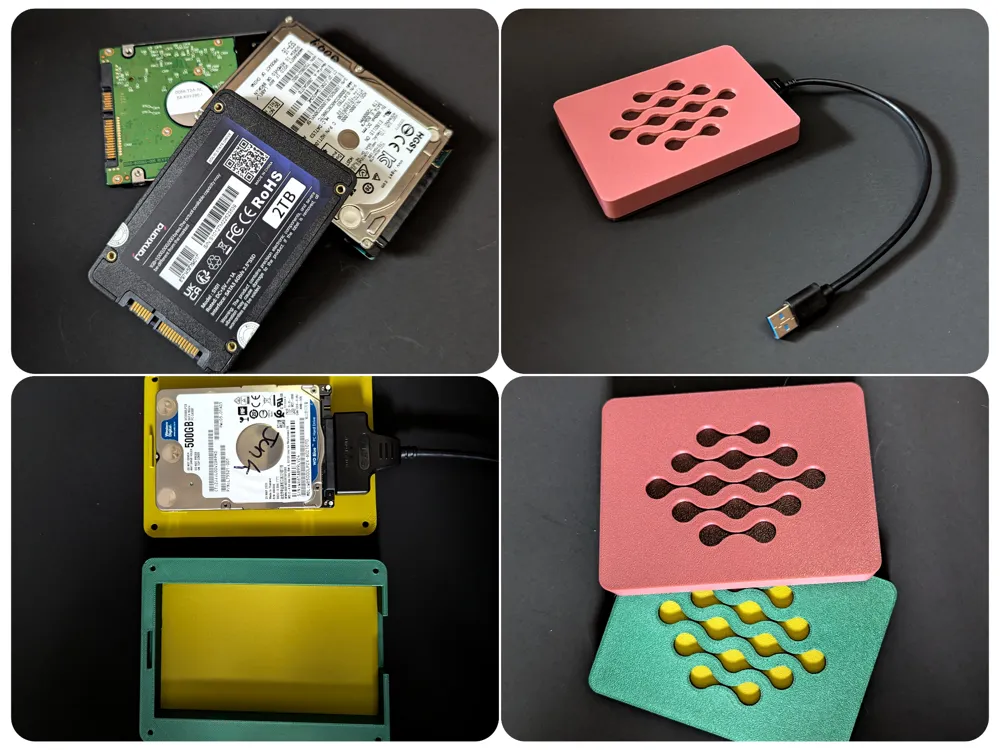
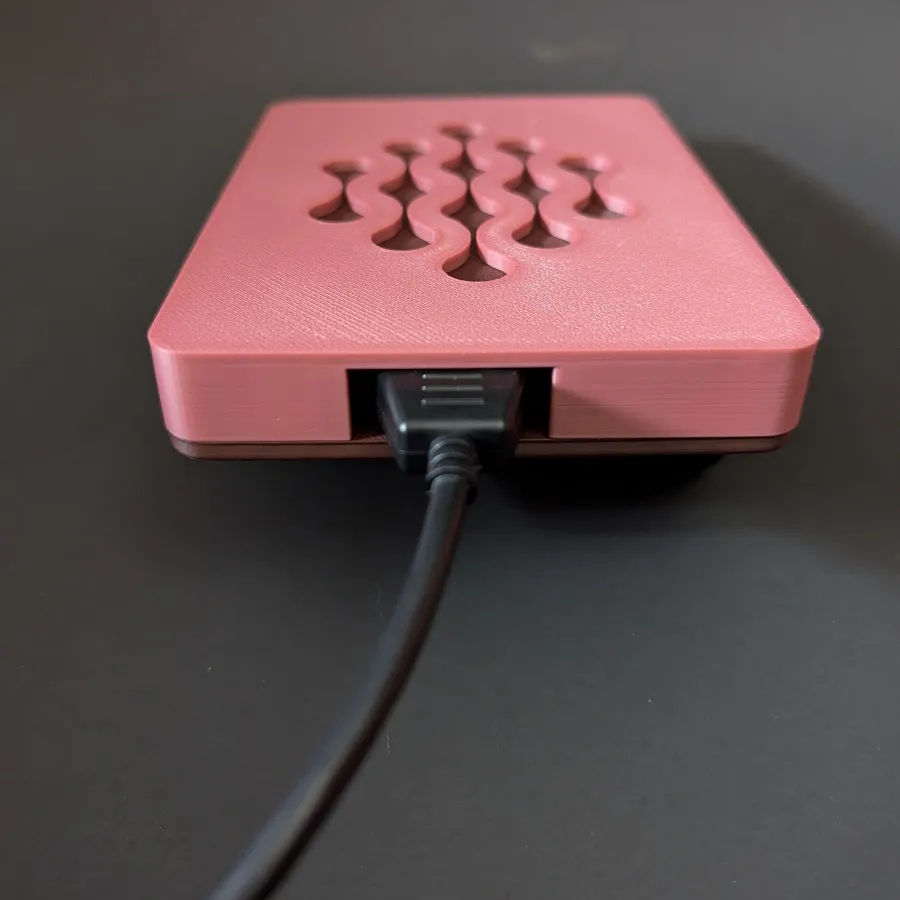
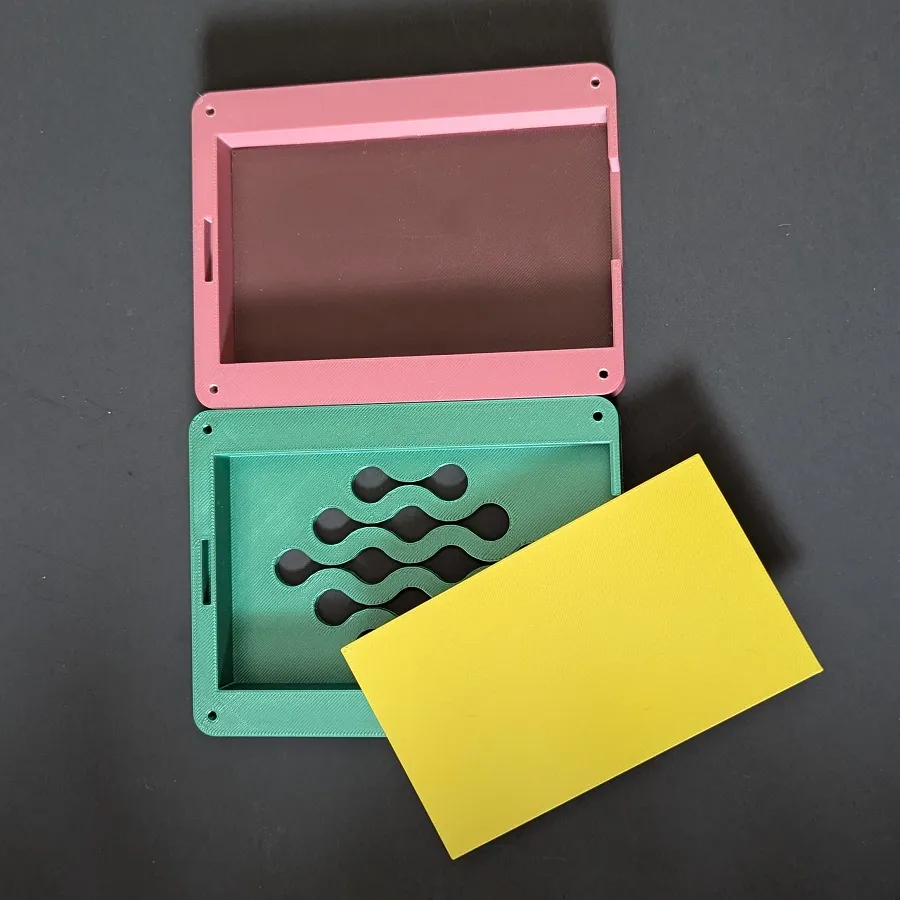
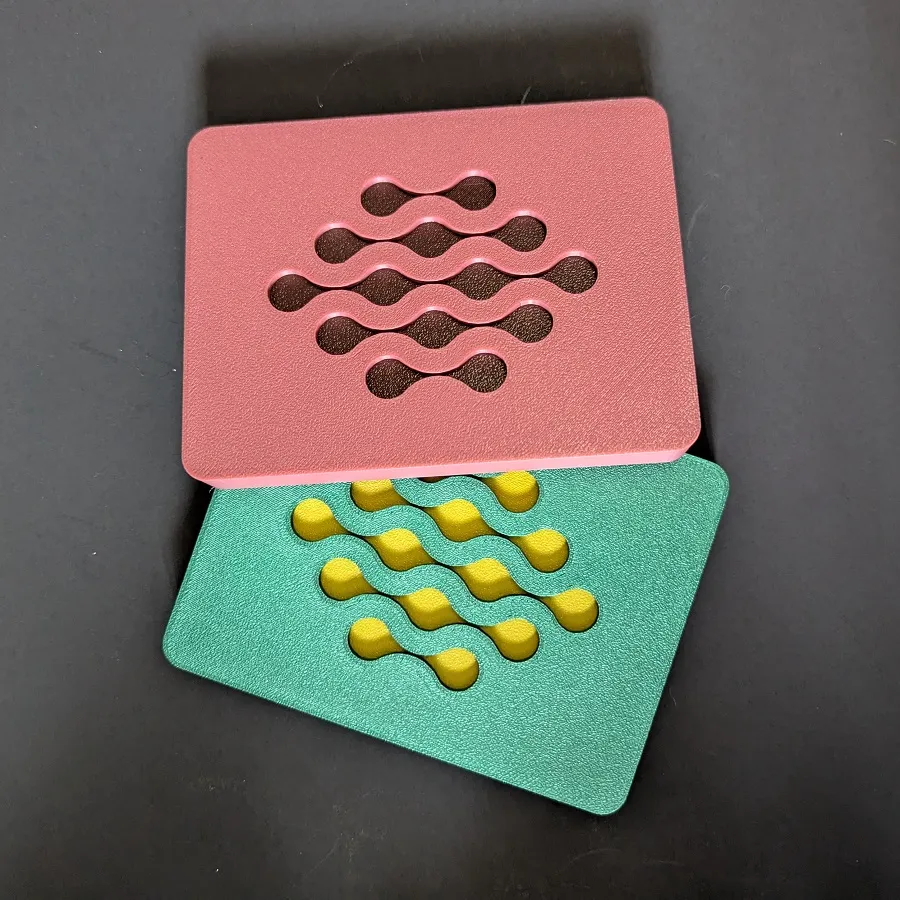
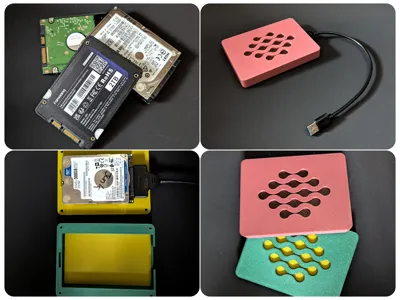
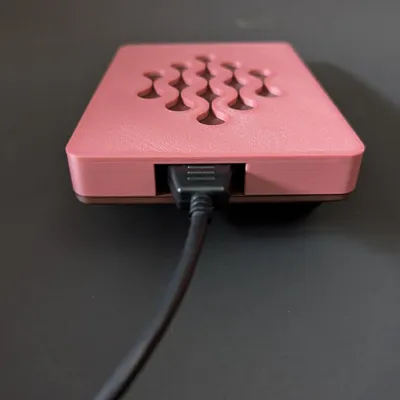
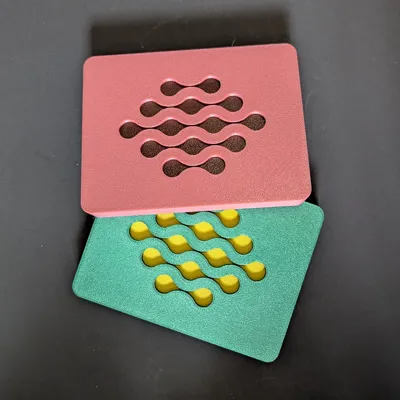
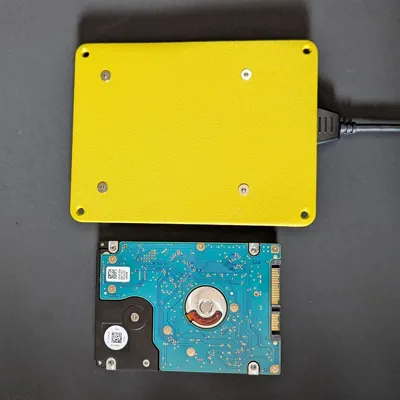
There are two versions of this case available, a cutout version with heat vents (as pictured) or a solid one. I have uploaded profiles for both.
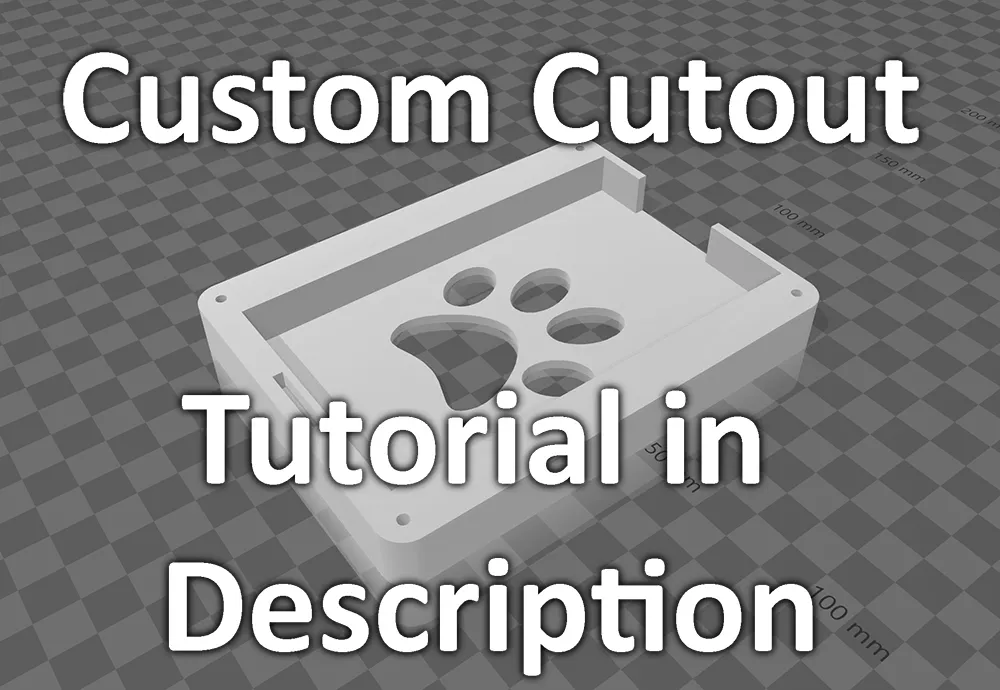
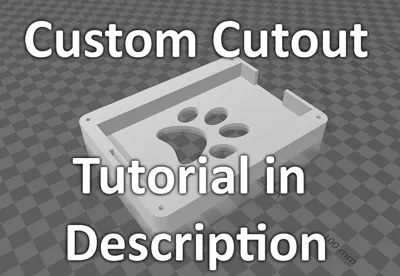
The solid one can easily be customized to have your own cutout design. You can use windows 3d maker and Tinkercad together to do this. I made a tutorial to show you how easy it is. https://www.youtube.com/watch?v=zlSbmwnOP10
No supports or brim needed for any part. This prints pretty nicely at 0.2 layer height and that is what I have the profiles as.
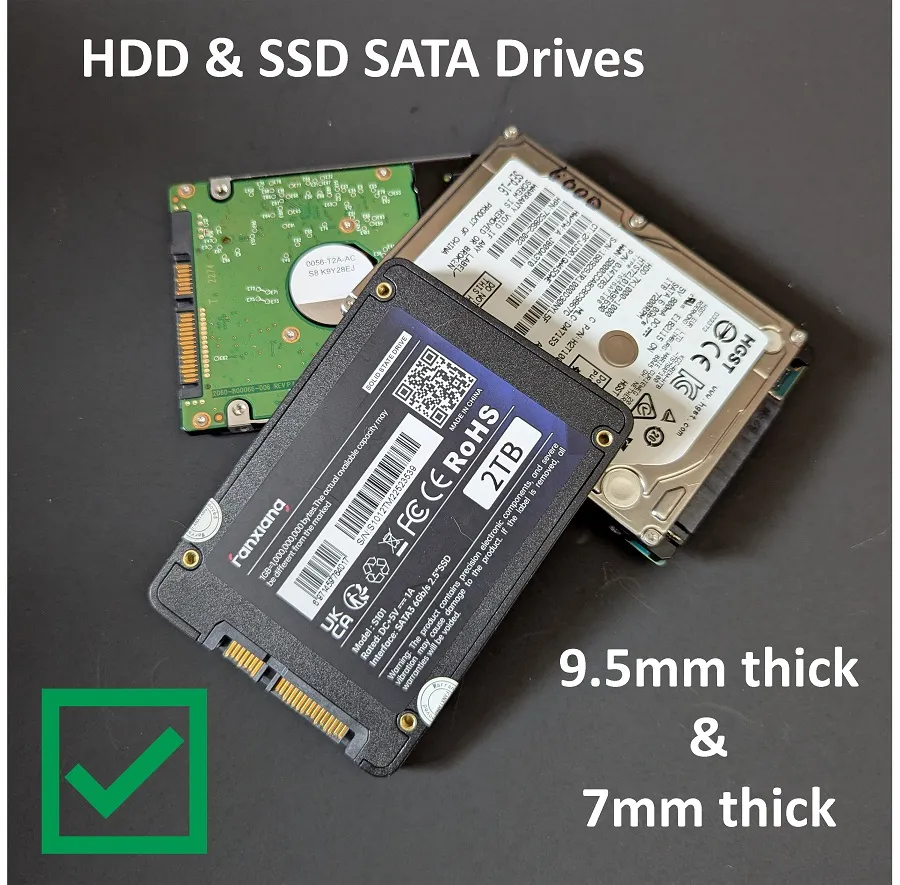
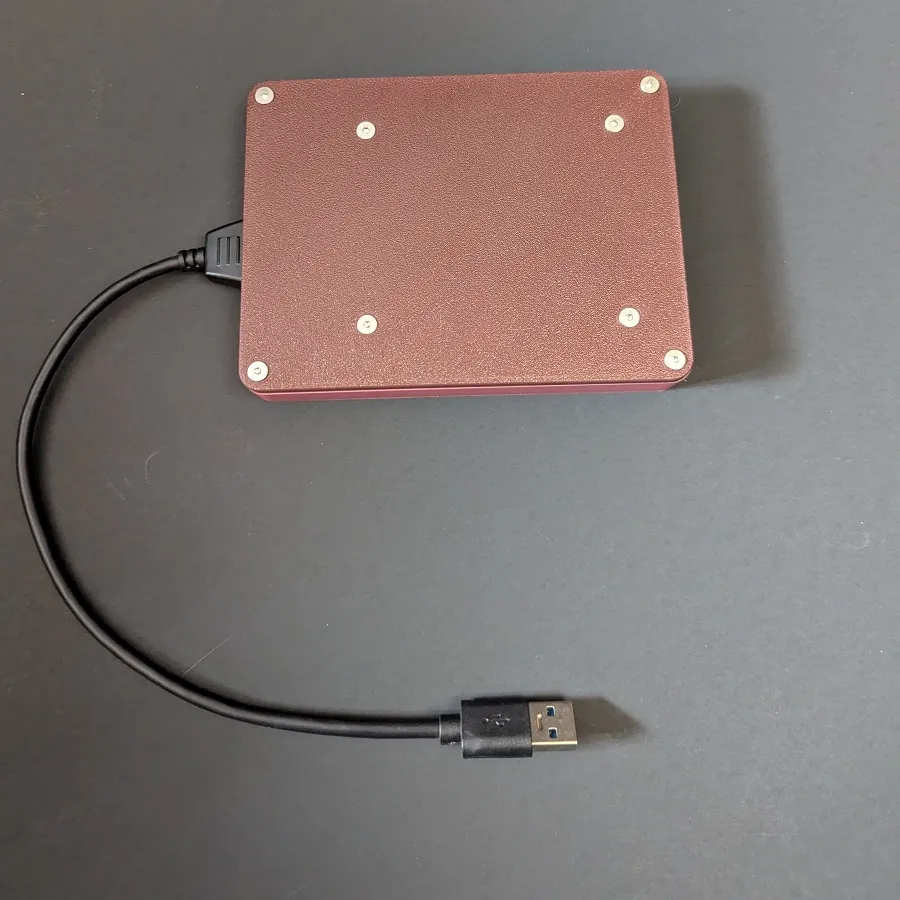
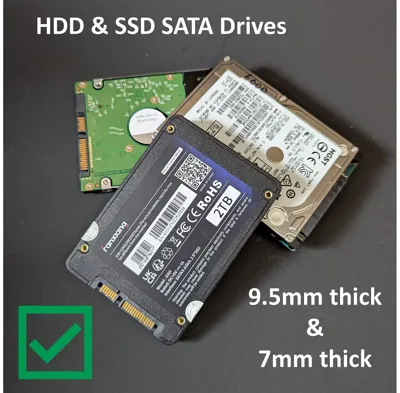
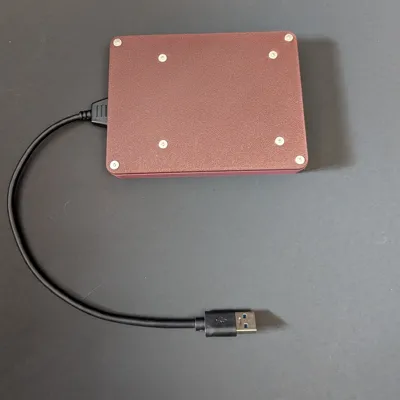
Assembled, this case is 13.3cm length, 10cm wide, and 2cm thick. It will hold both the slim SSD drives (7mm thick) and the older thick HDD drives (9.7mm thick).
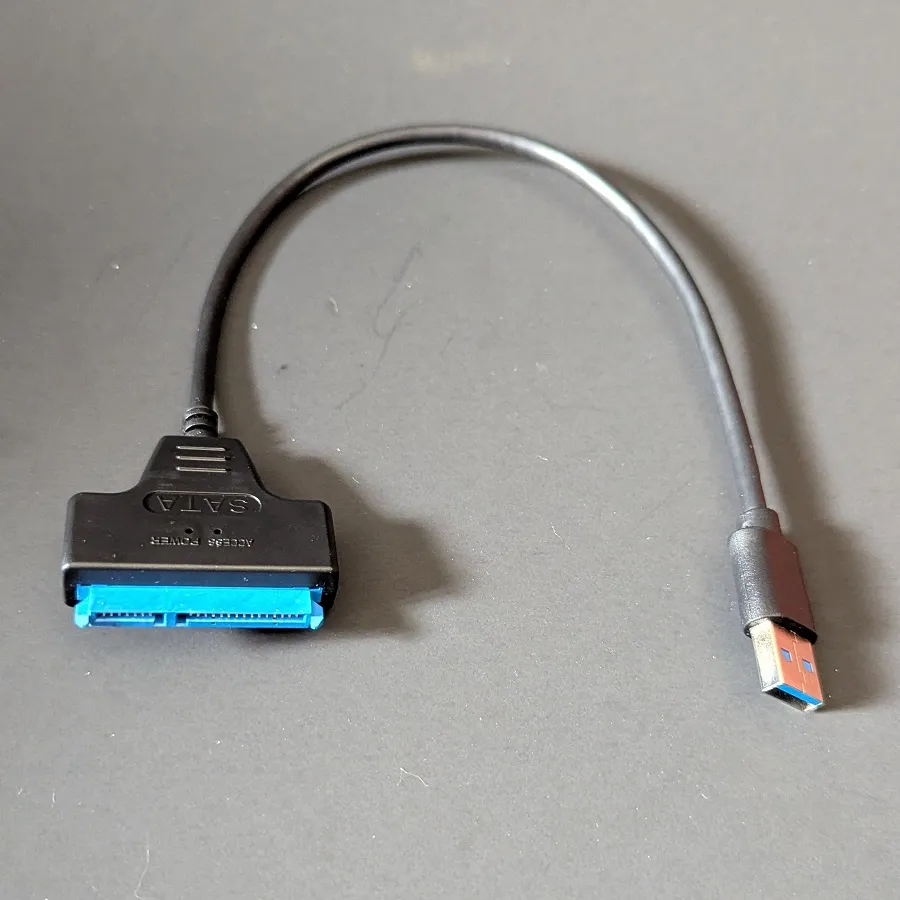
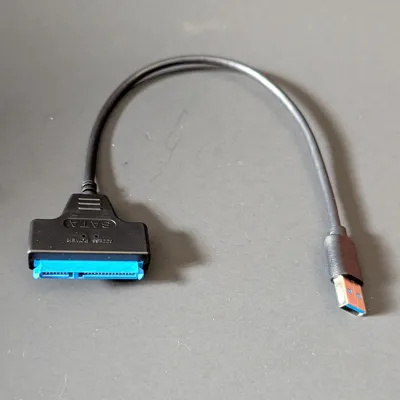
This case is intended to be used with a USB 3.0 SATA cable. The intention is to reduce wear on the drive disk by having the cable permanently attached (though it can be removed by taking the case apart). These USB cables can be found on amazon, ebay, and aliexpress. (usually around $4-$8). They generally have a blue connector that indicates it is a 3.0 USB. These only work on USB 3.0 PC ports. Some PCs have one USB 3.0 and the other USB are 2.0 so check for symbols next to them that may indicate which one they are. Sometimes these are also blue (but not always).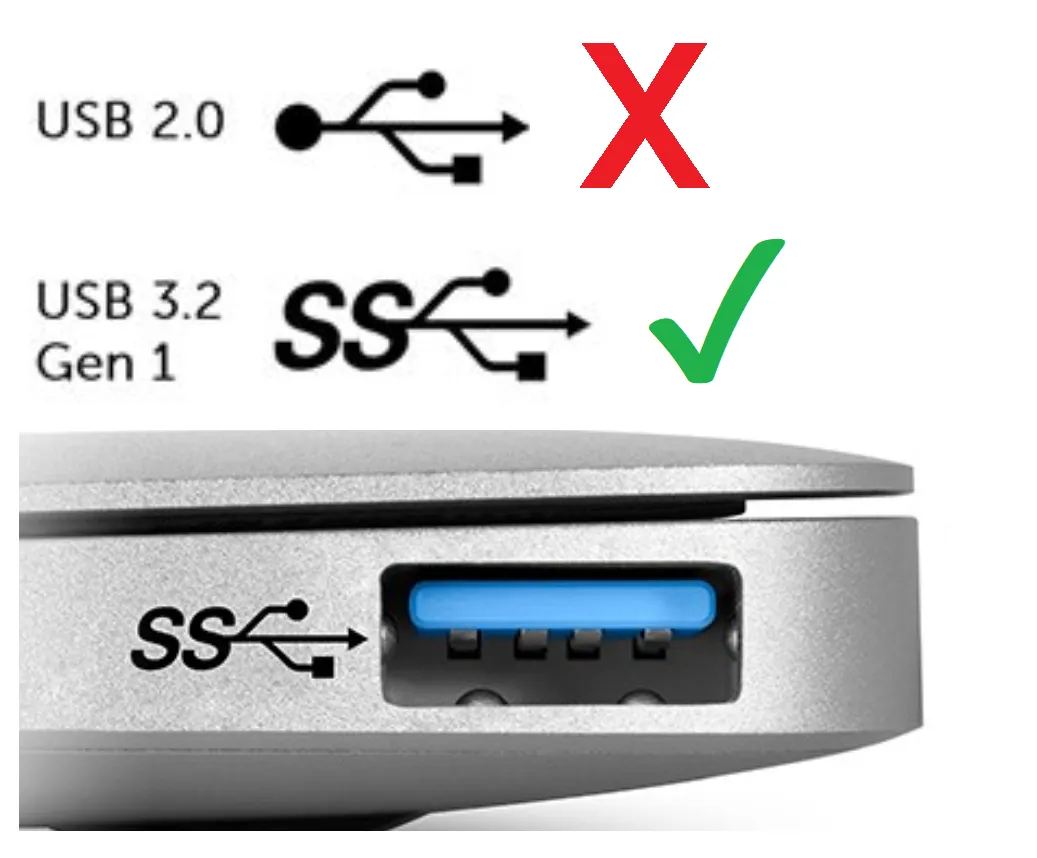
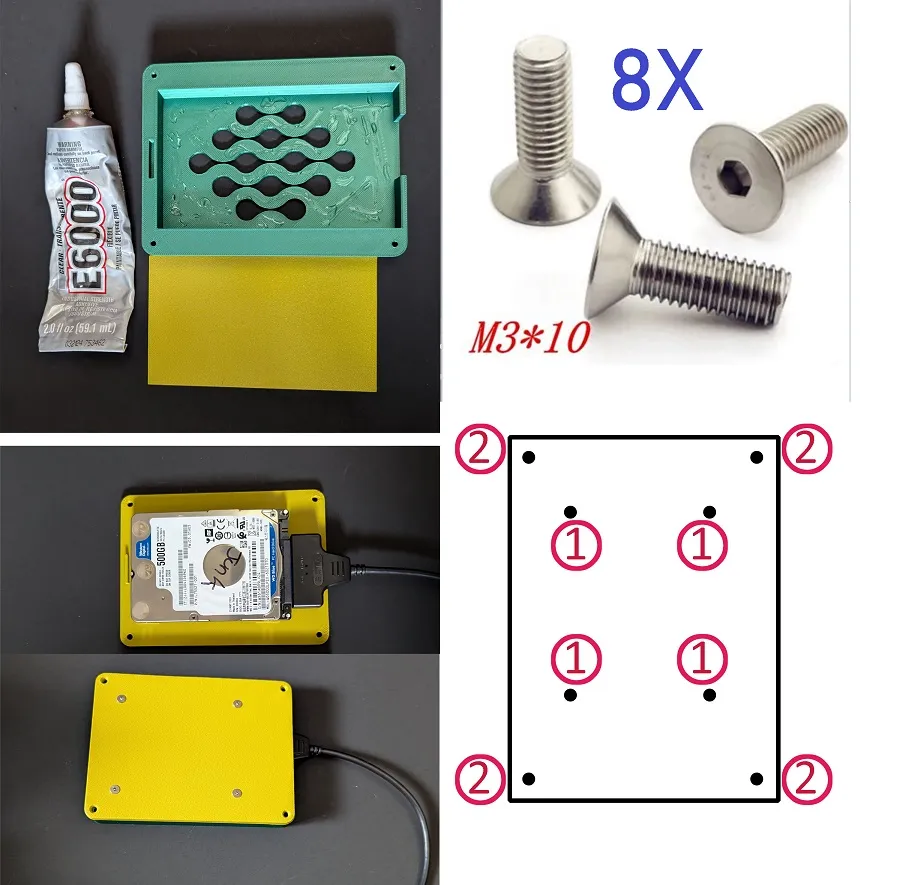
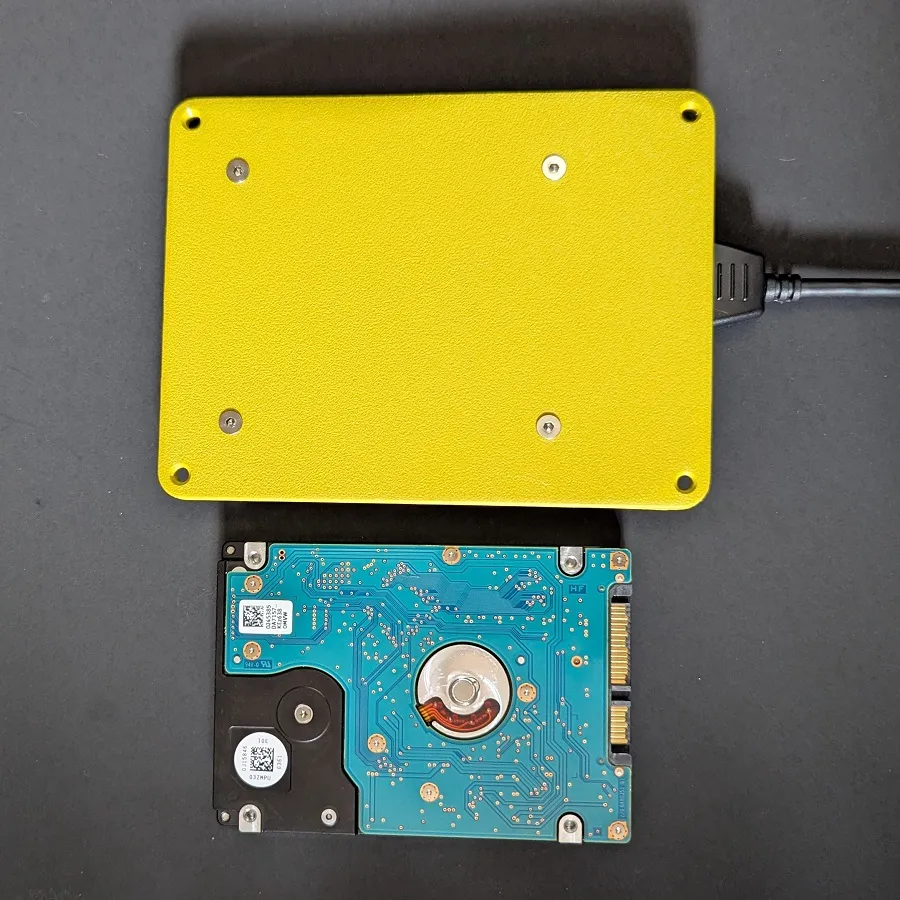
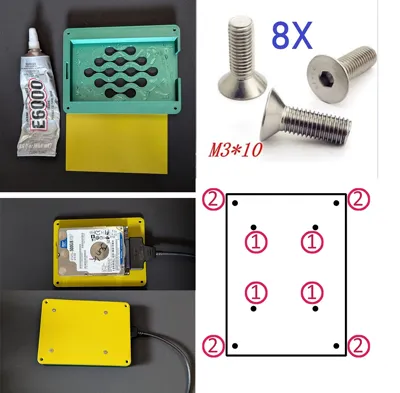
You will also need 8x M3x10mm screws with sunk heads for a flush look.
You may be able to use 8mm in length (but I am not 100% sure) but you cannot use any length longer than 10mm.
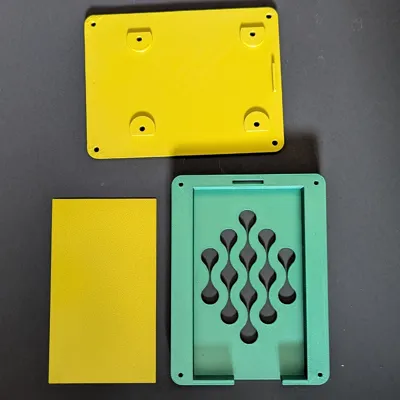
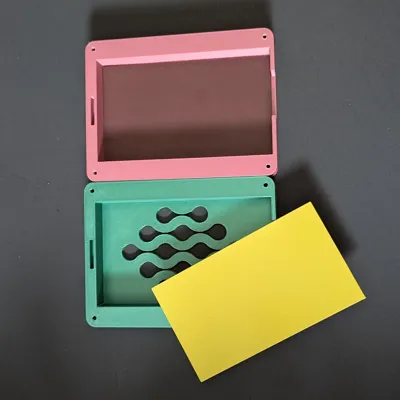
You also will need some glue for the insert piece. You should glue it in place to keep dust from getting in the box. This is a very thin part and should still allow for adequate heat ventilation but if your drive runs hot, you could forgo using this part.
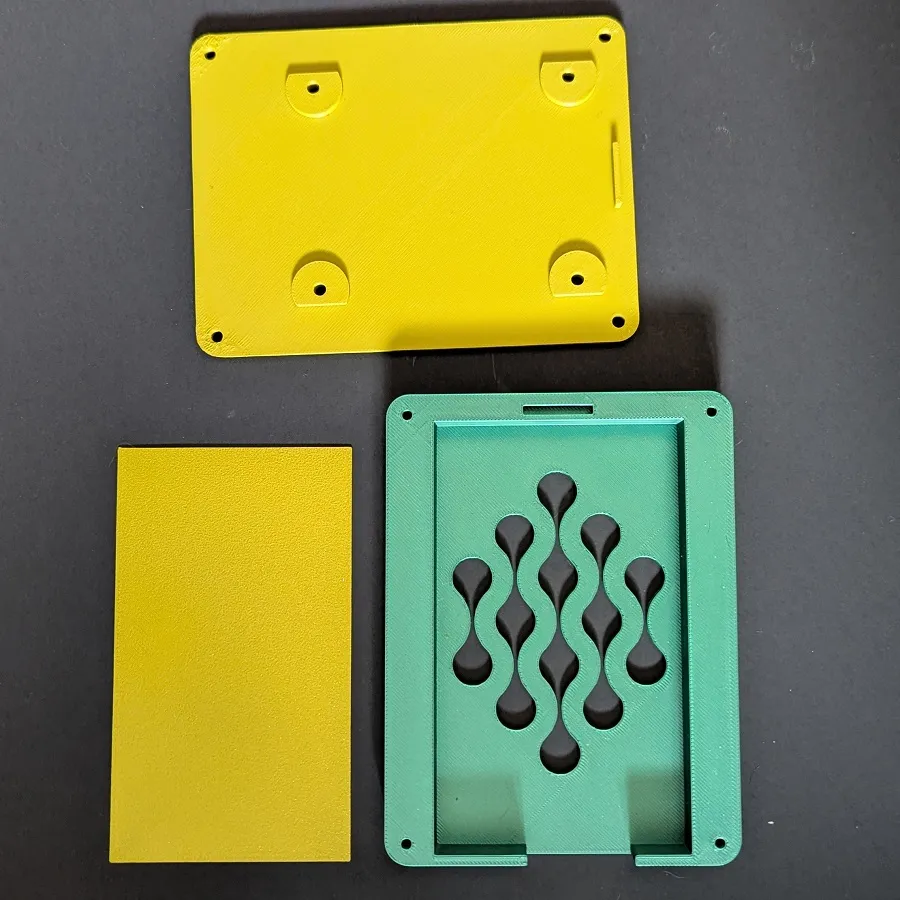
Step 1. Glue the insert piece into PartA. (see photo)
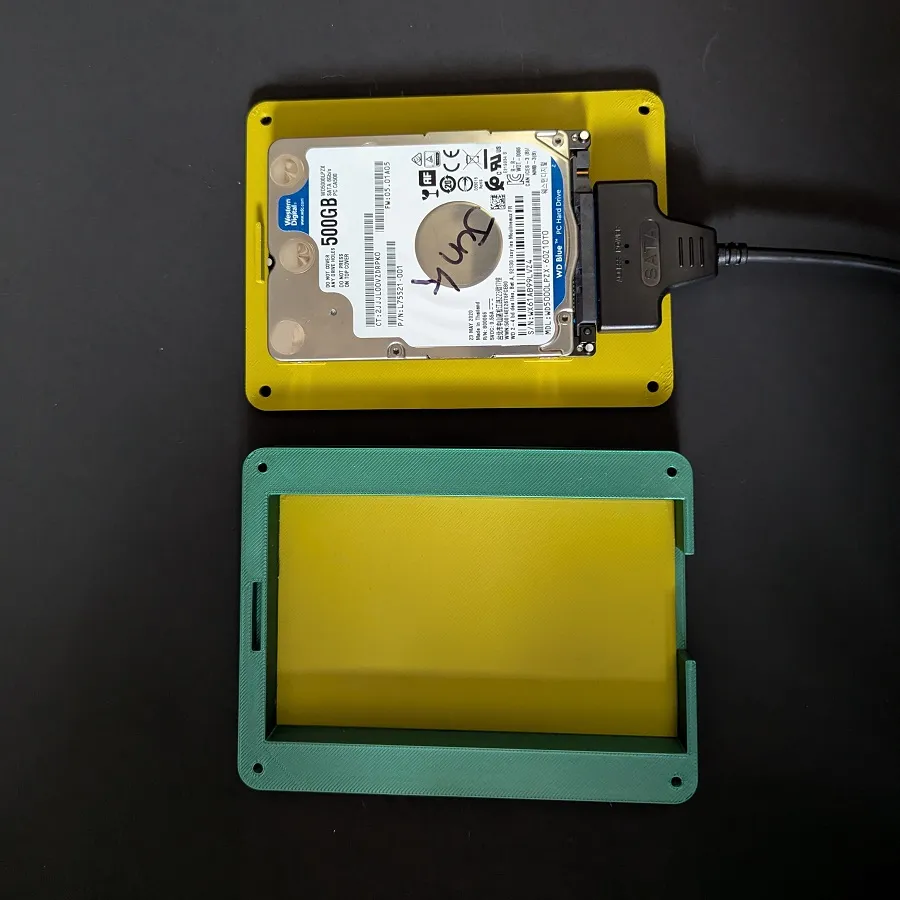
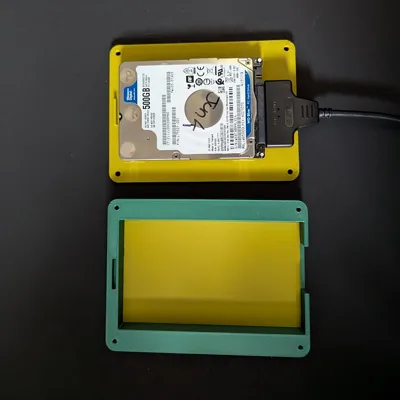
Step 2. Attach the hard drive to PartB with 4 screws.
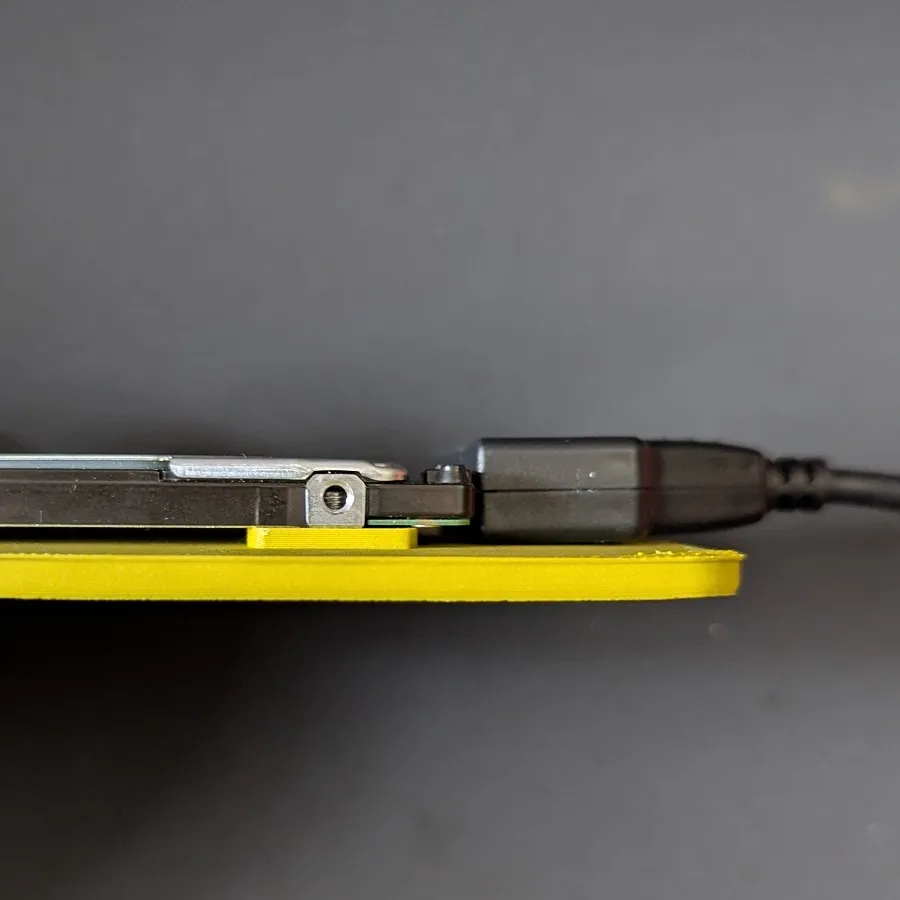
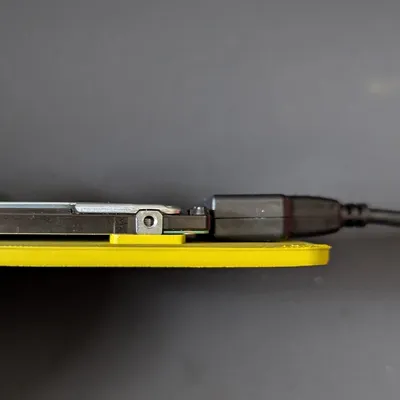
See photos on how the drive should be oriented. There are screw holes on one side of the drive. Do not drill or create new holes in the drive as this will destroy it. Make sure the connector is oriented in the right direction as well.
Step 3. Attach your cable to the drive.
Step 4. Attach PartA and PartB with 4 corner screws.
This model is 100% my own and I give the following permissions:
You can:
Sell printed models (online or locally)
Create remix versions with attribution
Please don't:
Sell the model files
Claim the model as your own
License



Comment & Rating (37)