Double-Sided Compact Vacuum Block - Side Connector


Print Profile(1)

Bill of Materials

Description
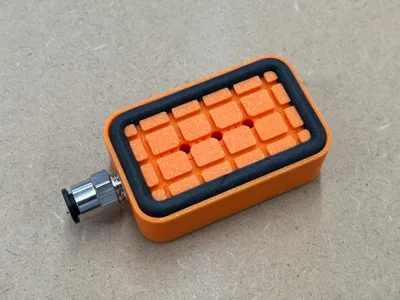
Double-Sided Compact Vacuum Block with Side Connection
Key features
- Double-sided sealed surfaces to clamp a flat workpiece on a flat table
- Compact design (40x65x20 mm) specifically for small workpieces
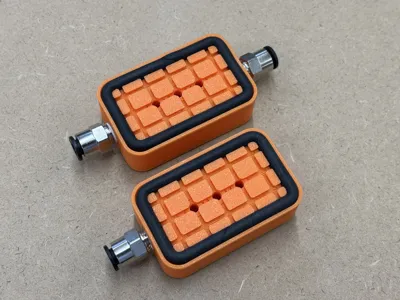
- 2 different versions
- Plate 1: Single port (e.g., as end piece or for single usage)
- Plate 2: Dual port for daisy chaining multiple blocks (180° port orientation)
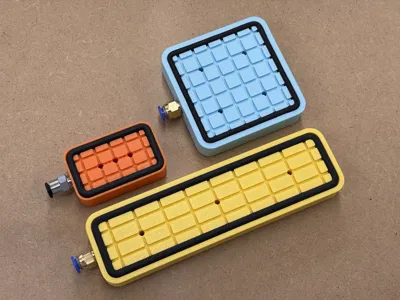
Height 20 mm: Can be combined with my other design with 20 mm height, e.g., Double-Sided Vacuum Block with Side Connection, Vacuum Block for 20 & 19 mm Bench Dog Holes, Double-Sided Slim Vacuum Block with Side Connection)


- Fits standard connectors for vacuum tubing
- All my vacuum related models can be found in this collection
Additional hardware required
- 5 mm foam seal (e.g., https://amzn.eu/d/6fLlTmm)
- PC6-01 pneumatic fittings (e.g., https://amzn.eu/d/0bj1HB2)
- Useful starter set including pneumatic fittings and tubes (e.g., https://amzn.eu/d/br2hIfl)
- CA glue for closing the foam seal
- Vacuum pump
- I would recommend a strong version with 500+ Watts if you are planning serious work like clamping for sanding or routing. I am the using this one.
- If you want to try it out and have a fun project, you can build the smaller Filament Vacuum Pump (this version will not able to drive more than 1-2 blocks but is great to create a filament vacuum for storage)
Installation instructions
- Screw in the pneumatic fitting (gentle force, don't over-tighten, keep it straight) - Important: This fit can be a bit tight depending on the output from your printer. Stop if you feel a medium/strong resistance. I heavily recommend to heat up the metal thread part of the fitting and the threaded hole of the block for a few moments using a heat gun or torch (really short, don't burn the part). After the heating the fitting should screw in with limited resistance. This will prevent potential layer separation (which otherwise might happen immediately or over some time)
- Add foam seals on both sides; recommended to cut the foam around 45 degrees before glueing together with CA glue to make a stronger joint
Boost Me (for free)
If you like the work I am doing, please leave a boost. I very much appreciate your support. Thanks a lot.
License
You shall not share, sub-license, sell, rent, host, transfer, or distribute in any way the digital or 3D printed versions of this object, nor any other derivative work of this object in its digital or physical format (including - but not limited to - remixes of this object, and hosting on other digital platforms). The objects may not be used without permission in any way whatsoever in which you charge money, or collect fees.
Comment & Rating (28)