
Rocket League Octane - HIGH DEF

Print Profile(4)


Bill of Materials



Description
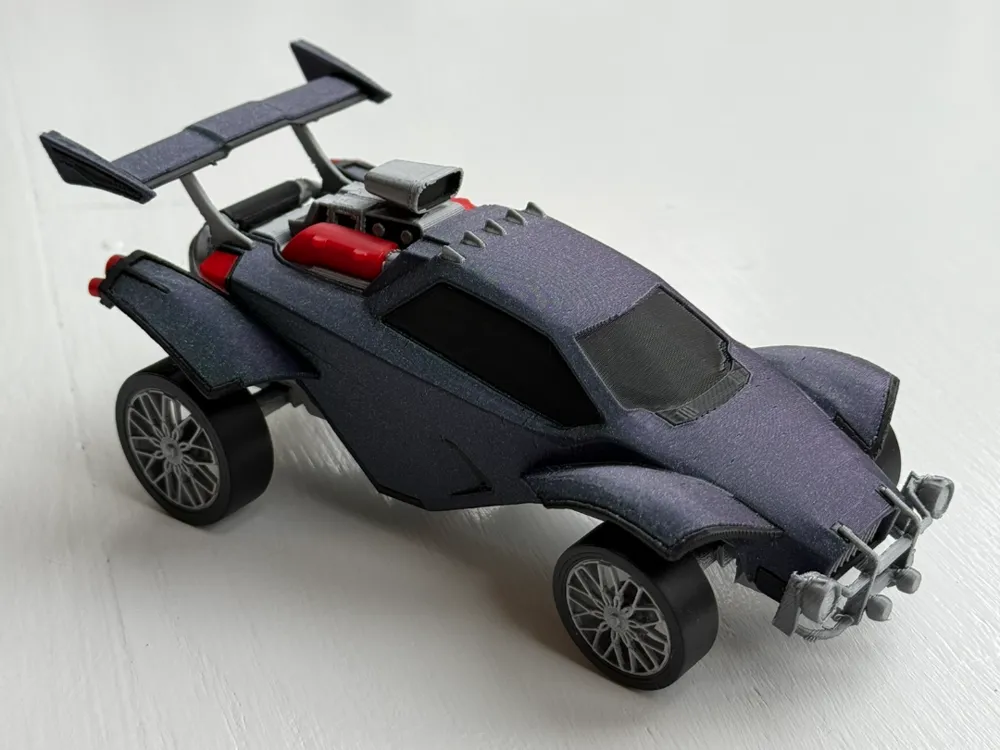
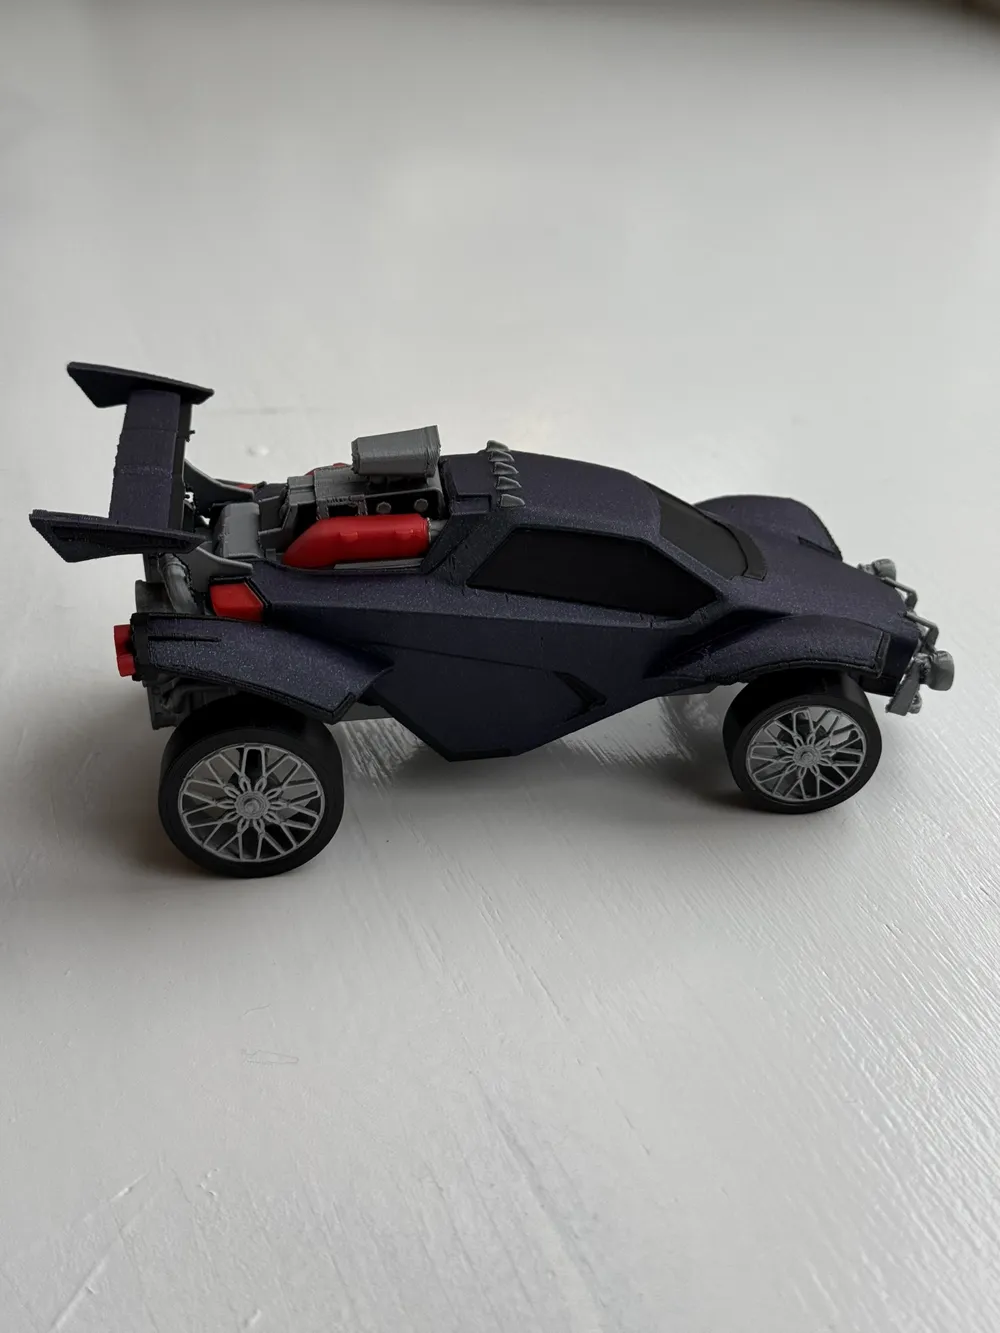
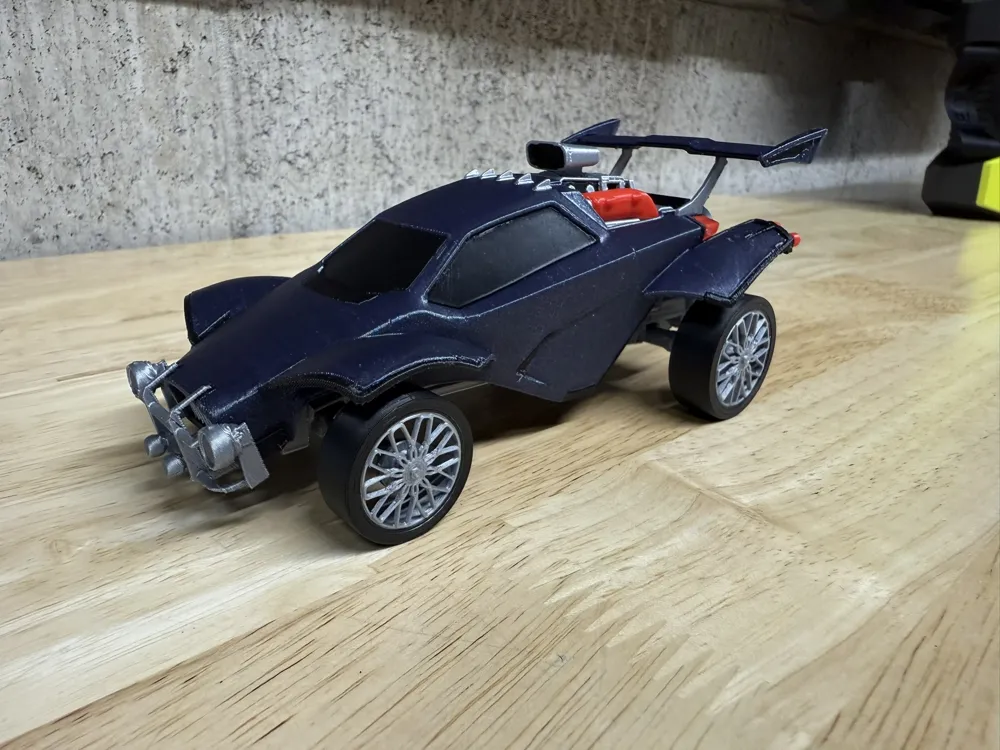
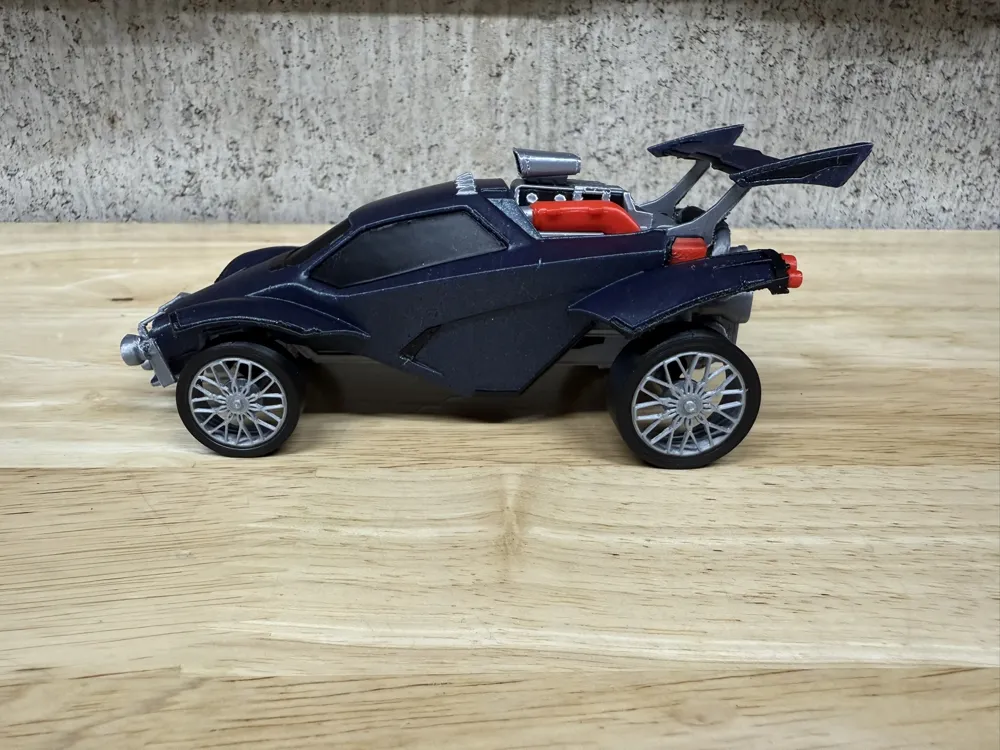
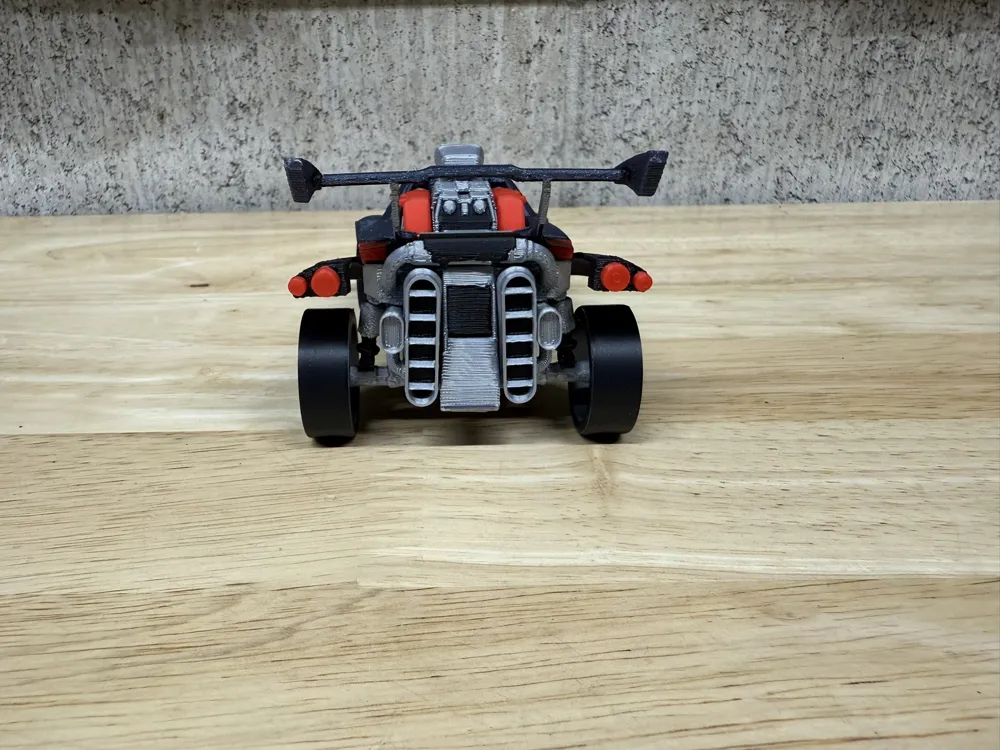
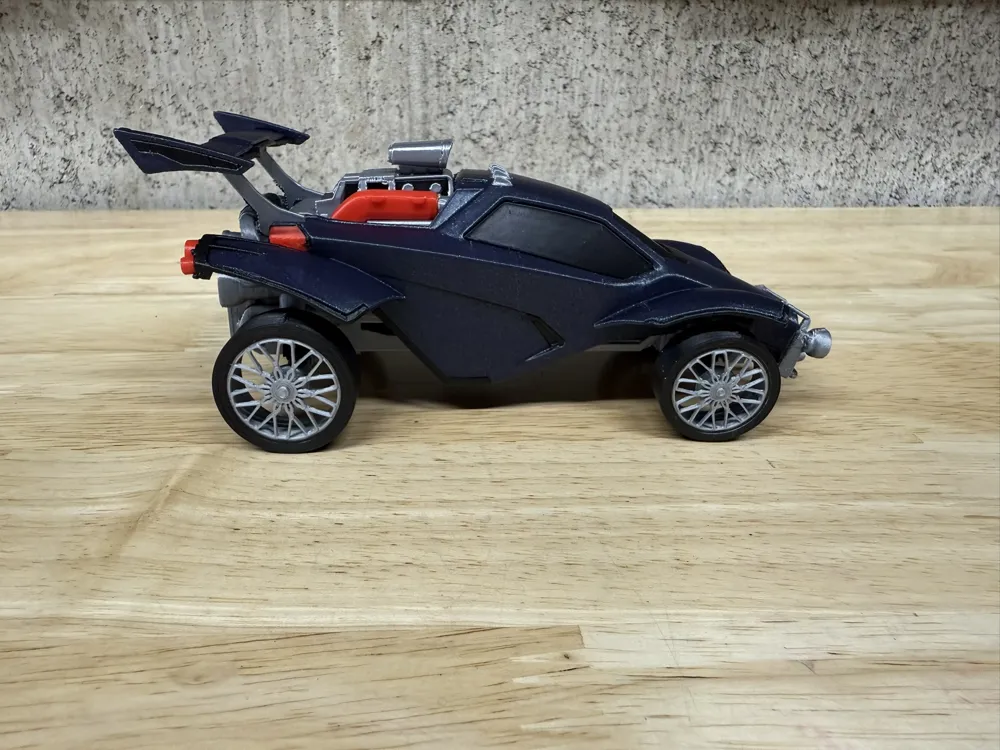
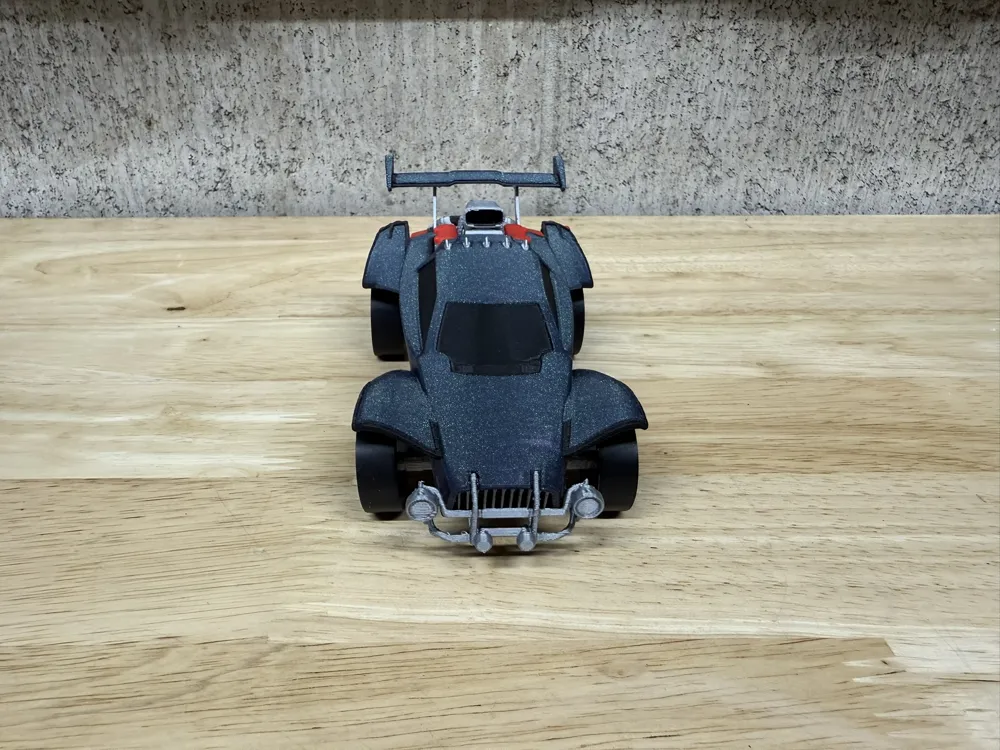
🚀 Rocket League Octane – HIGH DEF
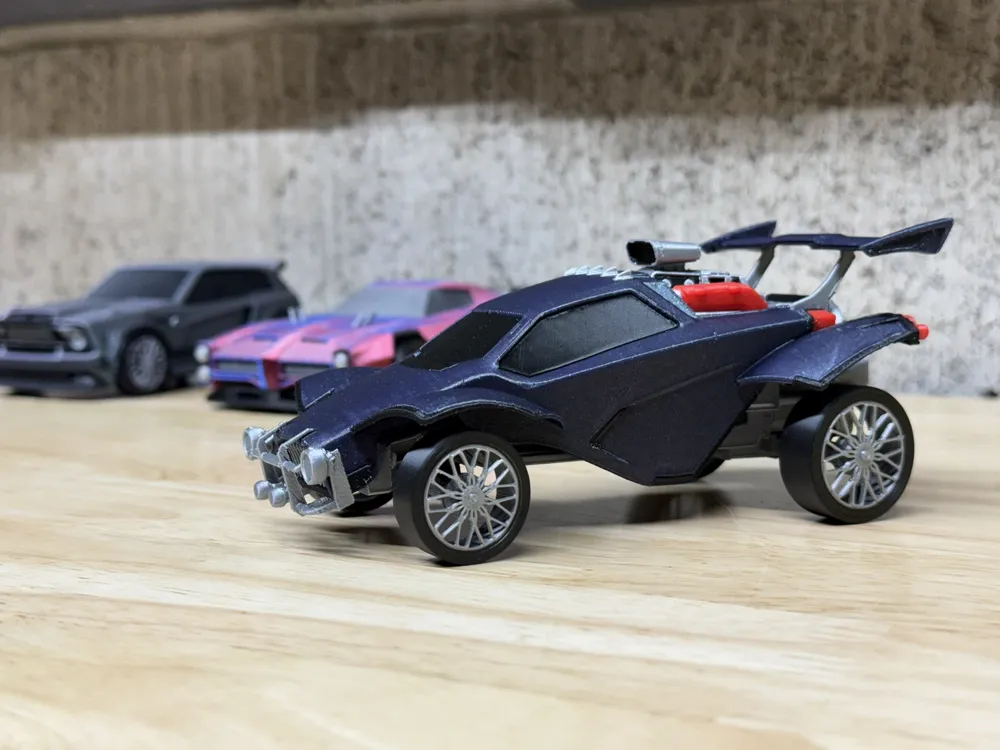
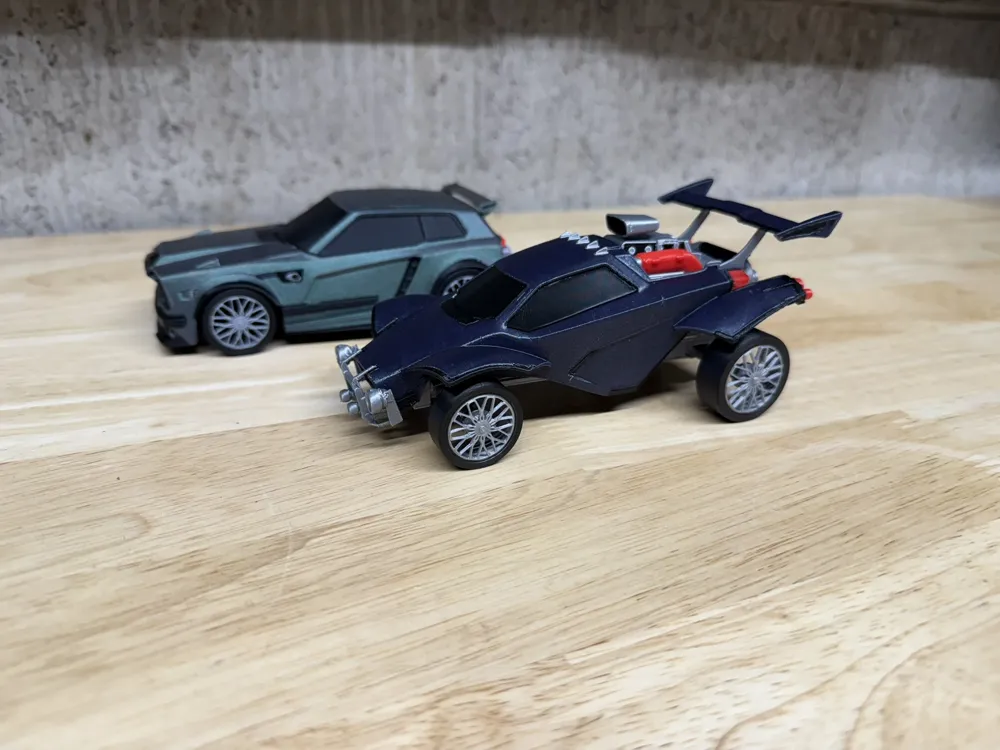
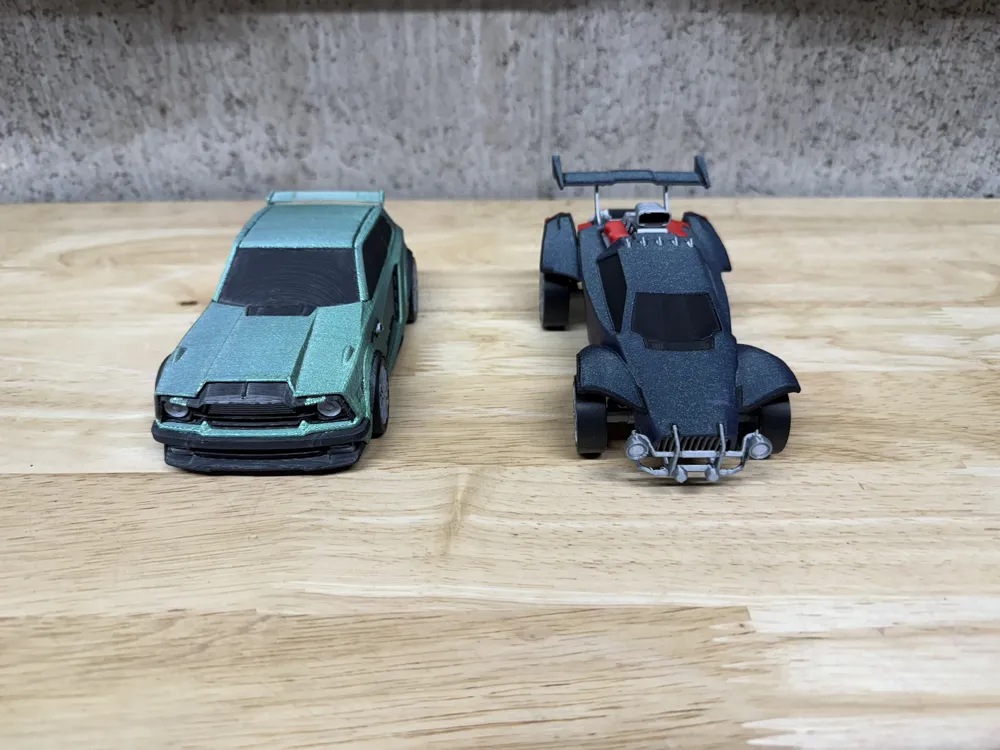
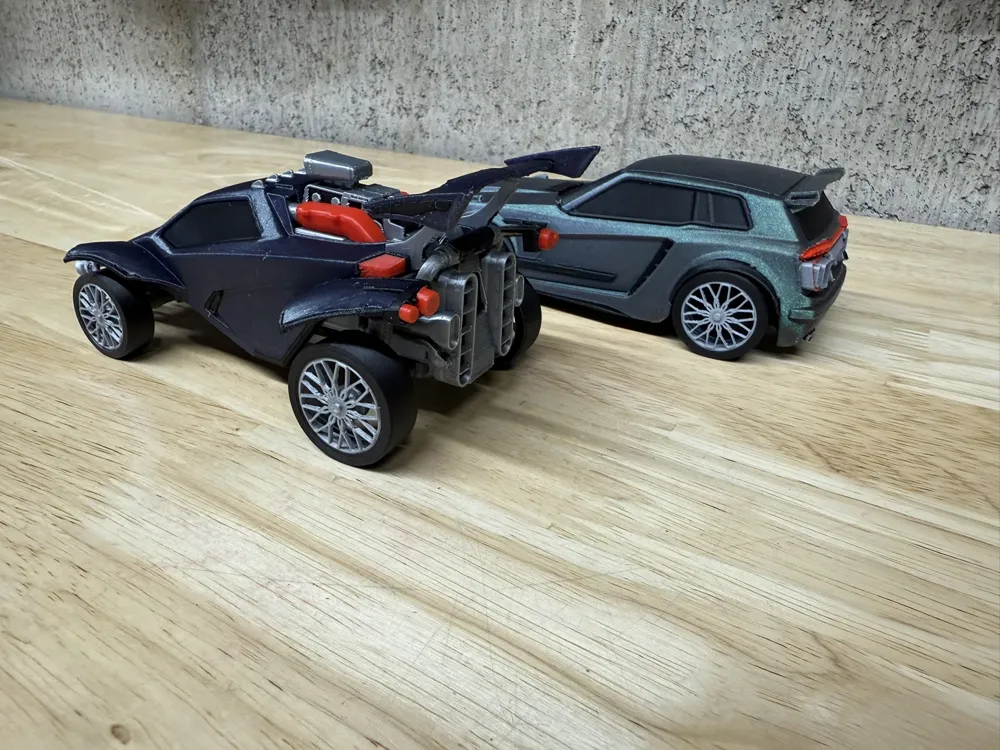
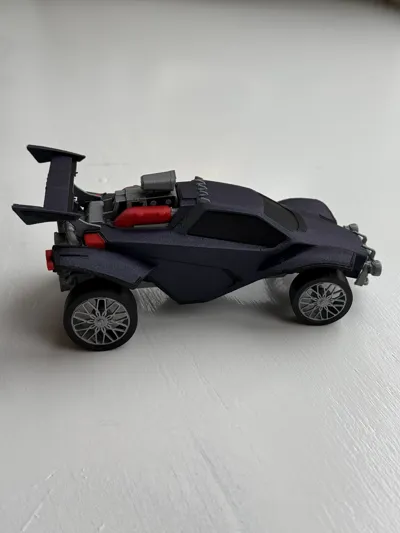
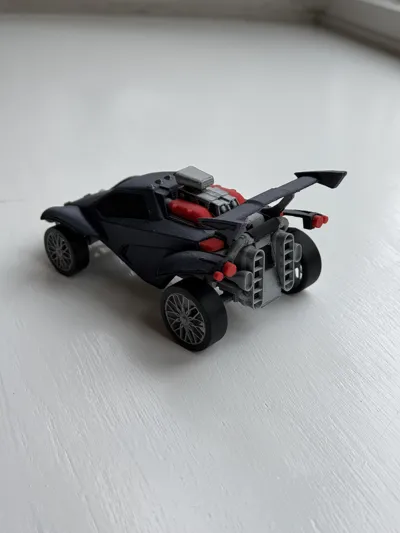
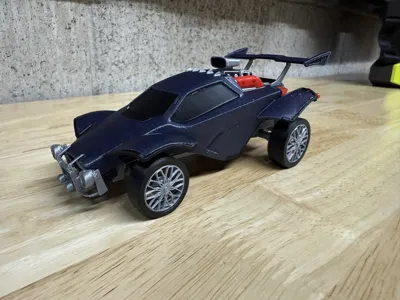
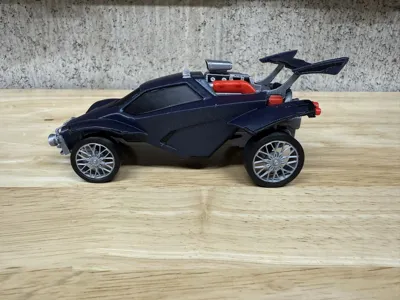
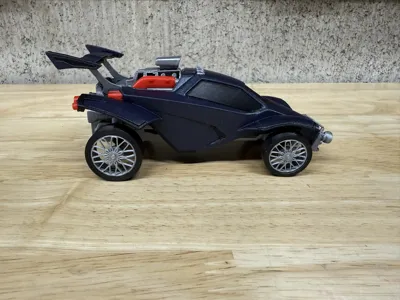
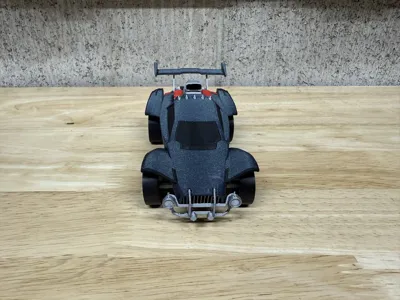
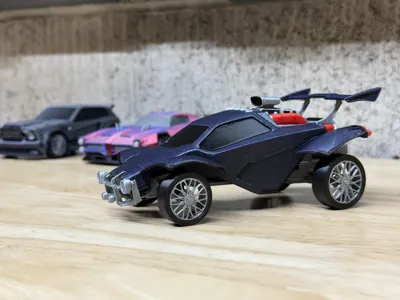
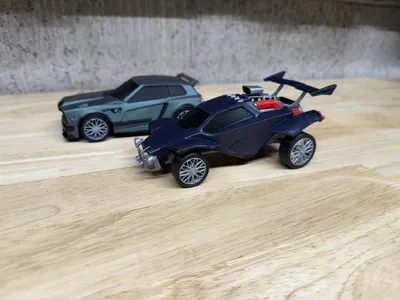
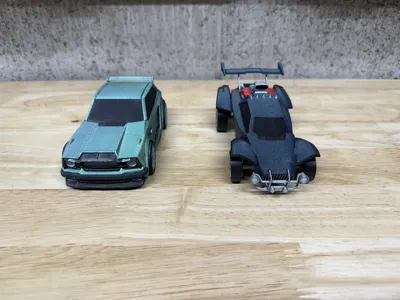
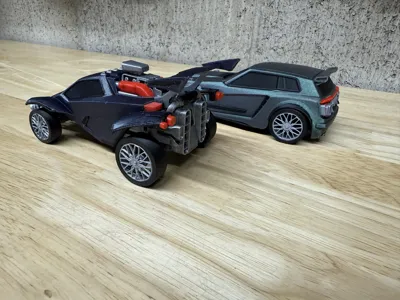
This is a high-definition, multi-color Rocket League Octane rebuilt from the ground up for reliable 3D printing.
The original Sketchfab model looked fantastic — but it wasn’t printable. This version focuses on clean slicing, strong color separation, and predictable results, without sacrificing detail.
Original model source : https://sketchfab.com/3d-models/octane-rocket-league-car-9910f0a5d158425bbc7deb60c7a81f69
🎯 Project Goal
The goal of this project was to create a display-quality Octane that:
- Prints cleanly in multiple colors
- Maintains sharp visual detail
- Works reliably with AMS and support interface materials
The original Sketchfab model was non-manifold, meaning it required significant rework before it could be sliced or printed correctly.
🔧 Model Modifications & Print Prep
To prepare the Octane for printing, I made the following changes:
- Converted the entire model to manifold geometry
- Removed or reinforced features that were too thin to print reliably
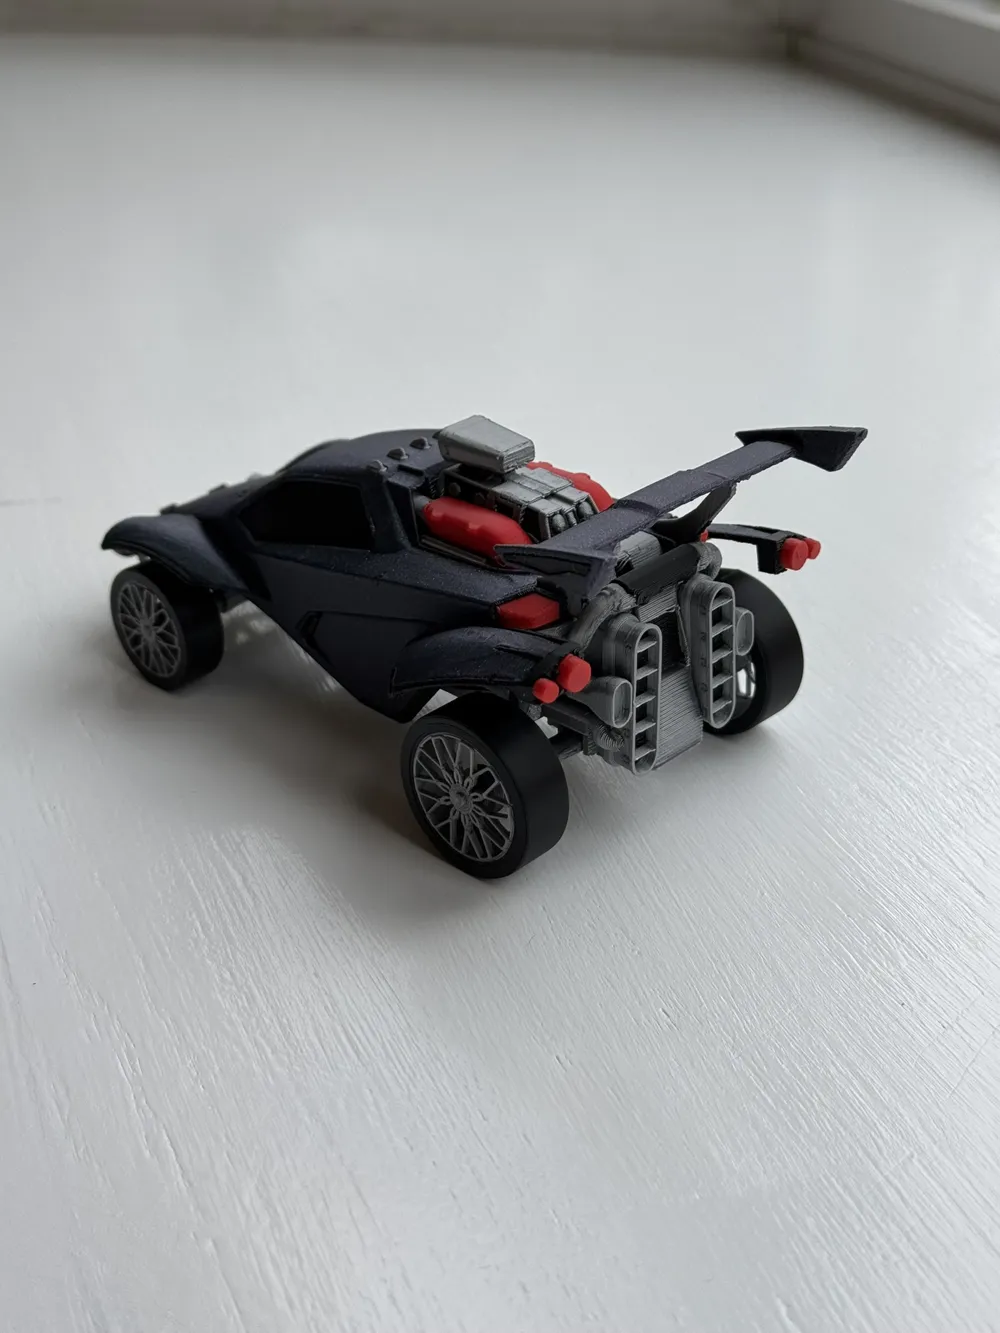
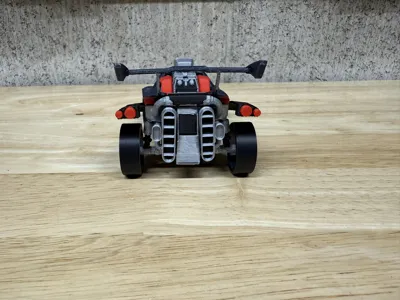
- Closed hollow details such as exhaust openings
- Increased mesh resolution and smoothed surfaces for better print quality
- Separated select components (boosters, taillights, brush guard, etc.) so they can be printed flat on the build plate
- Cleaned up geometry to improve slicer color boundary detection
Wheel and attachment source:
https://www.thingiverse.com/thing:4834994
🖨 Recommended Print Setup
Orientation
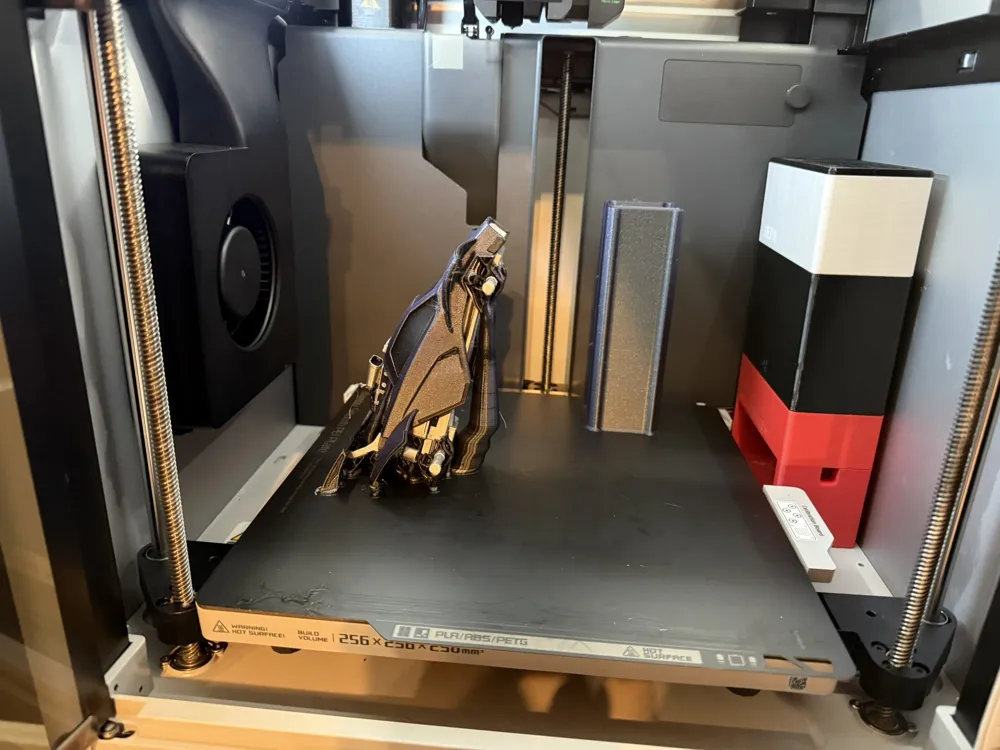
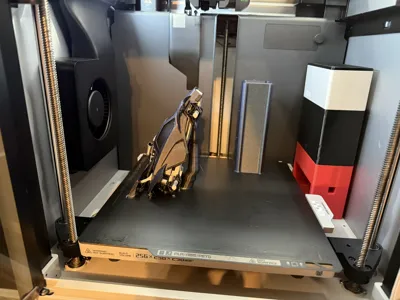
Printing the body tilted with the nose upward provides the best balance of:
- Surface quality
- Print time
- Support usage
Multiple orientations were tested. Bambu Studio’s Auto-Orient consistently produced the best result, selecting a 76.85° tilt angle.
Plate & Filament Strategy (Strongly Recommended)
The entire model can be printed on a single plate, but for best results:
- Plate 1: Main body
- 3 colors
- + dedicated support interface
- total of 4 filaments (Body paint, silver for metal, black for trim, support material)
- Plate 2: Boosters, taillights, wheels, and small detail parts
- includes any part with the 4th color, which is red
- total of 3 filaments (silver for metal, black for trim, red for tail lights, support material)
Using Support for PLA/PETG as a support interface allows the support interface Z-distance to be set to 0, which results in:
- Cleaner supported surfaces
- Easier support removal
- Better overall finish on complex geometry
With one AMS (4 filaments), splitting the model across two plates allows the use of five total materials, including red for detail parts.
🔩 Assembly
Assembly is simple and beginner-friendly:
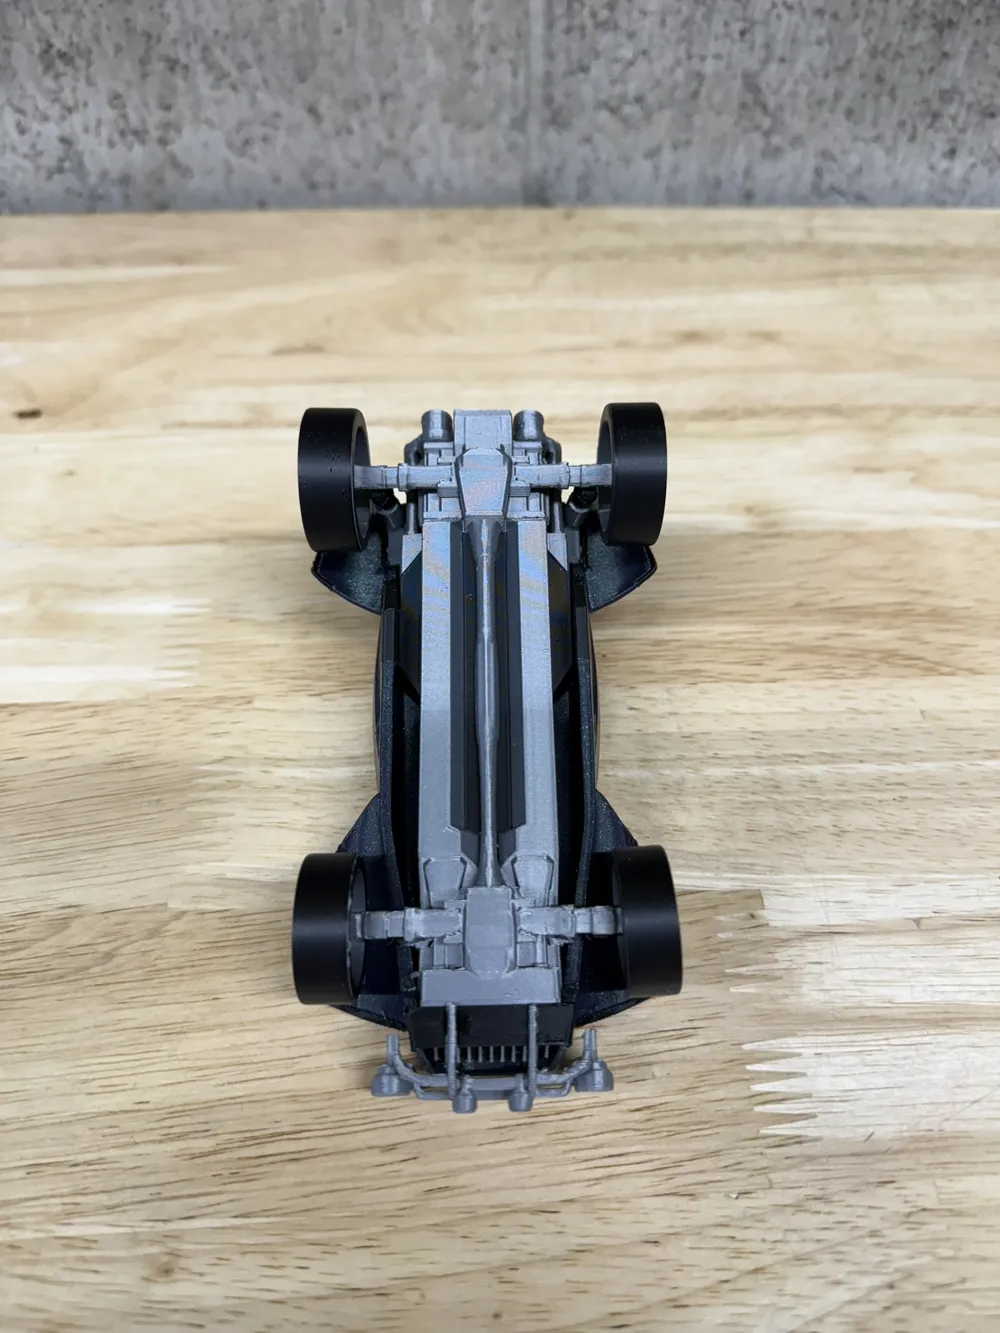
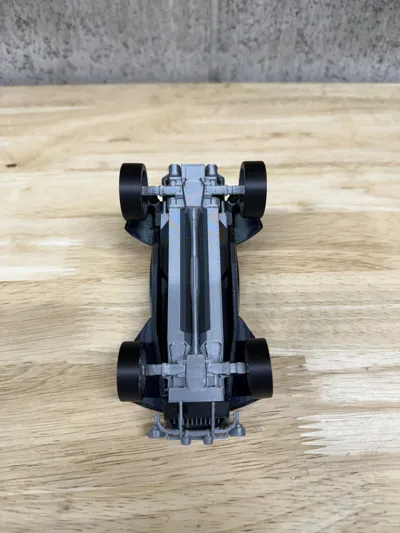
- Most parts require one small drop of super glue
- Hold in place for ~30 seconds
- All parts are labeled in Bambu Studio’s Object List
- Refer to included images if placement is unclear
Wheel Spacer Notes
- Rear wheel spacers are larger than the front
- Glue the wide end of the spacer to the body
- Glue the wheel to the smaller diameter end
- Always dry-fit parts before gluing
✅ Tips for Best Print Results
This is a long print, but it’s not a difficult one if you follow these tips:
- Ensure all filaments are fully dry
- Strongly recommend Support for PLA/PETG
- Noticeably better surface quality
- Much easier support removal
- Calibrate flow dynamics for each filament
- Bambu auto-calibration works for all filaments except Support for PLA/PETG
- Perform Manual Calibration for the support material
- My final K-factor was 0.09, which differs significantly from the default
🏁 Final Notes
This model is intended to be a display piece — especially for multi-color or painted builds.
If you’re looking for a clean, high-detail Rocket League Octane that prints reliably, this one delivers.
Enjoy the build, and happy printing.
Rocket League Fennec
If you like this model, you should check out the my Rocket League Fennec at the link below!
https://makerworld.com/en/models/772162-rocket-league-fennec-high-def#profileId-708173
Boost Me (for free)
Never Required, Always Appreciated
License

You shall not share, sub-license, sell, rent, host, transfer, or distribute in any way the digital or 3D printed versions of this object, nor any other derivative work of this object in its digital or physical format (including - but not limited to - remixes of this object, and hosting on other digital platforms). The objects may not be used without permission in any way whatsoever in which you charge money, or collect fees.


Comment & Rating (232)