LED Riser Modular - Top Glass AMS P2S X2D P1S X1C


Print Profile(6)


Description
This model was designed using coffee, filament, and questionable life choices.
If it earned a spot on your printer, it might deserve a 👍 Like too. 😄
Checkout my newest release:

Do not forget to check out the Community Addons!
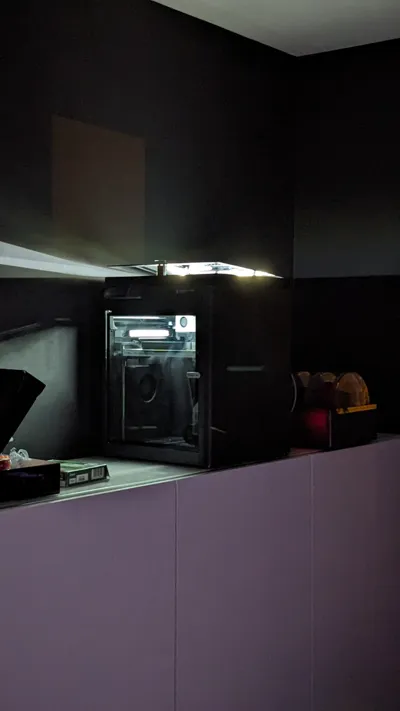
Modular LED Riser
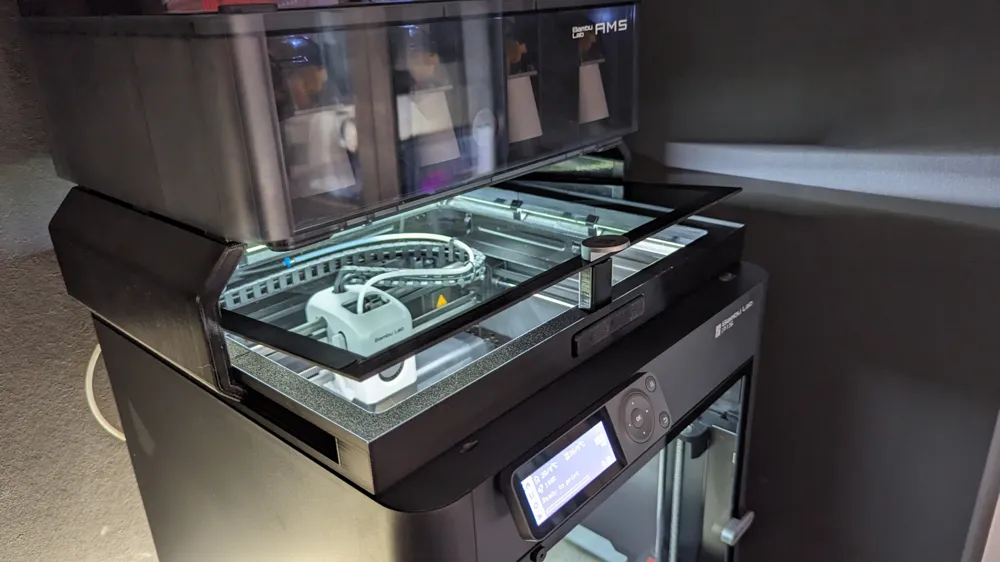
Yes, another one. There are a lot already a lot of good risers out there - but I was not able to find the one that checked all my boxes. I used my vacation to build my own so it would perfectly fit my needs. Let me introduce you to my Modular Riser.
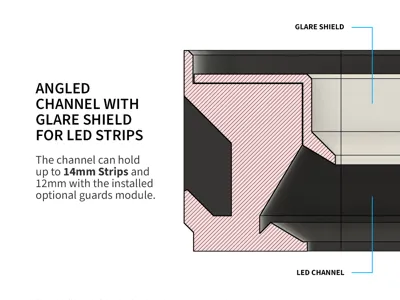
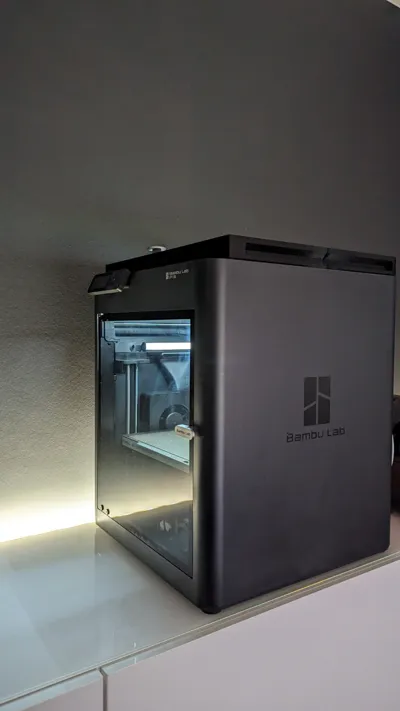
The design is kept simple and unintrusive and is separated into multiple parts, the base module sits flush on the edges of the P1S and looks like it was part of the original package. It only has a bit of tolerance to the sides of it. It has enough room to fit any LED Strip you want to a max width of 14mm, 12mm with installed Guards.
Base
Your journey begins with the base — the essential starting point. Everything beyond this is optional, providing flexibility in customization. The base is intelligently divided into several printable parts for seamless production. It encompasses the foundational frame, connectors, and a multi-functional lid, serving as both glare protection and a connector.

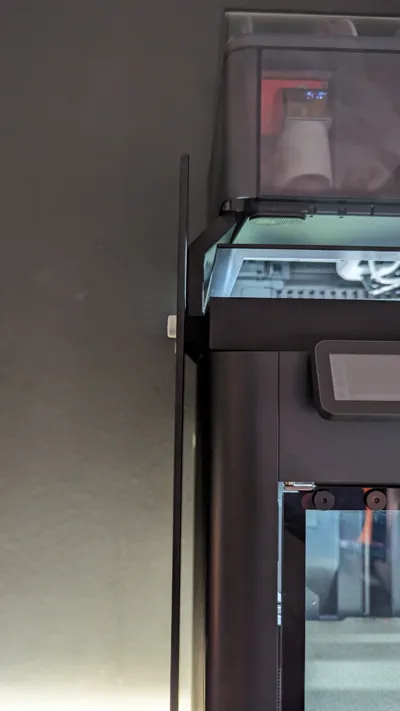
Left, Right, and Rear Channels
The standout feature of the riser lies in the unique channels on its outer frame. Crafted for durability, these channels securely hold your modules without the need for screws or glue. Functioning as a versatile hangar/stand base for all modules, gravity effortlessly keeps them in place. The angled sides provide an added layer of security, preventing any unwarranted slips or dislodgments.

Front Plate
The front plate boasts a dual purpose — not only does it serve as a connector for the two front parts, but it also provides an opportunity for customization. Add your logo, infuse some color to match your style. If your preferences change, simply replace it.

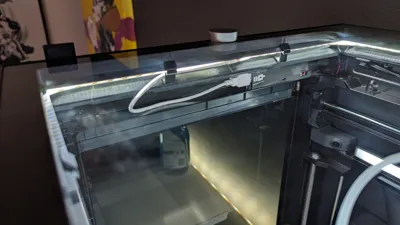
USB Passthrough
Discover added convenience on the back of the riser with a USB passthrough hole for routing cables to the rear. When it's time to seal the opening, use the available plug to keep the air securely within the build chamber.

Assembly
Included Modules:
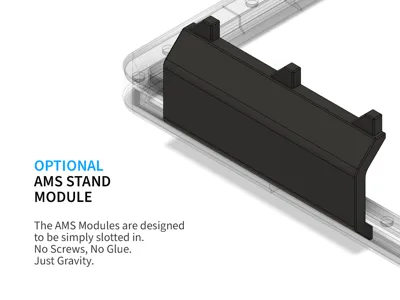
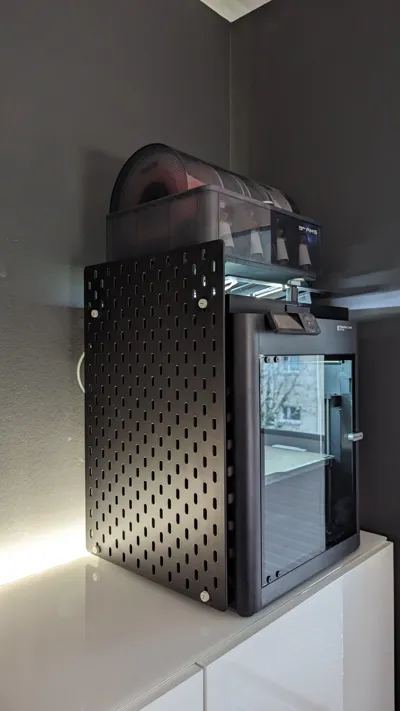
AMS Holder
Designed for simplicity, the AMS Modules effortlessly slide into place—no screws, no glue. Just rely on gravity for a secure fit. You can also adjust the brackets within the slot, ensuring the AMS on top is in the optimal position for easy filament refill or maintenance.

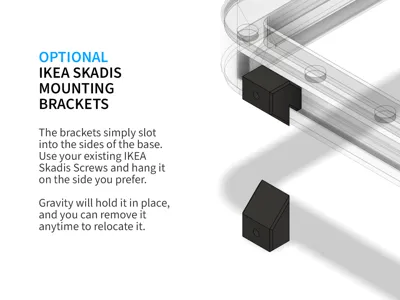
IKEA Skadis Holder
For a seamless installation, effortlessly slide the brackets into the sides of the base, using your existing IKEA Skadis Screws to securely hang it on your preferred side. The force of gravity ensures a stable hold, providing confidence in organizing your space.
Should you desire a change, relocation is a breeze. Simply remove the mounting brackets at any time, offering the flexibility to customize your setup to meet your evolving needs.

Guards
The guards are streamlined clips that seamlessly slot into the inner LED strip channel. Their purpose is twofold: preventing accidental falls into the build area in case of adhesive failure and assisting in cable management when needed.

Recommended Additions:
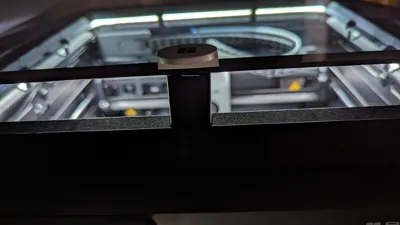
- Top Glass Riser integrated into Lid Handle
Avoid the need to store a dedicated standoff for the Glass, to ensure ventilation
https://makerworld.com/de/models/131962
- Poop Shoot for Modular Riser with installed Skadis Module
This poop collector is designed to go hand in hand when you decide to install the Skadis module on the left side.
https://makerworld.com/de/models/132268
Community Modules:
- Nozzle Tray
https://makerworld.com/en/models/495295 - 3X Complete Hot End Holder
https://makerworld.com/en/models/509979 - LED Diffusor
https://makerworld.com/en/models/400745 - Side Mount Spool Holder
https://makerworld.com/en/models/237472 - SP511E LED Controller holder
https://makerworld.com/en/models/173934 - Jiotty WLED case
https://makerworld.com/en/models/403837 - Remixed Clips and Plug
https://makerworld.com/en/models/466265 - TPU Seal/Cushion Kit
https://makerworld.com/en/models/1318069 - AMS HT Side Holder
https://makerworld.com/en/models/1765511
Updates:
- 31.03.2025
- Added a shim to support the AMS 2 Pro.
- The main Profile is now split up, to better support modules, in preparation for the AMS2Pro Module Version
- 10.01.2024
After some considerations, discussions, and prints with @neoblack, we decided that especially with PETG 2 walls and 15% infill with Gyroid does provide more than enough stability. So it was reduced in the print profile from 4 walls to 2 walls and 20% infill to 15% to avoid wasting unnecessary filament and save some printing time.
I hope you enjoy the design! Please leave a comment or rating if you like it and share your feedback!
Follow me on Instagram for unregular updates 😅.
License
You shall not share, sub-license, sell, rent, host, transfer, or distribute in any way the digital or 3D printed versions of this object, nor any other derivative work of this object in its digital or physical format (including - but not limited to - remixes of this object, and hosting on other digital platforms). The objects may not be used without permission in any way whatsoever in which you charge money, or collect fees.
Comment & Rating (392)