SNES Classic Mini Kiosk


Print Profile(0)
Description
Before you start, this was printed on a Qidi Plus 4 with a 305x305x280 build plate. If yours is smaller you will have to section them out in smaller pieces to piece together.
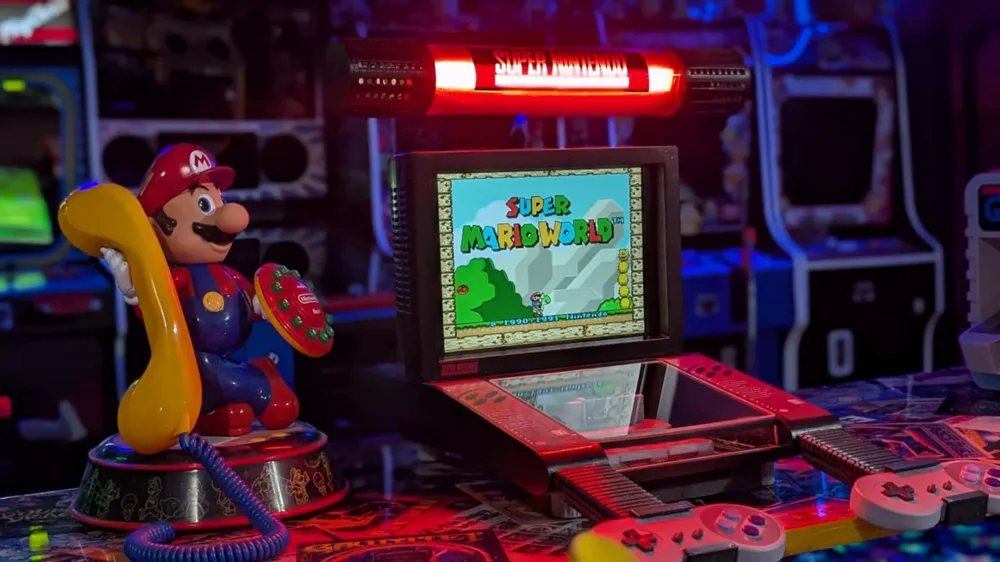
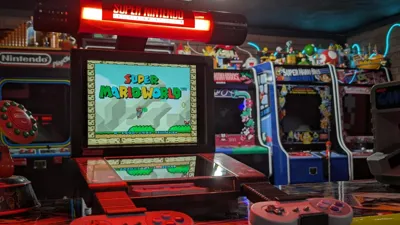
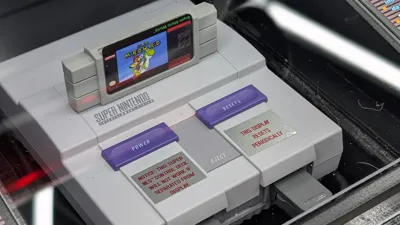
As a kid this was one of my favorite memories walking through walmart and hearing the sounds the Super Nintendo Kiosk. So I built my own mini version for the SNES classic. The version in the picture is the 1st version, the 2nd version in the files is much more improved.
This is designed for a 10.4" 4:3 IPS screen from amazon. You could use any smaller size screen if you just change the bezel plate size to fit it. https://www.amazon.com/dp/B0CLXVND3J?ref=ppx_yo2ov_dt_b_fed_asin_title
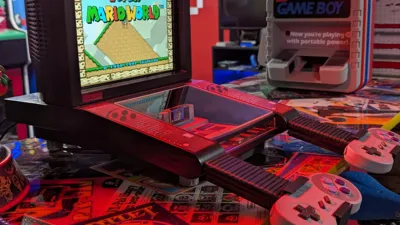
There is another option I have done recently for a monitor. This is half the price and just slighlty smaller. You decase it with only 4 screws, super easy. You wont be using the back casing but instead just the bezel. You will need to trim the bottom of the bezel to make slide down all the way into the crt casing. Also you can bypass the audio extractor and audio amp by using this monitor. The audio will come out of the speakers built into this monitor. I actually didnt use those speakes but instead cut those speaker wires and ran my own from those wires.
https://www.amazon.com/Wstirhy-Monitor-1024x768-Portable-Built/dp/B0DL57P252?pd_rd_w=fliiO&content-id=amzn1.sym.86cd516c-9ee6-4c5d-aaa4-aaab840a97be&pf_rd_p=86cd516c-9ee6-4c5d-aaa4-aaab840a97be&pf_rd_r=KGSWRRY88V34M5PC1KQ7&pd_rd_wg=uacaS&pd_rd_r=1cc8ed1a-9889-48a2-9c0b-b35f86714f21&pd_rd_i=B0DL57P252&ref_=pd_bap_d_grid_rp_0_3_cp_t&th=1
The marquee up top is made for small speakers (hot glued them in) and a led light bar that is 10" or smaller. The wiring will run through the marquee down to the main unit.
Some of the back doors have holes for magnet mounting.
Ive included the art files for you to print for your SNES Kiosk.
You will need two plexiglass pieces (178mm X 157mm) and (178mm X 22mm). Both 3mm thickness.
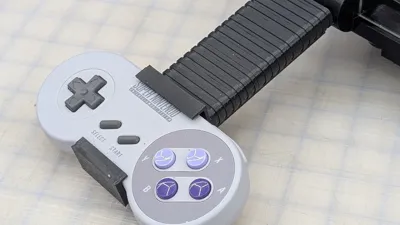
EDIT 4-6-25 IMPORTANT!! To make the controller mounts sturdy so they don't break you have to buy a piece of metal from menards.
This piece is designed to fit into the slots on the body and you simply hot glue or use screws to keep the controller mounts stuck to the
metal piece. You get them from menards and cut them slightly less than half so one piece does both player 1 and 2. This is a simple but affective way to have sturdy controller arms. Here is the info on what piece to get and pics.
https://www.menards.com/main/hardware/utility-hardware/corner-flat-braces/national-hardware-reg-black-mending-plate/n351-456/p-1444441564224-c-9700.htm?exp=false


The red tube was bought off amazon. (Length 2 1/4" OD x 2" ID x 12" INCH LONG CLEAR RED TRNSLUCENT EXTRUDED ACRYLIC PLEXIGLASS ROUND TUBE - 1/8" WALL - 2.25" Diameter) sold by BEST ACRYLICS.
https://www.amazon.com/dp/B07KMF31MC?ref_=ppx_hzsearch_conn_dt_b_fed_asin_title_1
This is the first of my KIOSK series im doing. The NES Kiosk is almost done! :)
Im offering this model for free but feel free to buy me a coffee to help me keep making more awesome KIOSK for everyone to enjoy!
https://buymeacoffee.com/ridicricke
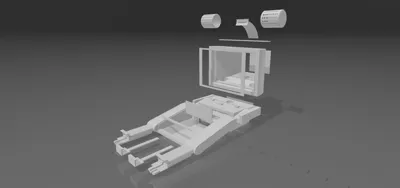
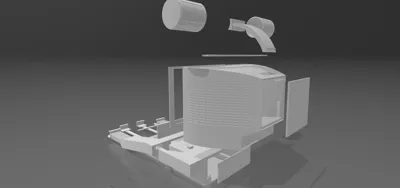
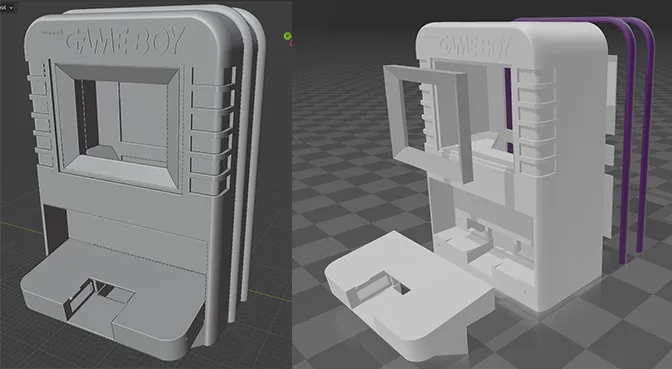
TWO NEW MODELS COMING SOON!!! NES KIOSK and GameBoy KIOSK! Both made from scratch using blender. Currently printing and testing everything first before I post the files. Here are some pics for a sneak peak!

Documentation (5)


Comment & Rating (16)