

Print Profile(3)


Bill of Materials







Description
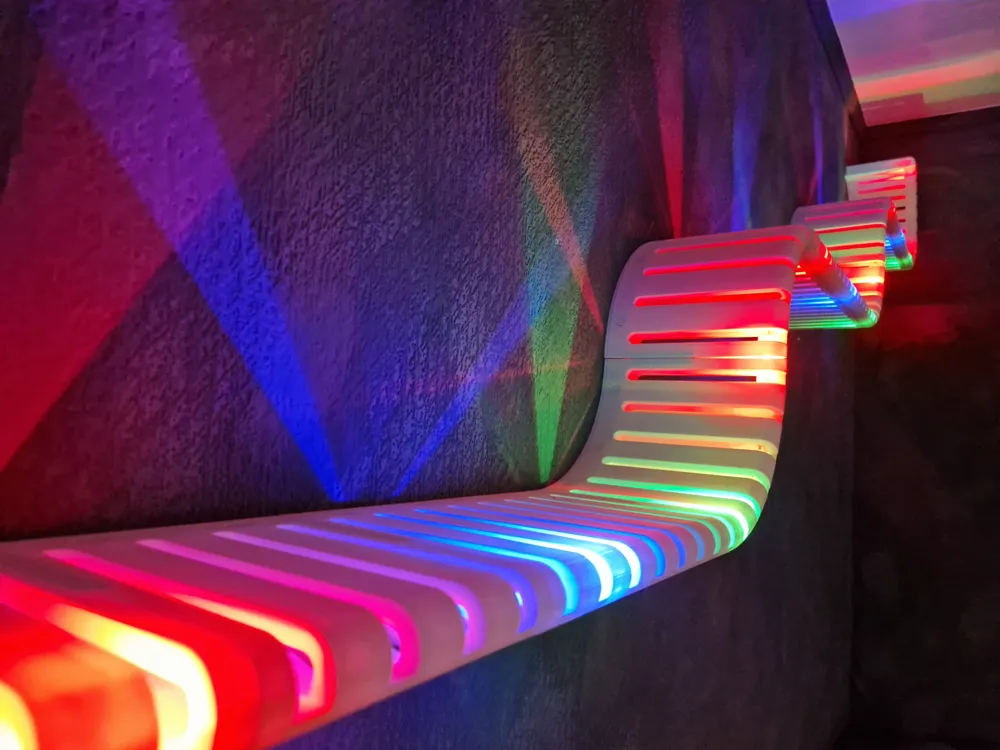

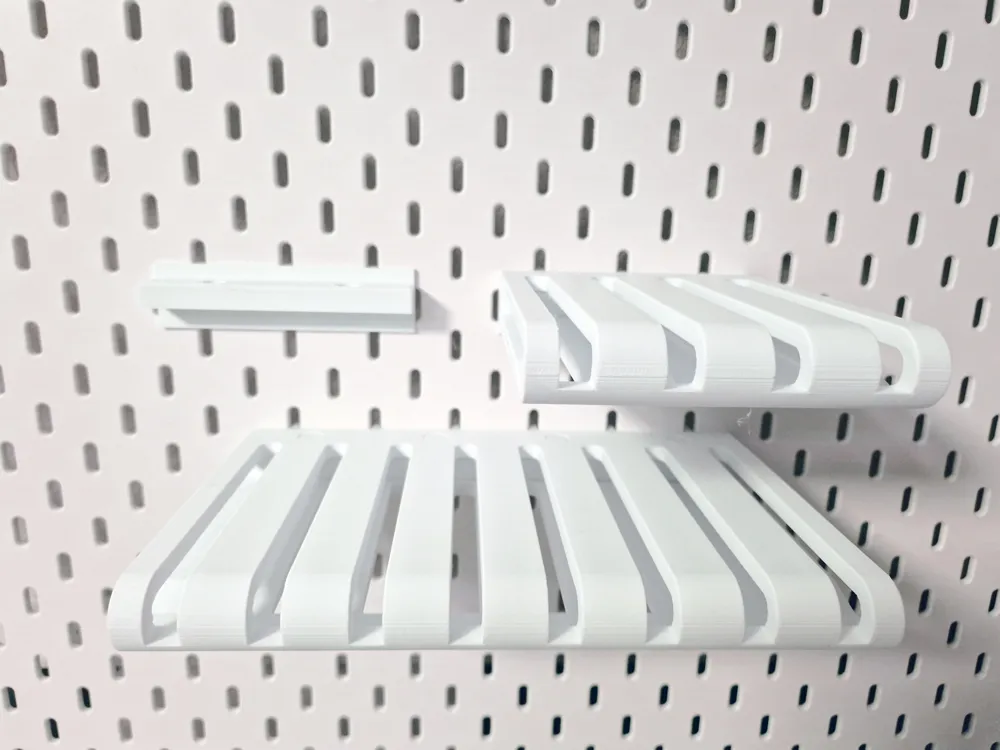
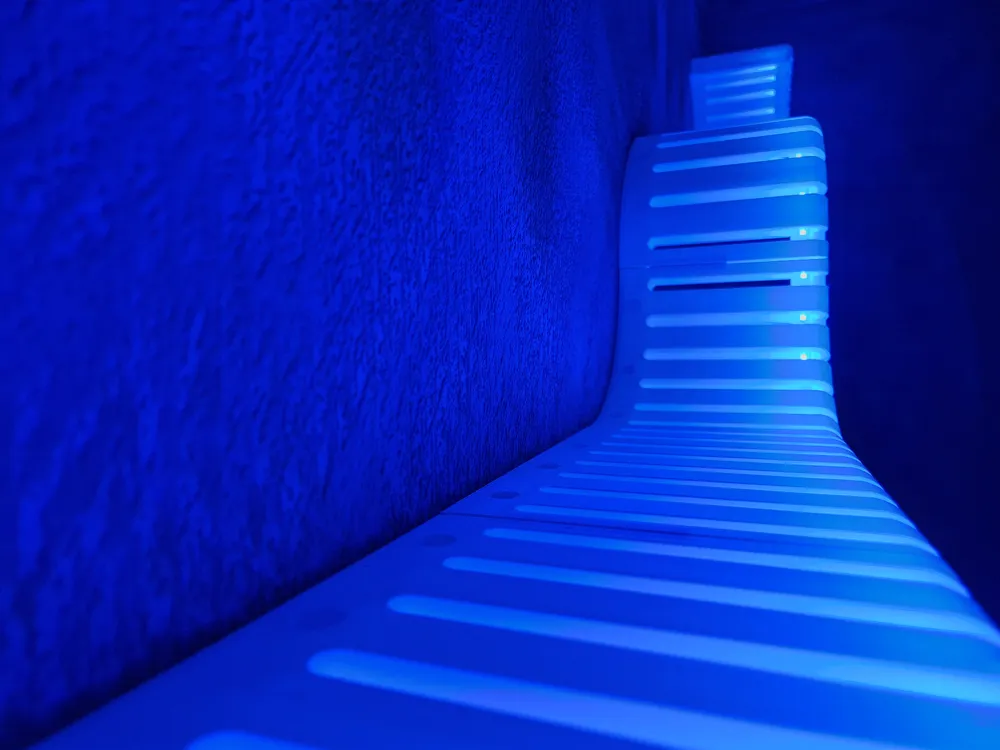
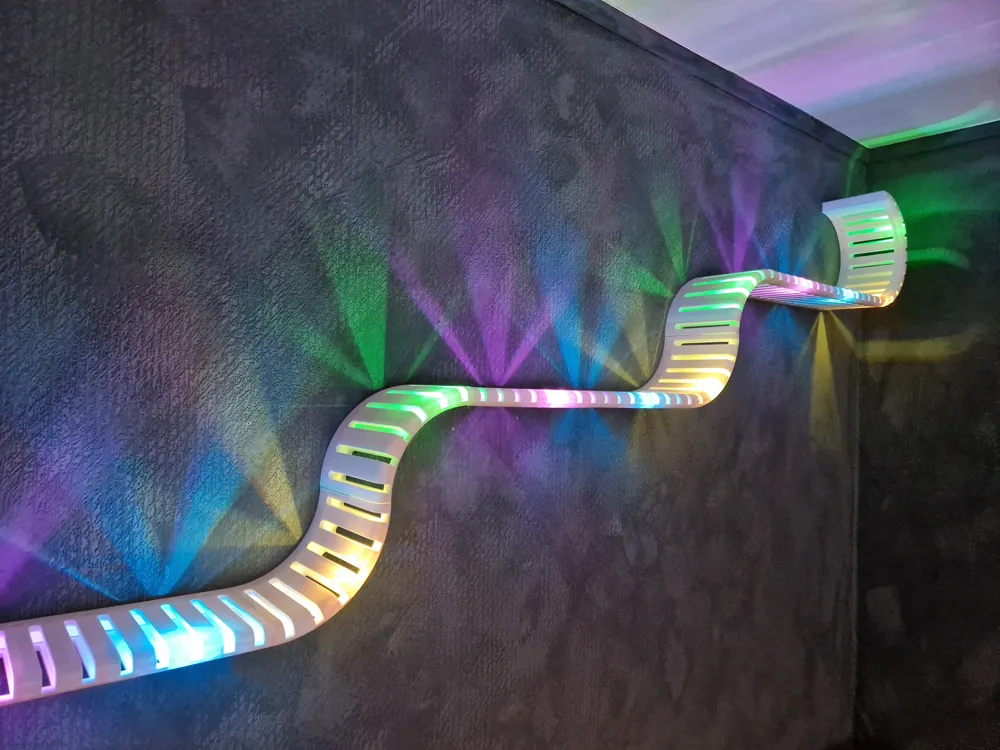
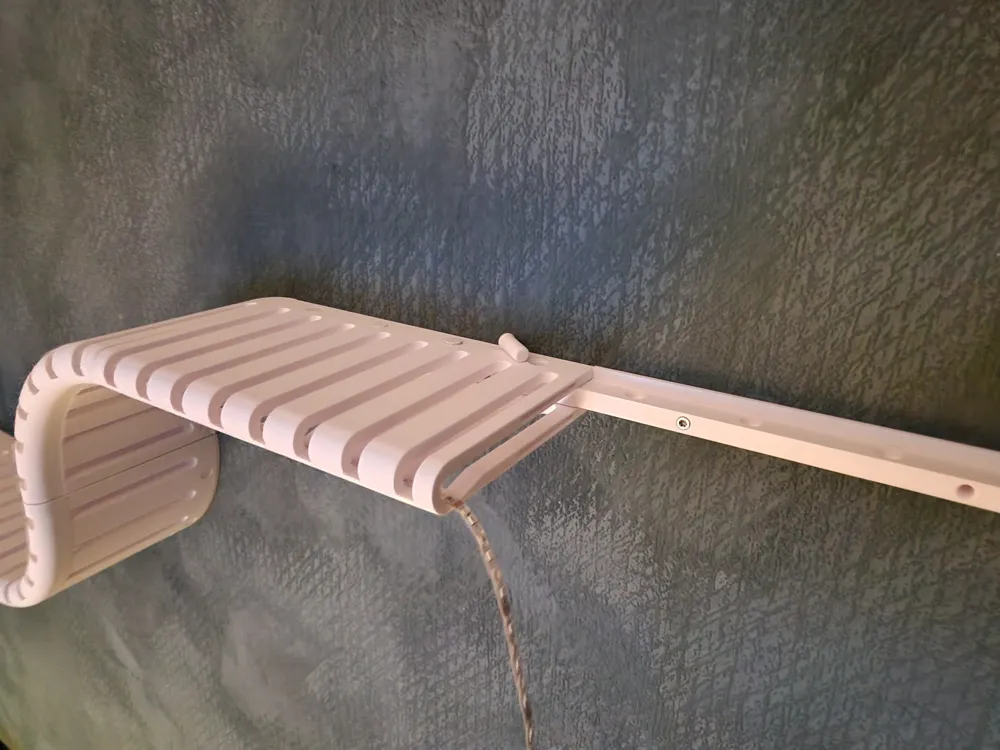
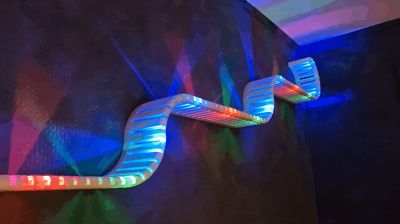
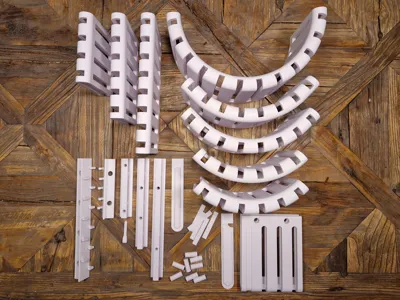
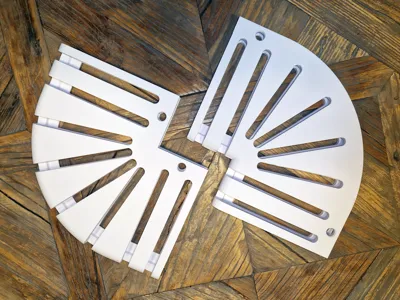
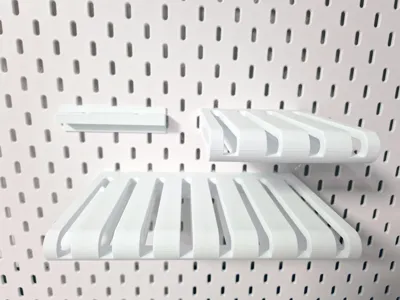
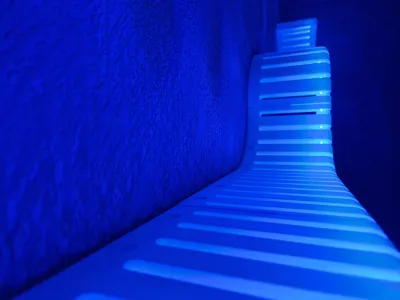
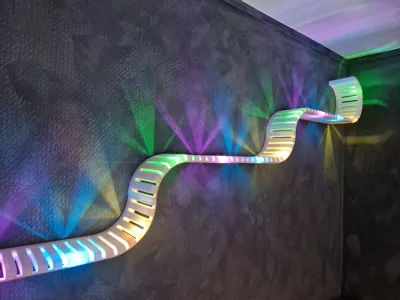
This is a fully modular shelf system that let you create shelves with or without a LED light strip for walls, IKEA Skadis / Skådis or just pure decoration. I wanted to design a shelf where you would get a nice and dancing light effects from the LED strip while keeping the diodes hidden. The shelf is compatible with all the LED light strips in the Maker's Supply with a width up to 12 mm.
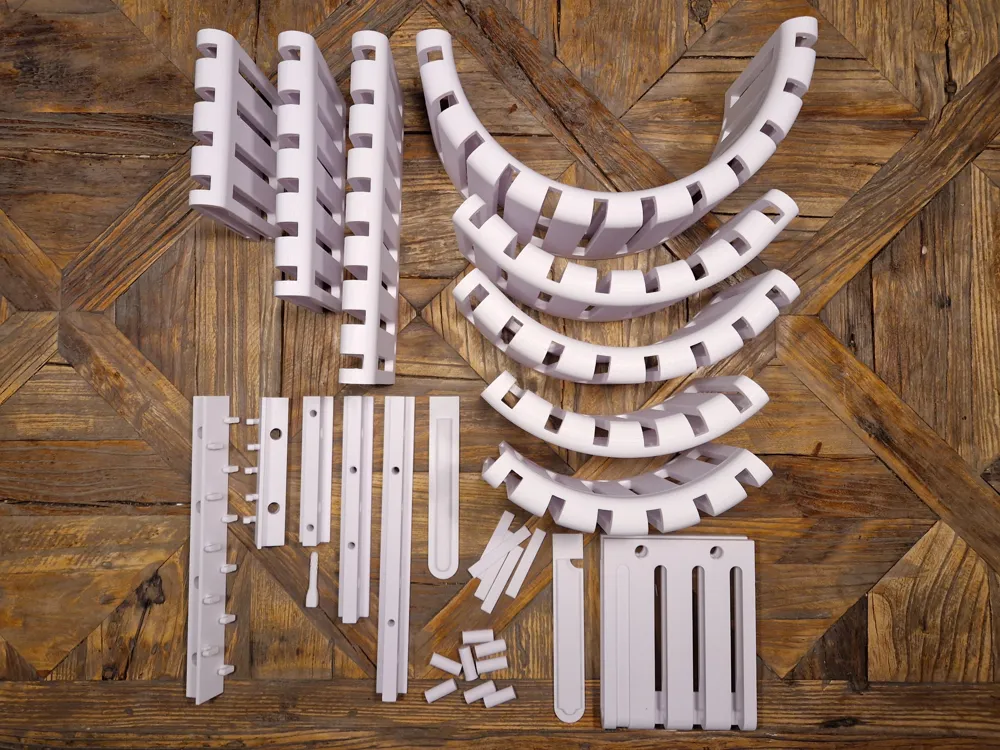
As there are many different parts to choose from, i have also created a print profiles with the parts in 25% size where you can play around with the shelf parts before printing it in full size.
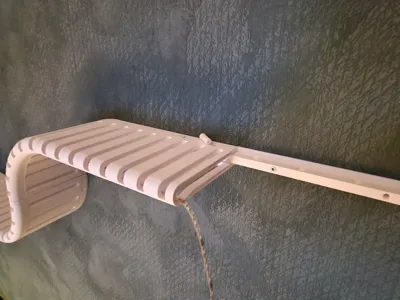
- Easy assembly, no glue needed, push the parts together and use screws if mounting on walls
- Endless configuration opportunities
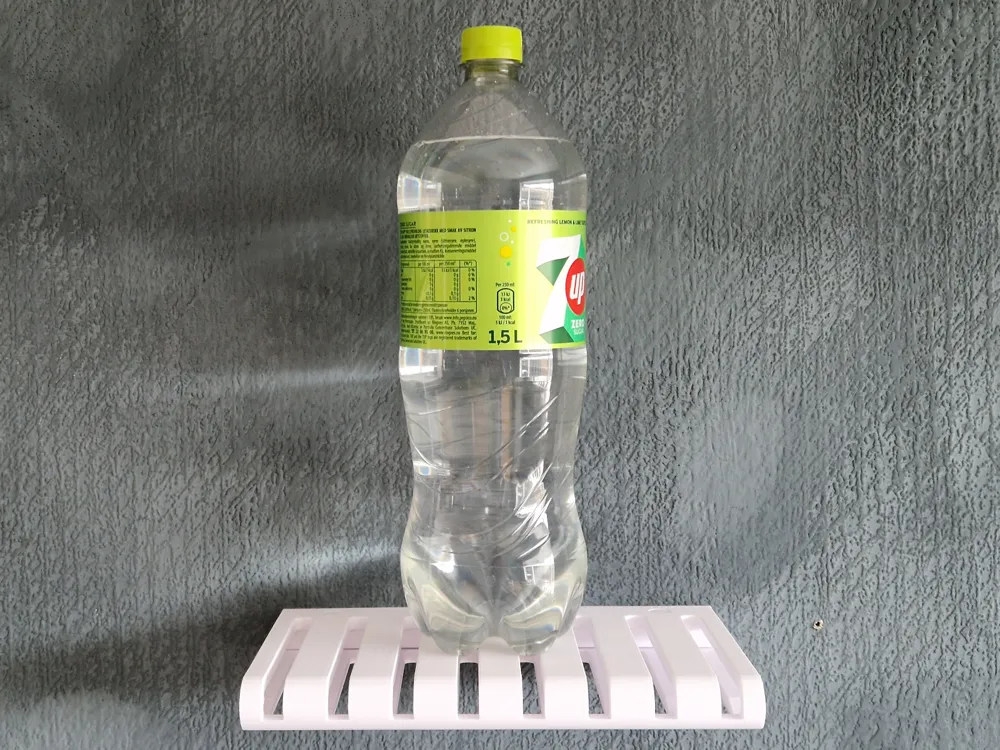
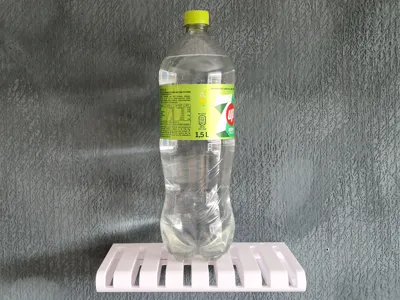
- The shelf can hold good weight, but it's also perfect as a decoration without using it as a shelf
- The shelf parts are 15 cm deep and are practical on a Skadis
- Different colored parts will create even more color chaos if that's what you are after ;-)
Updates
- 21.07.25: Added new wall mounts for wood slat panels with 41mm spacing between screw holes. Can be found in the files with filename Wall Mount xxx mm with 41 mm Screw Hole Spacing for Wood Slat Panels.stl.
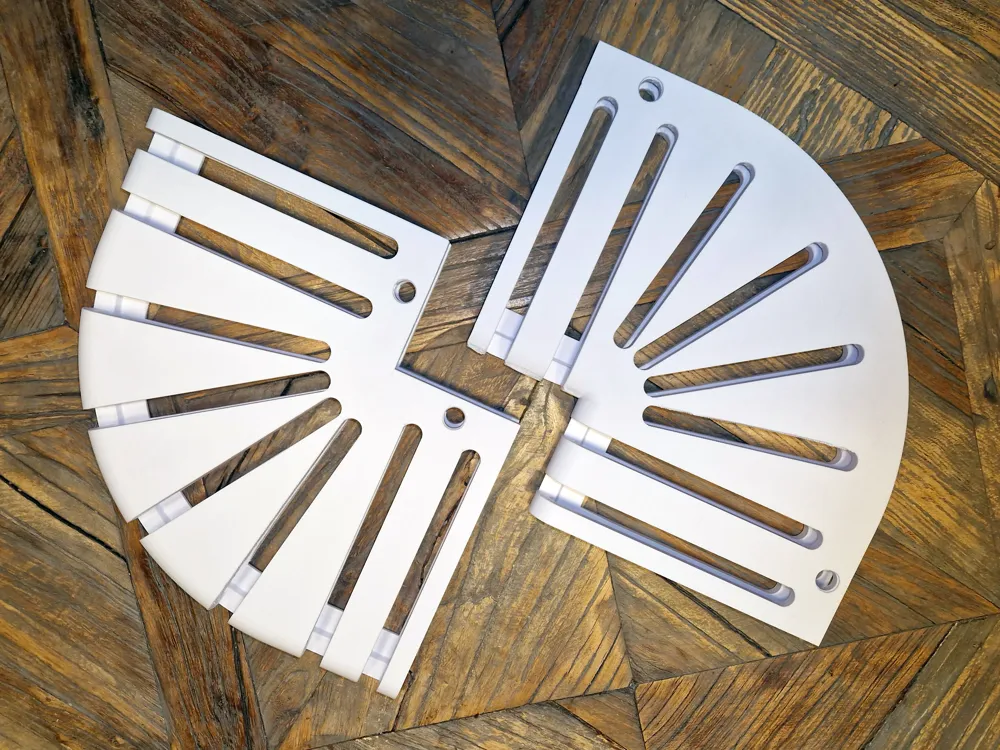
- 03.05.25: Added corners, both inside and outside versions. Use tree supports & 10% infill.
Assembly
- Attach wall mounts with screws to the wall or the Skadis mounts to the Skadis board.
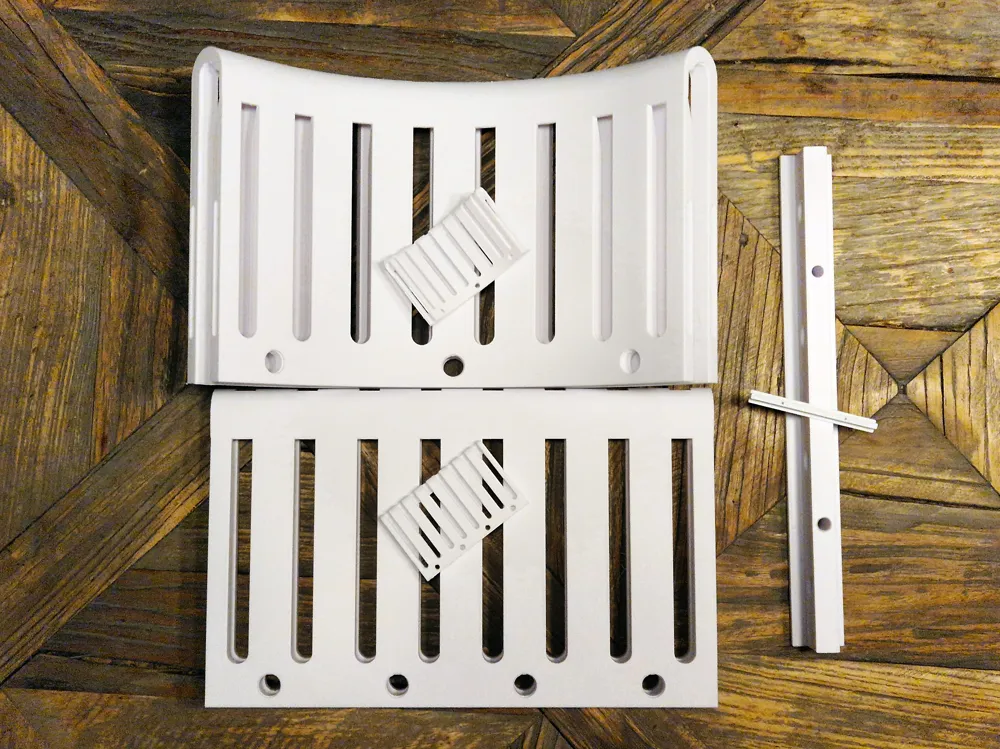
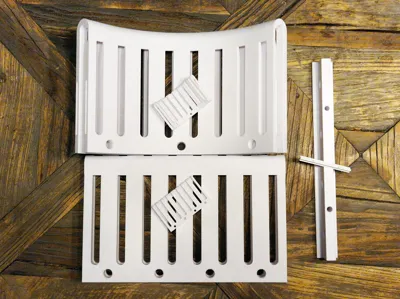
- Attach the shelf parts to the mounts and place brackets between the parts (optional) and secure it with pins.
- Use a cable box with side plate to hide the electronics for the LED if you are using light. PS. Some LED strips have IR sensors for the remote so you will not be able to use the remote if it's hidden. Use end plates on the other ends (optional).
- When securing the LED strip inside the shelf, use the “Tool for LED strips” to press down on the strip in the gaps in the shelf.
- “Bend 90 Degrees With Straight Ends” can be hung on the wall without printing a 90 degree wall mount. It has a straight part in both ends so that it can be attached to straight wall mounts. The bend itself will then not be attached to the wall, but both ends will be.
Printing
- 5% infill in all parts except for the Skadis mounts with it's 15% and corners with 10%. Increase infill if you would like it to be stronger. Less infill means that more light can come through the material.
- 0.2 mm layer
- I recommend using brims on all vertical shelf parts
- Support needed for Skadis mounts and cable boxes. I recommend using PET-G for the interface between the support and part if printing in PLA, that way it leaves no scars and the supports almost falls off when the print has cooled down
- Printed and tested in PLA
Have fun! c",)
Boost Me (for free)
I hope you enjoy my work and a boost goes a long way in keeping me busy designing and testing new models :-)
Membership
Do you want to support my work or sell prints of my models? Commercial license for my models are available here on MakerWorld.
License

You shall not share, sub-license, sell, rent, host, transfer, or distribute in any way the digital or 3D printed versions of this object, nor any other derivative work of this object in its digital or physical format (including - but not limited to - remixes of this object, and hosting on other digital platforms). The objects may not be used without permission in any way whatsoever in which you charge money, or collect fees.


Comment & Rating (390)