Stirring cup, coffee stirring cup, thermoelectric generation, battery-free, coffee cup, self-powered stirring cup, magnetic stirring


Print Profile(1)

Description
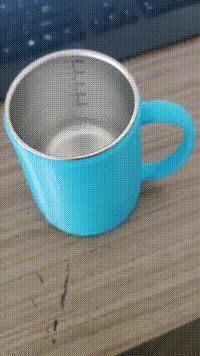
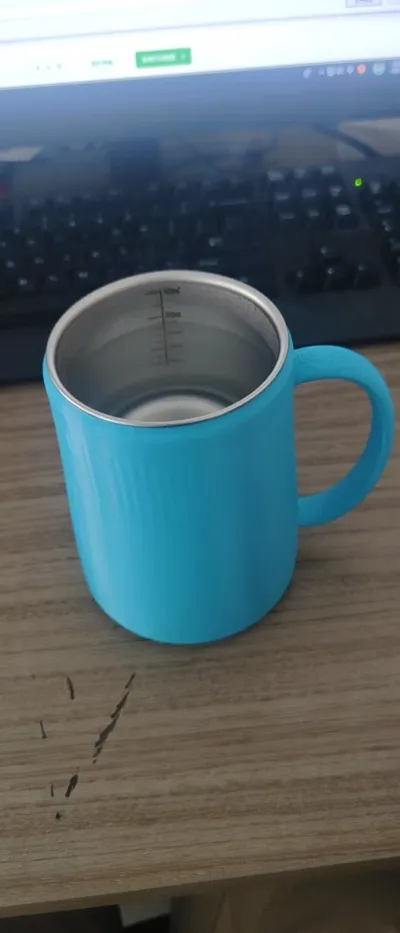
Thermoelectric self-stirring mug, automatically stirs when hot or cold water is poured in
Boost Me (for free)
You can pay for my work without spending money, what a magical world
Parts list:
(Currently, you can probably find the same items by image search. Later, I might organize purchase links for each part or create a hardware kit)
1.316 stainless steel 300ml cup *1 **(Don't buy the wrong one, only 316 stainless steel without a ferromagnetic bottom will work)**

2. Thermoelectric cooler module *1

3. Mini DC motor

4. 30mm length magnetic stir bar *n (buy a few extra to prevent loss, don't ask me how I know)

5. Solid aluminum disc 80mm diameter 8mm thick *1 (copper disc of the same size also works, but an aluminum disc is sufficient and **cheaper** and lighter)

6. Thermal paste (any kind will do, leftovers from computer assembly can also be used)
Assembly process even grandma can understand:
1. Press the magnets into the magnet tray, paying attention to polarity, which can be compared with the stir bar (install magnets separately first, I forgot to take photos)

2. Insert the motor into the magnet tray and route the wires out from the base (If it doesn't fit, you can adjust the hole compensation in the slicer software, or you can slightly heat the motor shaft and apply force for a miracle, but avoid high temperatures that could demagnetize the motor magnets)

3. Connect the thermoelectric cooler module's wires to the motor (I connected red to red and black to black, but any connection will work; it will only affect the stirring direction)

4. Insert the motor into the motor holder and adjust the height of the tray surface to be slightly below the upper edge plane of the cup base to avoid difficult rotation after assembly

5. Apply thermal paste to both sides of the thermoelectric cooler module; with the smooth side of the aluminum disc facing up against the cooler module, insert it into the cup body from below, routing the wires from the wide notch to the lower layer (Please ignore my ugly, lethal amount of thermal paste, thank you)

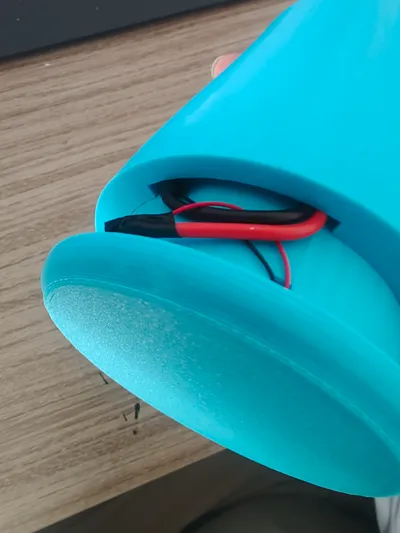
5. Insert the stainless steel cup from the top

6. After inserting the base, zigzag the wires into the gap reserved between the cup body's notch and the outer wall of the base (If you use the same cooler module as me, the gap should be just enough to accommodate the excess wires, and the silicone jacket of the wires will provide frictional holding, eliminating the need for glue to secure the base)

7. Place the stir bar into the cup, pour in coffee powder and hot water, wait for stirring to complete, then enjoy your DIY creation
License
You shall not share, sub-license, sell, rent, host, transfer, or distribute in any way the digital or 3D printed versions of this object, nor any other derivative work of this object in its digital or physical format (including - but not limited to - remixes of this object, and hosting on other digital platforms). The objects may not be used without permission in any way whatsoever in which you charge money, or collect fees.
Comment & Rating (0)