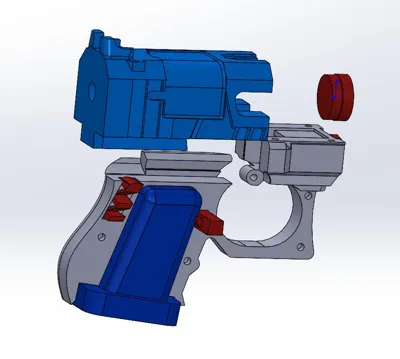
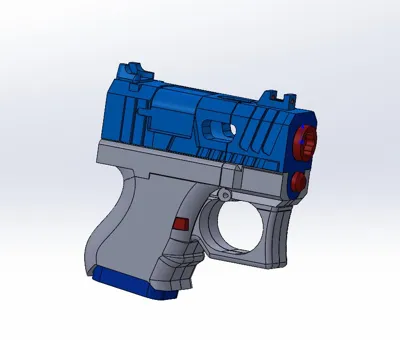
Baby Glock-Style BIC Lighter Case


Print Profile(1)

Description
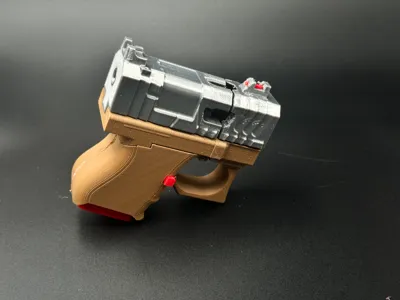
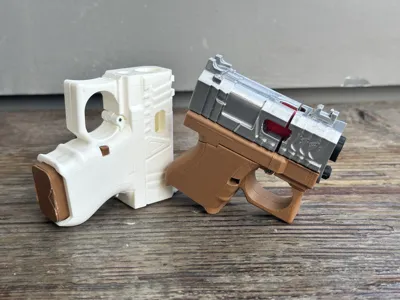
This is a Glock-shaped lighter case designed to hold a BIC Mini lighter. The kit includes:
- A Zippo-style flip-top lighter shell.
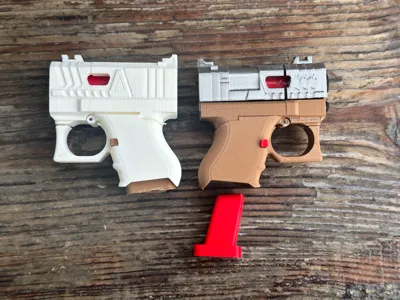
- A detachable Glock-style pistol grip.
- A detachable magazine.

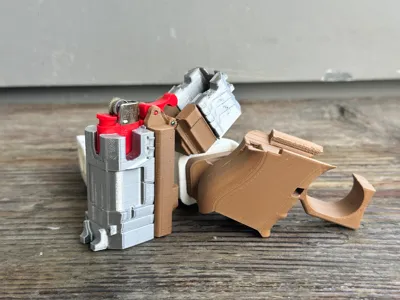
Grip Removal Required: The pistol grip must be detached to use the lighter. It is secured to the shell via spring and snap-fit locks.
Magazine Function: Features a small snap-fit latch to lock/release the magazine. The hollow interior can store small items (e.g., spare flints).

This project requires supports, with a moderate amount needed. It's recommended to use pliers for support remova
Assembly requires adhesive. 2.2mm alignment holes are provided—you can insert 1.75mm filament segments (cut from spare filament) into selected holes to act as temporary alignment pins. As shown in the diagram below, simply insert the filament pieces, trim them to leave ~2mm exposed, and use them to align the parts before applying glue.

Assembly Instructions:
- Assemble & Glue the Pistol Grip Section:
- Install the spring and magazine release button internally. Secure with adhesive.

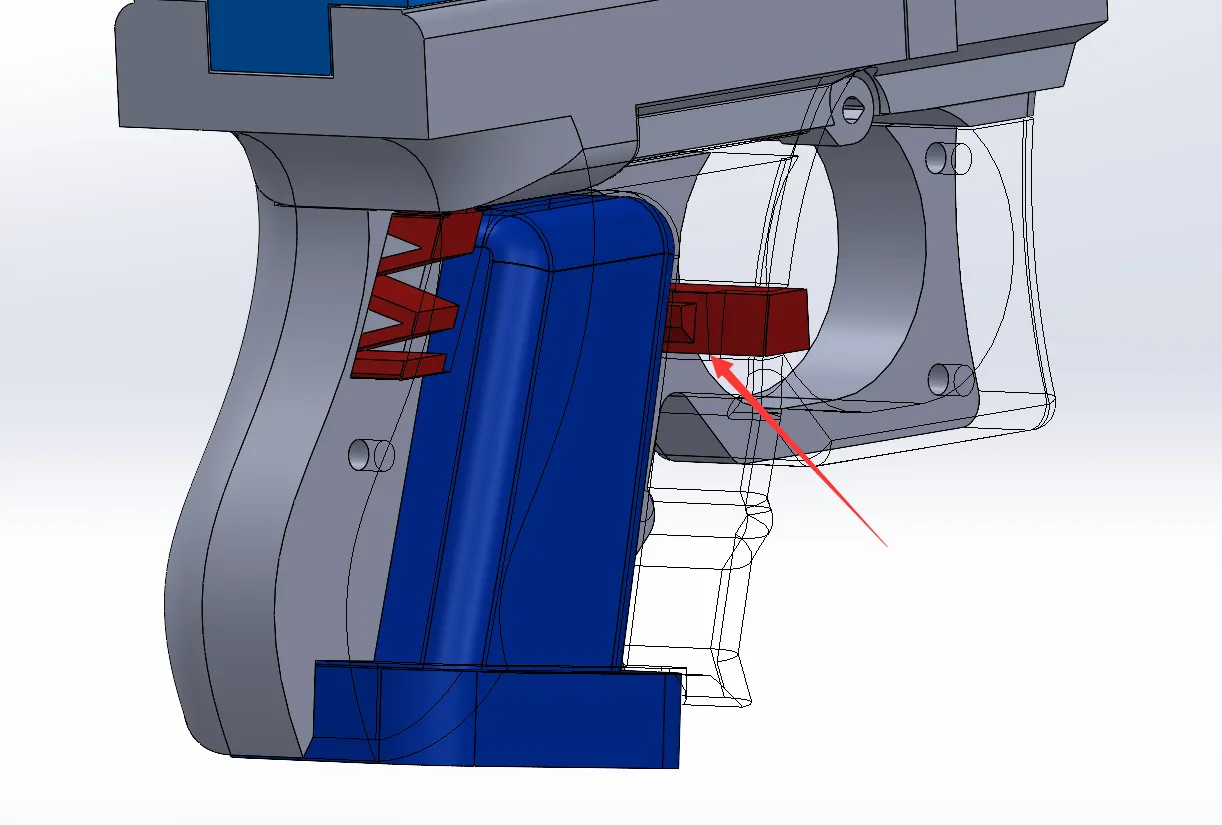
Orient the tab on the magazine release part to the right during installation
- Assemble the Lighter Shell:
- Align parts using dowel holes and snap-fit slots.
- Glue the front and back halves of the lighter case separately to form two distinct components:

Flip-Top Cover (front half). 
Main Lighter Shell (back half) Ensure both parts cure fully before proceeding to hinge assembly.
As shown in the images, use a 1.75mm filament to secure the springs and hinges by threading it through the small holes. If the holes are too tight, carefully enlarge them with a 2.0mm drill bit. During installation, ensure the hinges are in the "open lid" position. Due to the unequal-length lever design, installation will be more difficult in other positions.


Ensure the hinges are in the 'open lid' position. 
Install the cover and use 1.75mm filament to pass through the small hole. - Applying a small amount of lubricant to the top surface of the spring will make opening and closing smoother and produce a crisper sound.
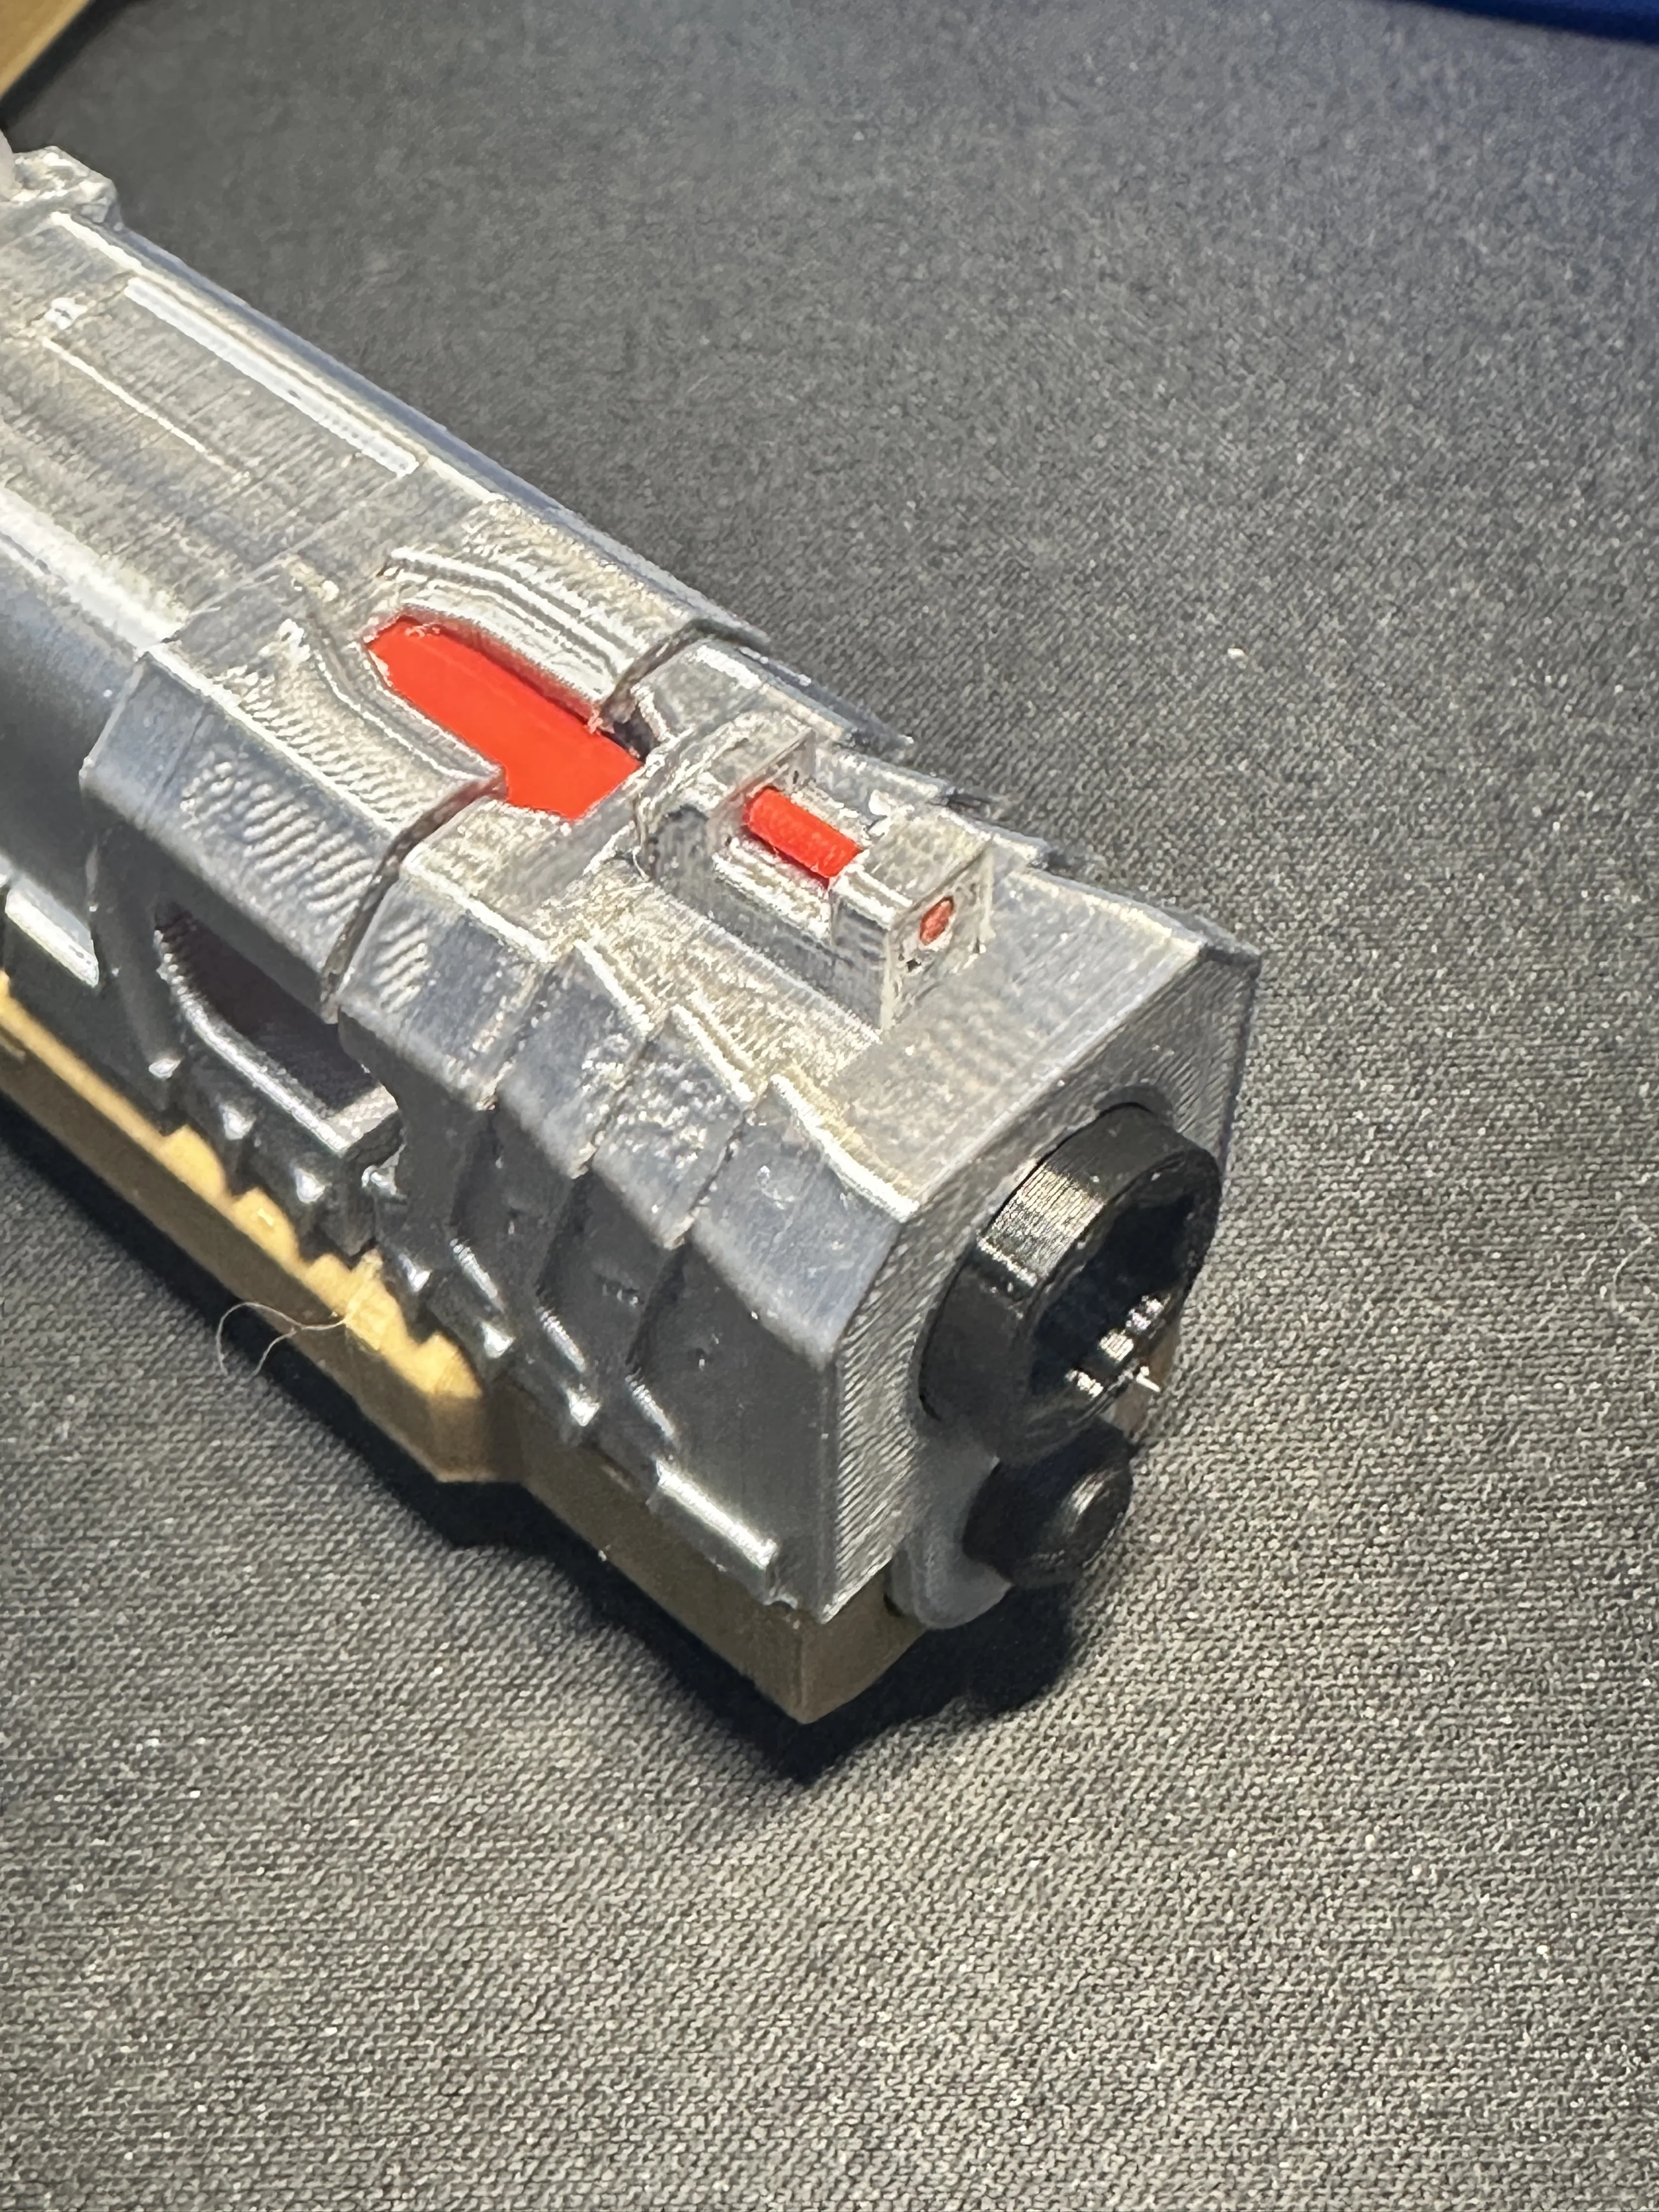
- Glue the Barrel Components:
- Bond small barrel parts with adhesive (ensure alignment via pre-designed guides).

- Final Snap-Together Assembly:
- Do not use adhesive here. Snap all sections into place for a secure, tool-free fit.
Note: Follow the numbered sequence to avoid misalignment.


The strength of 3D-printed knives cannot be guaranteed and they are suitable only for light-duty tasks, such as cutting paper or opening Amazon packages. Unless otherwise specified, all of my knife designs are intended for light-duty use only.
My similar projects, click on the picture

Membership
License
You shall not share, sub-license, sell, rent, host, transfer, or distribute in any way the digital or 3D printed versions of this object, nor any other derivative work of this object in its digital or physical format (including - but not limited to - remixes of this object, and hosting on other digital platforms). The objects may not be used without permission in any way whatsoever in which you charge money, or collect fees.
Comment & Rating (16)