Trashcan Basketball Hoop - made with refill spool


Print Profile(1)

Description
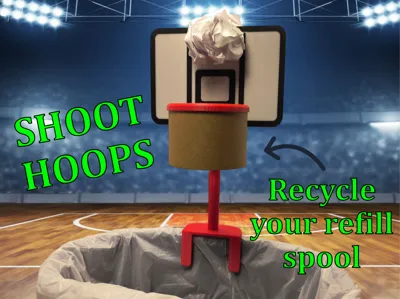
Trashcan Basketball Hoop
Do you want to have a little friendly office competition, or take a break from writing, or maybe you just love basketball... Well, try my handy trashcan basketball print. It's great for killing boredom or embarrassing a friend. Have fun shooting 3's
Boost Me (for free)
I am grateful for every like, bookmark, comment, rating, follow, and Boost. It encourages me to keep making models. Thank you.
Assembly and tips:

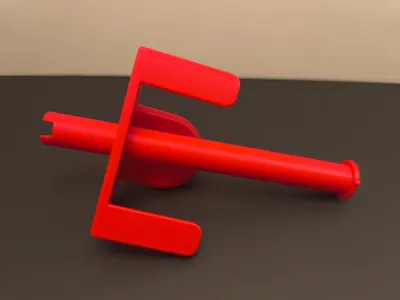
Step 1: Glue around pole base carefully

Step 2: Insert pole into the trashcan base attachment.

Step 3: Make sure pole is seated properly. The small piece on the circle should be in the correct spot. Quickly clean any glue that came out. Keep pressure until glue hardens.

Step 4: Insert screw partially. If it's very hard, take your time. Work it in a little then back it out. Repeat until it has smoother operation.

Step 5: Push in the refill spool into the hoop. You can use glue if you want but may not be needed if you want to break down later. Push in one spot with medium force then go to a different spot in a clockwise pattern around and push each time.

Step 6: Glue inside front backboard opening. Try to get glue on every side and very back of opening. Don't go crazy as it might squish out in next step.

Step 7: Insert Hoop and quickly clean up any glue that comes out.

Step 8: Not necessary if you want to break it down later. Apply Glue in the hole on the back of the backboard.
Last step 9: Make sure the backboard and bottom pieces are aligned correctly, then insert and clean glue quickly.


Tips for printing better first layers of backboard and other prints

These are the filament settings I changed
Make sure your purge settings are good for the filament you're using

Click on the plate settings and make sure white (or lighter colors) are first in order.
And darker color after it
Last tip: If your plate has adhesion issues clean properly and use a glue stick to help print the backboard and pole parts.
License
You shall not share, sub-license, sell, rent, host, transfer, or distribute in any way the digital or 3D printed versions of this object, nor any other derivative work of this object in its digital or physical format (including - but not limited to - remixes of this object, and hosting on other digital platforms). The objects may not be used without permission in any way whatsoever in which you charge money, or collect fees.
Comment & Rating (5)