
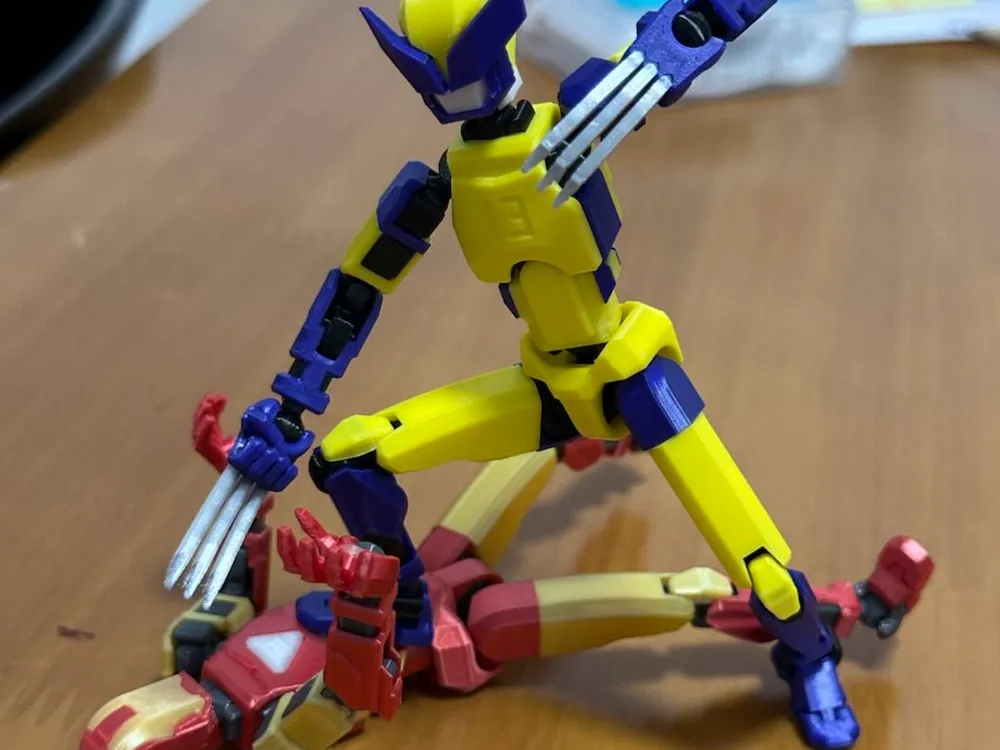
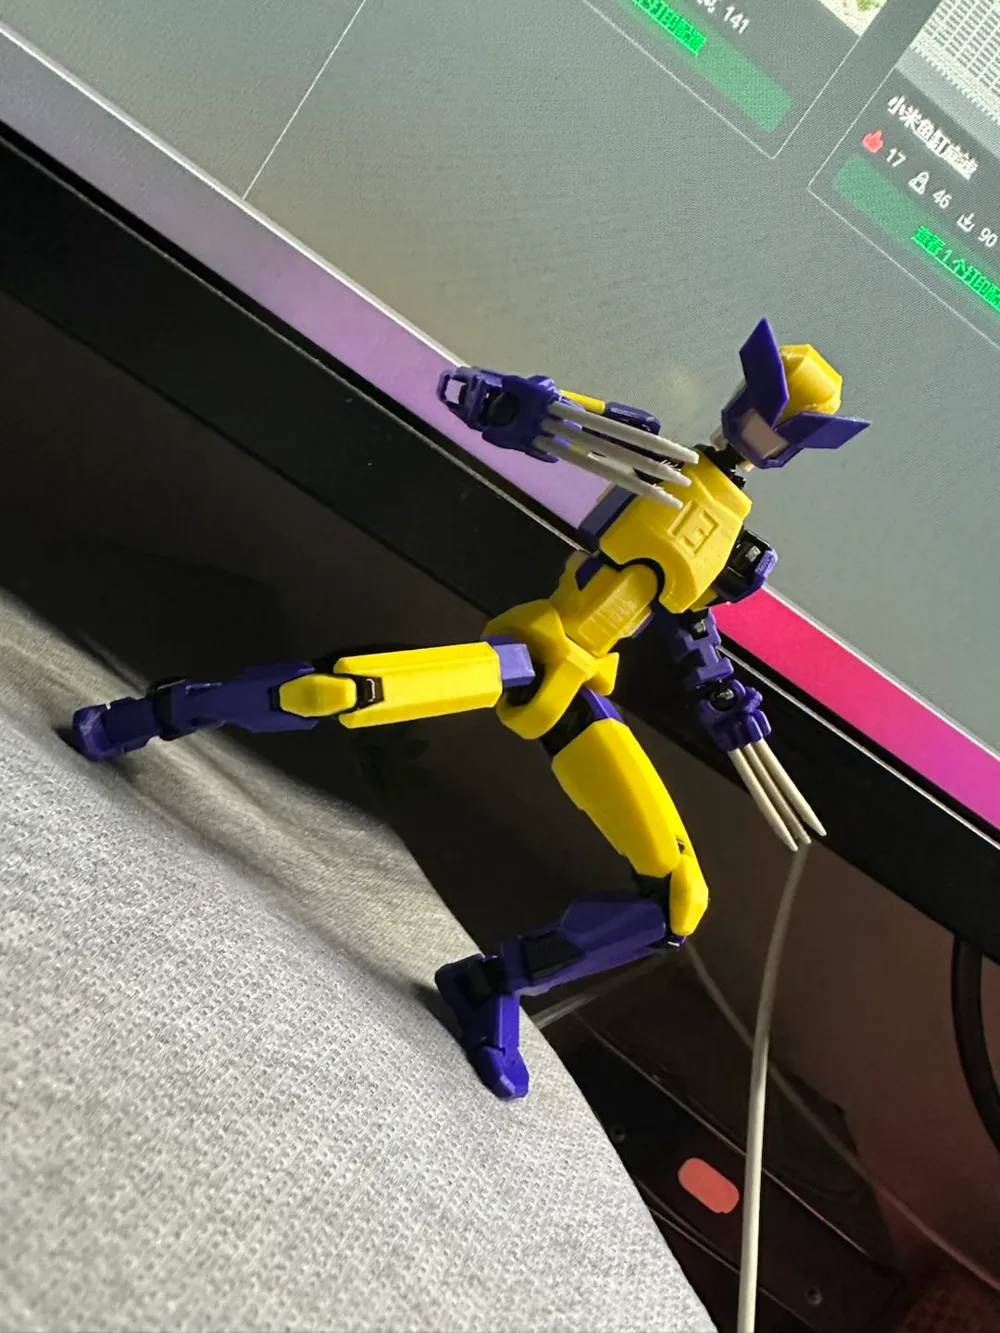
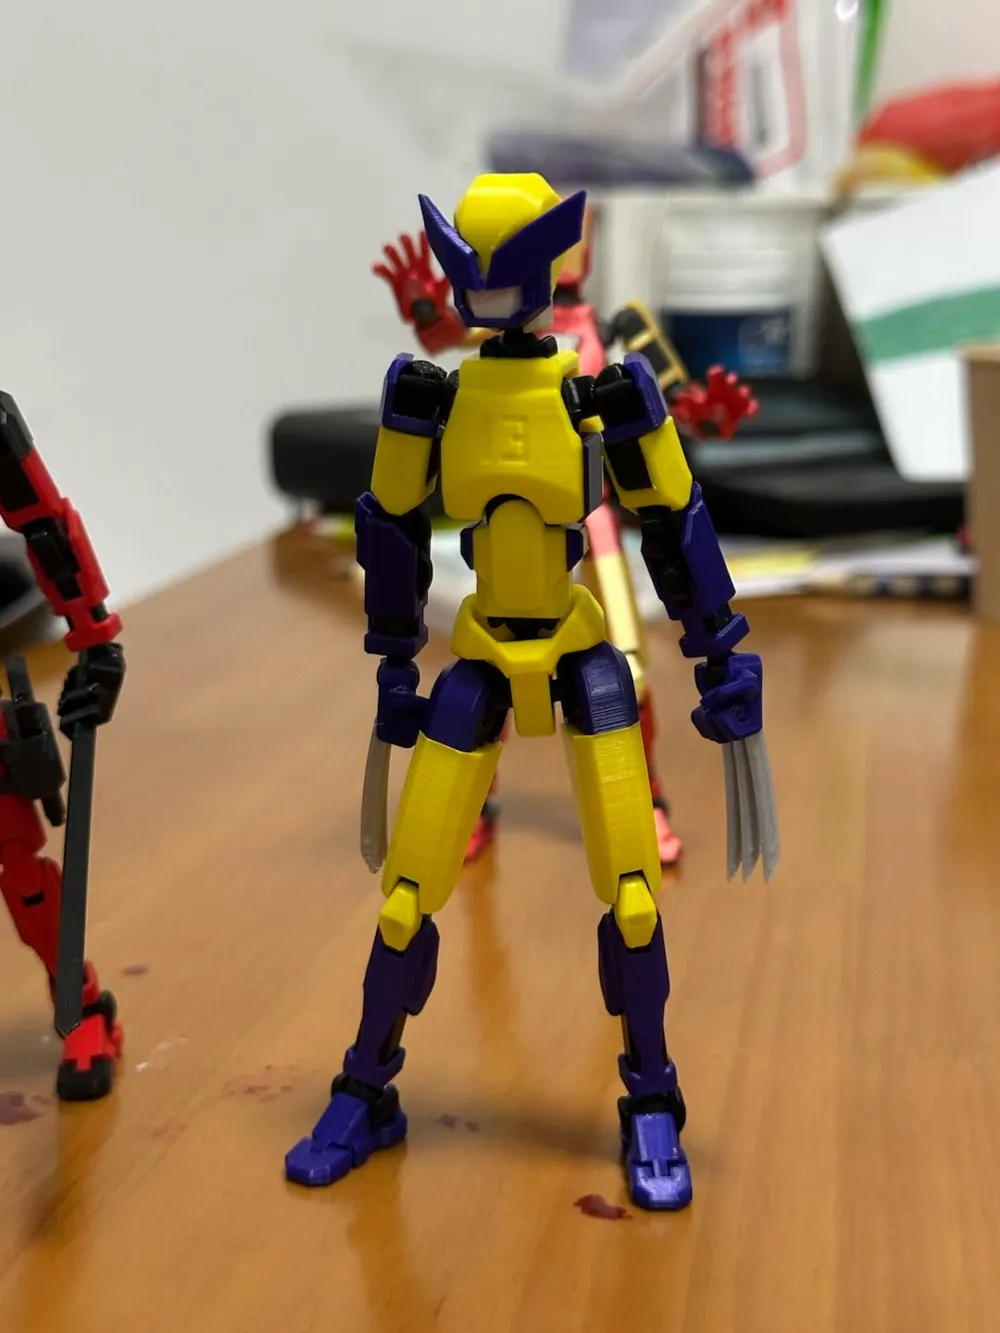
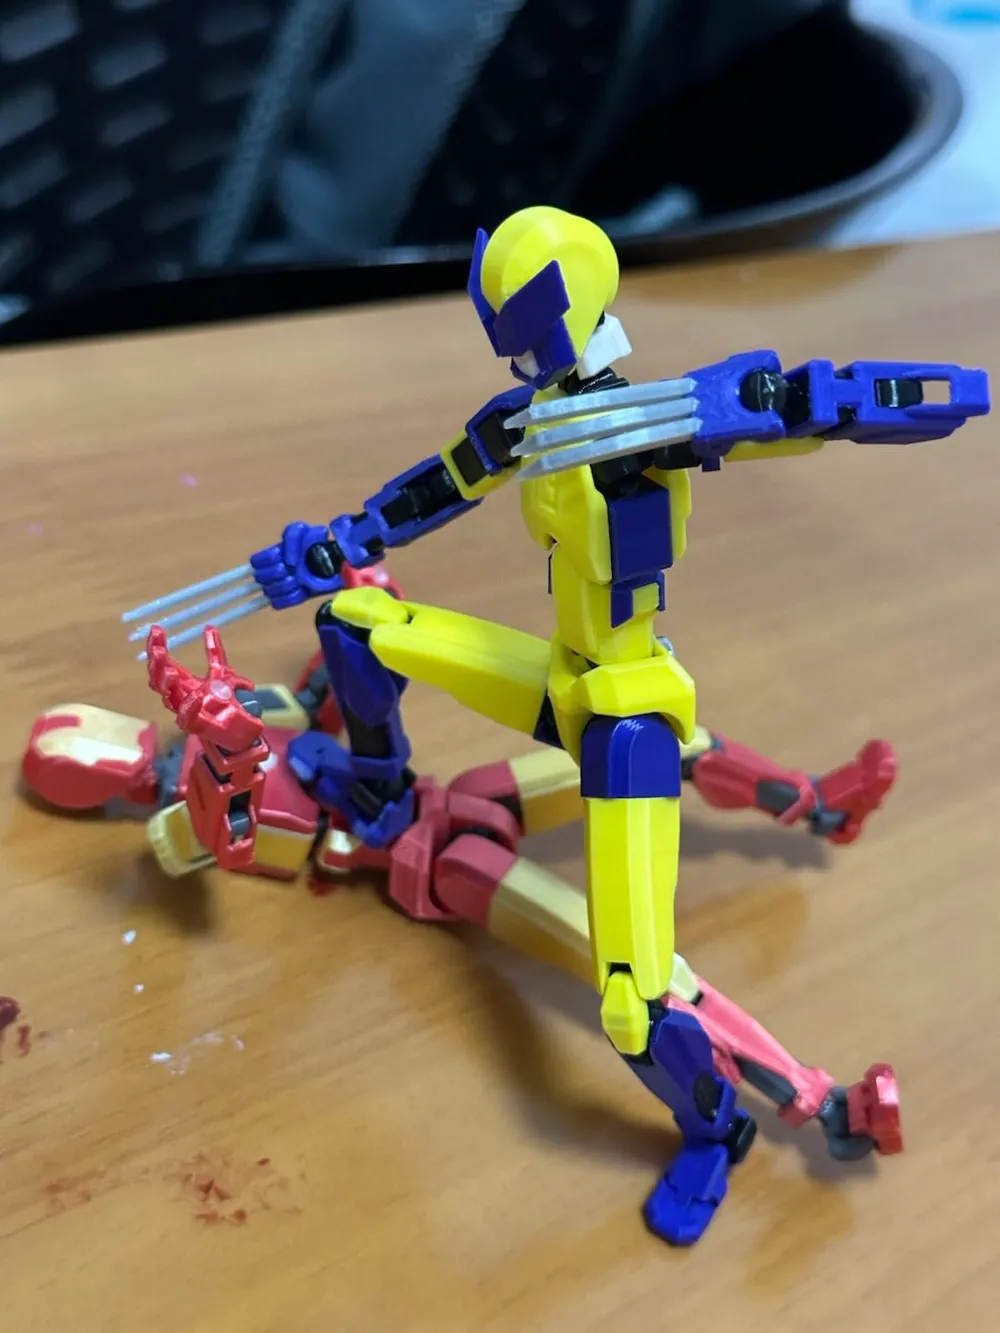
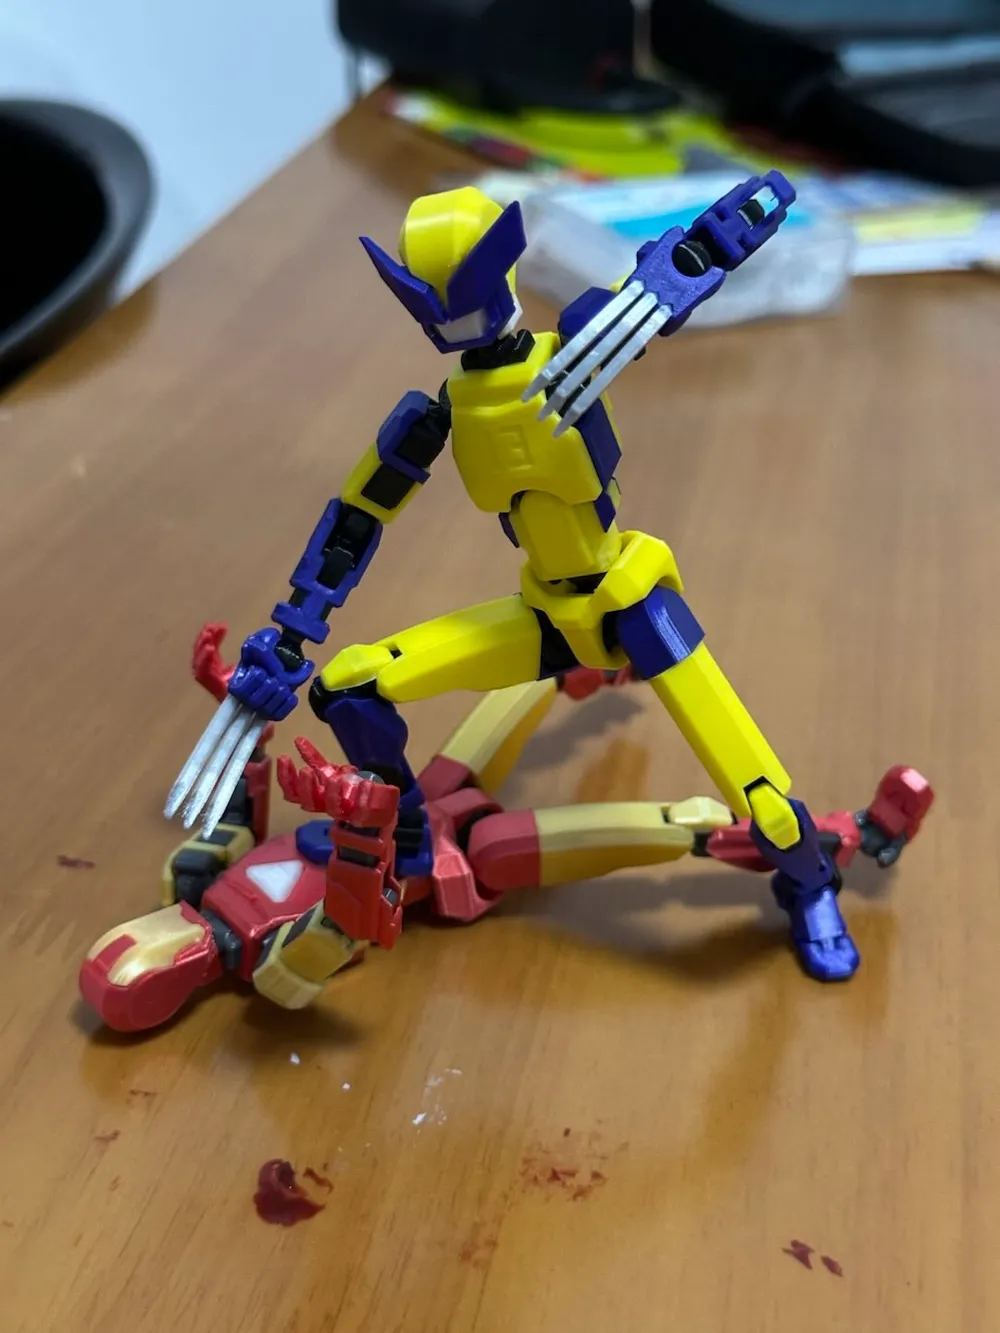
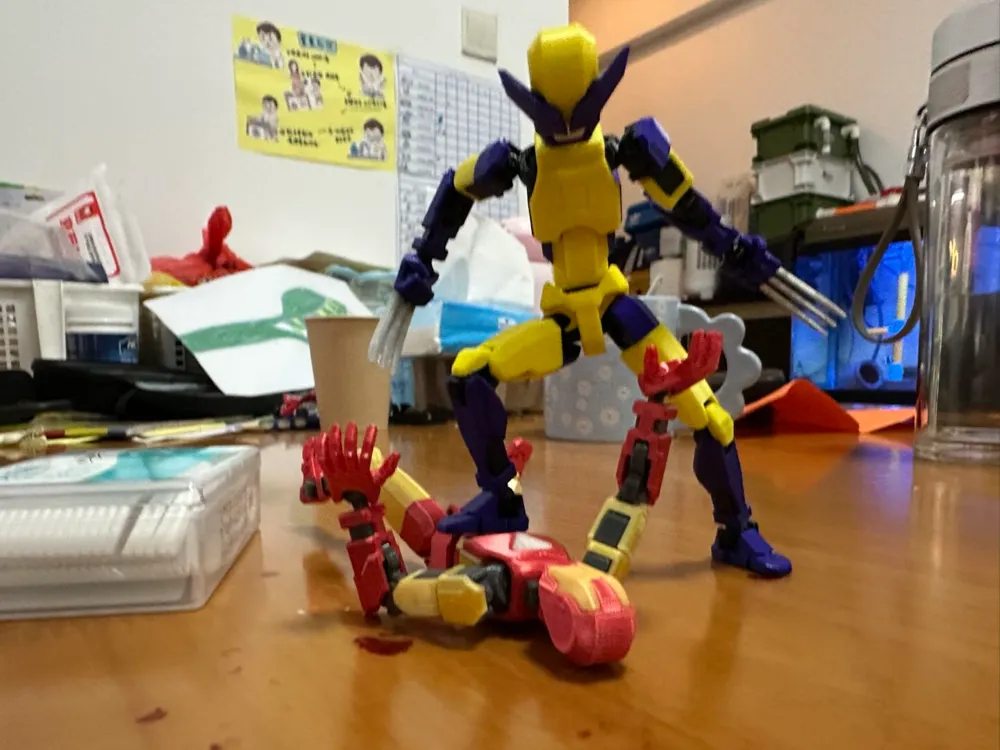
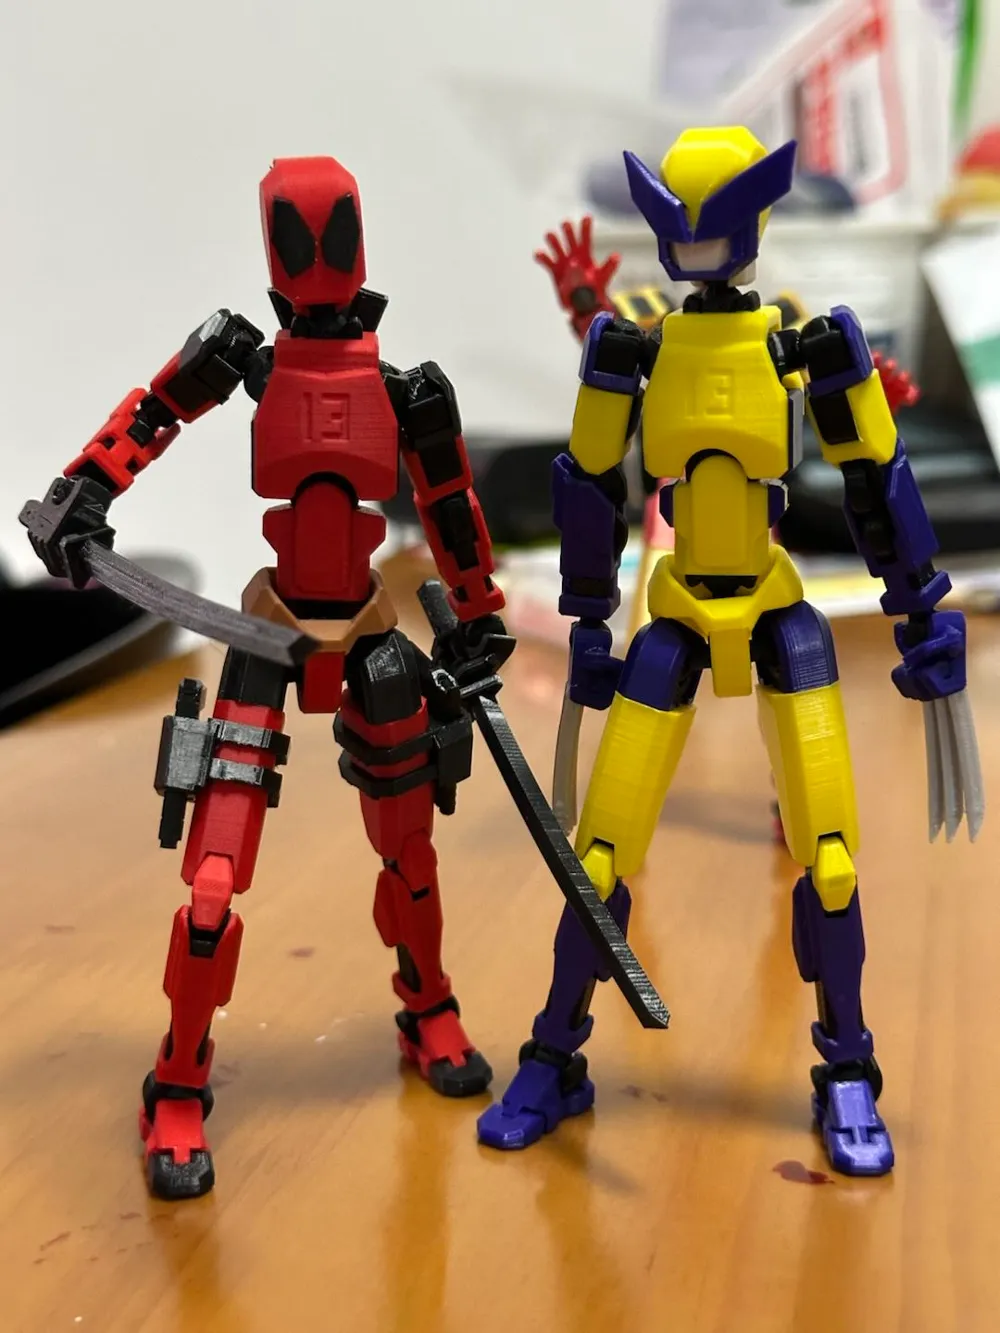
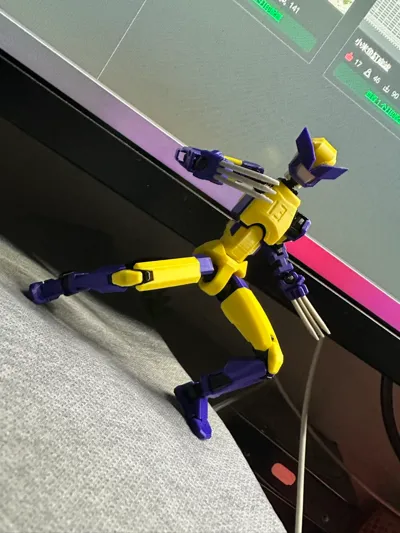
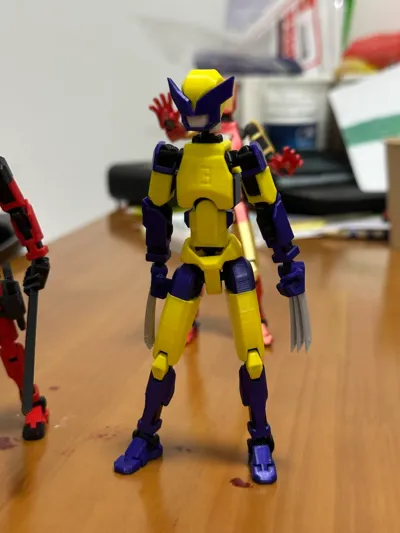
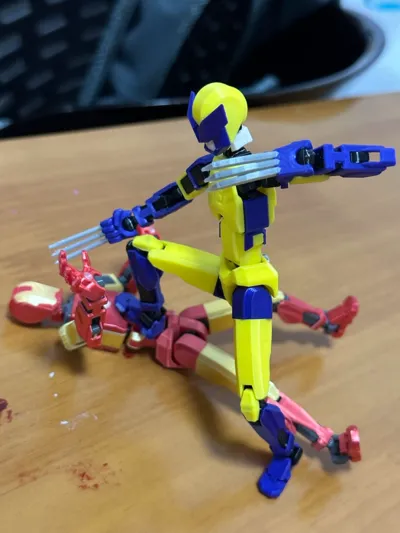
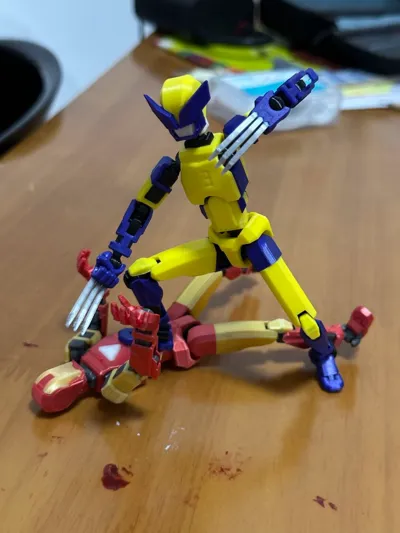
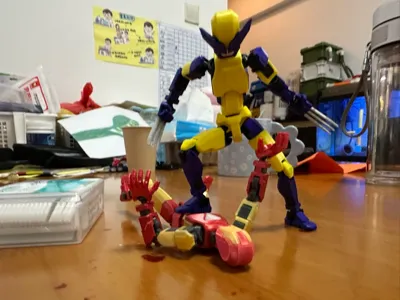
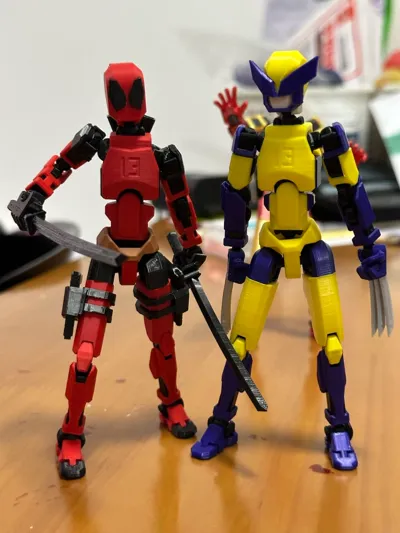
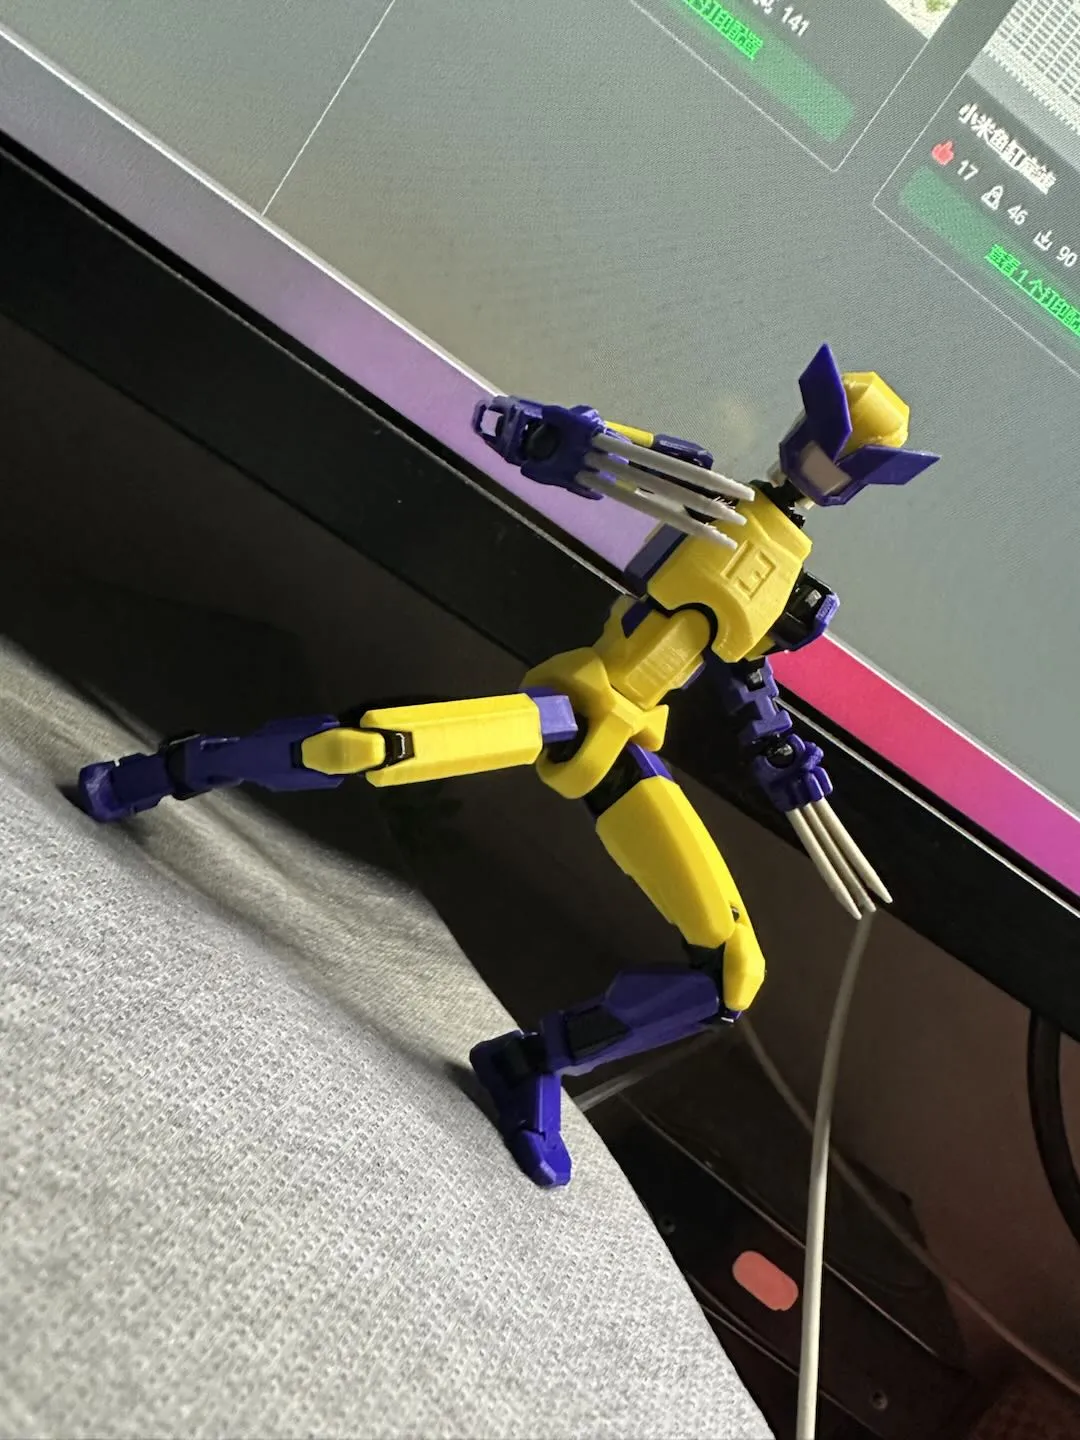
13 Wolverine (No AMS Required)
Print Profile(1)

Description
All printed parts do not require AMS
Modified from version 13 released by the great soozafone. Tried to keep the art style of the original creator
Wolverine's appearance mainly references outfits from Marvel movies
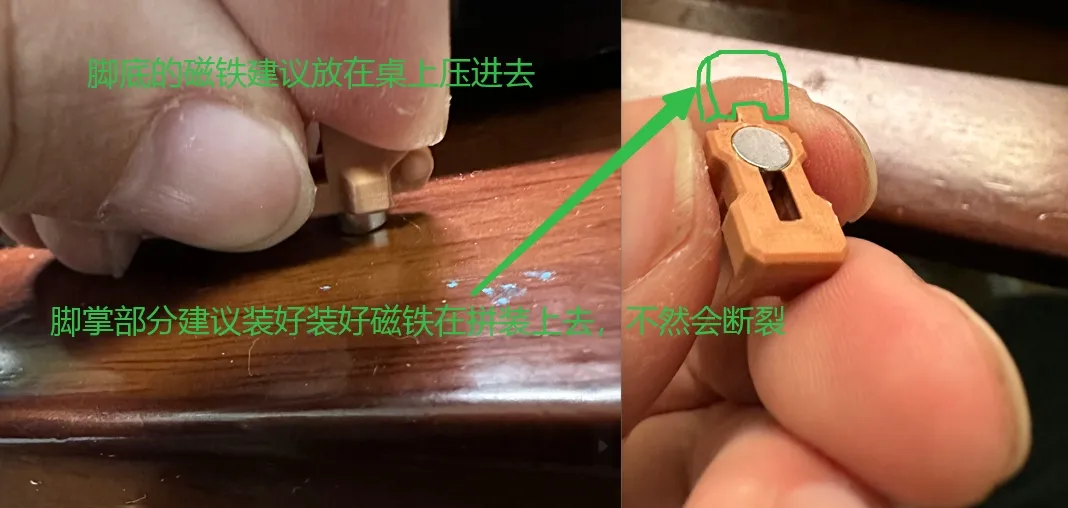
Both the hips and legs have magnet installation slots. The hips use 6mm diameter 3mm high circular magnets, and the feet use 5mm diameter 3mm high circular magnets
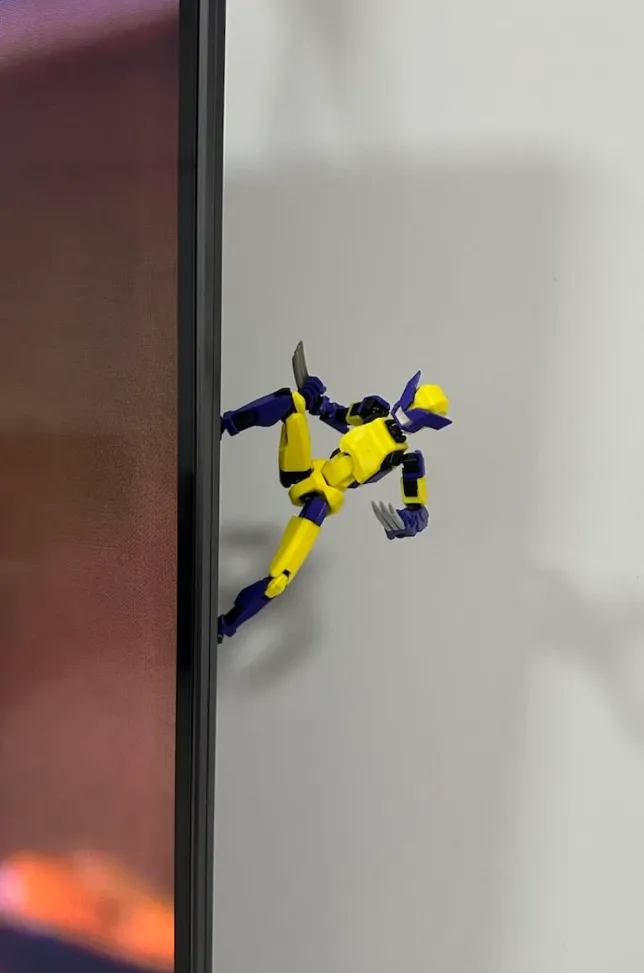
Printed with my A1 mini, the armor parts use a 0.2 nozzle, printed with 0.08 accuracy, the effect is perfect. It is also recommended to maintain the print direction of the model, as it maximizes appearance and part strength. (If the head armor is printed with the neck as the base, the mask might be easier to install, but the visible bottom surface of the head will have cosmetic flaws)
The skeleton parts use a 0.4 nozzle, printed with 0.2 accuracy. Some parts were adjusted to print outer walls before inner walls
Other Marvel characters
Captain 13 Fan Art - From PaPaXia - MakerWorld
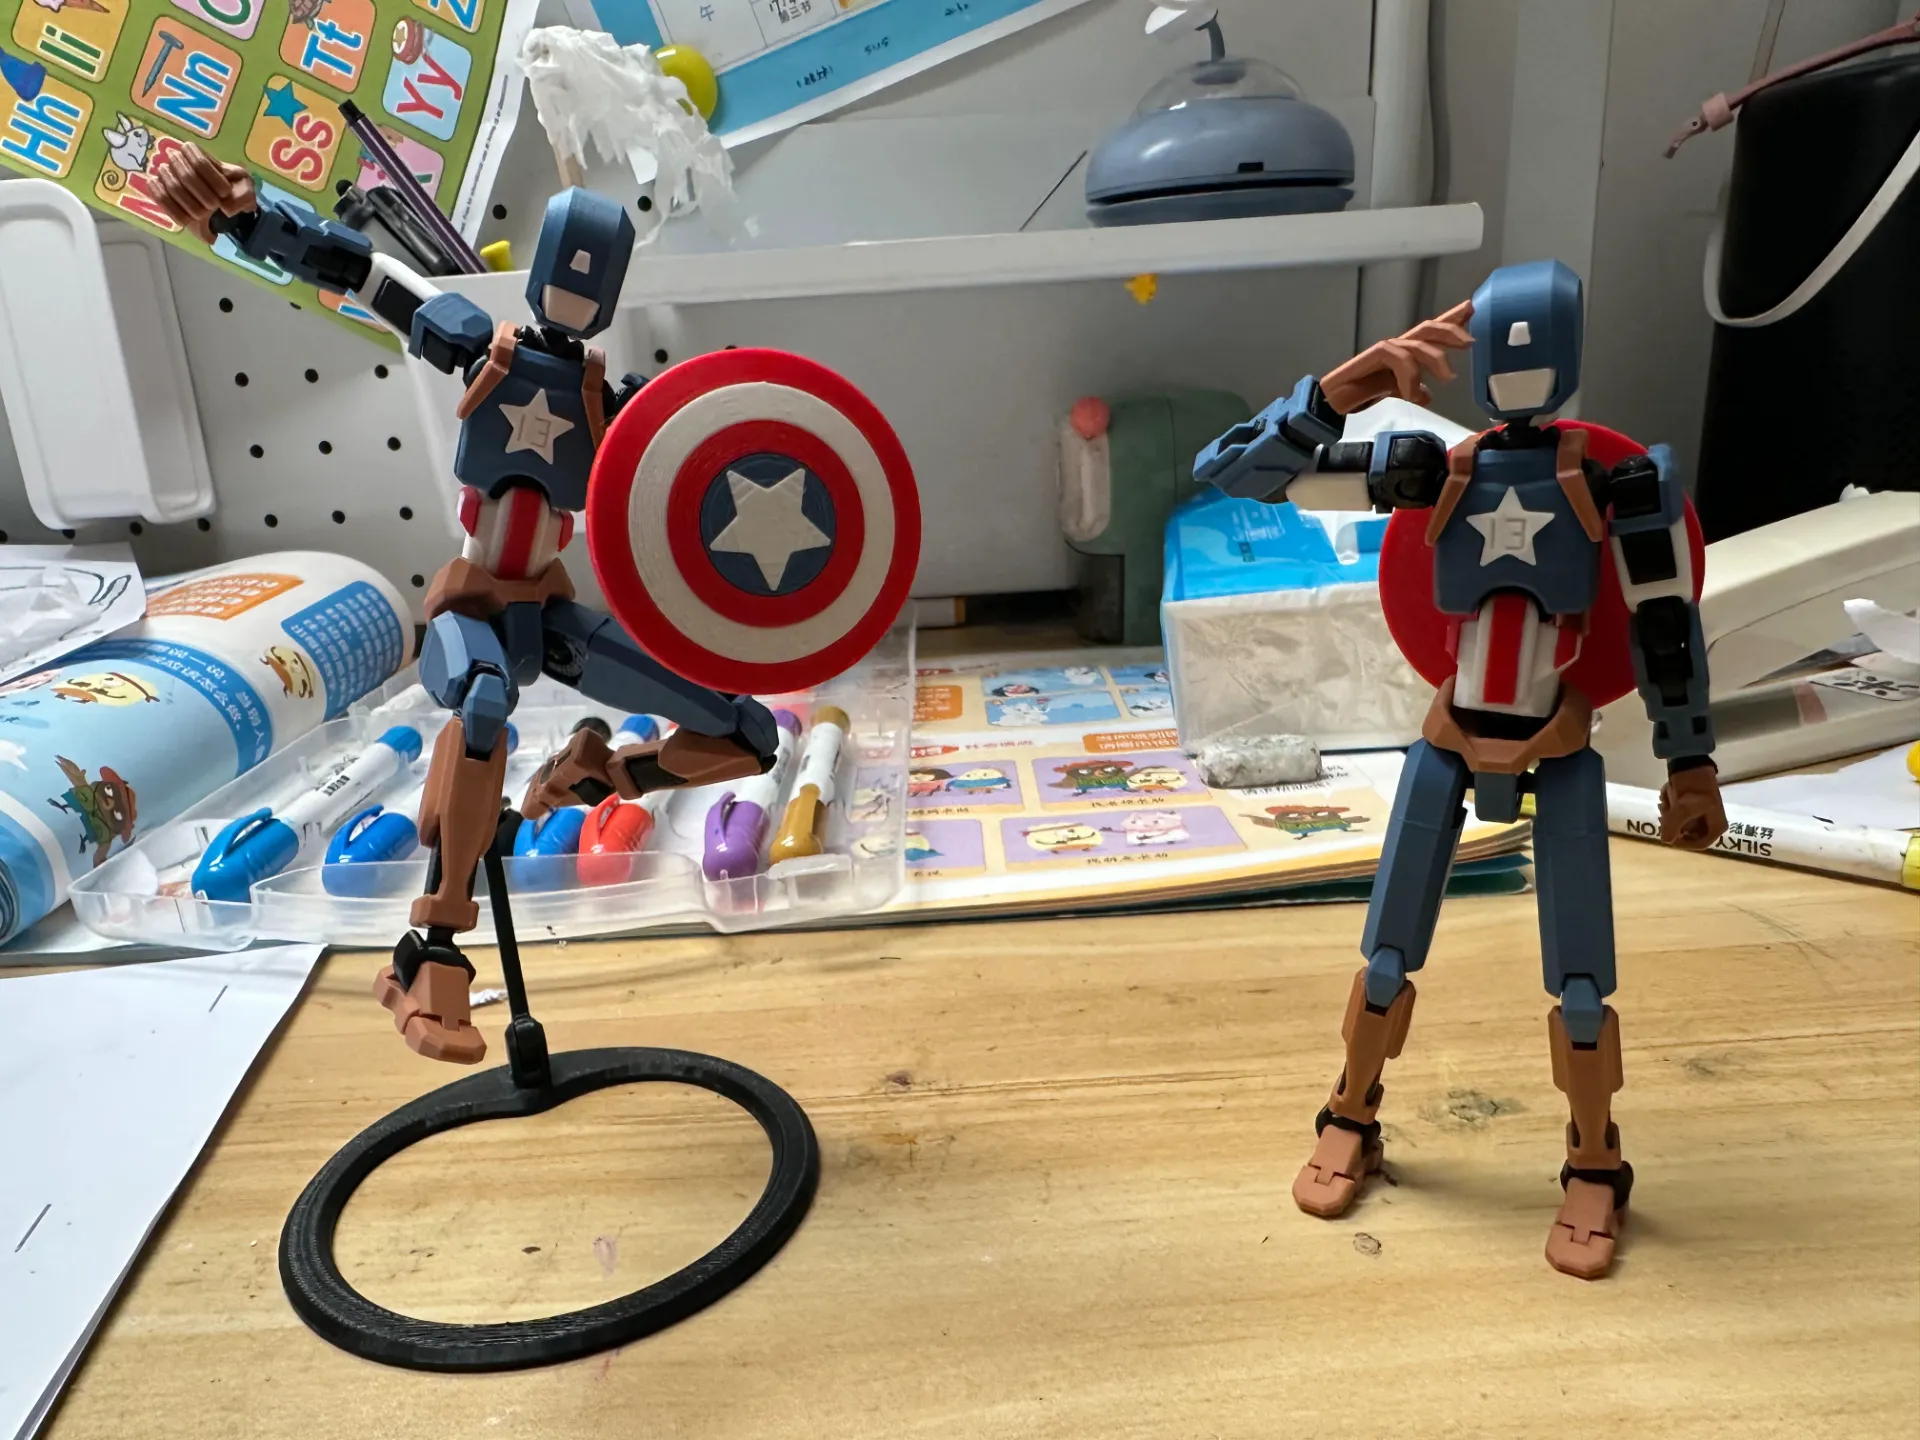
Deadpool 13 Fan Art - From PaPaXia - MakerWorld
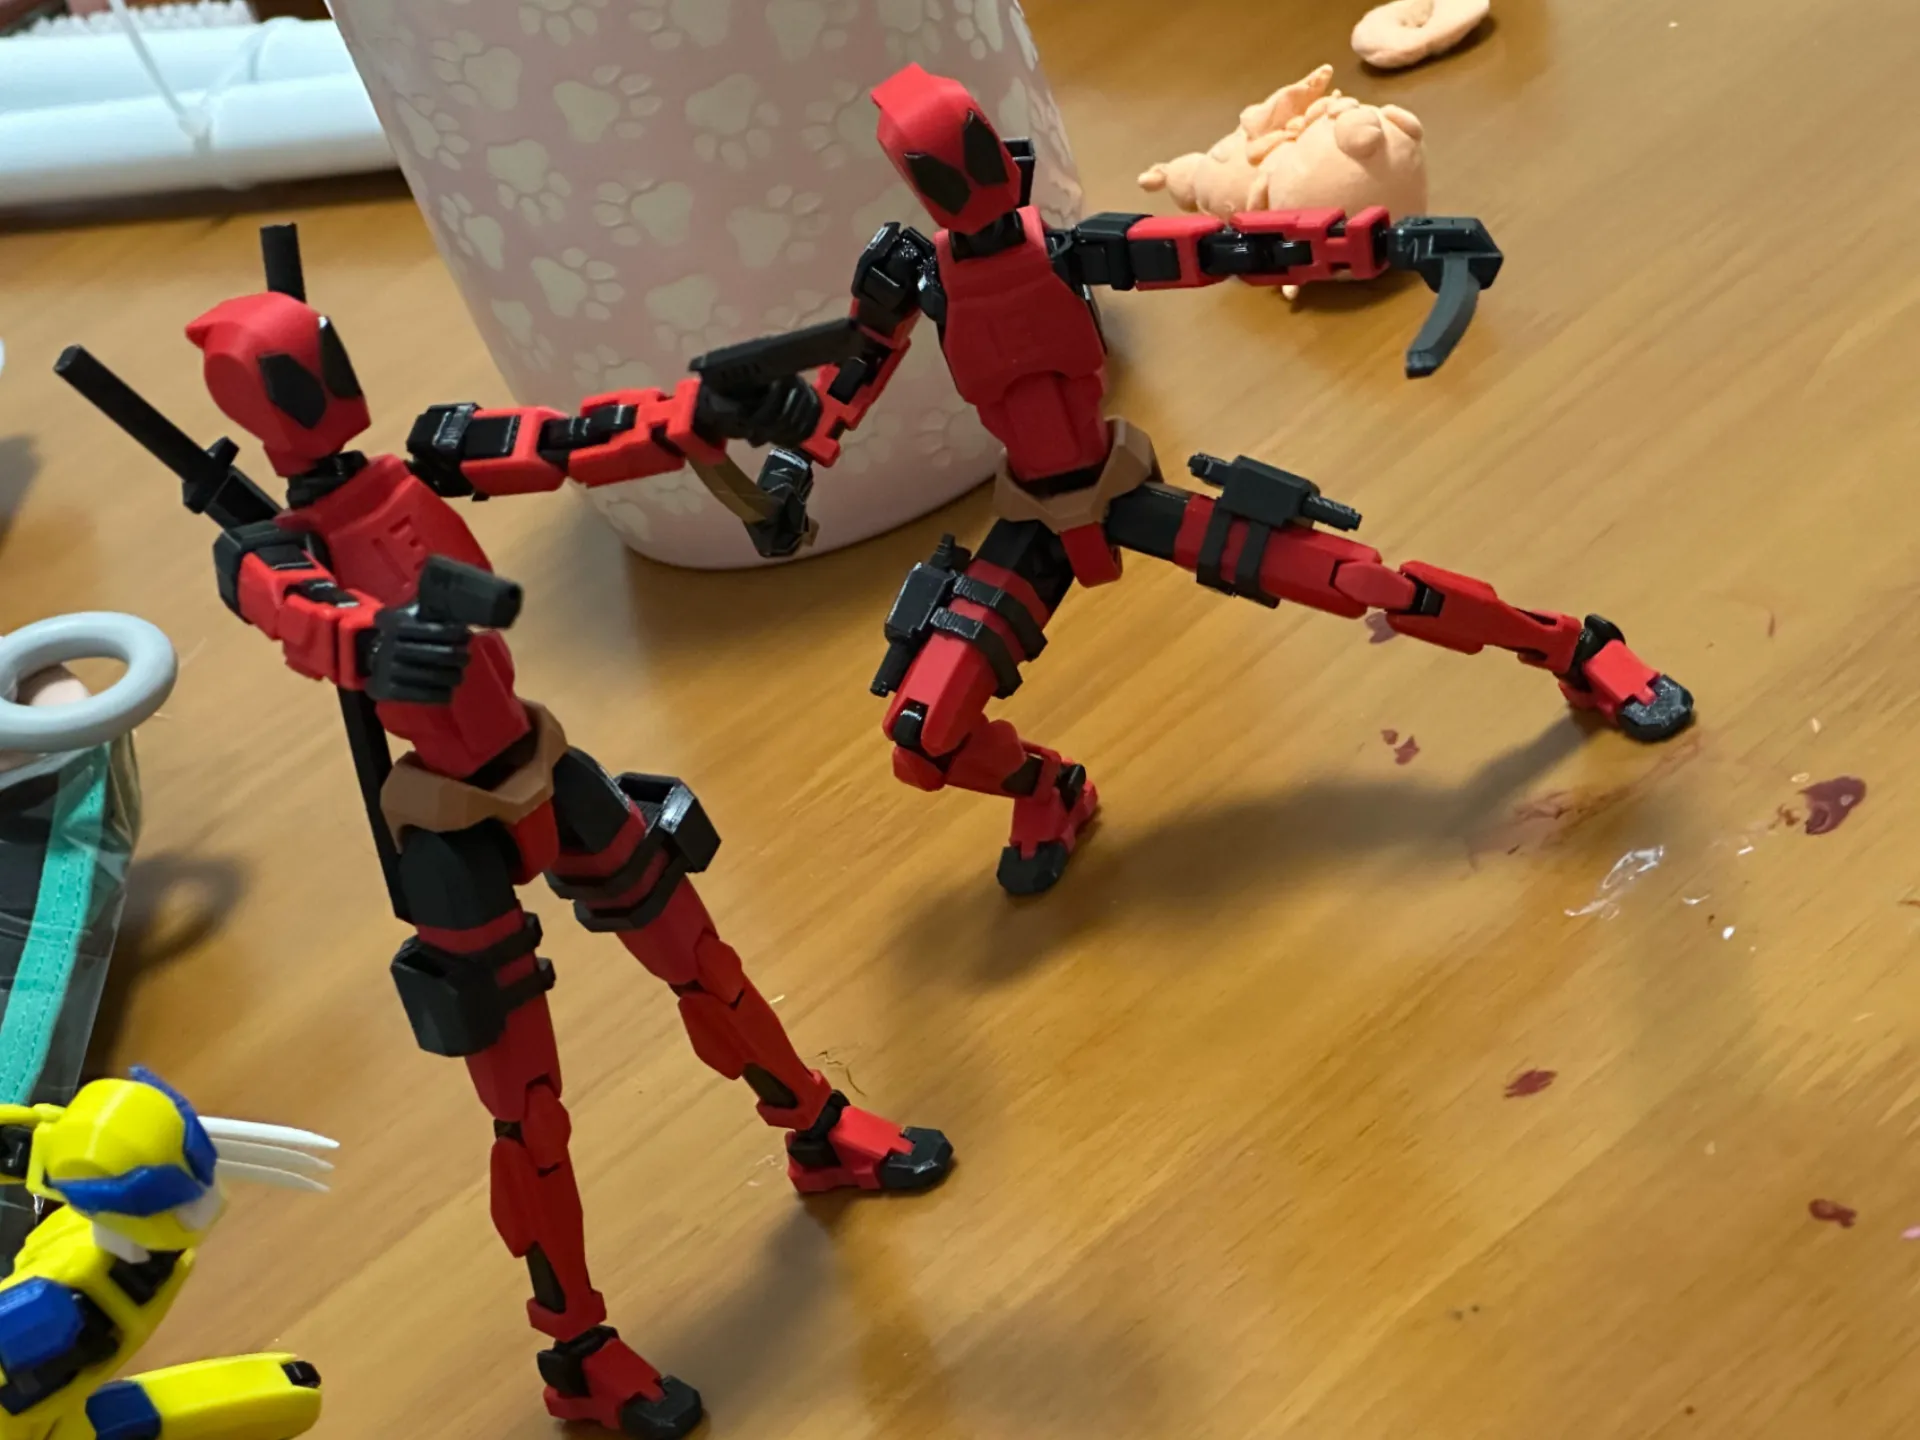
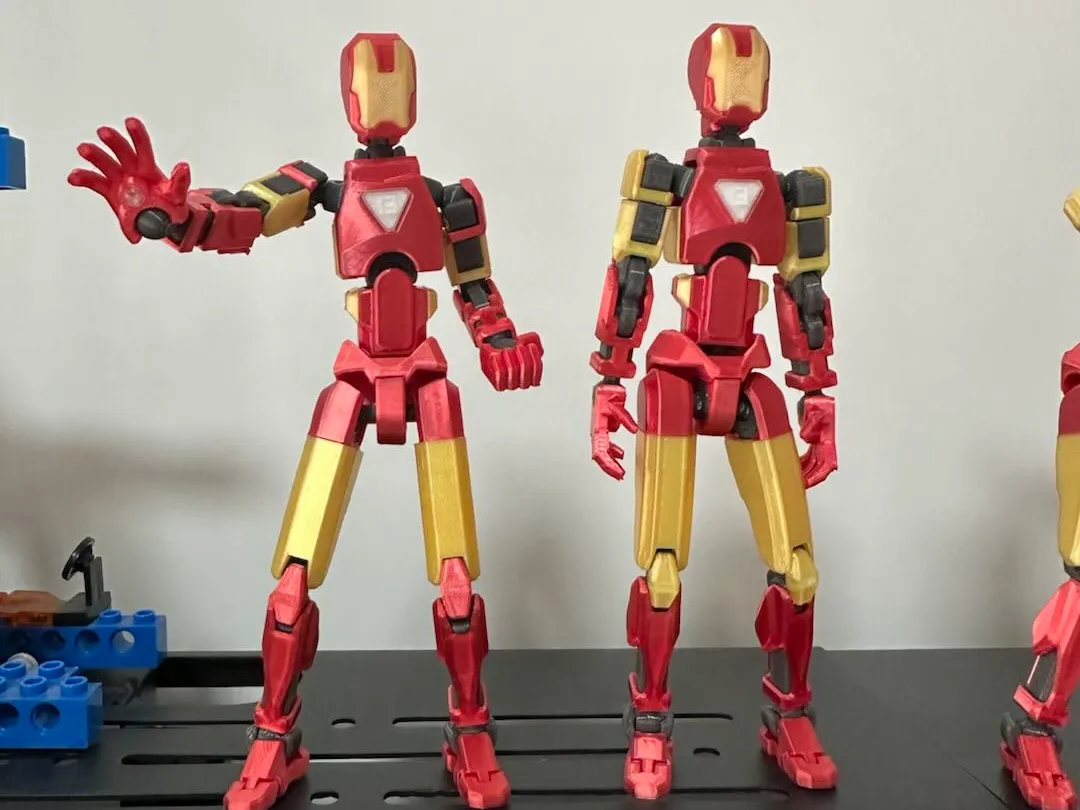
Iron Man 13 (No AMS Required) Fan Art - From PaPaXia - MakerWorld
Here are some notes, it is recommended to install the foot after assembling the shoe skeleton and magnets, and also, assemble the shoe skeleton first before installing the magnets
Press the waist structure until you hear a "click", which means it's installed correctly
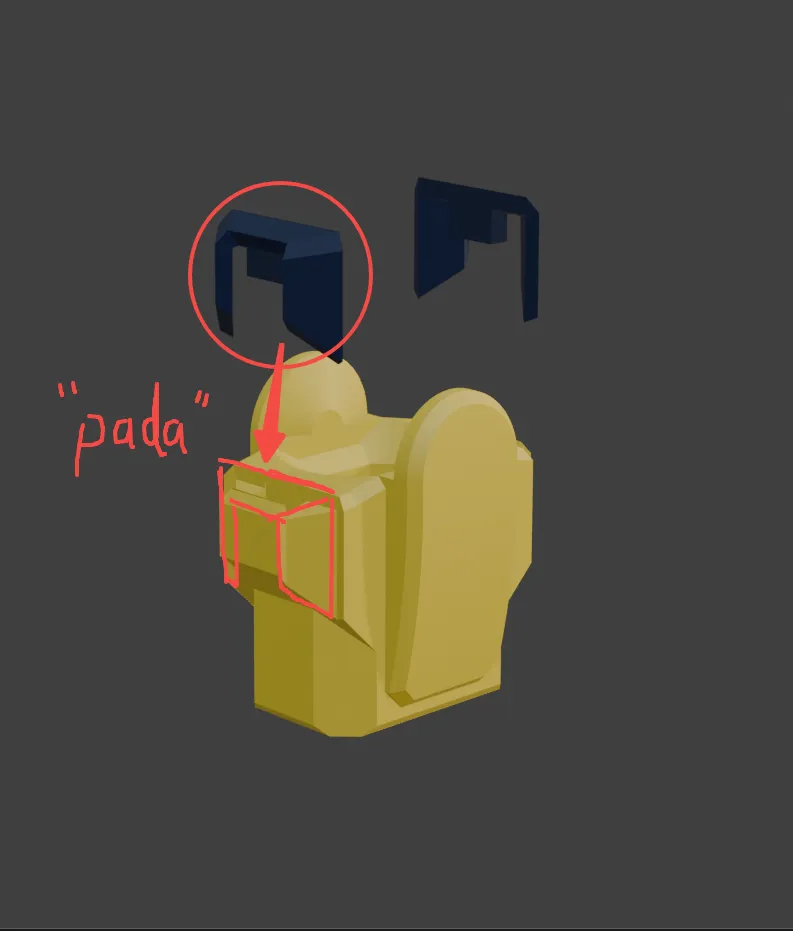
Head assembly order: install the mouth first, then install the mask
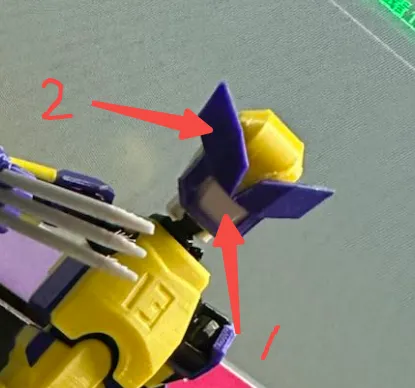
This remix is based on


License



Comment & Rating (9)