
Rebecca Pistol Semi-Firing // Cyberpunk

Print Profile(4)


Description
I DO NOT CHECK MY YOUTUBE COMMENTS. IF YOU HAVE A QUESTION, ASK IT HERE.
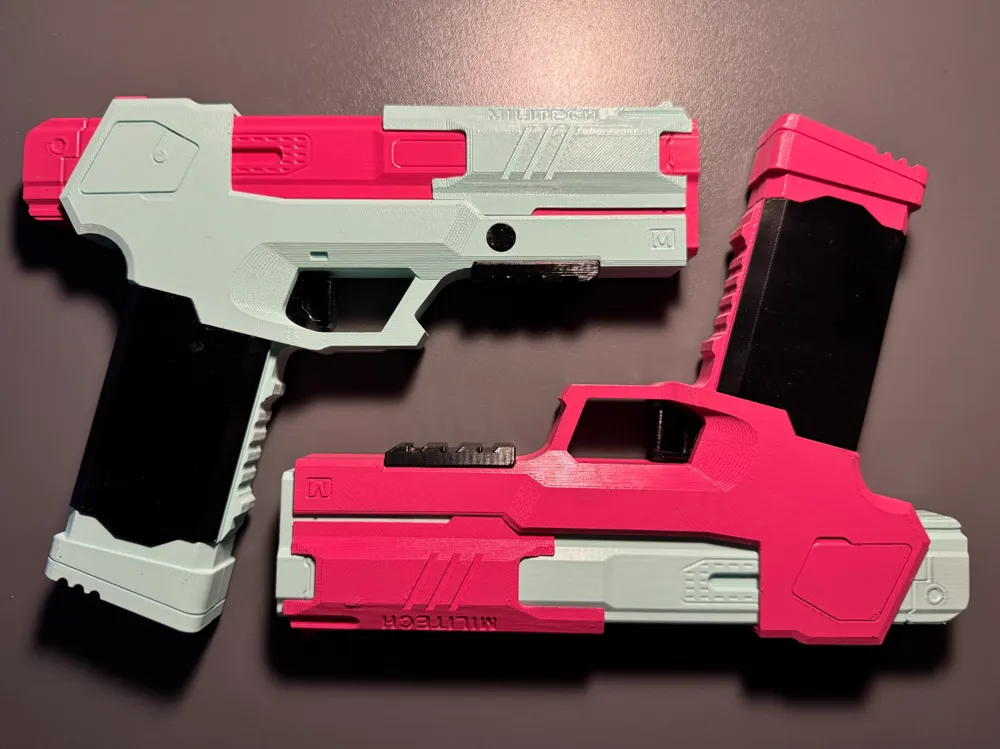
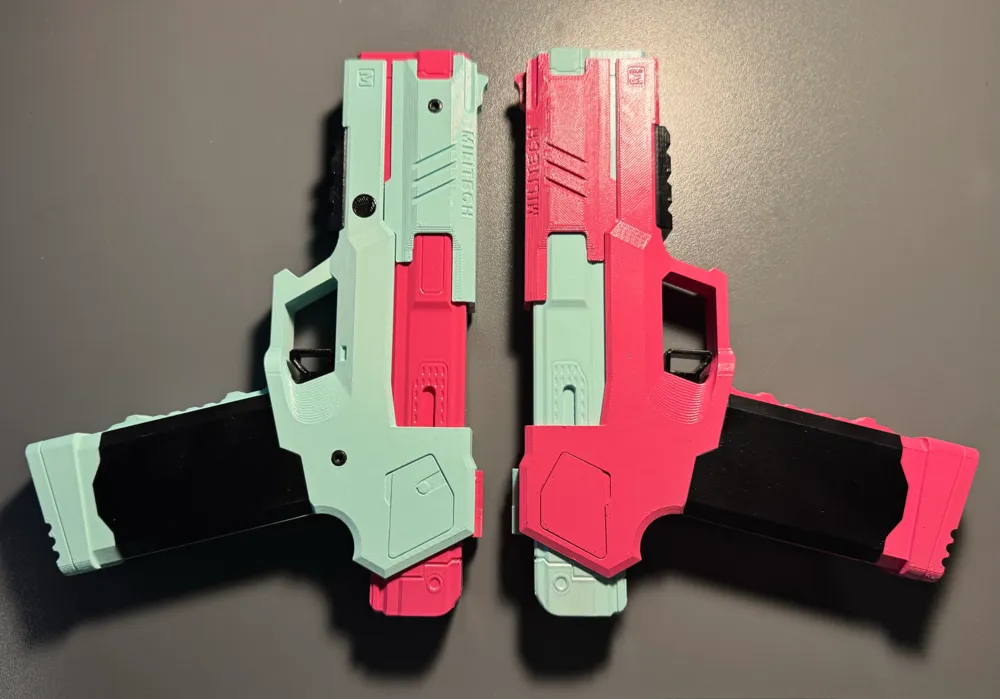
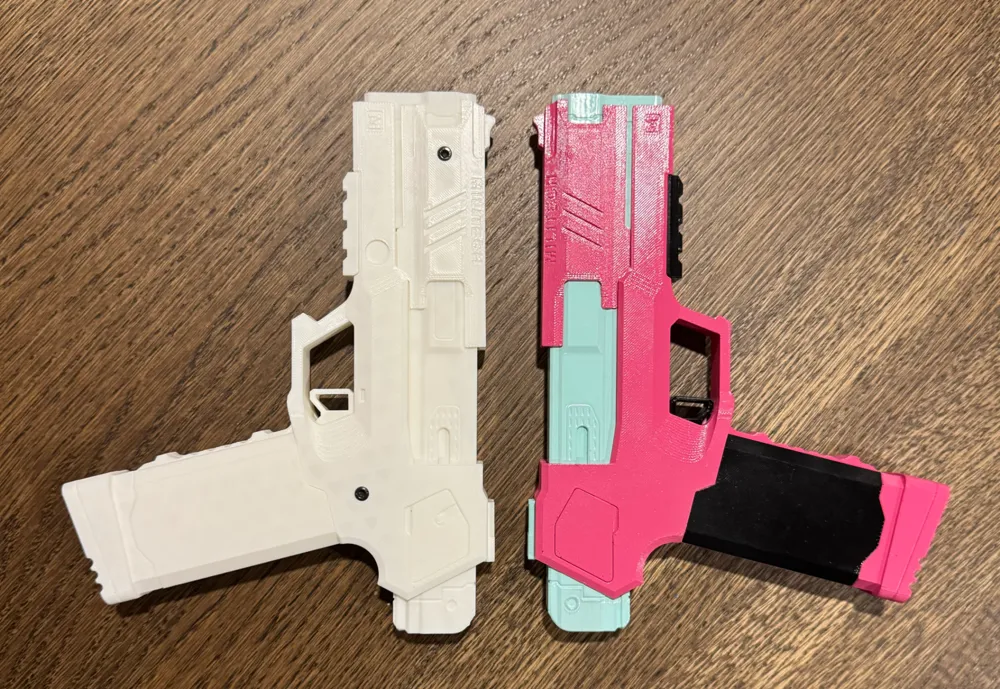
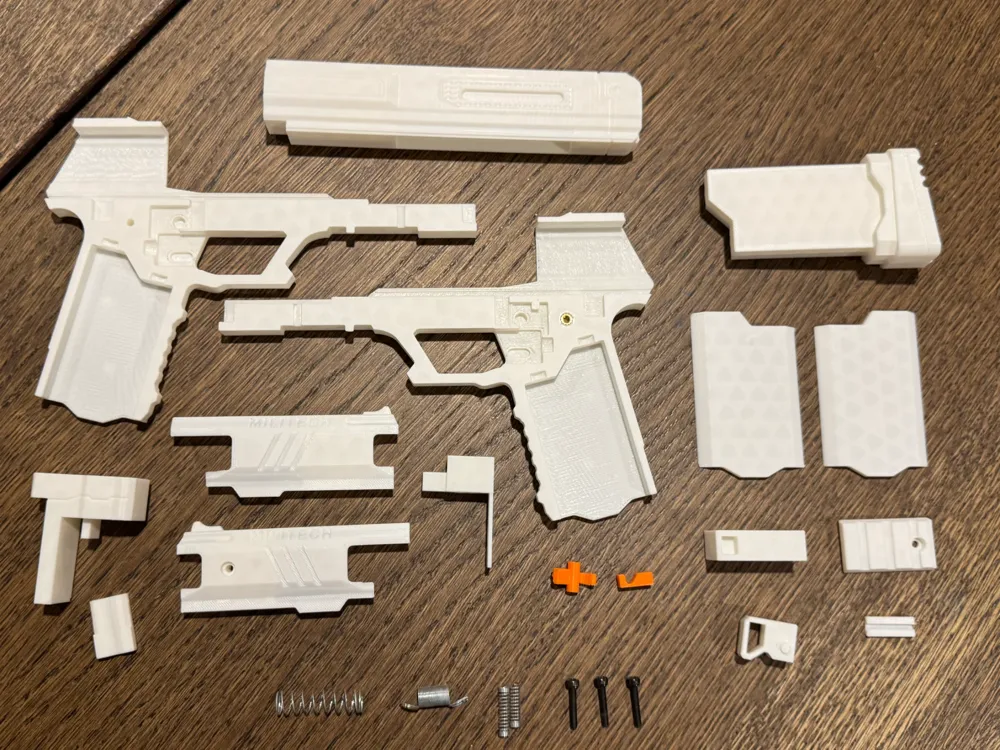
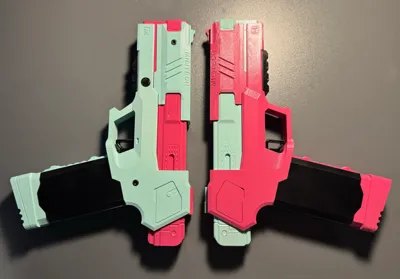
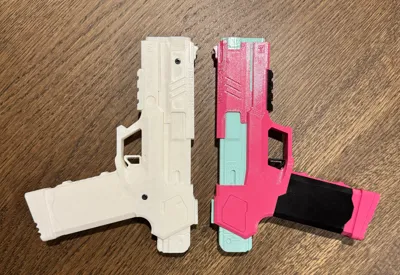
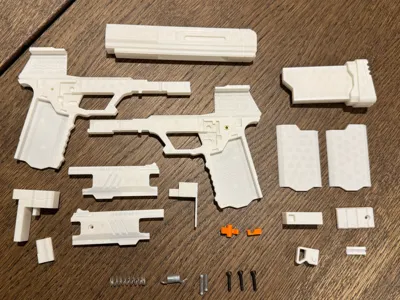
This is a model of Rebecca's twin pistols from Cyberpunk Edgerunners. It features a removable magazine, a working slide, an internal locking system, and a functioning trigger system that allows the model to arm and “fire.” There are no projectiles, but the model is able to create a small amount of recoil and makes a snap sound similar to what one would expect from a real firearm. The entire model is held together by screws, except for the slide and mag which allows one to disassemble the entire thing. This also means that if the model jams, or if an internal part breaks, you can replace it without needing to re-print the larger pieces of the model. The list of required parts, printing tips, and links to materials are located down below.
For anyone planning on spray-painting the model: There is a separate set of files that have higher tolerance (denoted by HT). If you print the low tolerance models, then chose to spray-paint the gun, it is likely that the slide won't move freely. This is likely the case for airbrushing as well, but I don't own one, so I don't know for sure.
I love Edgerunners, and I love Rebecca even more, so a while back I decided to make my own model of this pistol. After leaving this model on hold for way too long, I have finally decided to get back to it. Despite the fact that it was almost 90% complete back in January, this model took way longer than expected to get consumer ready. Being a lot smaller and a lot more intricate than my last model, I had to come up with some creative solutions to get this one to function the same way. At the time of posting this, I would already have made 4 prototypes, and 3 of them worked without a hitch (the first one didn't have screw holes so I actually couldn't test it). In comparison to my old model, this one should require less materials, and I'm working on trying to make 3D printed springs to cut down on material cost, especially for those weird sizes that are harder to come by. As I am trying to start a business out of this, the next model I post here likely won't be working, reserved instead for a Patreon or something like that. I'll still post the base model here each time however, because I like seeing pictures and comments from everybody who's made the model and enjoys my work.
If you don't have the parts, I suppose you can simply glue the whole model together. It still looks cool.
If you have any questions, concerns, issues, let me know down below.
Parts Needed: (All of these can be found on Amazon in bulk for less than 30$)
Springs:
--Compression:
2 - 5.5 x 17mm or 7/32" x 11/16" (Or 2 pen springs)
1 - 9 x 35mm or 23/64" x 1-3/8"
--Extension:
1 - 8.5 x 36.5mm or 11/32" x 1-7/16"
Screws:
3 - M3 16mm
Inset Nuts:
2 - M3 x 6mm x 5mm
1 - M3 x 4mm x 5mm
Magnets:
4 - 6 x 2mm (Approx.)
Tips for the model:
- There are a couple of things different in the picture. Ignore them, that was the final prototype. There have been some changes to make sure this model works perfectly, but the instructions should still work fine.
- To remove any confusion, to make a moving model, the two parts you HAVE to glue are the slide halves and the mag halves.
- There are two hammer lock models present, and one is slightly shorter than the other. Depending on how the model prints, the long version might catch on the hammer and the gun will jam. if this is the case, use the shorter one.
- Gluing the magnets in place will stop them from rattling.
- Make sure the inset nuts go in straight to ensure that the model is sturdy.
- Print the model with 3-4 walls. This will help the insets stay put.
- WATCH MY VIDEO!!
Boost Me (for free)
Consider leaving a boost if you enjoyed! This is my passion, and I love seeing people make it for themselves!
Documentation (1)
License

You shall not share, sub-license, sell, rent, host, transfer, or distribute in any way the digital or 3D printed versions of this object, nor any other derivative work of this object in its digital or physical format (including - but not limited to - remixes of this object, and hosting on other digital platforms). The objects may not be used without permission in any way whatsoever in which you charge money, or collect fees.


Comment & Rating (52)