
Axial to AUX Fan Modification – Ideal for the A1 Mini and other models
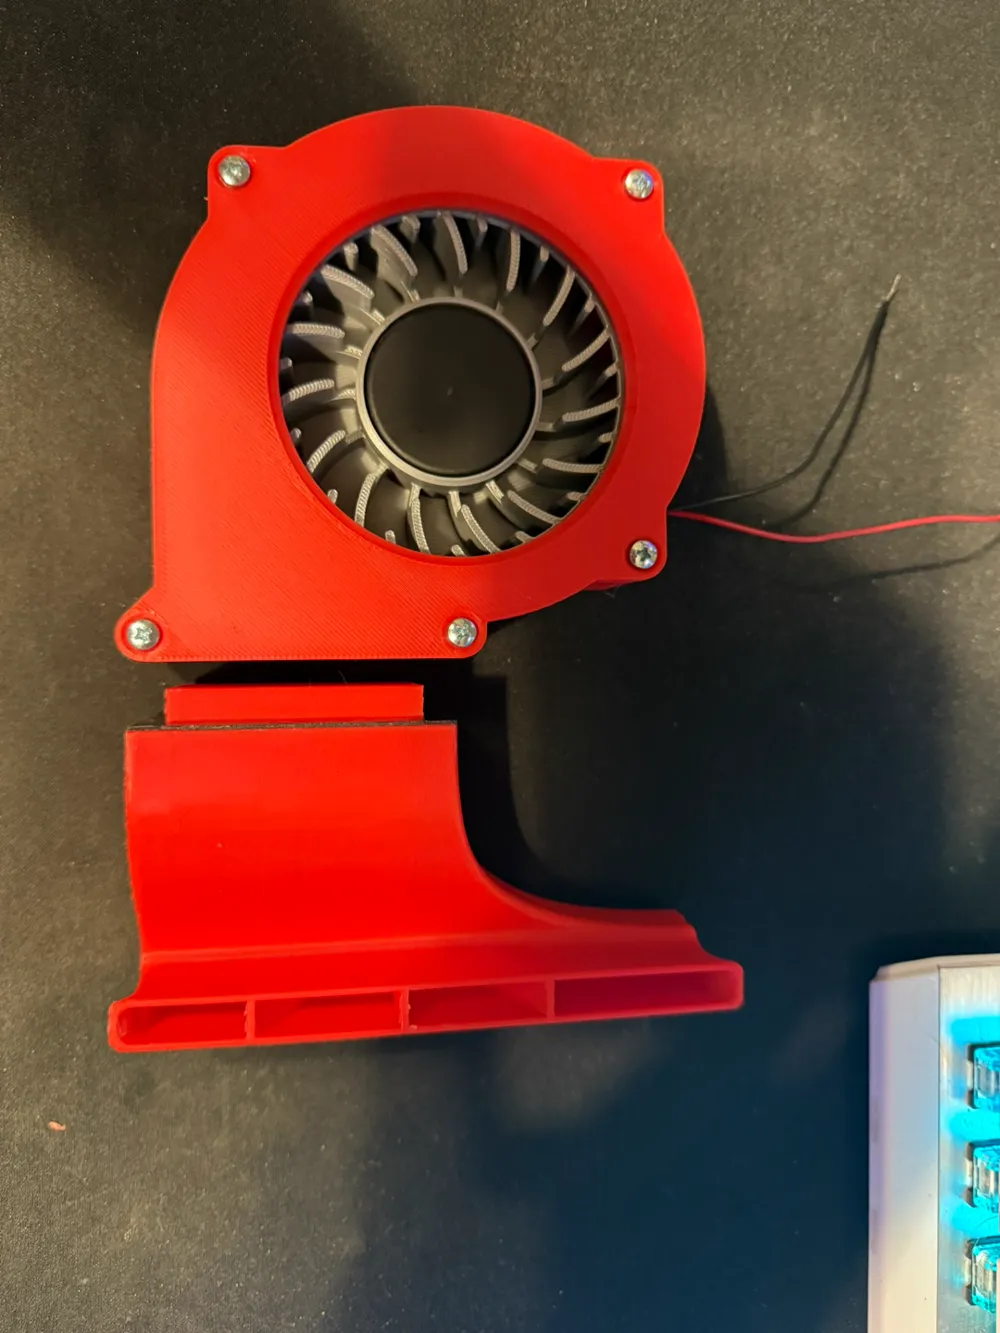
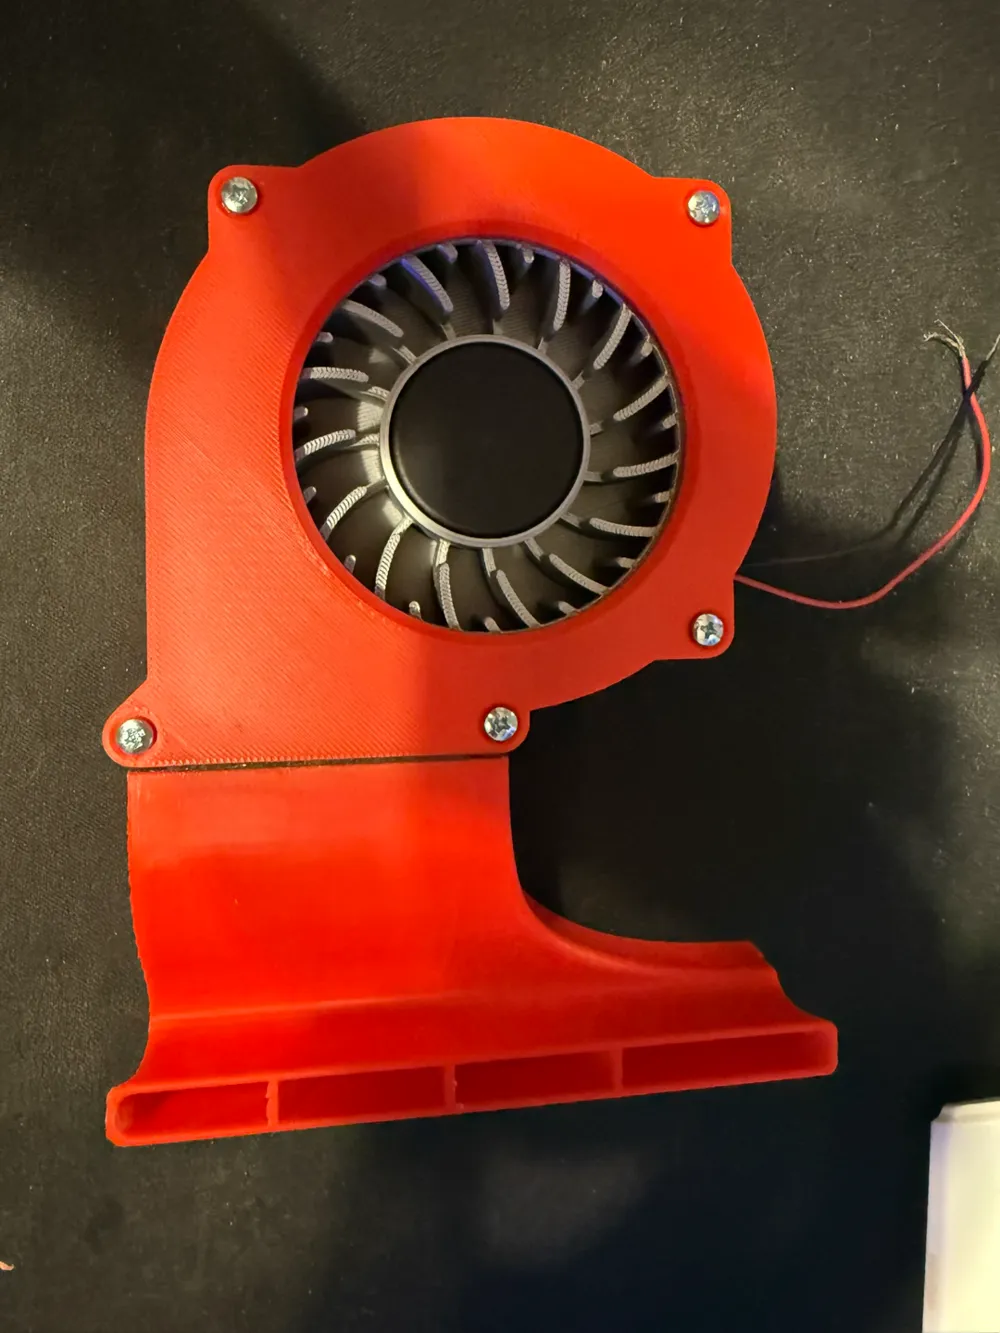
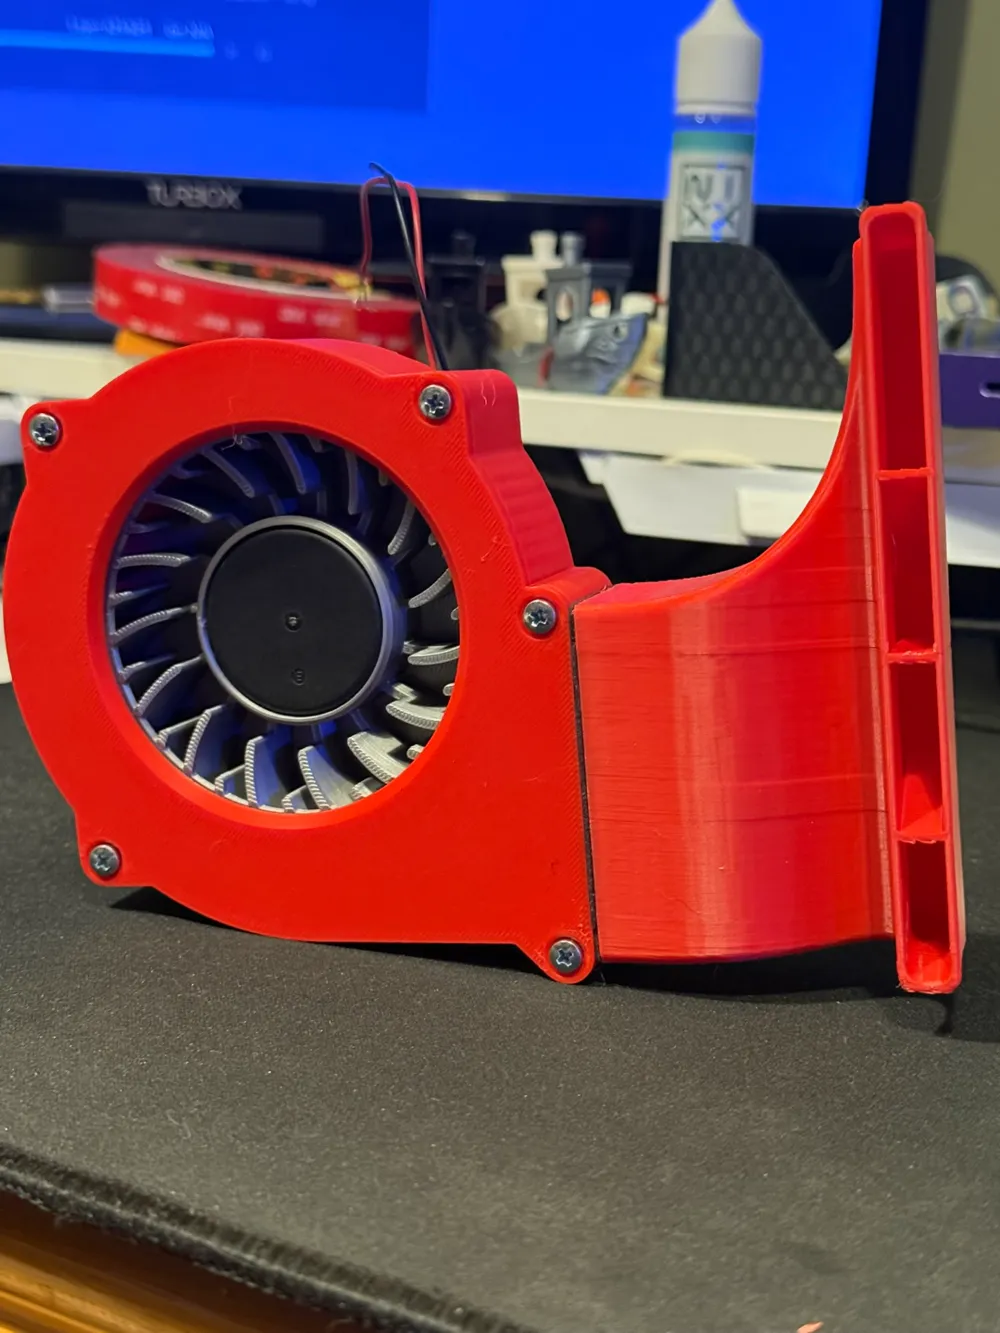
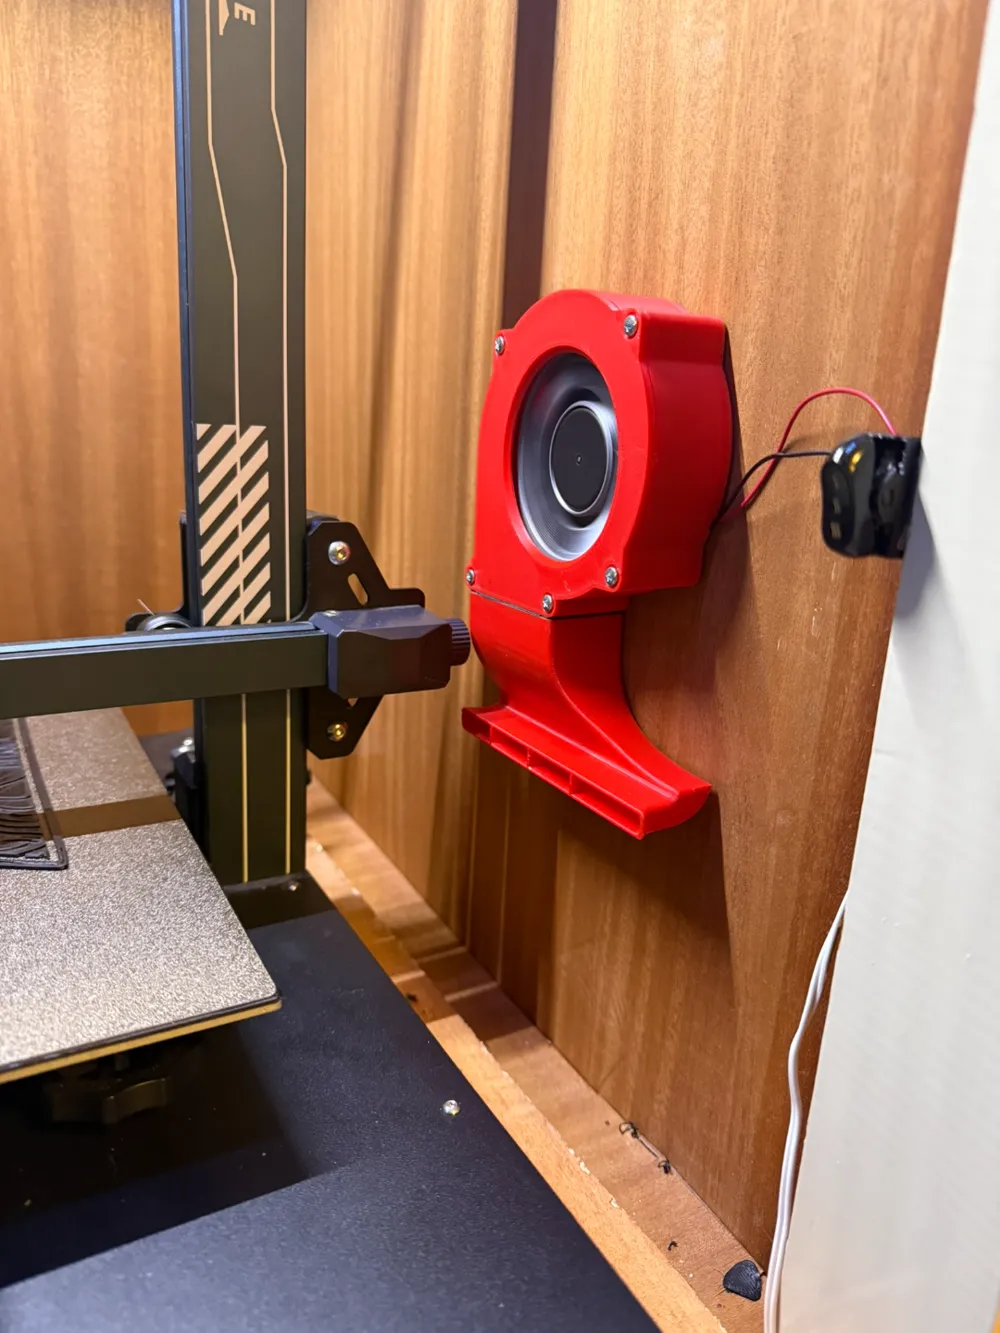
Print Profile(1)

Description
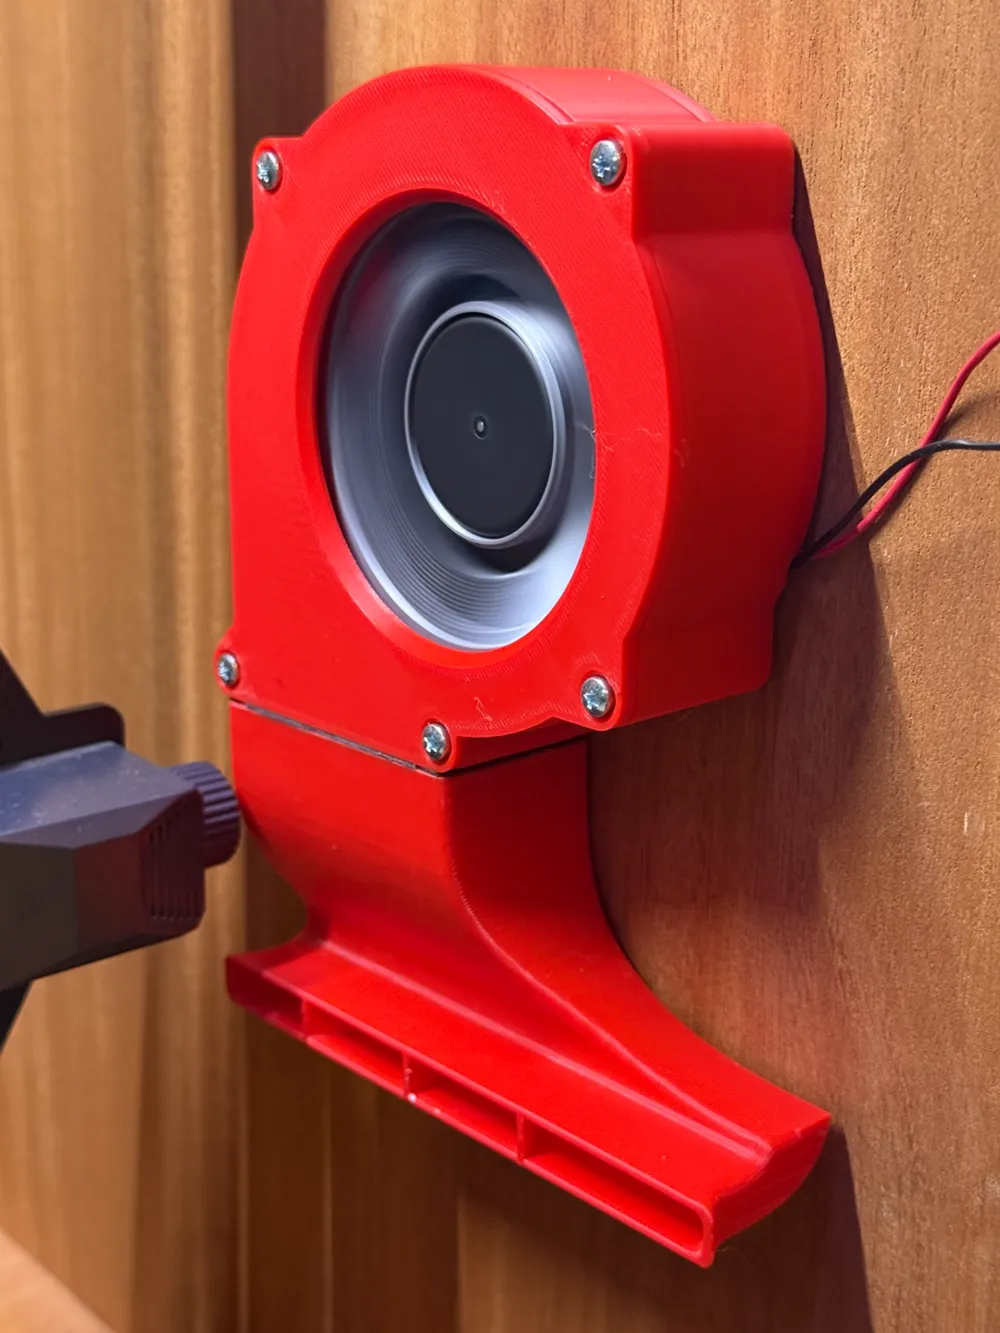
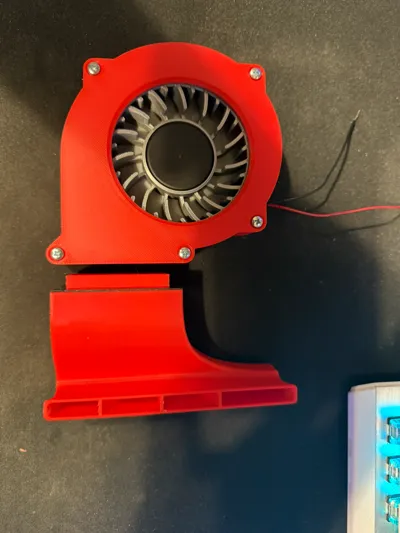
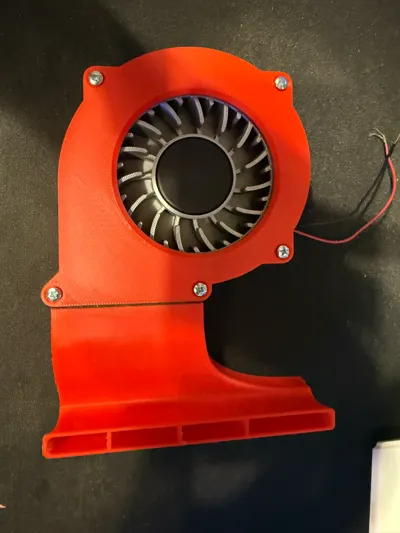
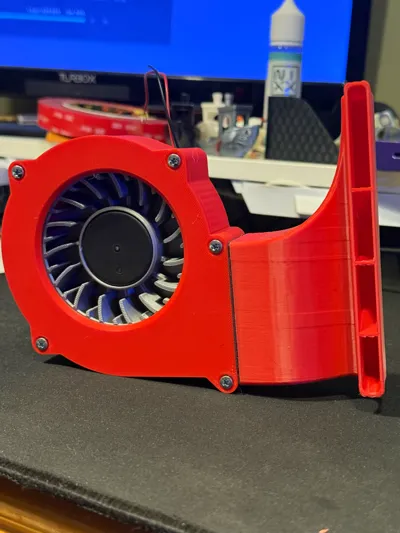
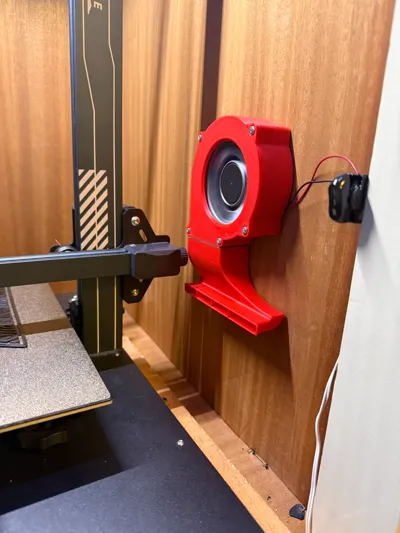
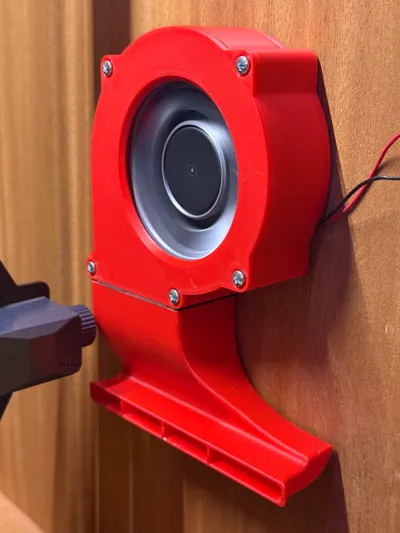
This is a modification kit that turns a standard 80x25mm axial fan into a high-performance blower (turbofan) auxiliary cooling fan, perfect for Bambu Lab A1, A1 Mini, or any FDM printer that could benefit from additional cooling. Whether you're looking to improve part cooling, enhance overhang performance, or print that floating model that you wanted so much, this mod has you covered. If people are interested I will design an adjustable standalone mount for it so that you can simply place it on the table/surface next to the bed.
Why Print This?
An auxiliary part cooling fan can significantly improve print quality, reducing stringing and helping with complex overhangs. This design allows for precise directional airflow, making it far more effective than a standard axial fan.
How It Works:
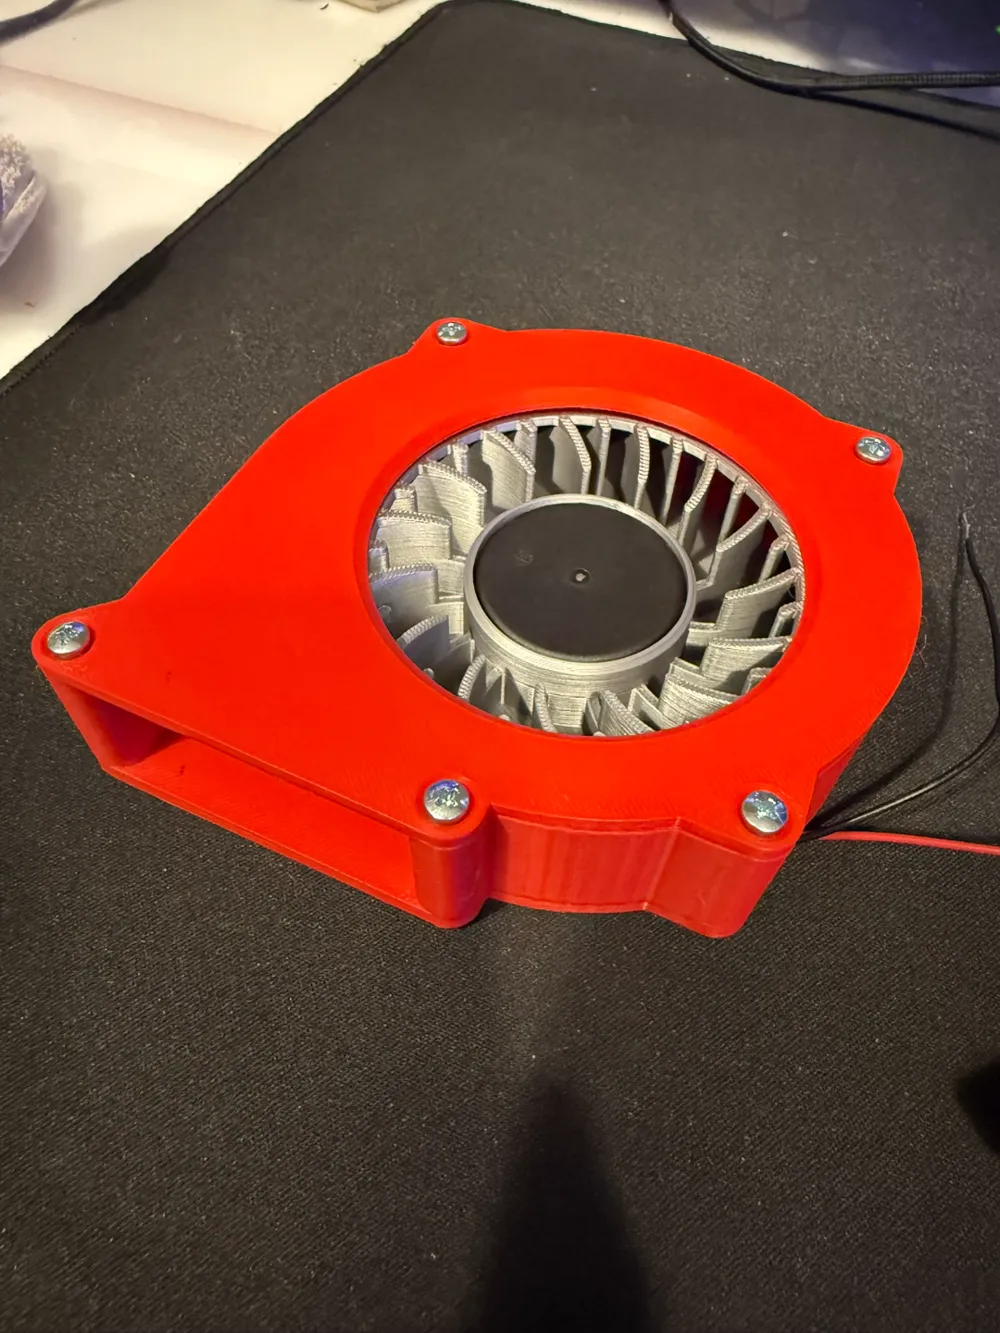
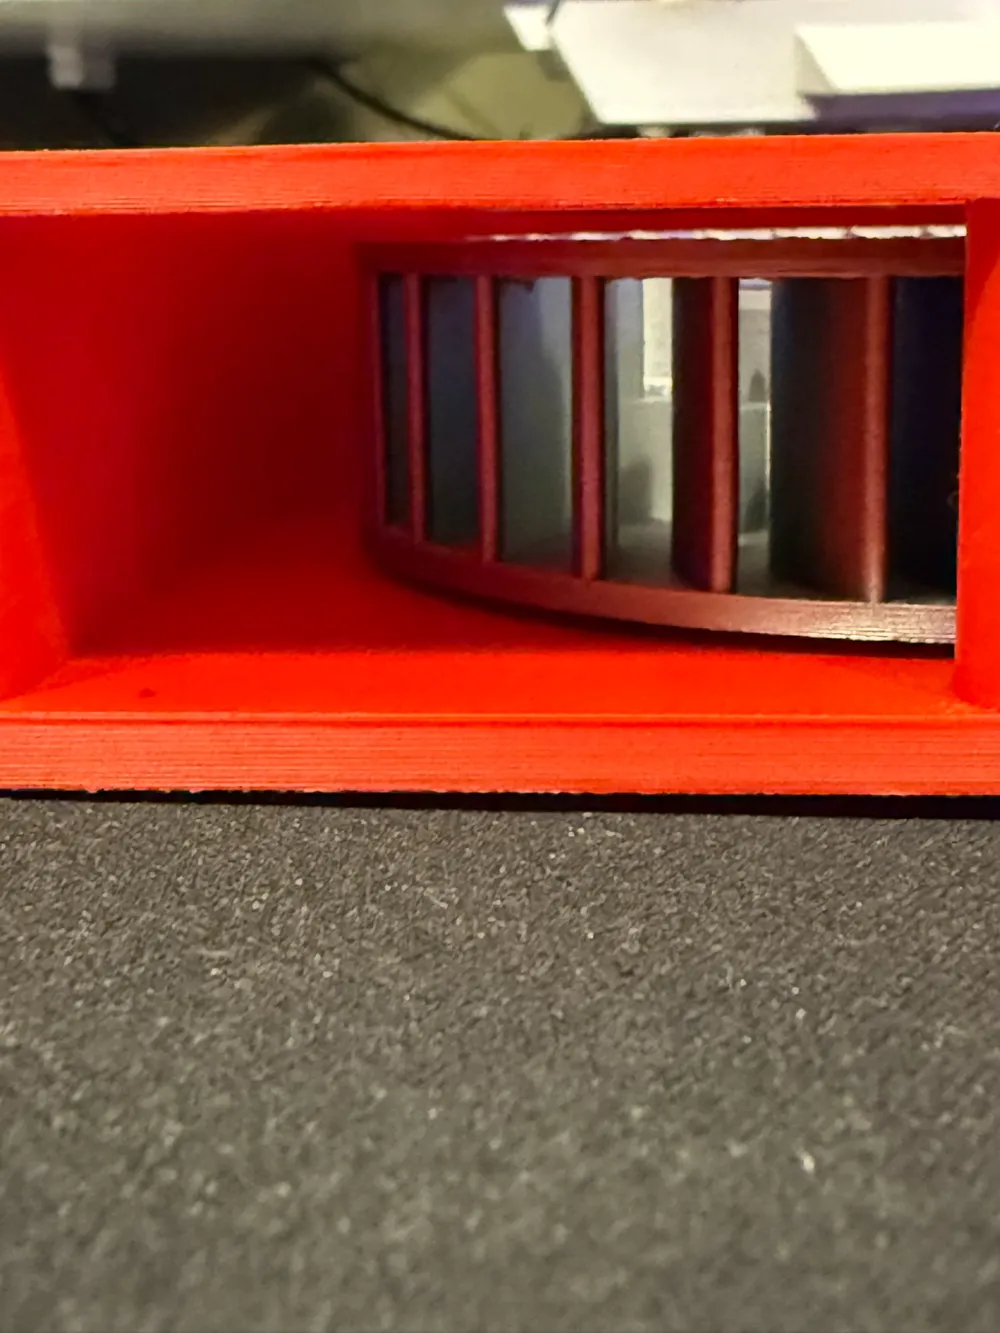
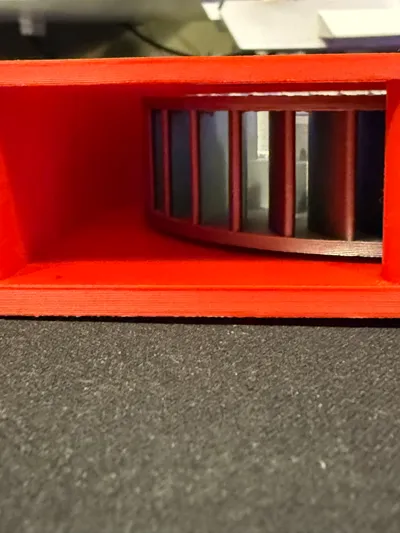
Instead of buying an expensive centrifugal fan, this model repurposes a common 80x25mm fan, utilizing its motor to drive a 3D-printed impeller inside a custom-designed housing and duct.
Assembly Steps (if at some point you dont understand, use the pictures too):
- Get a fast & strong 12V (or 24V) 80x25mm axial fan – proper speed & torque are needed to drive the impeller effectively.
- Break off the fan’s square frame, leaving only the center motor housing intact.
- Remove the original fan blades carefully without damaging the central plastic cylinder.
- Measure the cylinder’s diameter – if it’s 35mm, the provided STL is ready to print. If not, adjust the "negative part" cylinder accordingly.
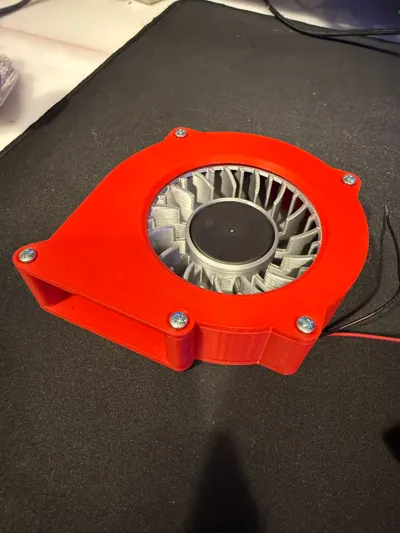
- Print the impeller & housing (preset for no supports). Only minor trimming is needed on 2-3 tiny overhangs on the impeller.
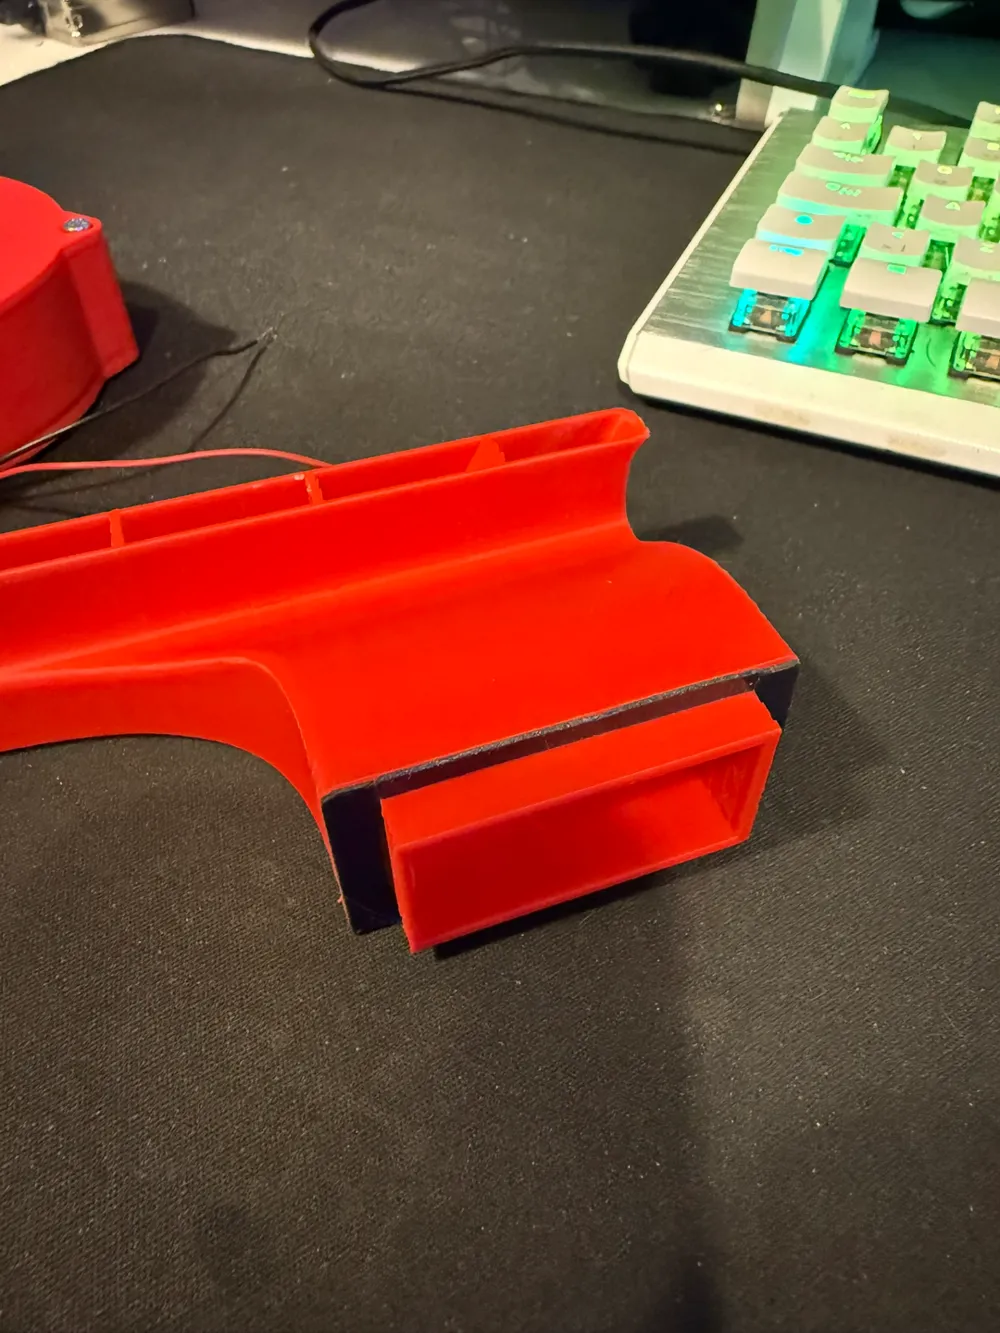
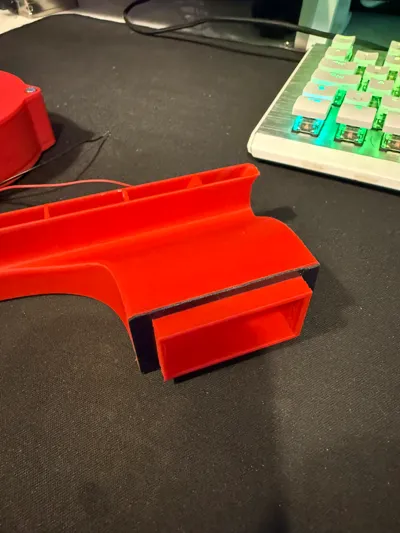
- Print the duct – it requires supports.
- Assemble using 5x M4 screws & 5 heat inserts for a solid build.
- Seal the duct & impeller housing with double-sided foam/gel tape (automotive-grade works great). This ensures an airtight connection, preventing airflow loss.
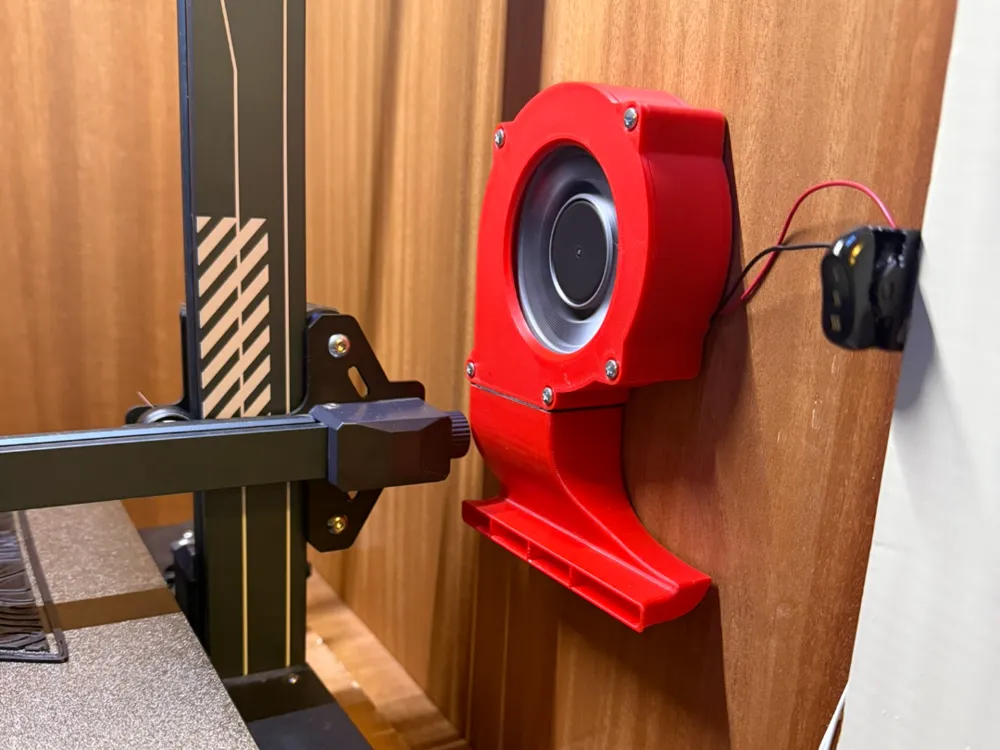
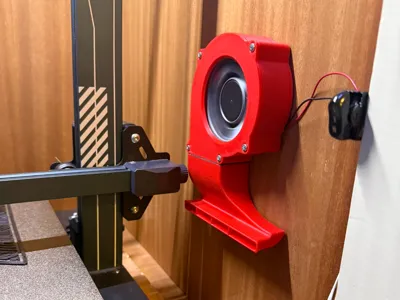
- Mount it anywhere – the through-holes on the back allow for flexible installation using screws or brackets. Make sure you mount it at the right height so that the airflow is directed on the bed, ideally covering all of it. What I did to kinda know exactly where the fan was blowing was to use a mini handheld smoke machine (yeah you know which one) to “visualise” the flow.
Powering & Using It:
- Works with 12V or 24V, depending on the fan you use.
- Can be powered directly from the printer, an external PSU, or even a 12V battery for a portable setup.
- Perfect for A1 & A1 Mini, but can be adapted to any FDM printer for extra cooling .
Why This Design?
- Cost-effective alternative to expensive centrifugal fans.
- Customizable for different fan sizes.
- Easy assembly with standard hardware (M4 screws & inserts).
- Strong airflow for improved part cooling.
🔥 Upgrade your part cooling with this mod and get smoother prints with fewer defects! 🔥
License



Comment & Rating (12)