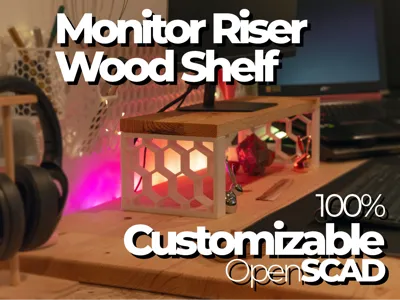
100% Customizable Monitor Riser / Shelf Riser


Print Profile(3)


Description
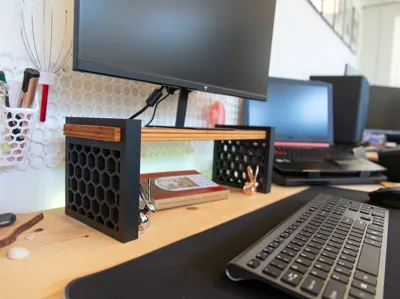
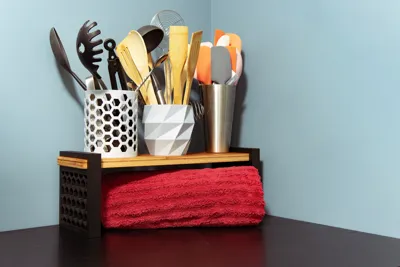
Customizable 3D Printable Monitor/Shelf Riser
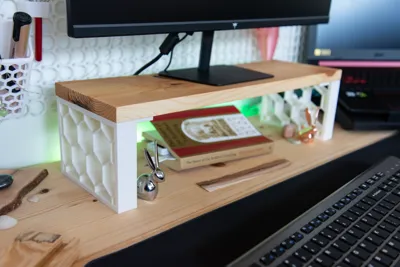
Design a riser that adapts to YOUR needs, not the other way around!
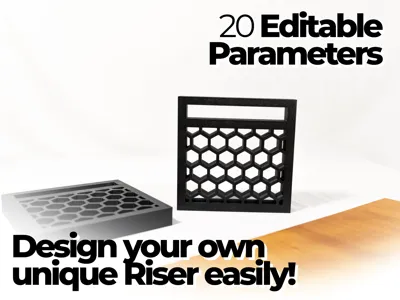
This OpenSCAD script lets you generate perfect-fitting risers for any board dimensions. With 20 customizable parameters, create exactly what you need in minutes.
Click the 🛠 CUSTOMIZE button to get started.
Editable Parameters
- Lumber Height / Width: Set your boards dimensions.
- Lumber clearance: This setting determines the gap between your board and the bracket for easy insertion. A 1mm setting (recommended) creates a 0.5mm space on the left, right, top, and bottom of your board.
- Bracket width: thickness of your bracket. Bigger means more contact surface with the surface it sits on.
- Bracket Outline Thickness: how thick the frame of the bracket is. More thickness will withstand more weight on the shelf.
- Shelf Height: Determine space beneath your board
- Roundness: rounds the edges of the brackets. You might need to enable supports in your slicer. Bambu Studio will let you know if supports are needed.
- Add thickness Above / Sides: enables or disable if your board is fully surrounded by the bracket.
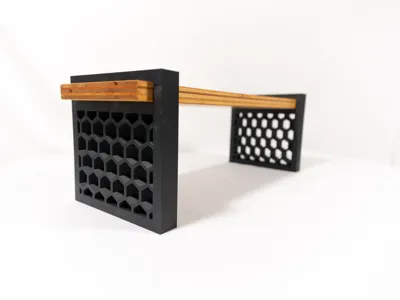
- Fit to board: Only works of the 2 thickness above are disabled. This will adjust the bracket to your board width. Like in the cover image of this model.
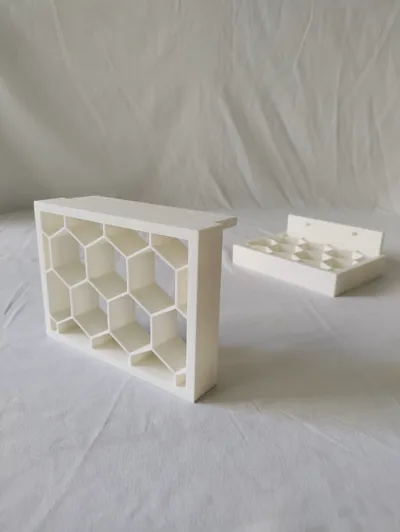
- Board Support: will enable a support that sits below your board, you can enable screw holes and fully edit the countersinking settings. Board support will help with lateral movement of your brackets.
- Honeycomb pattern; lets you enable and control the hex grid pattern.
Recommended Print settings
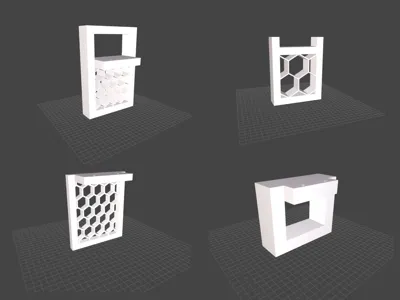
You can download one of the samples and replace with your downloaded STL files. Otherwise here are my recommended Bambu Studio settings and steps. I recommend printing the brackets flat to avoid the honeycomb overhangs if possible (see print profile cover images).
- Select the 0.24mm DRAFT Preset
- CLICK THE AUTO-ORIENT BUTTON
- CLONE YOUR BRACKET 1x
- RIGHT CLICK ON THE PRINT PLATE → ARRANGE
- 2 Walls, 4 Top shell layers, 4 bottom shell layers
- 15% Gyroid infill
---
3 Profiles example are attached, all you need is a common board cut to the length you want. Print the brackets in the profile you selected, slide in your board and voila. Secure the board with 2 screws if you want.
- 160mm wide board
- Europe standard construction board 45x95mm (1mm clearance)
- US 2x4 (actual 1.5x3.5 with 1mm clearance)
---
Boost Me (for free)
Your boosts keep me sharing my design for free! Hope you enjoy it! Happy printing 🤩🔥
-
Changelog
03/04/2025 - Updated the Script to add “fit to board” modifier.
03/02/2025 - Removed the OpenSCAD script in Inches / Imperial, not that useful and I'm pushing updates to only 1 script.
License
You shall not share, sub-license, sell, rent, host, transfer, or distribute in any way the digital or 3D printed versions of this object, nor any other derivative work of this object in its digital or physical format (including - but not limited to - remixes of this object, and hosting on other digital platforms). The objects may not be used without permission in any way whatsoever in which you charge money, or collect fees.
Comment & Rating (8)