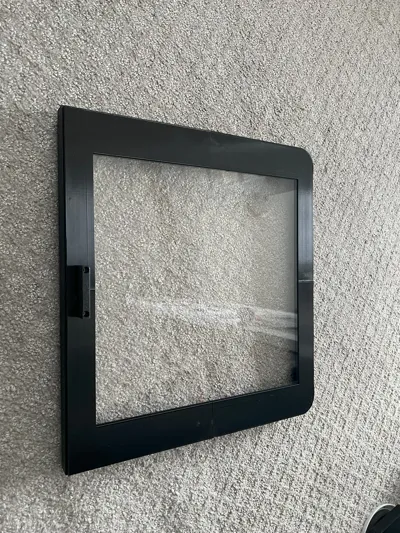
P1 Top Glass Replacement - Frame for 6mm Acrylic


Print Profile(1)

Bill of Materials


- 12x12x1/4Acrylic x 1: https://www.amazon.com/dp/B085L5V796
Description
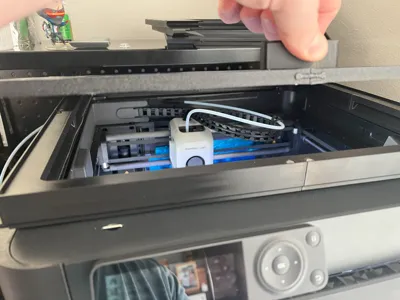
Originally bought a P1P, and have slowly been enclosing it. Originally printed the Anti-Sound enclosure, but the lid kinda drove me nuts. But I also didn't really like the idea of possibly shattering glass on the original.
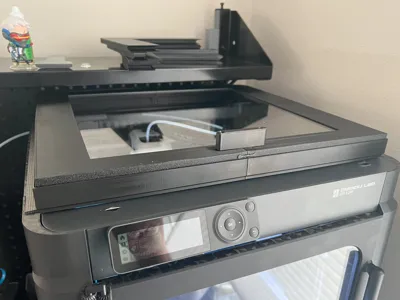
While waiting on the official side panels to arrive, I've decided to make a top that would fit in a riser.
I had a 12x12 piece of acrylic from printing a door for the AS enclosure, so I went with that.
Using this riser from tellus1019, I modeled a frame for it that is assembled similarly with connector pieces.
Can use magnets to attach at the riser magnets (I ended up putting strips of sound-dampening rubber in the top of the riser frame to give ti a little more mass). Handle takes m3 x4mm deep heatset inserts (4.9-5mm diameter). Heatsets also go on top of the front pieces. 2 M3x8mm flat-head screws hold them together, and there's an optional plug.
Assembly is easy - the 4 connectors go top-of-print side into the hole/slot in each piece. I suggest doing Left, then right, then sliding glass into one side and completing the front/back parts. There's a slight bit of extra room for the acrylic, but it doesn't slide.
Comment & Rating (4)