
Gachapon Capsule Ball Vending Machine

Print Profile(6)


Description
To the uninitiated (that's fine we're all learning here), "Gachapon" is the general, Japanese term for capsule toys, while "Gashapon" is the official brand name trademarked by Bandai Namco for their machines.
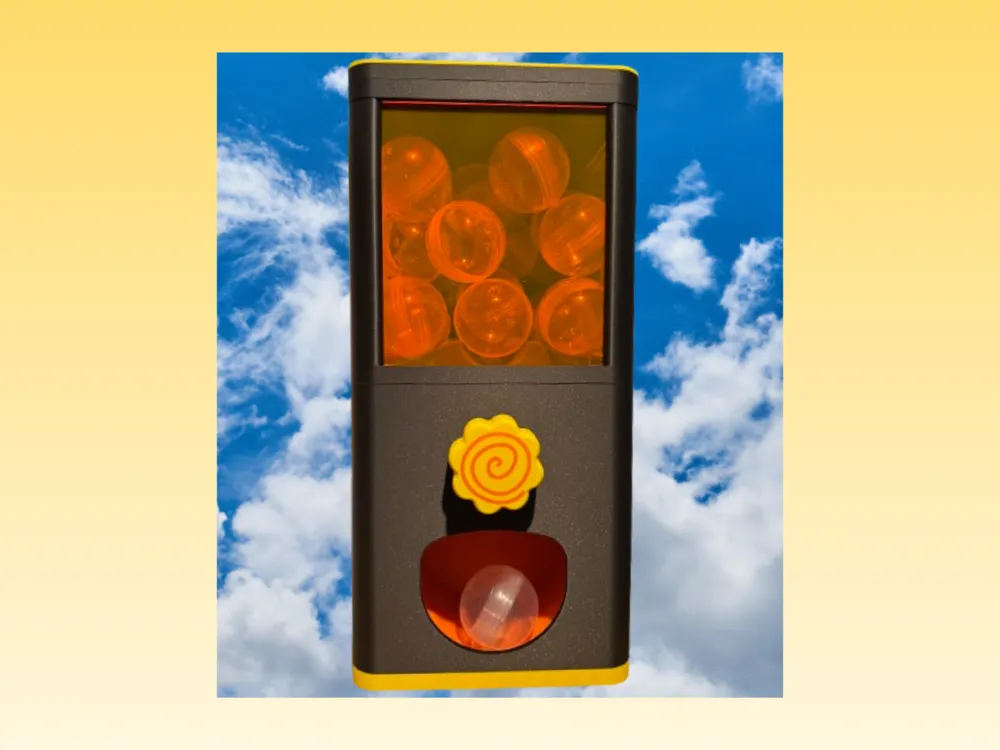

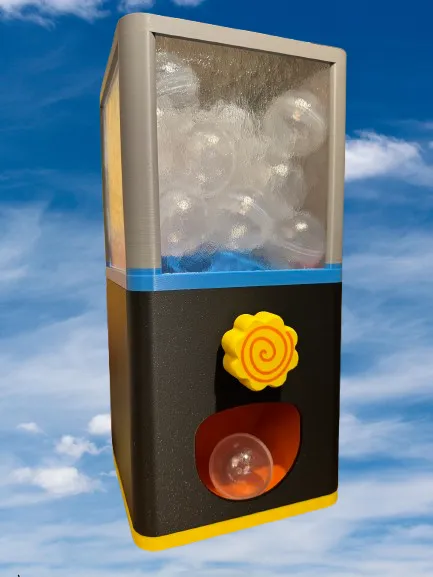
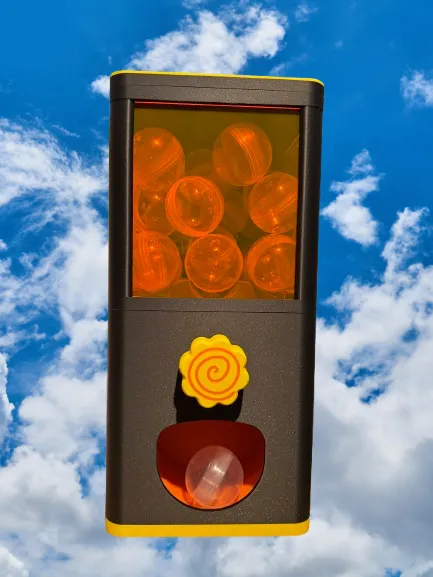
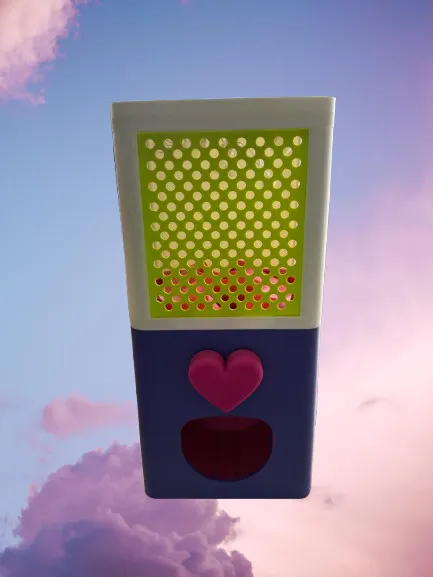
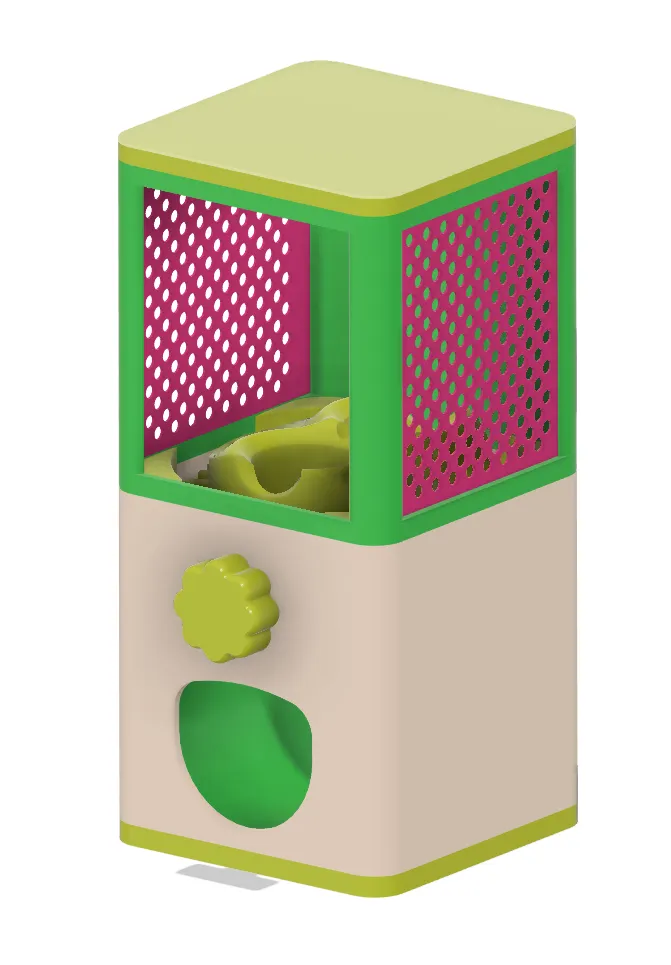
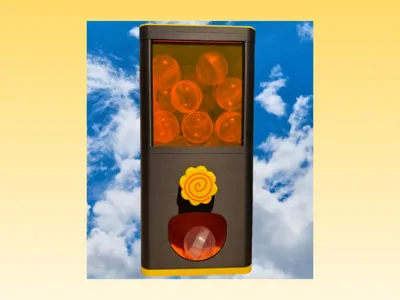
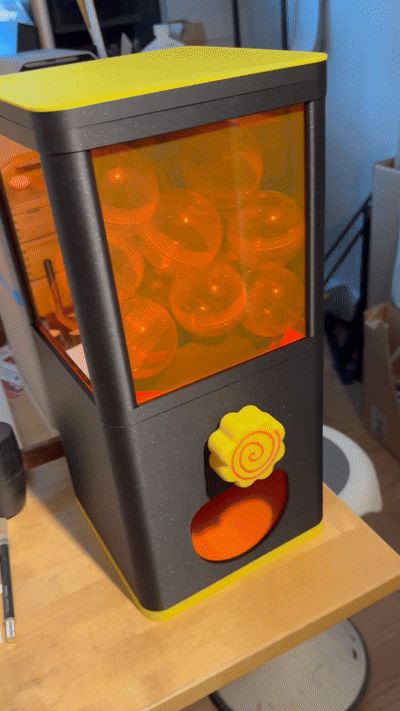
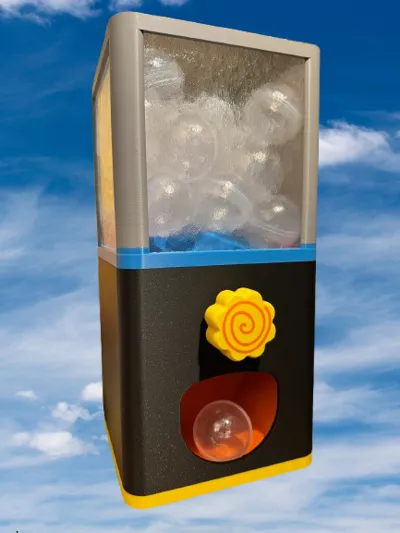
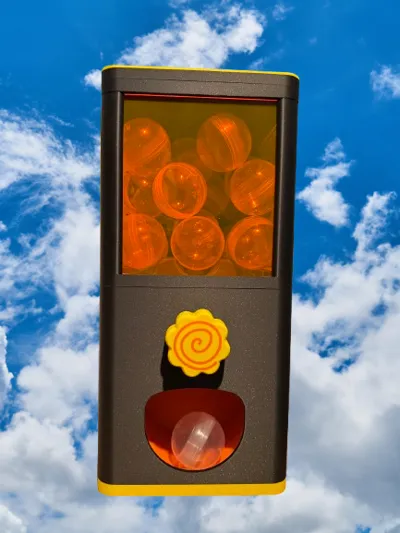
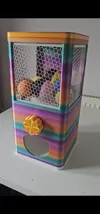
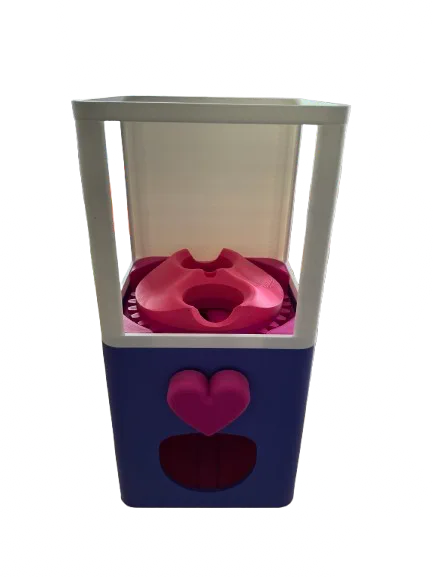
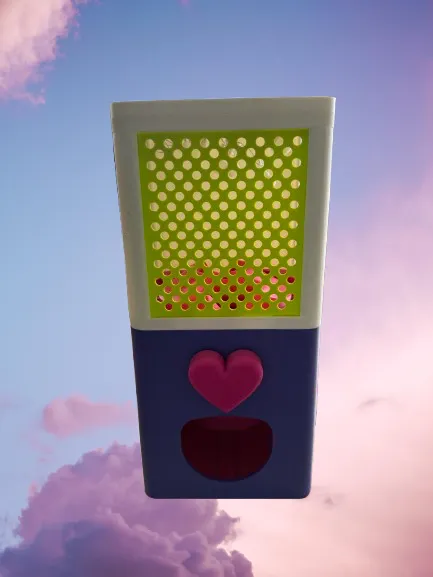
Welcome to my version of the Gachapon vending machine! It works with these 6cm balls and holds just under 30 of them. It's super easy to assemble, requires no extra hardware, and dispenses one ball at a time with each 360° turn of the knob.
There is a file for a window included but any 7"x7" piece of acrylic or piece of material will do. There are also insets for 6mmx3mm magnets if you choose to use those for securing the Center Plate to the Main Body, though not required. Note, you will need to glue the hole blocker to the Center Plate to prevent it from spinning when the machine is in use.
Enjoy!
p.s. Wondering what to vend in the machine? Consider my nudibranch magnet toys that are free on Makerworld!
==========================
If you would like to sell my designs, consider purchasing a commercial license from me on Patreon for $12/month!
Please do not sell my digital or printed designs without my permission, as it completely goes against the spirit of sharing fun 3D models like this for free. I continuously check for bad actors selling my design.
==========================
Files of the upgraded design and add-ons available for purchase on my website. Use discount code IGOTFIVEOFFIT for $5 off, or join my Patreon for a steeper discount.
The free design available here on Makerworld will no longer be updated outside of critical design fixes.
==========================
Design & Printing Notes:
- If you're having warping issues for the one-piece top chamber, try turning off the auxiliary fan.
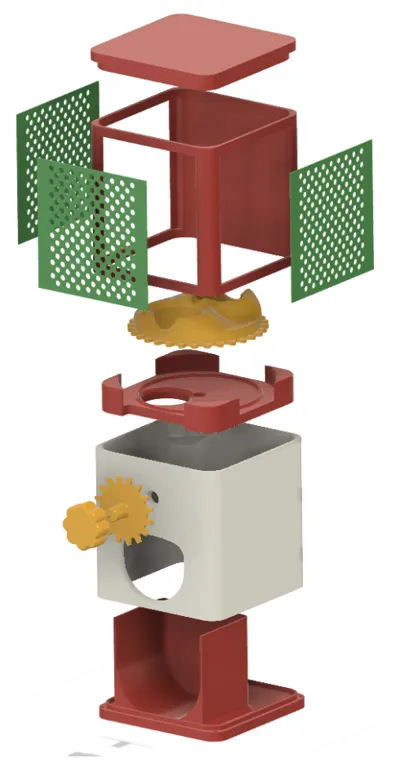
- The top chamber for Version 1 has holes for pins in the bottom and top. The top holes are only to be used if stacking another top chamber on top of it. Otherwise they should be ignored during assembly.
- The Gear Pin is not needed if using the Hole Cover. These two parts are interchangeable.
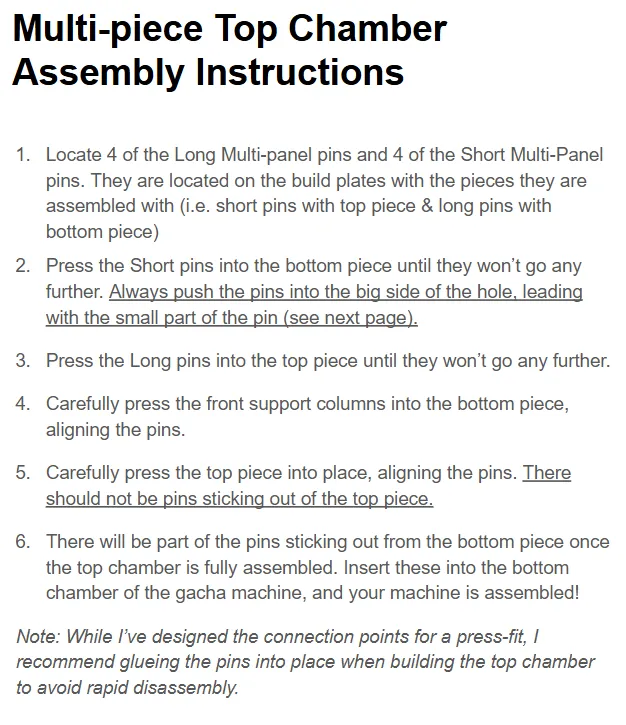
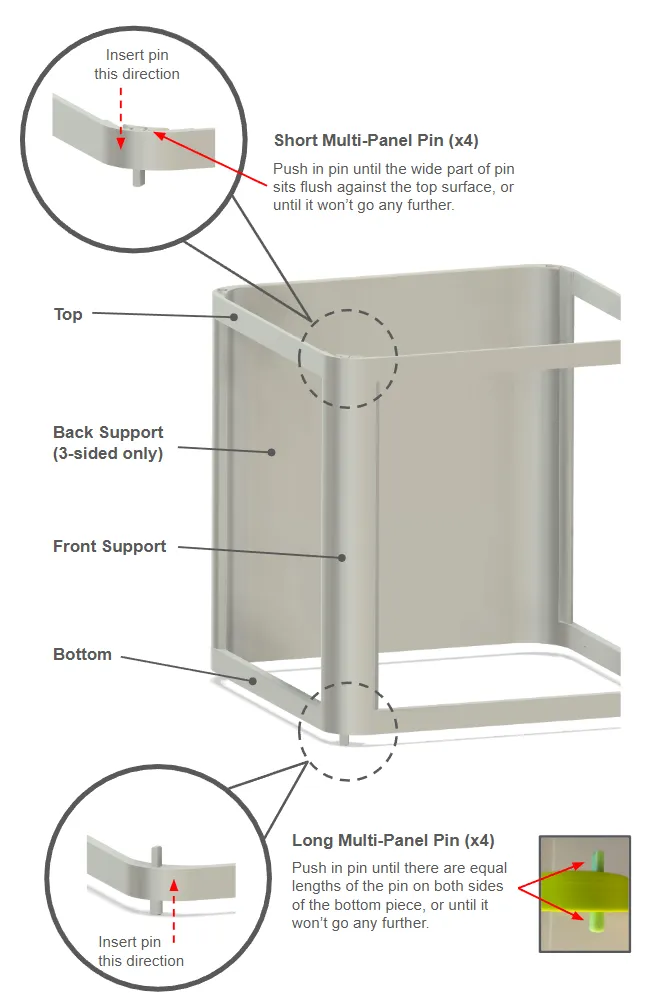
- See bottom of description for multi-piece top chamber (Version 2) assembly instructions.
==========================
Design/Model Updates:
2026.01.23
New multi-piece top chamber design for Version 2. I kept getting questions/feedback about the multi-piece top chamber design, but since it was designed by another generous user I could not edit it and I never printed it.
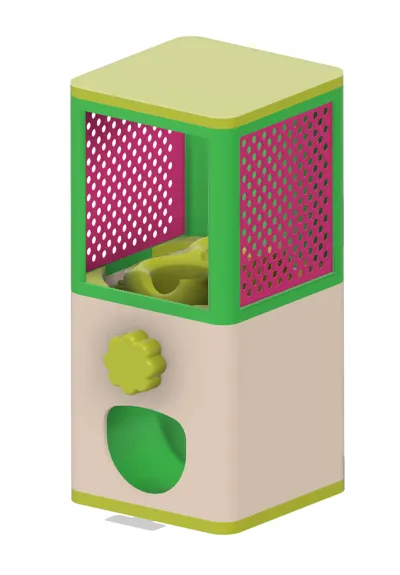
SO I decided to design my own. Now it matches the design of the single-piece top chamber (Version 1), except now with four windows! Sorry if you just wanted 3, it was easier this way. I suppose you could always just print a solid rectangle? Anyway…the pins are pretty particular so check out the instructions at the bottom of the description to make sure they're oriented right. It's worth the extra fuss, I promise!
__________________________________
2025.08.28
NO MORE GLUE! I've added a second top chamber design to the Version 1 profile that has slits for the windows. There are now 2 top chamber designs in that profile. Glue is required for the version on plate 3, and accommodates windows up to about 6mm thick. Glue is not required for the version on plate 6, and accommodates the 3D printable windows in this profile, or acrylic windows up to 1.5mm thick.
I've also added a small flower shaped pin that can fit into the hole on the back of the main body and act as a lock.
__________________________________
2025.08.21
I've consolidated the print profiles to be a bit easier to work with:
- Version 1 is my original design with the new hole blocker added. Replace the gear pin with the hole blocker if you choose to use it.
- Version 2 has the modified top chamber design by 3D Gene Designs which splits the top chamber into multiple pieces.
==========================
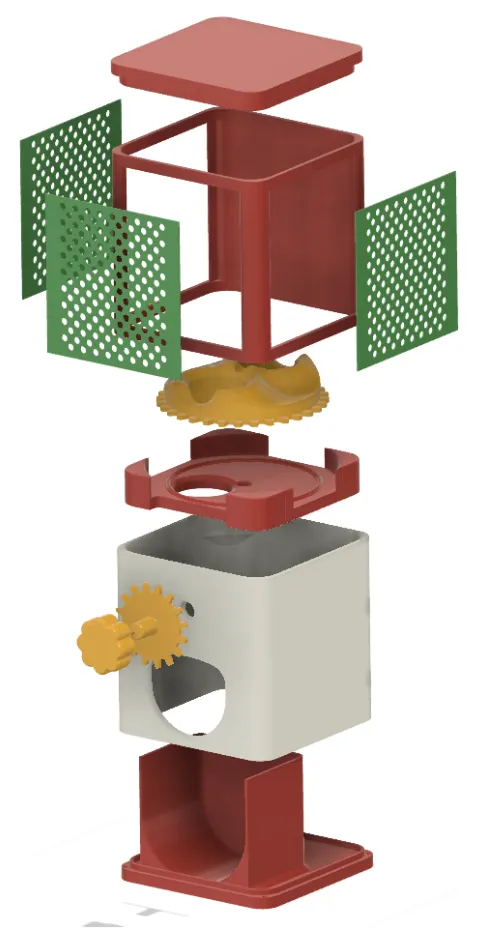
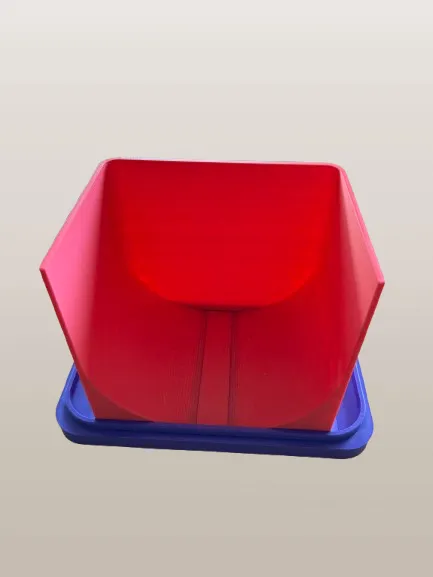
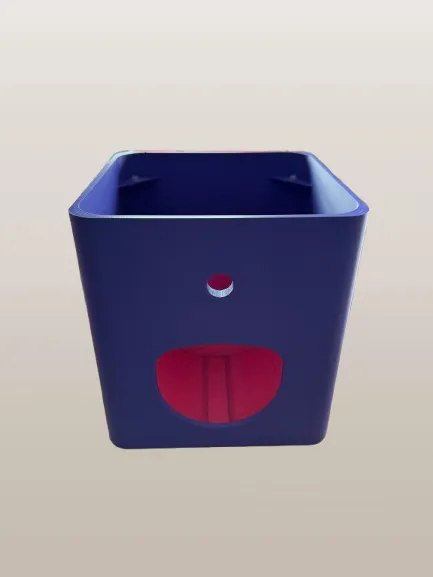
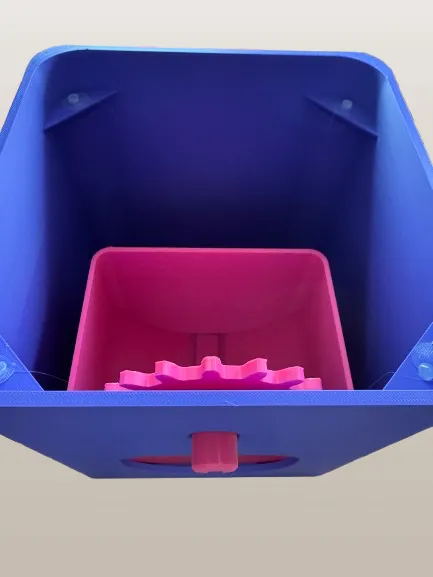
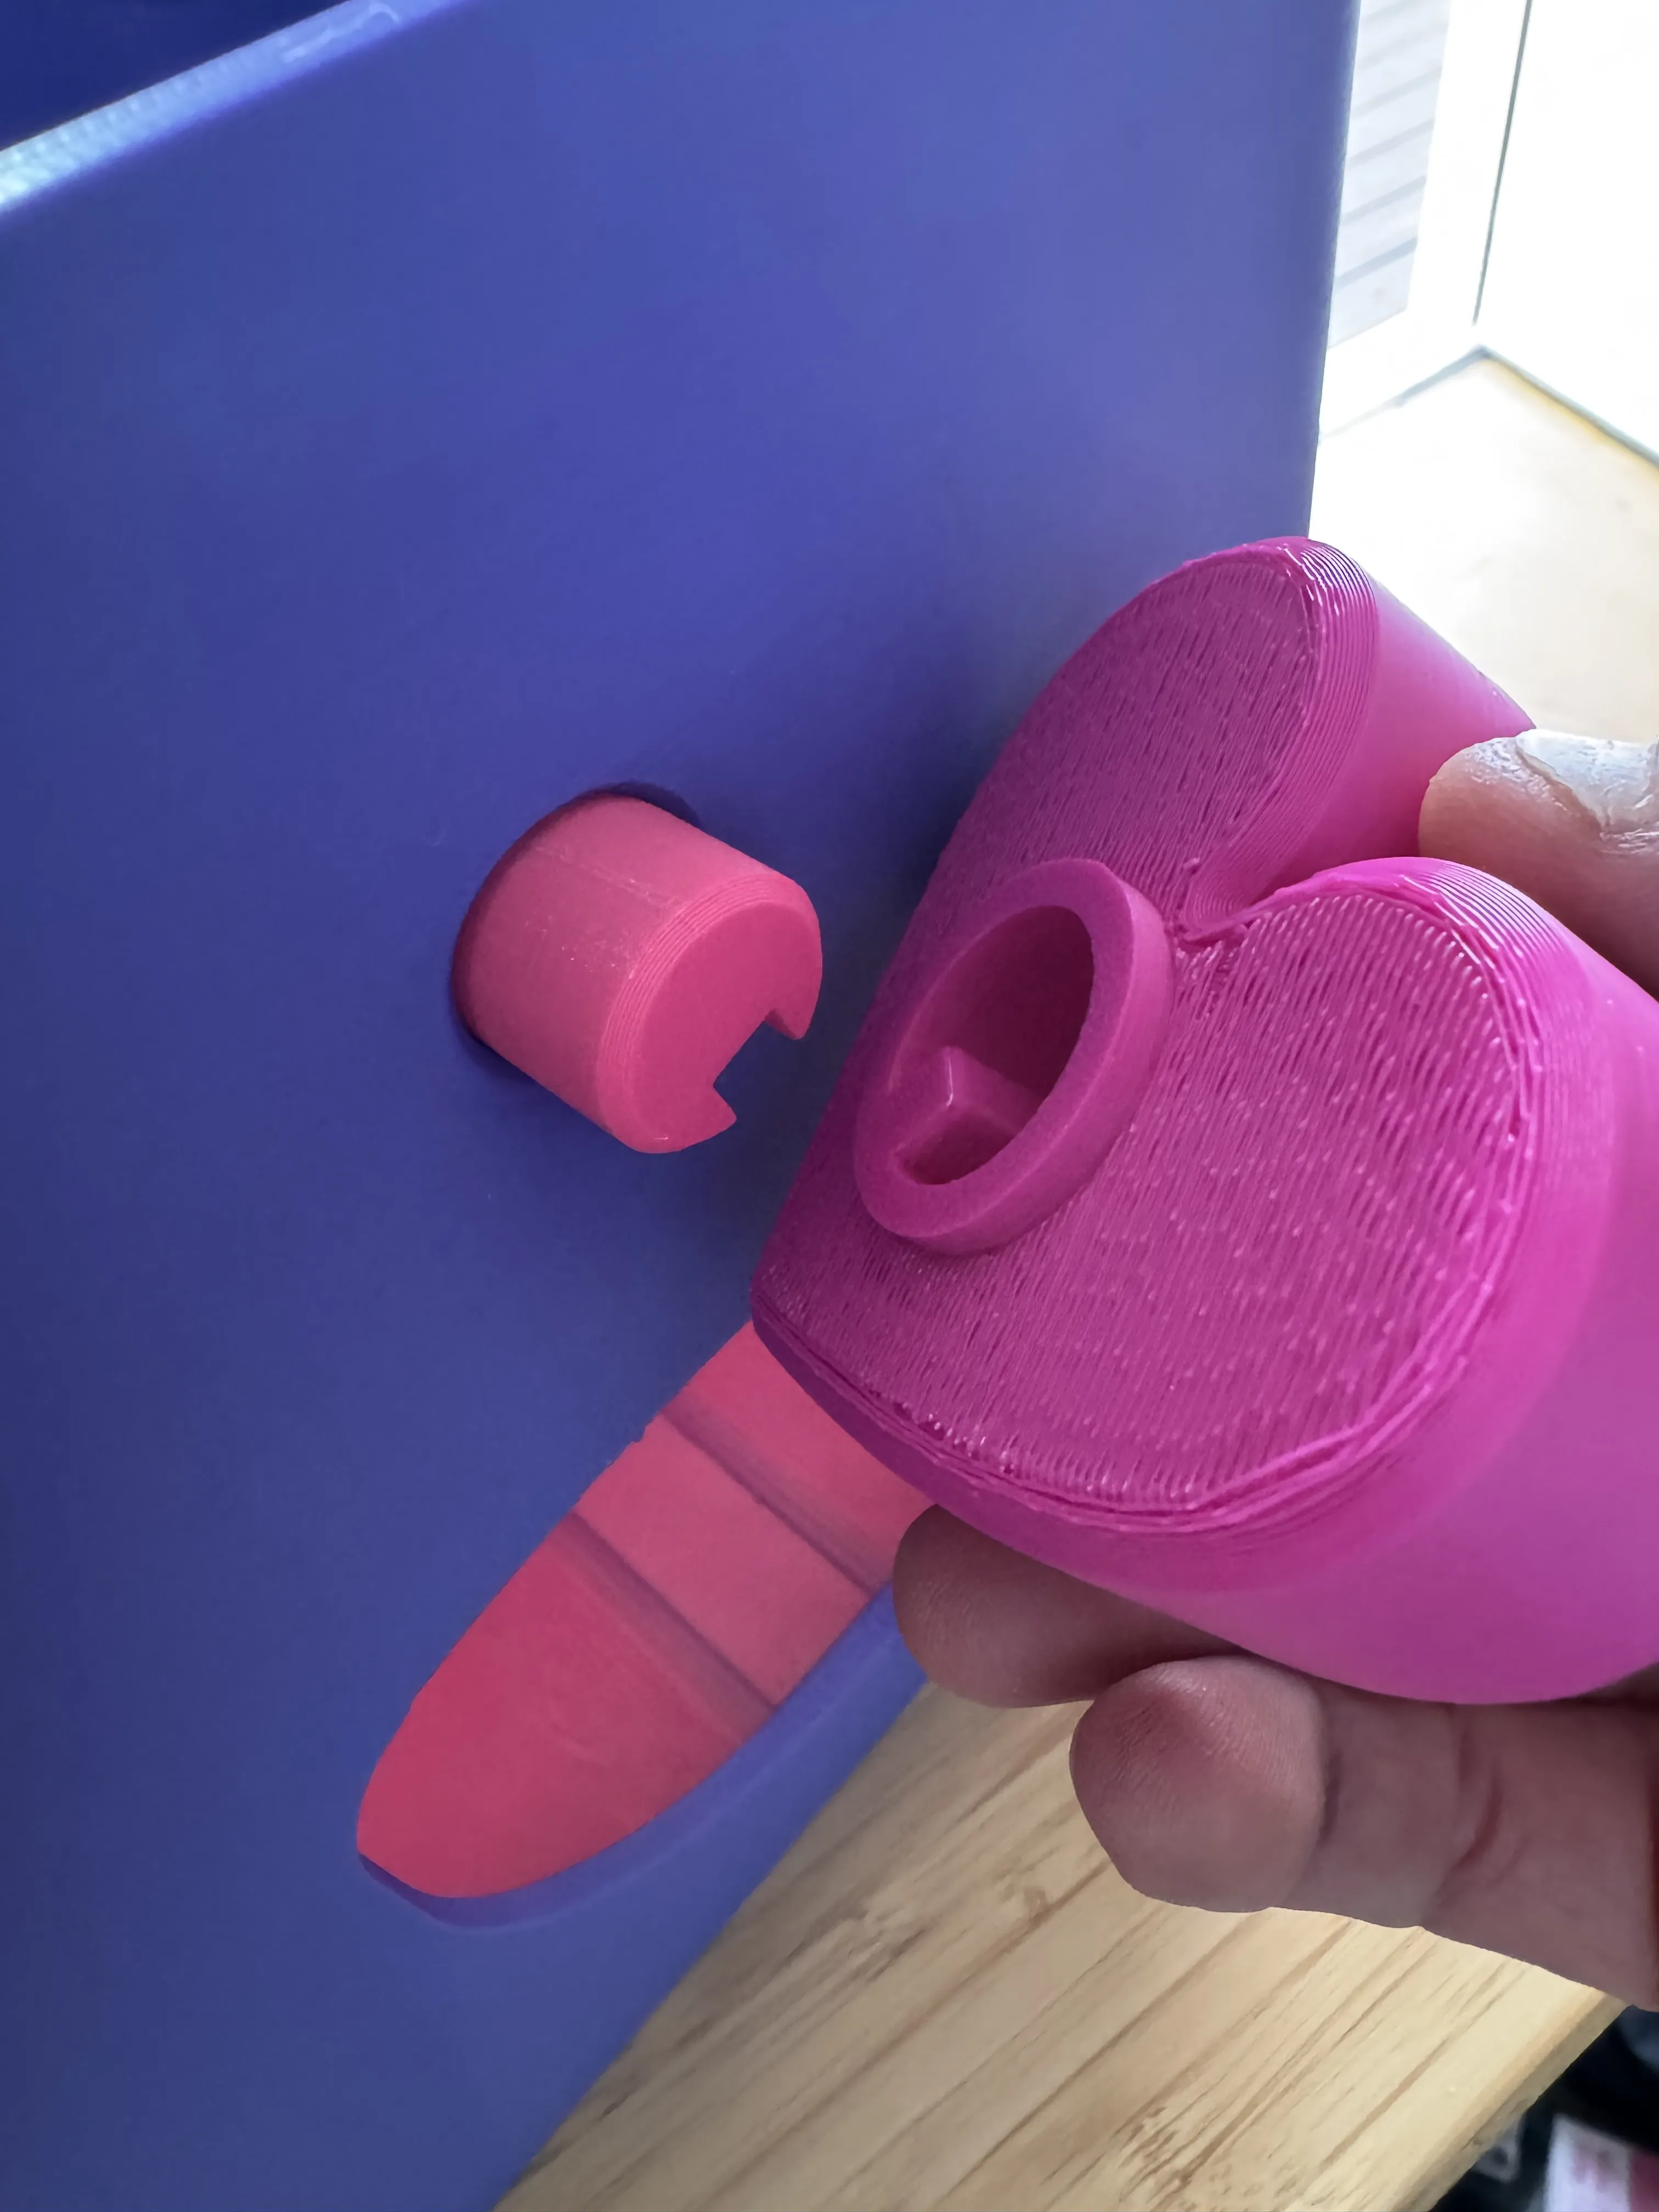
Assembly Order Pics:
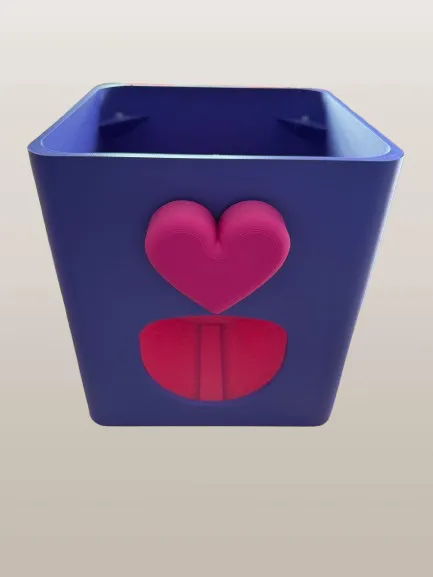
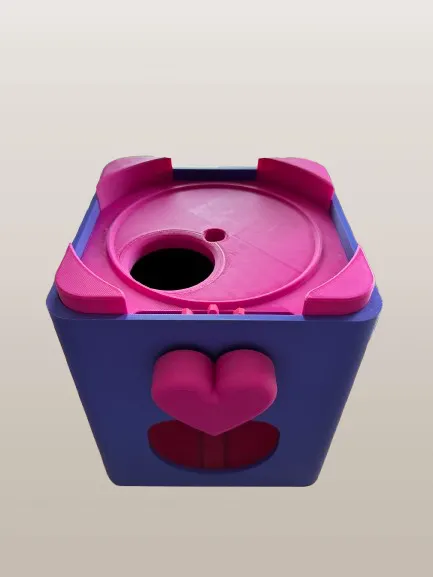
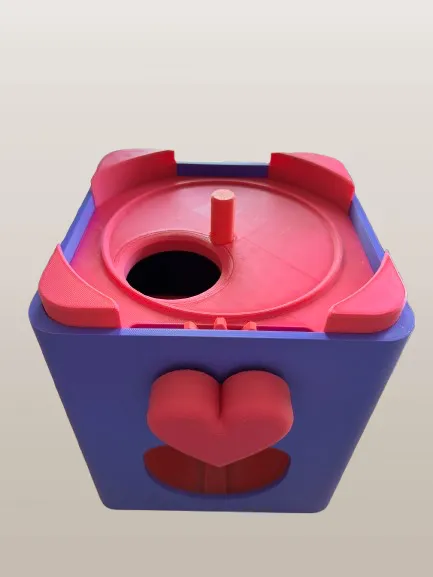
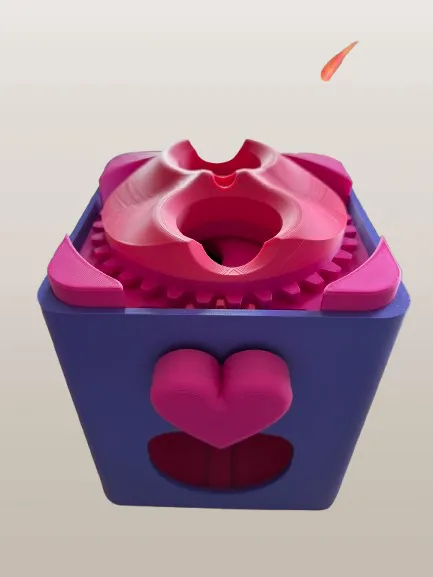
NOTE: Assembly instructions are for Version 1. I also took the pics before adding the pins, so just remember to add those in at the appropriate step.
License

You shall not share, sub-license, sell, rent, host, transfer, or distribute in any way the digital or 3D printed versions of this object, nor any other derivative work of this object in its digital or physical format (including - but not limited to - remixes of this object, and hosting on other digital platforms). The objects may not be used without permission in any way whatsoever in which you charge money, or collect fees.


Comment & Rating (863)