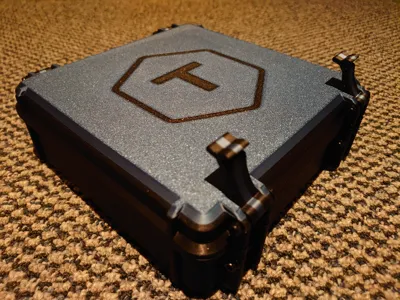
Endoscope Tough Case


Print Profile(1)

Bill of Materials


Description
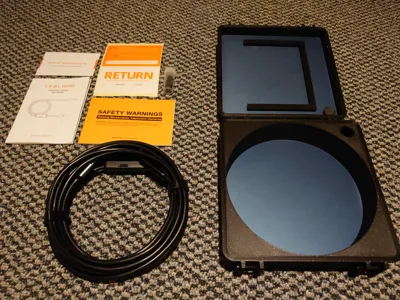
I designed this case for my Teslong NTC200-AF USB Type-C endoscope as I could not find a single case designed specifically for a scope.
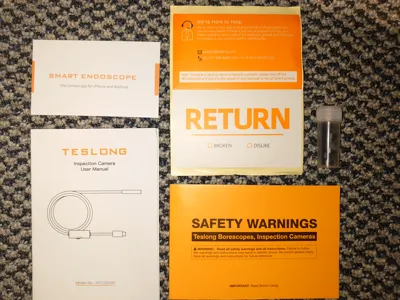
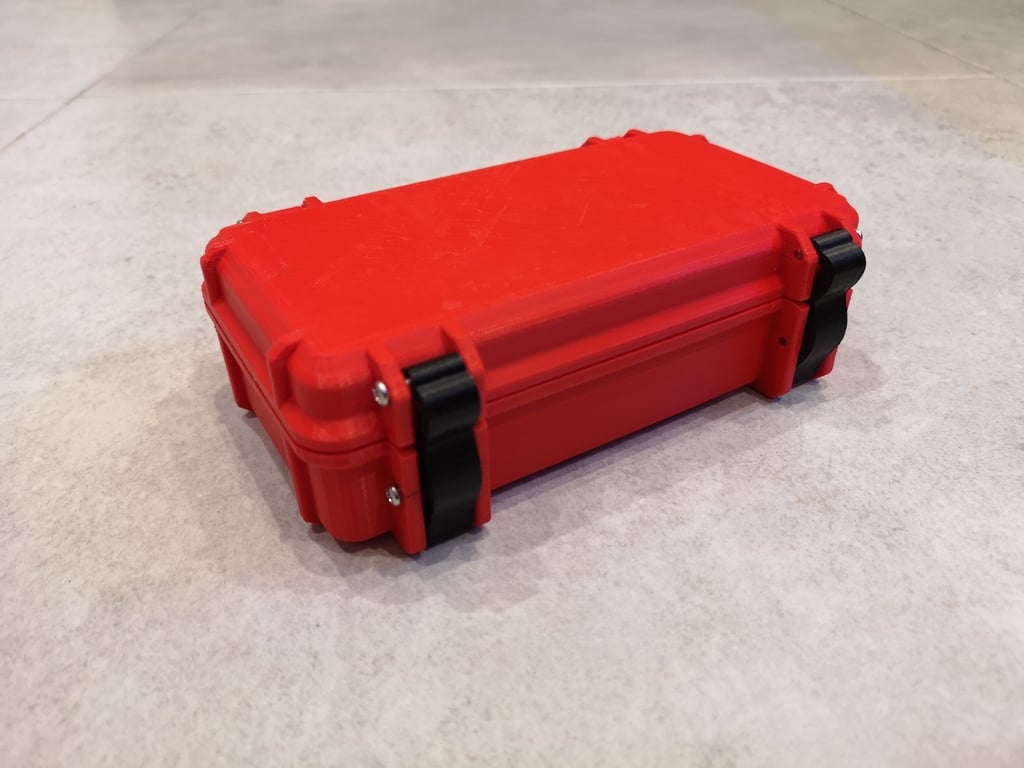
It's a heavily modifed remix I did using Fusion 360 based on the Frog Box V2 (https://www.thingiverse.com/thing:4094861), and fits both the endoscope and all accessories included in the box (all documentation/booklets, and attachments container). Simply coil up your scope, drop the accessory bottle into it's hole, and slide the booklets into the rails on the lid. :)
Although I designed this for my specific model, it should fit all Teslong and similar style USB endoscopes. It may also fit many other endoscopes from different brands that do not have an attached/built-in screen and are 5 meters long or less.
Printed on: X1 Carbon
Plate: PEI Textured
FIlament: PLA
Nozzle: 0.4mm
Quality: Modified 0.20 Standard preset, 4 walls, 20% gyroid infill
Top/Bottom layers: 5
Only one wall on first layer: Enabled
Required to assemble: A) 8 x M3x20mm machine screws (holes are sized to thread tightly).
or B) 8 x M3x25mm machine screws + 8 x M3 hex nuts + (optional 16 x M3 flat washers).
I've listed both options below using Maker's Supply, use either M3x20 OR M3x25 + M3 hex nuts + M3 washers, NOT BOTH.
Requires supports on the lid booklet rails. You may also need to add a brim and/or glue for good adhesion (depending on your plate type). The supports can be a little tricky to get out depending on your printer, if so either use the metal scraper that you can print to carefully separate the supports, or use a small pair of pliers to pull them out. You can also enable “support/raft inteface material” under support settings in Bambu Studio if you have PLA/PETG support material (makes removing them much easier). :)
Note: The lid supports are required for the overhang needed to hold the manuals in place, and disabling them will result in print failures! I ask that you please don't leave a bad review if you have a print failure due to not using supports.
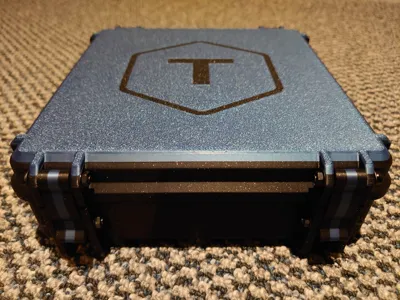
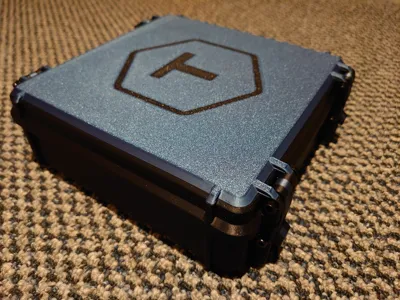
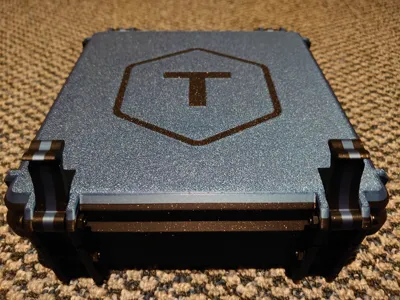
Finally, the 3MF file includes all the print settings I used. It has three plates for the case bottom, lid, and the hinges/latches. To change colours you can either just change the filaments in the AMS list, or select object mode in your slicer and set the individual pieces to your preferred colours. If you'd like everything single colour just set them all the same and you're done! NOTE: The “T” logo is included on the lid but can be easily removed by deleting the “T Logo” object in Bambu Studio. :)
Hope you enjoy,
Decyphar
Comment & Rating (15)