

The Explorer’s Arcanum (curiosity box)
Print Profile(1)

Bill of Materials








Description
Engineering + Art = Magic primetowerdesigns.com | ||
 Beginner's Guide |  The Next Dimension |  How It's Made |
This model contains strong magnets. It is not a child's toy.
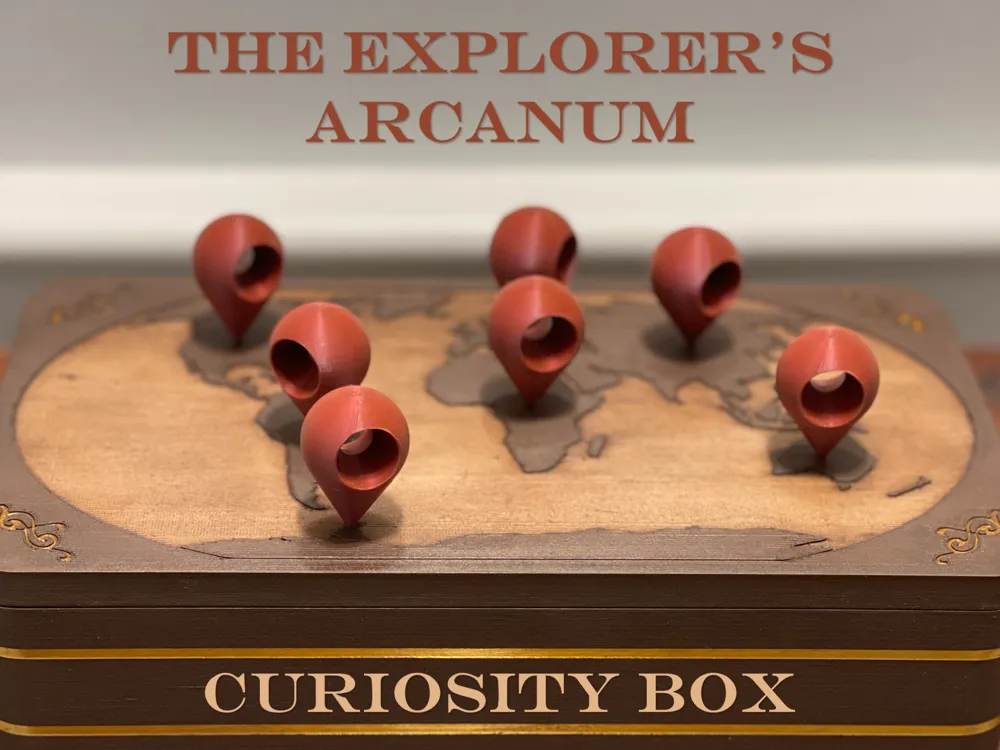

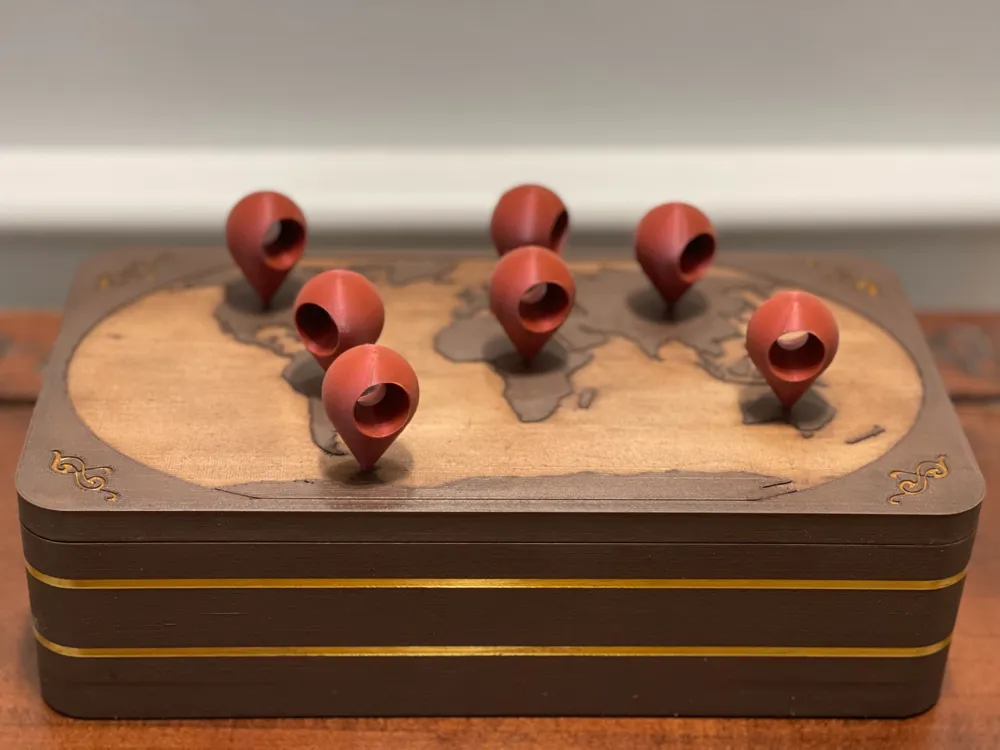
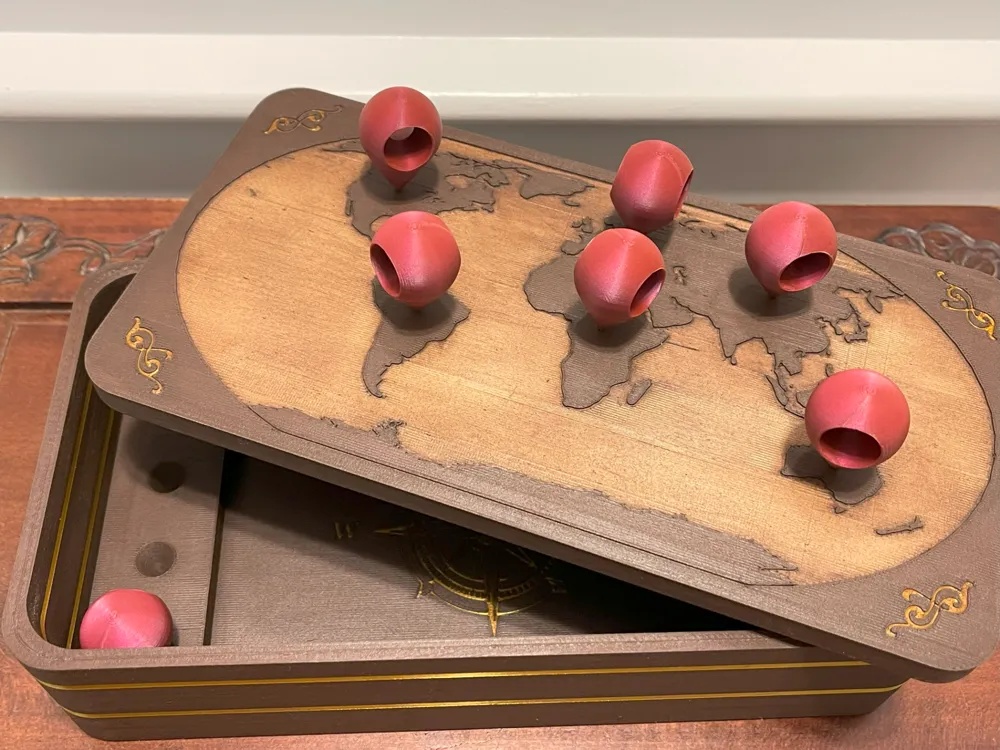
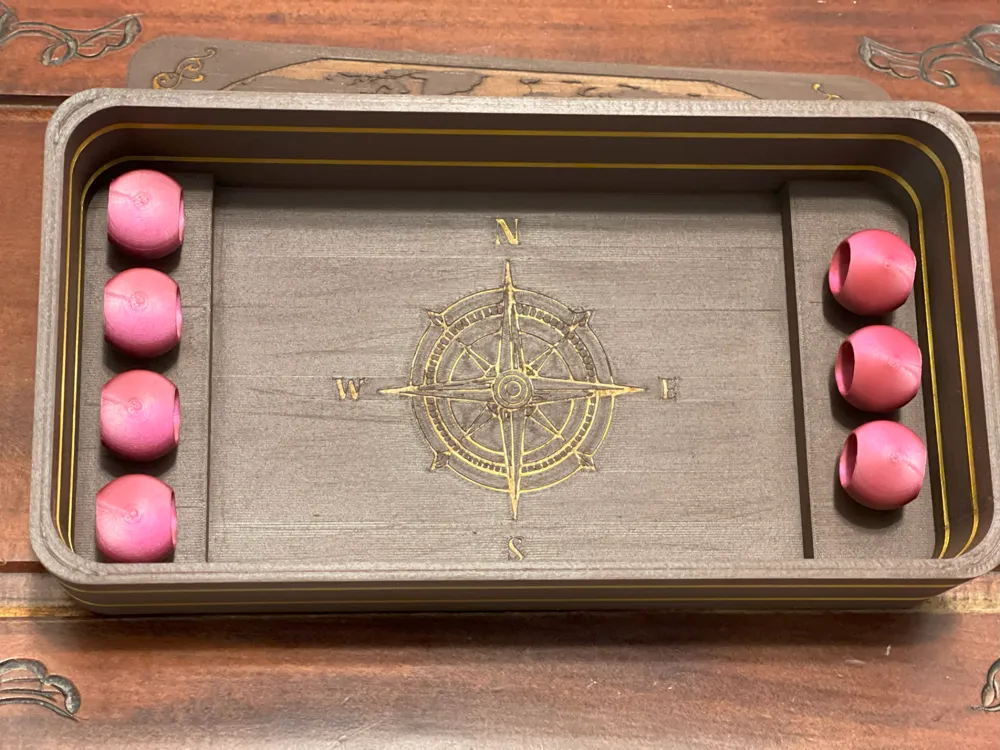
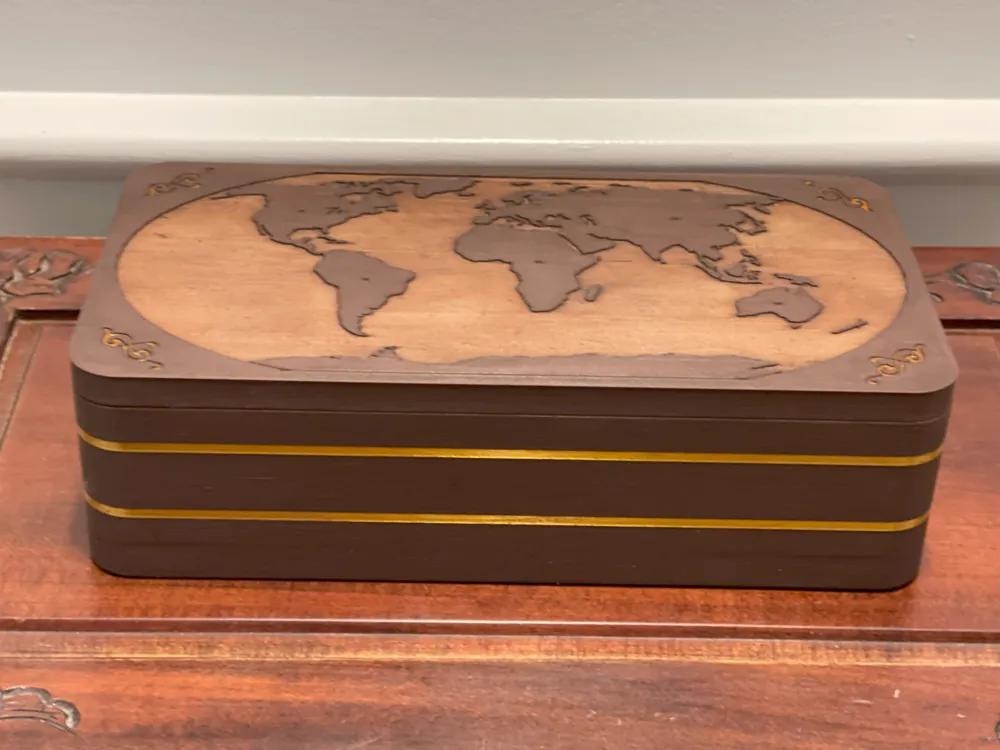
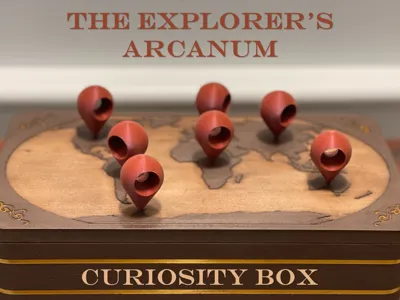
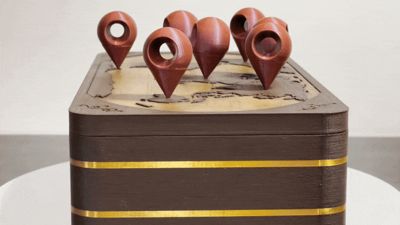
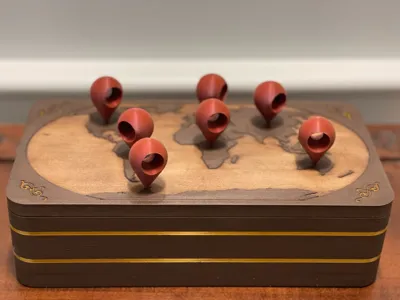
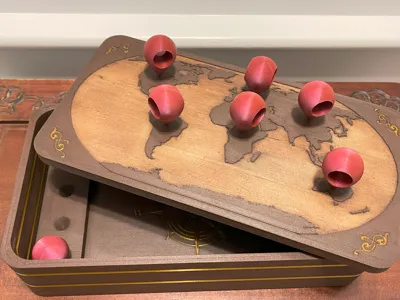
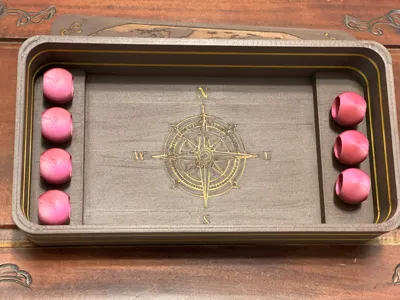
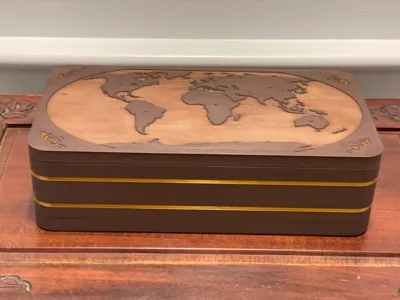
In the dusty study of Sir Percival Montford (a reclusive 19th-century British adventurer who vanished under mysterious circumstances) an unusual relic was discovered long after his disappearance: The Explorer’s Arcanum. On its timeworn surface, six curiously shaped burgundy pins stood in eerie defiance of gravity, each marking a far-flung expedition. A seventh pin remained concealed within the box, grimly hinting at Montford’s ultimate destination. Some claim to hear the Arcanum whispering, beckoning a new explorer to trace its story and uncover the fate of its original master.
Boost Me (for free)
Each Boost fuels more free designs - THANK YOU!
Following the breakout success of The Limit of Possibility, I decided to lean into an academic, old-world vibe for the latest installment in my Passive Magnetic Stabilization collection. Assembly is easier than ever, as all magnets are inserted after printing.
Required Materials
- The Limit of Possibilities kit in the Bambu store contains all required magnets, but you will need two of these kits. See the Bill of Materials section on this page for a direct link.
Use the kit for best results. Most generic magnets are unlikely to have the precise strength required to achieve proper balance - I've tried and had comically bad outcomes! The quantities I list in the sub-bullets below are what the model uses, though the kit comes with extra magnets.- 7 10x4x3 mm ring-shaped neodymium magnets.
- 14 25×3 mm round neodymium magnets.
- 28 4×2 mm round neodymium magnets. If you don’t already have a magnet insertion tool, you’ll need two additional 4x2 mm magnets (total of 30) to create one, but either way two kits have enough.
- Super glue (for assembling the location pins).
- (Optional) A magnet insertion tool such as the simple one I created.
If you choose not to use one, you'll need another way to distinguish relative polarity. Determining which end is absolute N isn’t required, but you must be consistent about which end you consider N. You can always use another magnet to assess polarity, though it’s easy to lose track if it’s unlabeled.
- (Optional) 180-grit sandpaper, gel wood stain, and polyurethane spray to give the box a realistic wooden finish. You'll also need tools of your preference to apply them (e.g., paintbrushes, lint-free cloths).
Ensure all magnets are in good condition and free of chips for maximum potency.
Consistency of Magnet Strength
Magnet strength (and size) varies drastically by manufacturer. Using neodymium magnets from Maker’s Supply (Bambu's store) is critical, as this model is calibrated to them. Should they change suppliers in the future, results could vary.
If you choose to use magnets from another supplier and are comfortable tweaking calibration, note that size varies significantly. For example, Maker’s Supply “4×2” magnets are just under 2 mm thick, while cheaper generics I tested were around 1.65 mm thick. Some magnets might even exceed the Maker’s Supply thickness, and if they protrude above your printed surface, they could damage your nozzle.
Safety Warnings
Neodymium magnets are not toys.
- Keep them away from pets and young children. Swallowing two magnets can clamp them together inside the digestive tract, leading to severe injury or death if not surgically removed.
- The 25×3 mm magnets are relatively strong. Keep them away from pacemakers and avoid handling them near other magnets or ferrous metals. If they collide freely, they can break or cause finger injuries, and shards can fly off and injure your eyes. They typically ship with spacers that must be carefully removed. A good technique is to stack them one at a time: carefully slide the next magnet onto the stack from the side and release once it begins to slide.
How to Print
Filaments
- Location Pins:
You can pretty much use whatever you want. I used Inland PLA Shimmer – Burgundy Red. Bambu PLA Galaxy also looks great.
Box:
Whatever filaments you use, ensure they are well-calibrated. Tolerances are tight, and over-extrusion can complicate magnet insertion.
I used iSanmate PLA Wood filaments (their sandal wood & white wood bundle). If you prefer not to tinker with filament settings, Bambu PLA Wood (or even a regular matte PLA) also yields good results, though the iSanmate is a step up IMO if you're willing to put in the extra work.
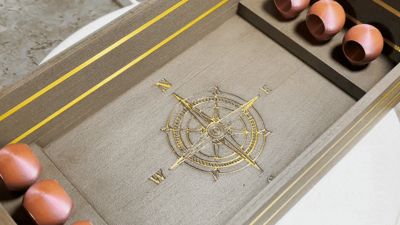
If you don’t use a wood filament, I still suggest you use something very opaque. I applied a special technique to achieve an engraved/painted effect for the message on the underside of the lid. Since I couldn’t print the golden lettering in mid-air, I printed a golden rectangle above the cut-out message (using bridging). If your chosen filament isn’t opaque enough, you might see the rectangle’s color bleed through on the underside. You can always delete the “message coloring” object from the print. This will leave the engraved message intact, albeit uncolored.
To configure my iSanmate PLA Wood filament settings, I started with Bambu’s PLA Wood settings and then adjusted based off online research and personal experimentation. My K factor calibration was 0.035 but you should run your own calibration.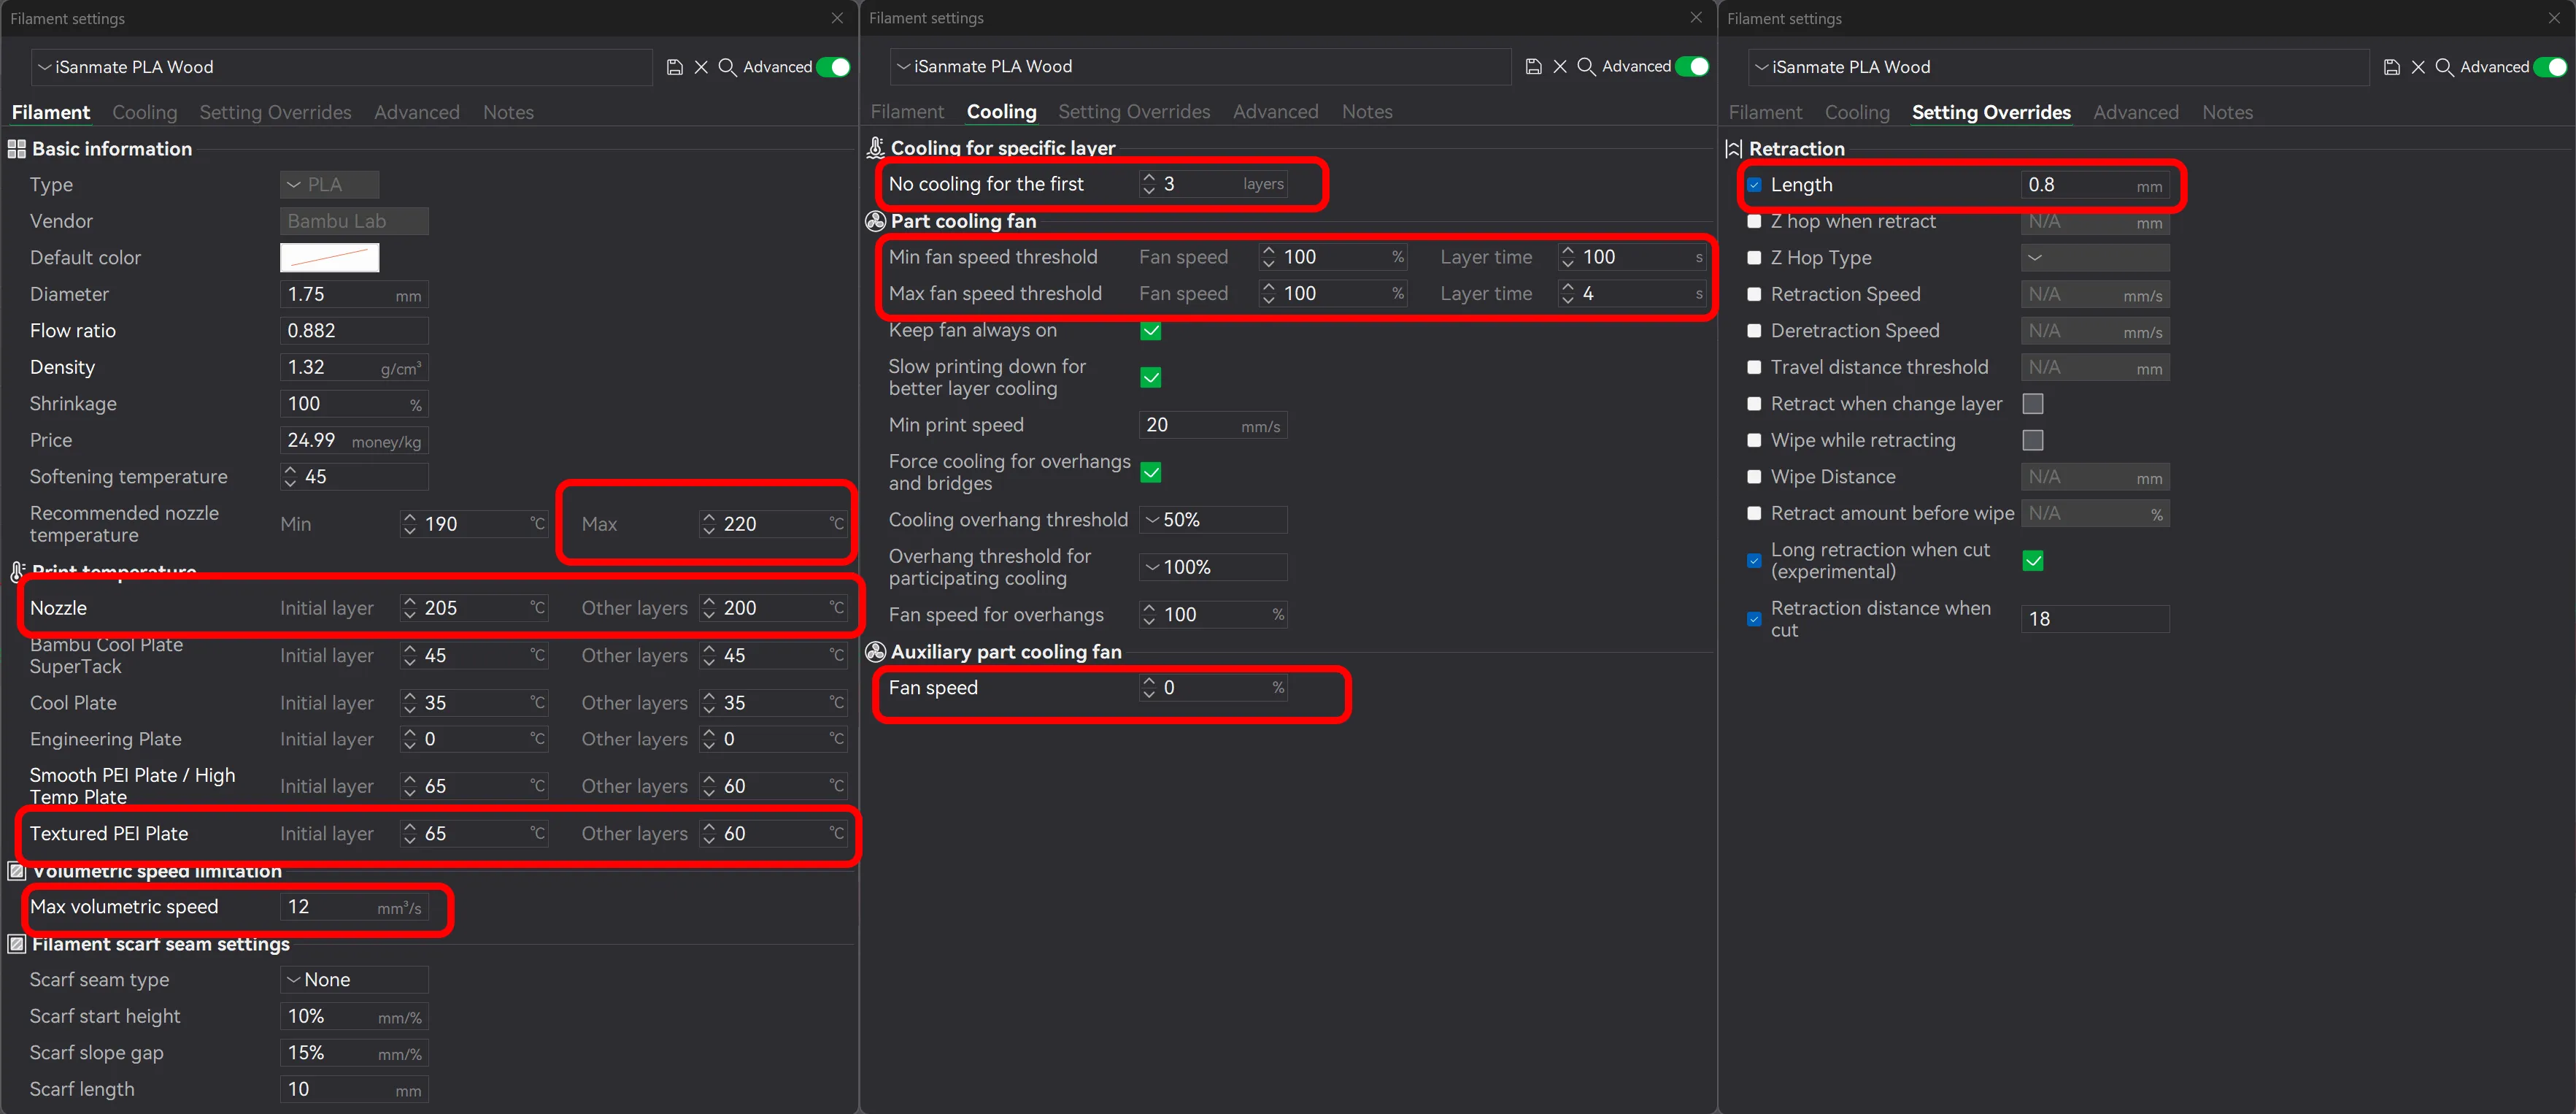
Location Pins
- The location pins are configured to print as individual objects. This allows you to print them in varying colors by simply recoloring them in Bambu Studio. Each uniquely colored location pin will require only a single color swap; however, I recommend using a single color to maintain the old-world charm.
- A super-thin disc (the magnet separator) will be printed; you’ll likely need to gently scrape it off the build plate.
Box / Lid / Lip
- Surface Patterns:
If you’re not planning to sand and stain, consider changing the surface patterns to a Hilbert curve. While it’s not very natural-looking, the rectilinear patterns are worse around the map since the deviations to their straight lines really stick out.
- Reduce Warping:
I suggest disabling the aux fan to help reduce warping. I’ve configured this in my filament profiles, but you may need to adjust your settings if you use different filaments.
Allow the box to cool completely before removing it from the build plate. Patience is rewarded.
- Infill Direction:
I set the infill direction to 90° or 0° (depending on the box component) rather than the default 45°. Combined with an Aligned Rectilinear surface pattern, this mimics the direction of real wood grain. If you rotate the box on the plate, adjust the infill direction accordingly to preserve the effect.
How to Assemble
I suggest printing the box first so that you have a secure place to rest the location pins after gluing their two halves together. For visual guidance, check out my "Making the Explorer’s Arcanum" video. While it isn’t a substitute for the detailed assembly instructions below, it should help clarify the process. (Apologies for some awkward camera angles. I don’t have a great recording setup.)
Location Pin Assembly
- Remove Support from the Tip:
- Use needle-nose pliers: poke, squeeze, then twist. Sometimes the support comes off easily; other times, you may need to fiddle with it.
- Remove the entire support structure, including the interface layer (a thin grid). Scrape it off if necessary.
- Insert the Magnet Stack:
- Insert a stack of four 4×2 mm magnets into the center hole.
- Ensure the S side of the magnets faces the tip of the location pin by using the S side of your insertion tool.
- If the entrance of the hole is slightly obscured, use pliers to gently widen it. Once the stack begins to insert, push firmly until it is fully seated.
- Insert the Magnet Separator Disc:
- This disc prevents the magnet stack from being pulled into the center of the ring magnet, ensuring proper location pin stability.
- This disc prevents the magnet stack from being pulled into the center of the ring magnet, ensuring proper location pin stability.
- Insert the Ring Magnet (10x4x3 mm):
- The N side should face the tip of the location pin. Verify this by checking that the N side of your insertion tool sticks to the top (S) surface of the ring (but not to the center, which has inverse polarity).
- You should feel the ring repelled by the magnet stack initially, then pulled in as it nears the hole.
- Take care that the magnet separator does not eject during this step.
- Firmly press the ring magnet until it is flush with the bottom, using a flat surface for extra pressure if needed.
- Verify proper polarity: the S side of your insertion tool should be repelled by the ring until it nears the hole, where it then becomes attracted.
- Glue the Two Halves Together:
- Use glue sparingly. Apply it away from the edges to avoid oozing.

- Stand the location pins in the designated holders (inside the box) to allow the glue to set.
Box Lid / Lip Assembly
Remove Supports from the Lid:
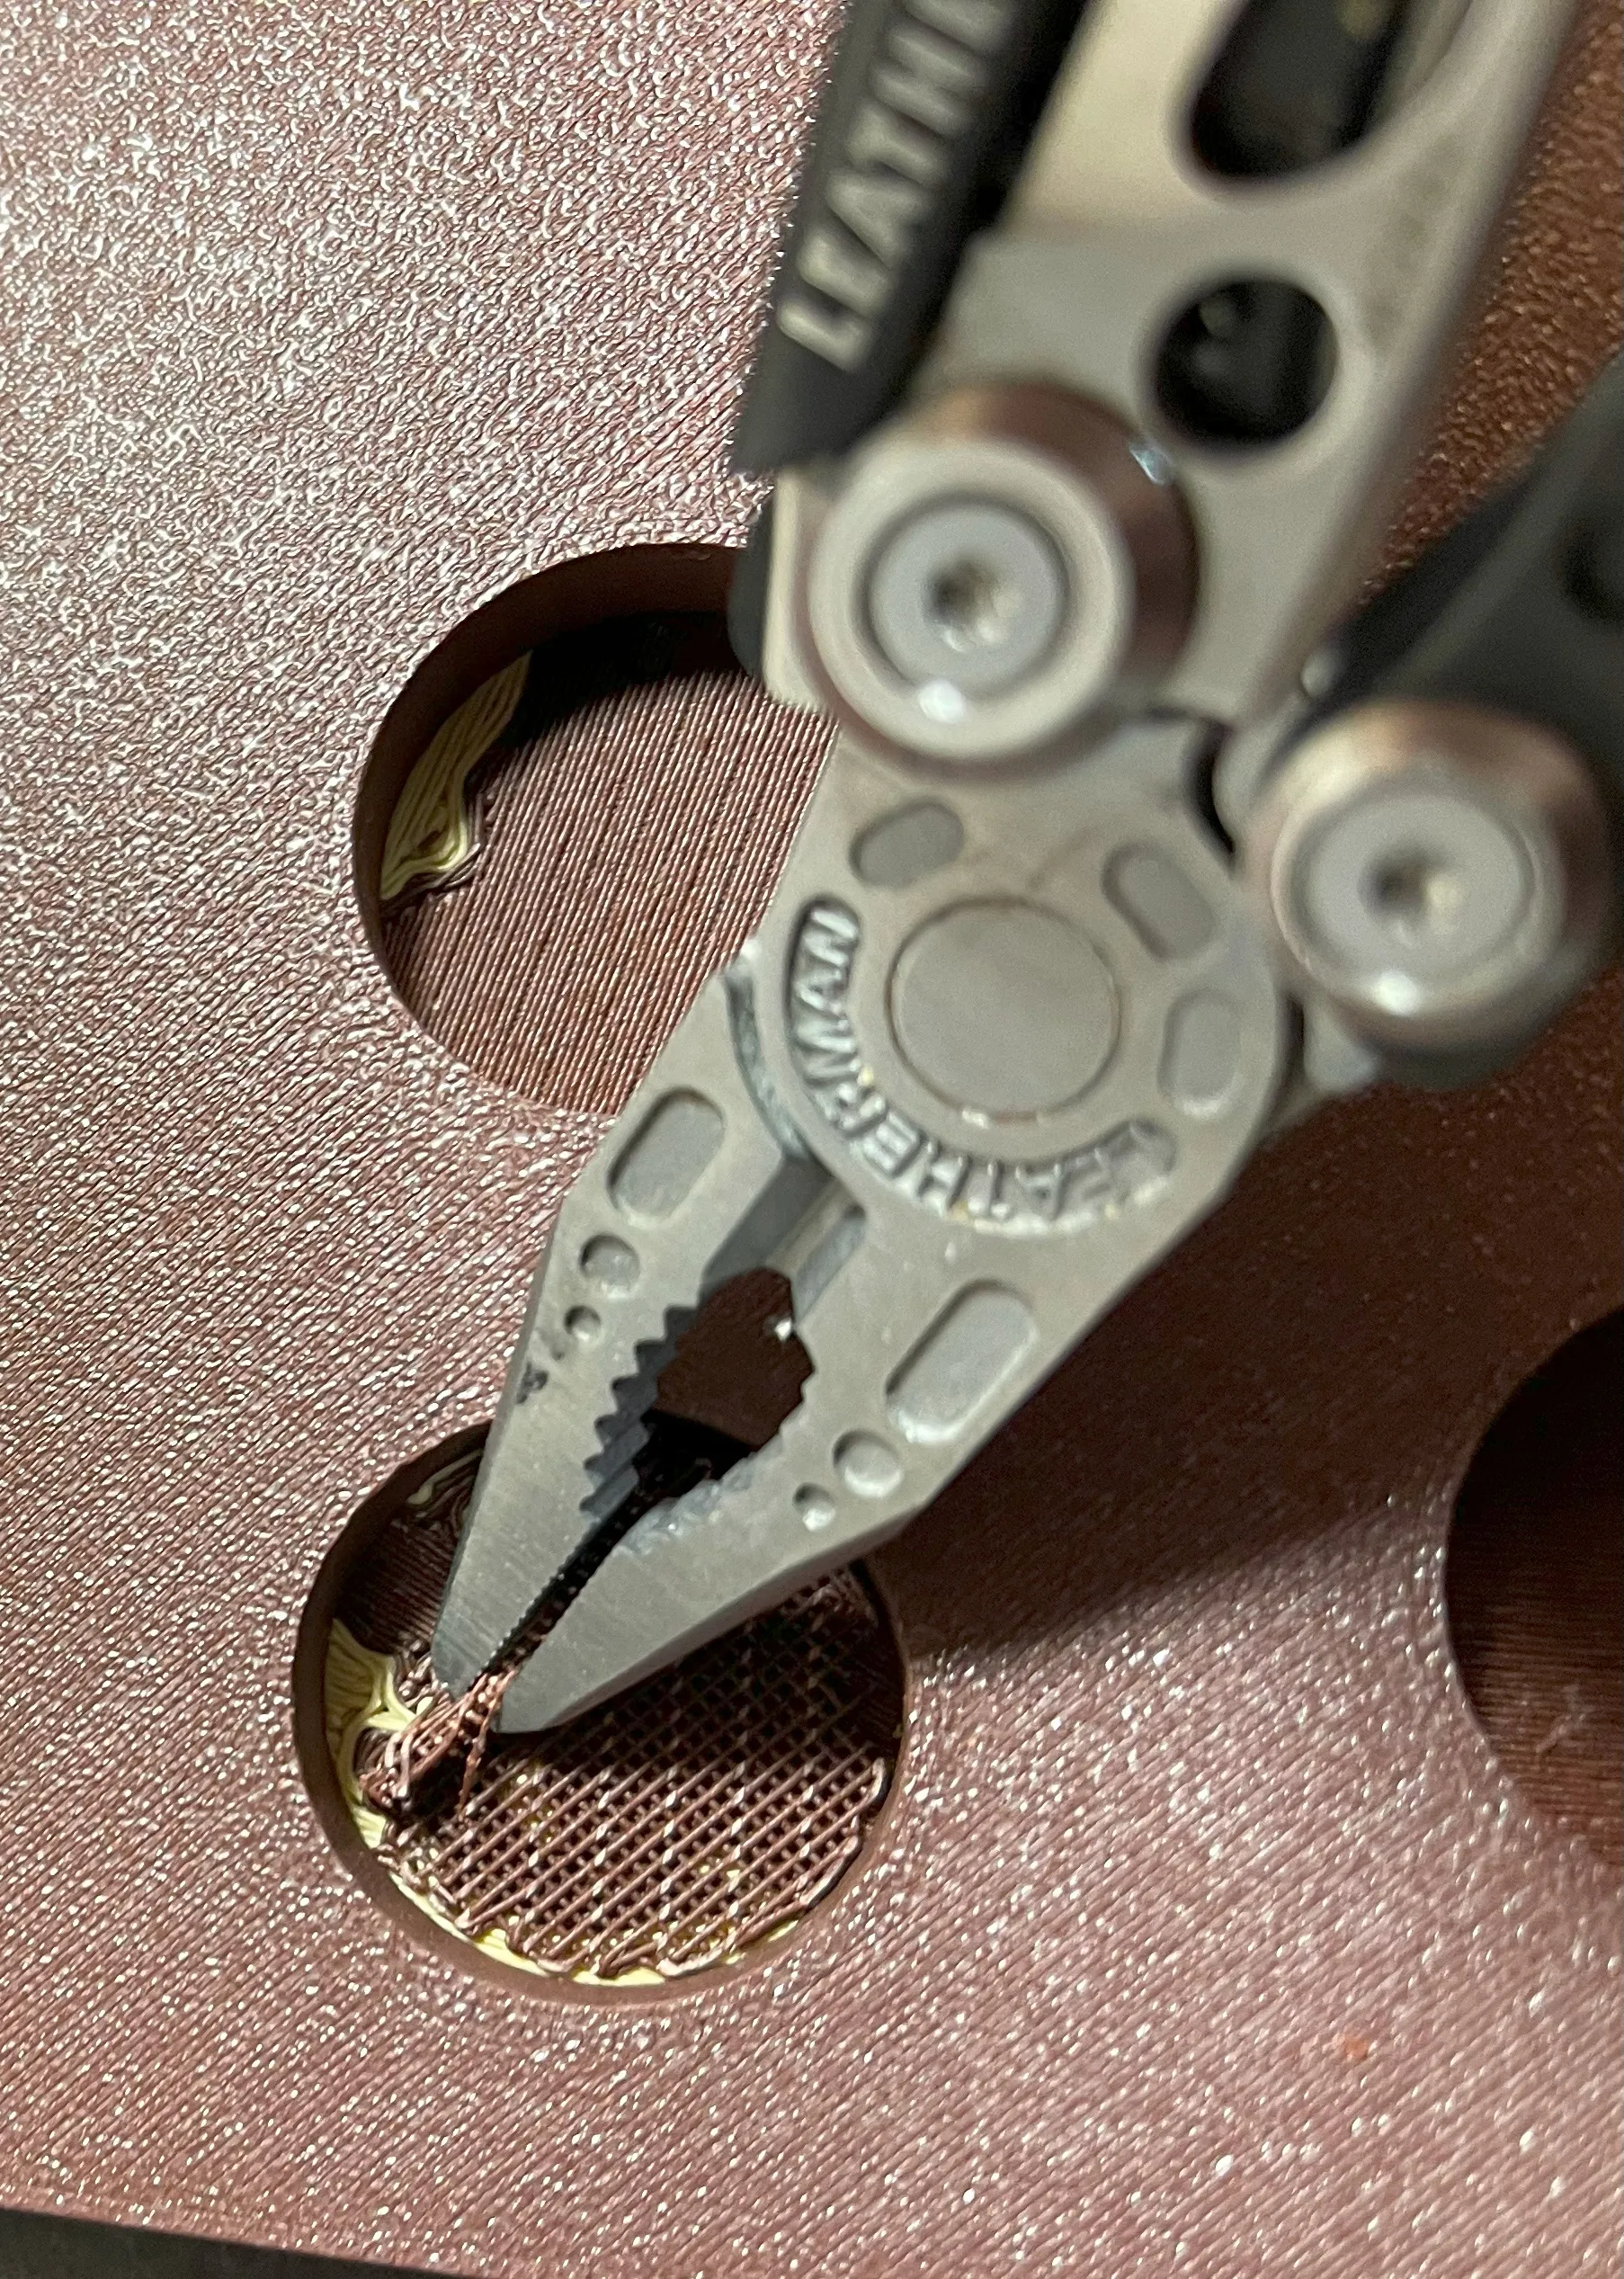
- Insert pliers, grab, and twist; the support should come off in one piece. The orientation of the pliers matters so that it grabs the internal part of the support structure – see my aforementioned assembly video.
If the interface layer (a thin plastic grid) remains, use tweezers and pliers to remove it completely.
- Insert Magnets into the Lid:
- Insert a stack of two 25×3 mm magnets into each slot.
- Refer to the Safety Warnings – carefully remove any manufacturer’s magnet spacers.
- Insert the magnets so that the N end will eventually point upward when the lid is on the box. (If inserting into an upside-down lid, the N end will initially point down.)
- Push the magnets fully into the slots; the tight tolerances are designed to prevent rattling. Extra force may be needed if you’re experiencing over-extrusion.
- Combine the Lid and the Lip:
- Align the plugs on the lip with the corresponding slots on the lid and press firmly together.
- This step might be challenging if over-extrusion is an issue; using a hard, flat surface can help.
- If the fit is loose, you may glue them together, but first test the assembly to ensure the magnets are correctly oriented. Note that if the lid and lip haven’t cooled completely, the fit may loosen upon cooling.
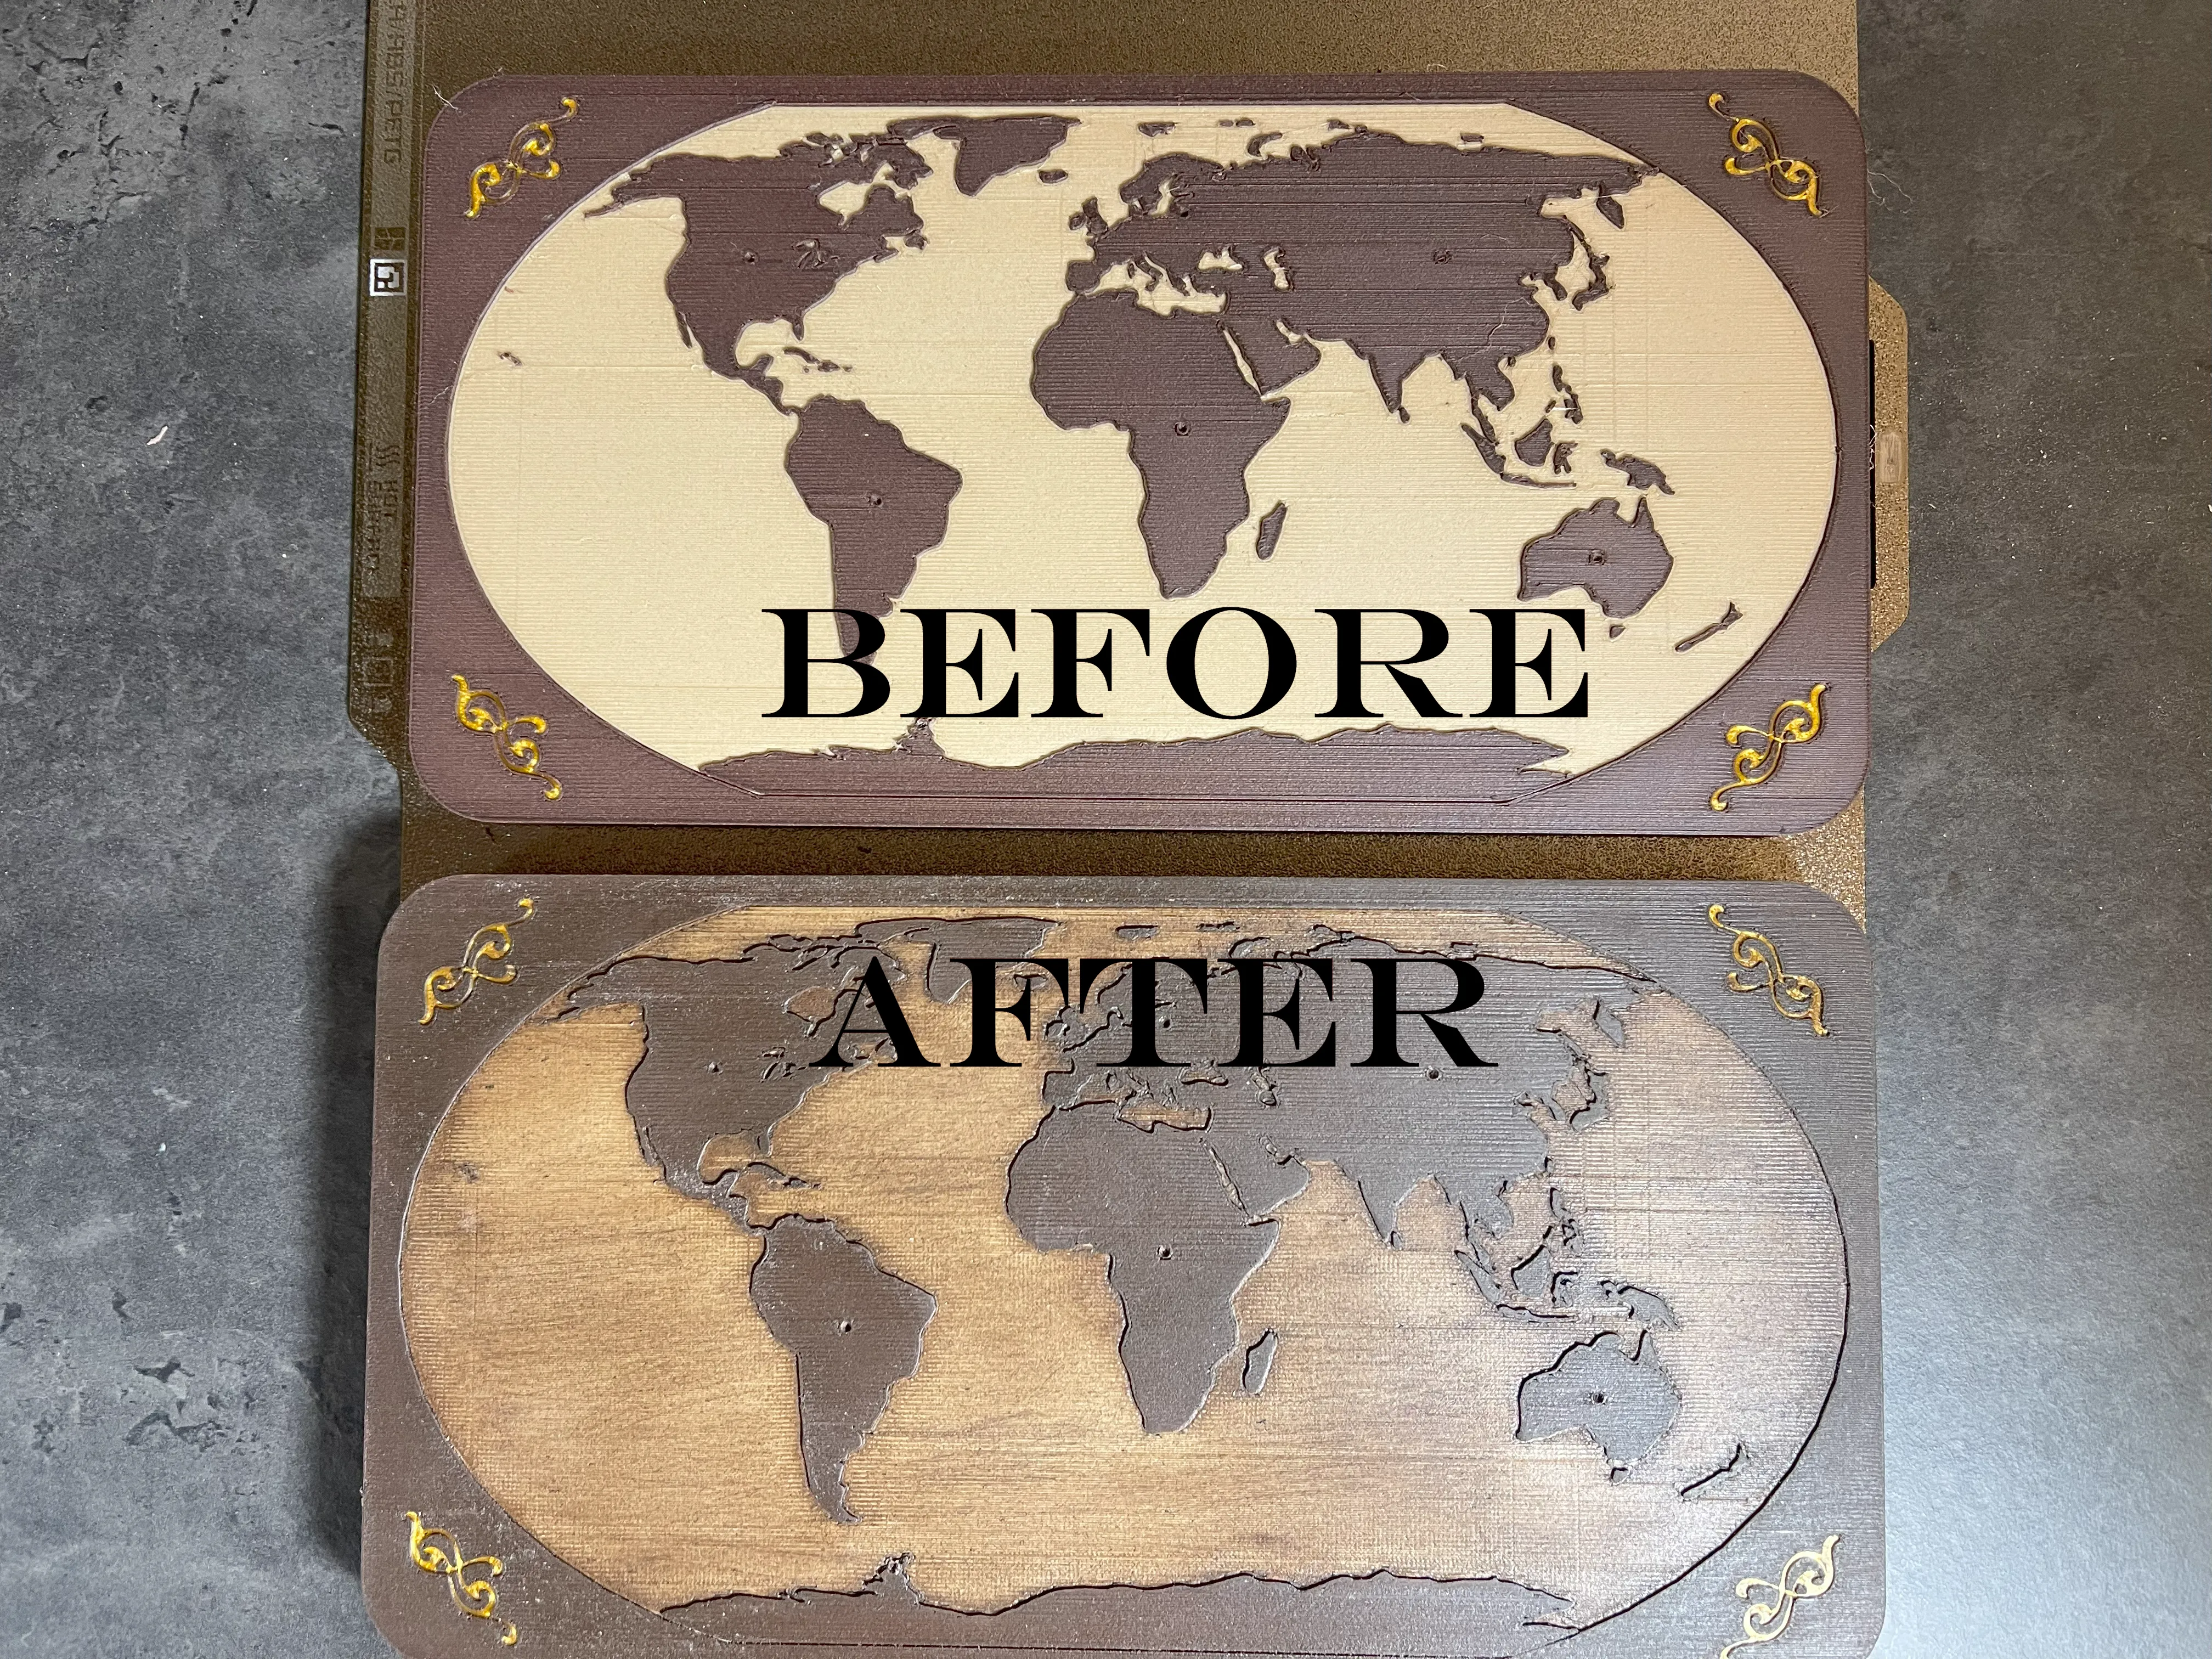
- (Optional)Sand, Stain, and Seal the Box:
- Sand: Use 180-grit sandpaper and sand in the direction of the surface pattern (horizontally). For the map, sand just enough to reduce surface imperfections and glossiness Be cautious around the divots (especially the Antarctica divot), as over-sanding might affect location pin balance. Hawaii may pop off while sanding, but frankly it looks better when flat.
- Stain: Apply a gel stain (I used an inexpensive Varathane Premium Gel Stain in Dark Walnut) liberally with a thick paintbrush and then wipe off most of it using a lint-free cloth, working in the direction of the "grain." Use a fine-tipped brush for the crevices, both to apply the stain and to remove excess. Stain the whole model – both the wood and gold-colored parts (the stain won’t stick much to the silk PLA but it does help give it an aged look). A half-pint of stain should last for many projects.
Seal: Finish with a polyurethane spray for long-term protection. I didn’t show this step in my video because my spray hadn’t arrived yet.
Notes on Use
- Standing the Location Pins:
Due to magnetic field interference, the location pins may naturally stand at an angle. You can usually correct this by slowly rotating a location pin until it stands mostly straight. There’s no camera magic in my photos.
(Avoiding magnetic interference completely would have required a much larger box or smaller ring magnets - I’m using the only size available from Maker’s Supply.)
- Warning:
Be mindful of any metallic/magnetic objects you allow near the lid. I certainly wouldn’t recommend storing your wallet inside the box. Its powerful magnets could theoretically wipe the magnetic strip on your credit/debit cards.
Thank You!
Membership
You can always print this model for yourself or as a gift for free. Selling prints requires a Tier 3 or higher membership. The allowed sales quantity is specified within each tier's terms.
 Enter the Next Dimension |
Boost Me (for free)
Boosts, follows and honest reviews all help me keep releasing free designs. THANK YOU!
License

You shall not share, sub-license, sell, rent, host, transfer, or distribute in any way the digital or 3D printed versions of this object, nor any other derivative work of this object in its digital or physical format (including - but not limited to - remixes of this object, and hosting on other digital platforms). The objects may not be used without permission in any way whatsoever in which you charge money, or collect fees.


Comment & Rating (10)