Milwaukee Packout Organizer Shelving System


Print Profile(2)


Bill of Materials

Description
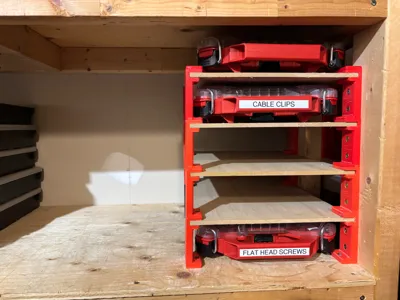
Turn any shelf or cabinet into an expandable storage unit for Milwaukee PACKOUT Organizers!
PACKOUT units are great. The way they latch together makes them super portable, but when you keep a bunch of them on a shelf, you don't want to keep them stacked. It makes it hard to get at one of the organizers in the middle of the stack. This storage shelving system provides easy access to all of your individual organizers.

Compatible with:
- PACKOUT 5-Compartment Low-Profile Compact Small Parts Organizer, Model # 48-22-8436
- PACKOUT 11-Compartment Low-Profile Portable Small Parts Organizer, Model # 48-22-8431
- PACKOUT 5-Compartment Small Parts Organizer, Model # 48-22-8435
- PACKOUT 11-Compartment Small Parts Organizer, Model # 48-22-8430
And anything that comes packaged in one of those organizers, such as the first aid kit, drill bit sets, etc.
What You Need
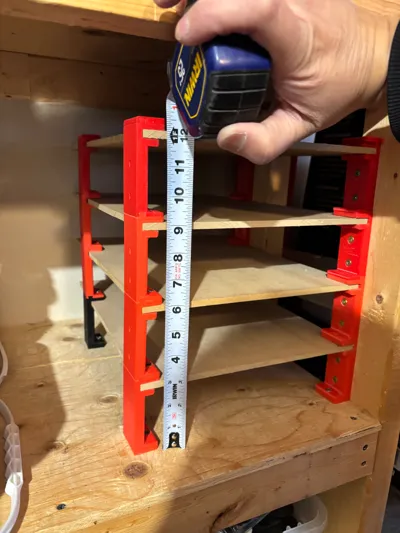
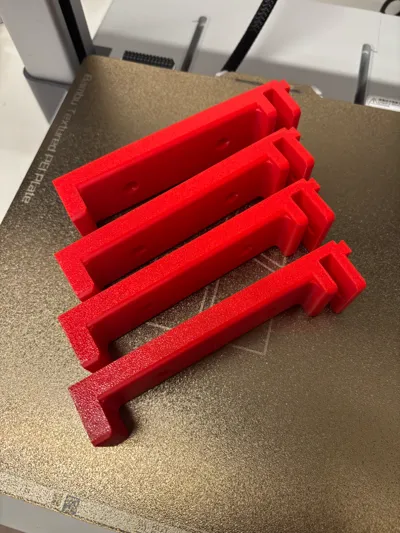
- Print one set of four Bottom Shelf risers (these have thicker “feet” at the bottom) from the print profile corresponding to the organizer height you need.
- Print a set of four Upper Shelf risers (these have dovetails at the top and bottom) for every additional shelf unit that you want.
- Print a set of four top caps to clean up the look of the top shelf.
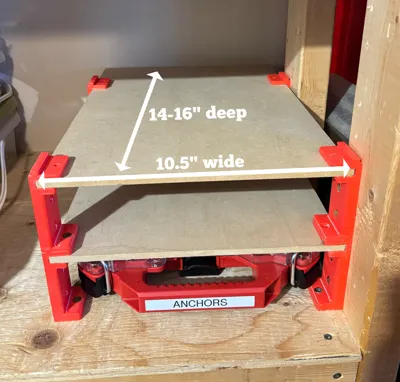
- Cut shelf surfaces from ¼" (6mm) material such as plywood or hardboard. These are commonly sold as “handy panels” in home improvement stores. Pegboard also works.
- For 5-compartment organizers, cut the shelves to 10.5" wide, and 14-16" deep (depending on your shelf or cabinet).
For 11-compartment organizers, cut the shelves to 20.5" wide.

- For best results at least one side of your storage rack should be fastened to a side wall. Use #8 flat head screws, 1.5" long.
- For best results, pin the shelf material at the foot of the shelf risers with #8 flat head screws, 5/8" long.
Assembly Instructions
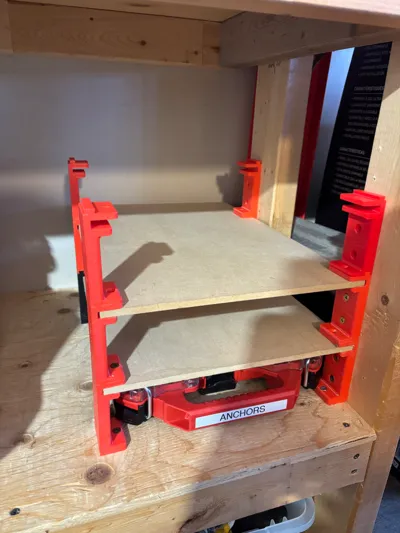
Lay out the bottom shelf risers where you want your shelf. At least one side should be against a wall. Fasten these risers with screws. Then test-fit your shelf to determine the location of the other side. Fasten these risers to a wall or to the bottom of the shelf with screws.

- Slide one ¼" shelf panel into the slots at the top of the risers.
Take a set of four upper shelf risers and slide them into the tops of the risers you just installed.

Line up the screw holes and pin the riser to the shelf board with screws.

- Slide the next ¼" shelf panel into the slots.
- Repeat from Step 3 until all shelves have been installed.
- To finish assembly, slide the top caps onto the tops of the last set of risers.
Notes:
- These shelf risers are not meant to be free standing. Make sure they are properly screwed into the walls and/or floor of your cabinet or shelf, and pin down the ¼" panels, so that the weight loads are properly held.
- If you find the dovetails too loose, a dab of cyanoacrylate adhesive (crazy glue) can be used to pin them together.
- A right-angle screwdriver adapter, or ratchet, is helpful when reaching in to fasten the screws near the top of your cabinet or shelf unit.
License
You shall not share, sub-license, sell, rent, host, transfer, or distribute in any way the digital or 3D printed versions of this object, nor any other derivative work of this object in its digital or physical format (including - but not limited to - remixes of this object, and hosting on other digital platforms). The objects may not be used without permission in any way whatsoever in which you charge money, or collect fees.
Comment & Rating (41)