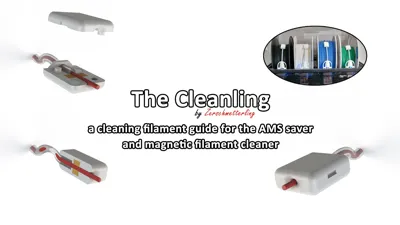
AMS Filament Guide / Cleaner - The Cleanling


Print Profile(2)


Description
Basic information
This is a cleaning filament guide you can use when you are using something like the awesome AMS Saver made by madizmo (https://makerworld.com/en/models/156593#profileId-171555).
I made this filament guide because I was a little afraid that the "sharp-edged" PTFE tube would be pinched by the filament at the edge or somewhere else on the filament roll.
Then I thought to myself ... why not clean the filament at the same time - a magnetic filament cleaner and guide?
So here is the cleaning filament guide named "The Cleanling" - and because I hate cutting sponges into a specific size ... there is an additional (optional) sponge cutter tool :)
Model information
One Cleanling (what a name...) consists of the following components:
- 1x Top part (CleaningFilamentGuideForAMS_Top.STL)
- 1x Bottom part (CleaningFilamentGuideForAMS_Bottom.STL)
- 4x Neodym magnet (5x3 mm) (like this: https://www.amazon.de/GoldRock-Neodym-Magnet-K%C3%BChlschrank-Magnettafel/dp/B0BMZX8FV3)
- 2x Cutted sponge from a sponge sheet (like this: https://www.amazon.de/Spontex-Schwammtex-Schwammt%C3%BCcher-8-St%C3%BCck/dp/B00DZFP9K8/)
You need one Cleanling per AMS Saver, which usually means you need four per AMS!
So for one complete AMS Saver set you will need the following parts:
- 4x Top part
- 4x Bottom part
- 16x Neodym magnet
- 8x Cutted sponge from a sponge sheet
Additionally you will need this:
- [Optional] The Cleanling "Sponge Cutter Tool" (CleaningFilamentGuideForAMS_Spongecutter.STL)
- A cutter or knife or scissors
- Glue (like instant adhesive)
- A small piece of filament for the initial assembly
Print instructions
Simply print the "Top Part", "Bottom Part" and optional "Sponge Cutter Tool" with 0.08mm extra fine settings and set the fill density to 100% and the fill pattern to the recommended rectilinear. Support is not needed.
The print profile is designed to print all four at once and the optional "Sponge Cutter Tool" in PLA with the mentioned settings. Adjust it to your liking.
Assembly instructions
Assembly is relatively simple. You can find pictures of the assembly steps in the gallery.
Step 1:
Glue two magnets (e.g. with instant glue) in each of the top and bottom parts. Make sure that the magnets are facing in the right direction. This means that the top and bottom parts should attract each other - not repel each other!

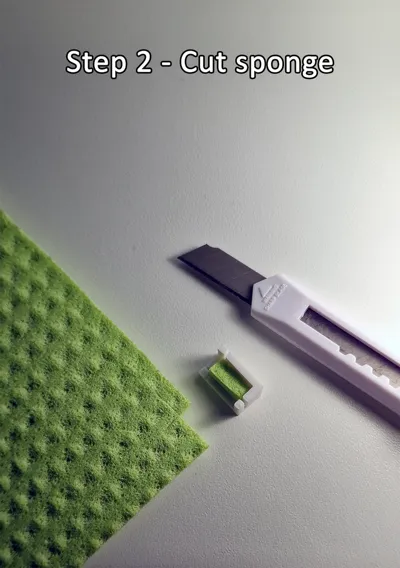
Step 2:
Then cut out two matching pieces of sponge from the sponge sheet. The cut-out is 10mm x 4mm wide. I recommend cutting out 11mm x 4mm! Alternatively, you can simply use the "Sponge Cutter Tool" to cut the right size.

Step 3:
Now insert the cutted sponges once into the top and once into the bottom part. Make sure that the sponges are fully inserted into their intended hole.
You can then assemble the top and bottom parts. The parts are twist-proof and the magnets should hold them together.

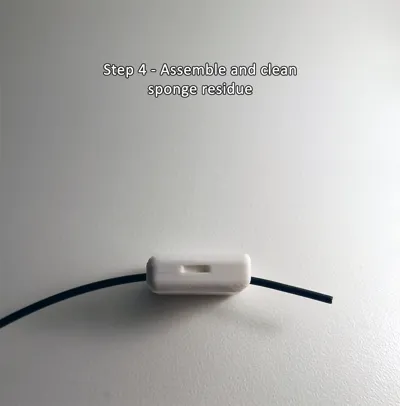
Step 4:
Now take a piece of filament and insert it into the front hole of the "Cleanling". Push it all the way through until it comes out at the back. Repeat this multiple times. A little force may be needed to push it through the two sponges. Remove sponge residue if any comes out.

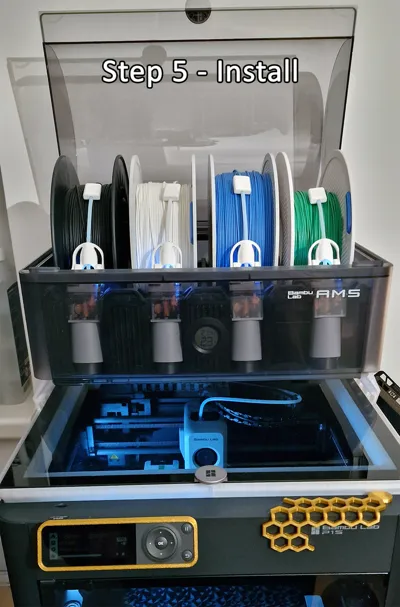
Step 5:
Warning: A tight fit for the PTFE tube is intended! Do NOT widen the hole, otherwise the Cleanling will fall off while the filament is pushed back!
Now all you have to do is attach the Cleanling to the PTFE tube of the AMS Saver and insert your filament - congratulations, you're done!

If you have questions or suggestions for improvement, don't be shy. :)
Comment & Rating (73)