
NFC Tag Reader: ESP8266/32-C6/C3 Supermini + PN532
Print Profile(3)


Description
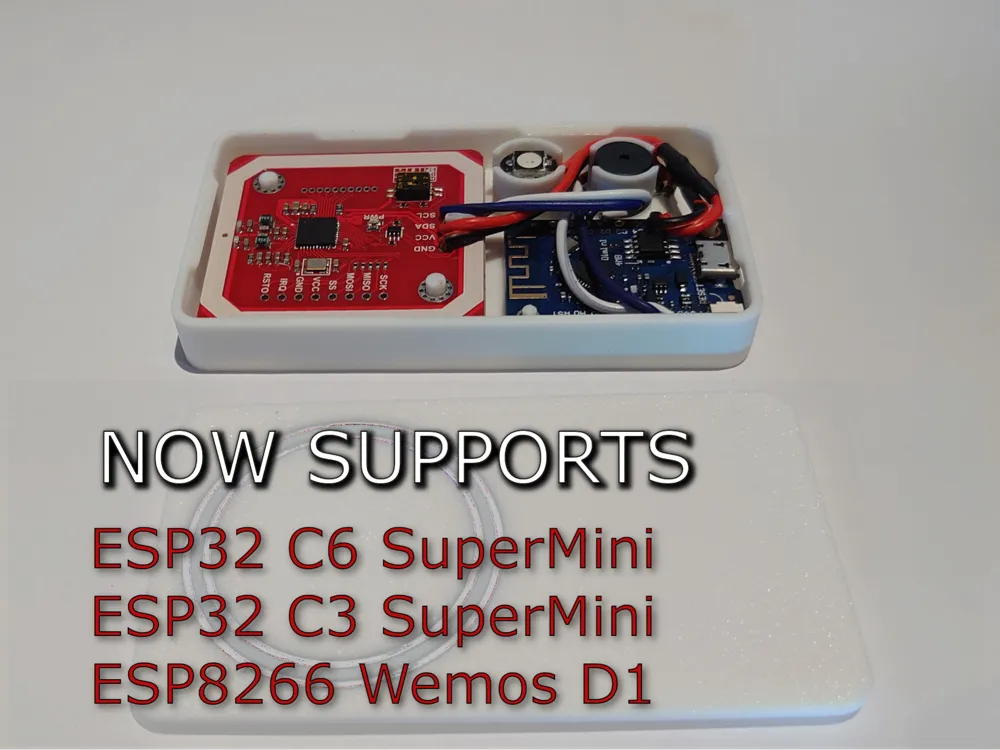
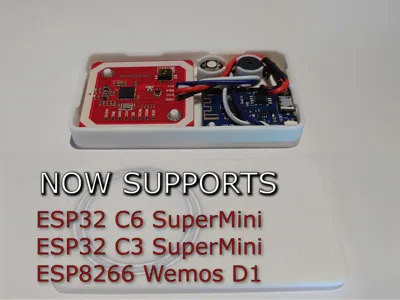
UPDATE 2
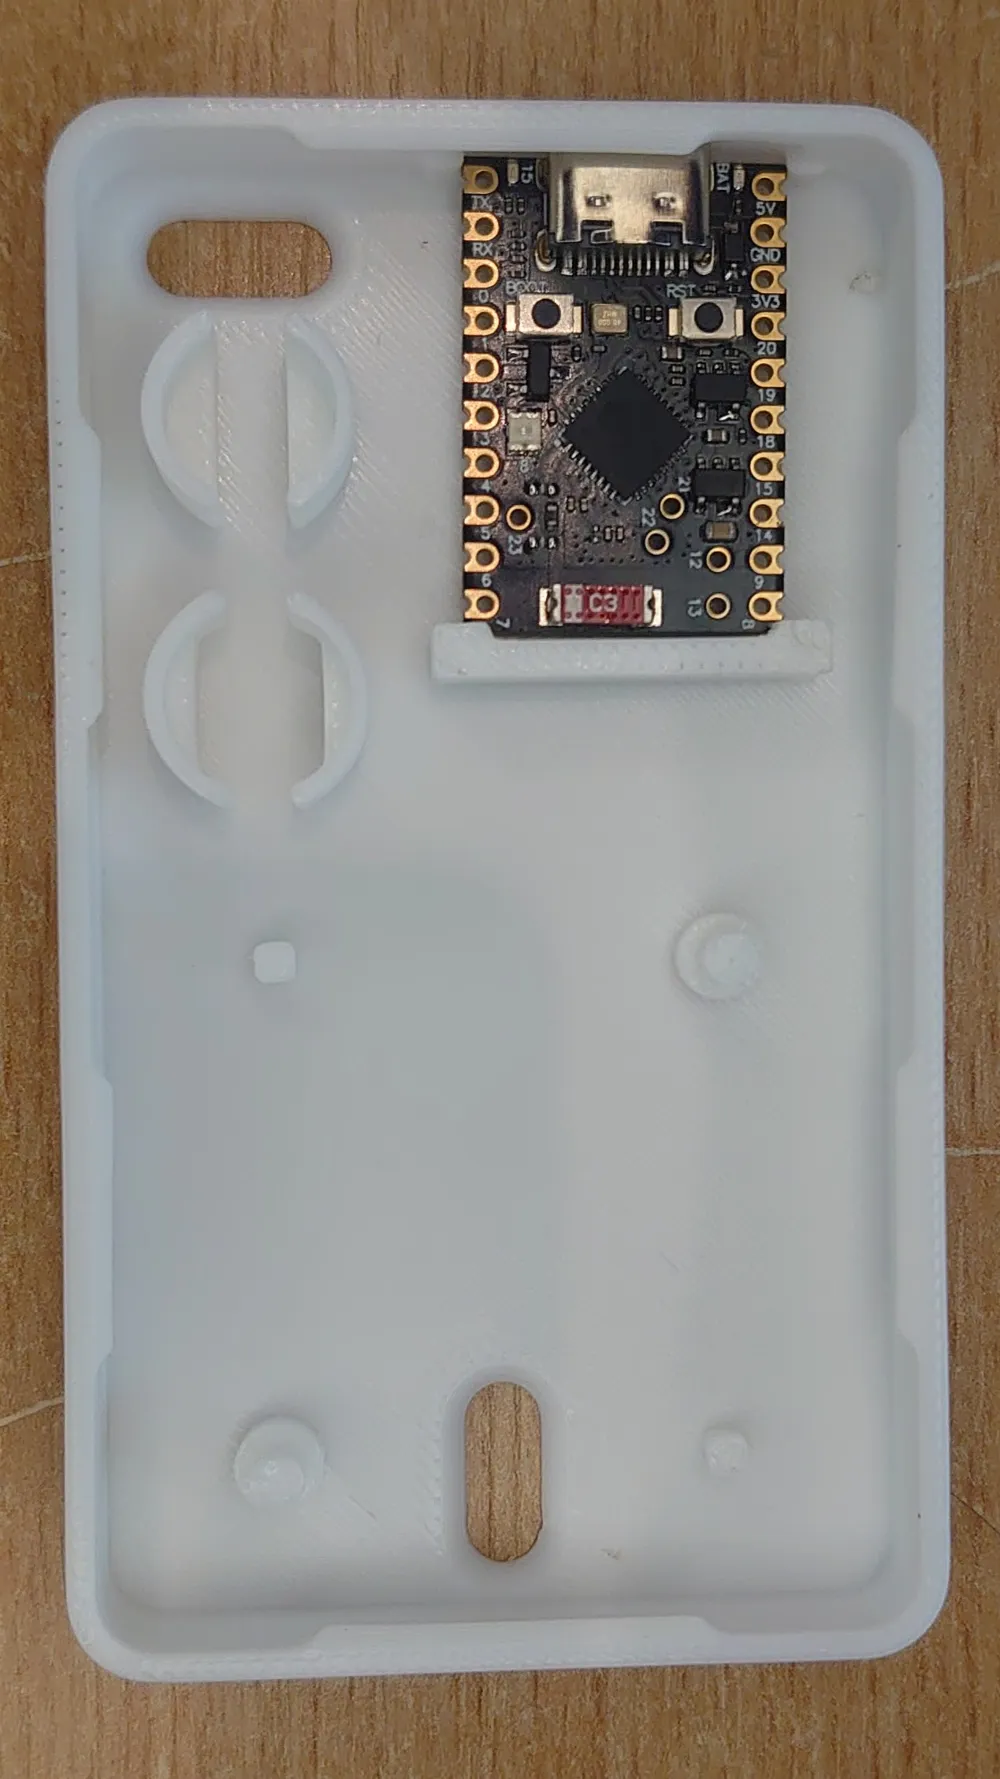
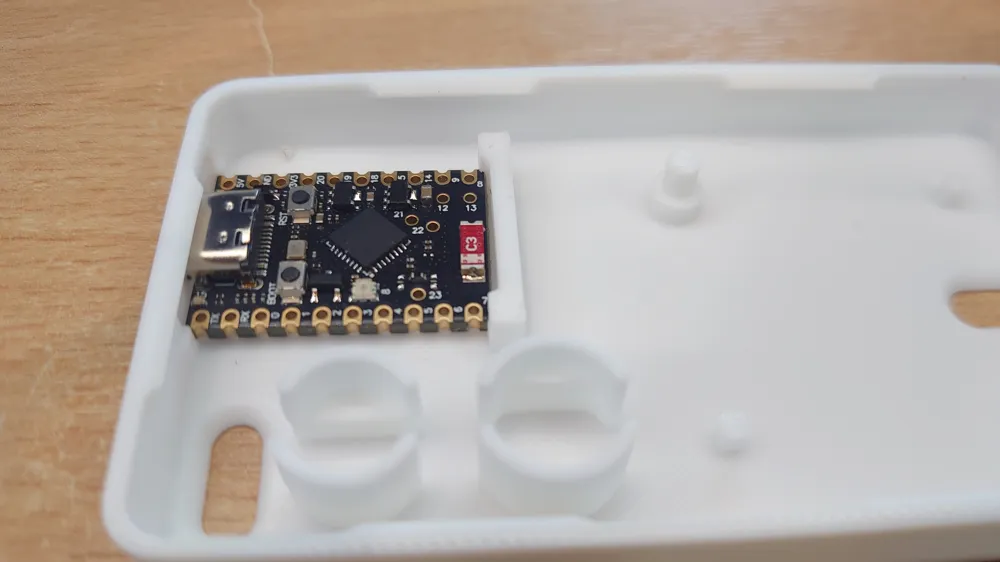
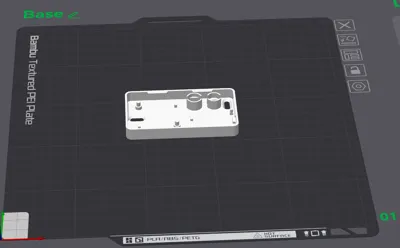
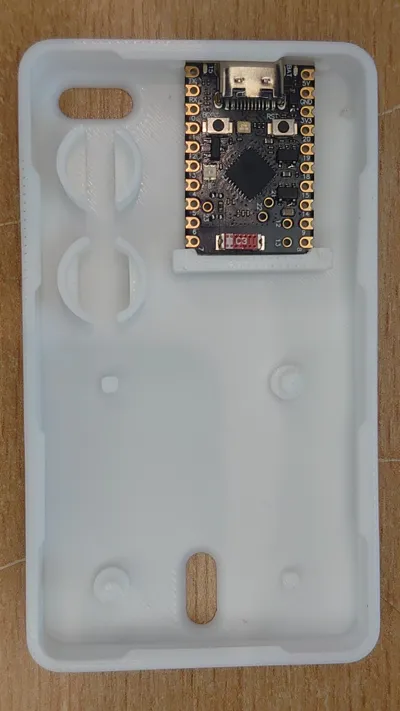
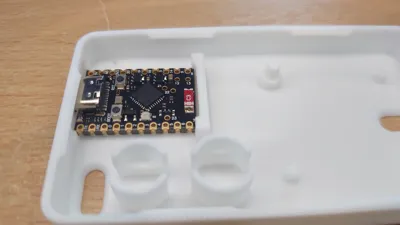
I added a print profile to support the ESP32 C3 SuperMini. This is untested but thanks to feedback in the comments I've adjusted the insert to accommodate the ESP32-C3 Supermini with the same amount of tolerance as the C6. Leave a message in the comments if this worked for you.
-----
UPDATE 1
I added a print profile to support the ESP32 C6 SuperMini. The instructions here are still for the ESP8266 but shouldn't be too much work to adapt for an ESP32 C6 SuperMini, the main change being the pins used to connect to the NFC reader. Leave a comment if you would like a separate project with updated code and instructions.
-----
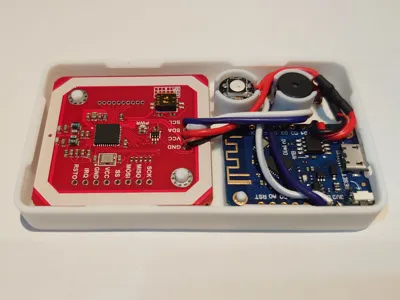
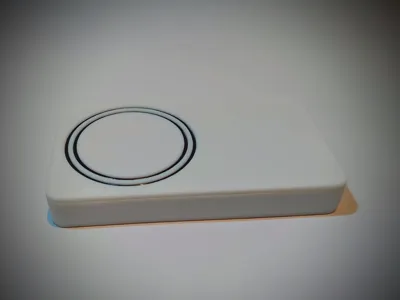
Case and instructions for making a Home Assistant integrated NFC tag reader based on ESPHome running on an ESP8266
The case is a remix of Andrea Donno NFC Tag Reader project case with a few upgrades.
Thanks to SmartHomeJunkie for comprehensible instructions and alternative configuration file.
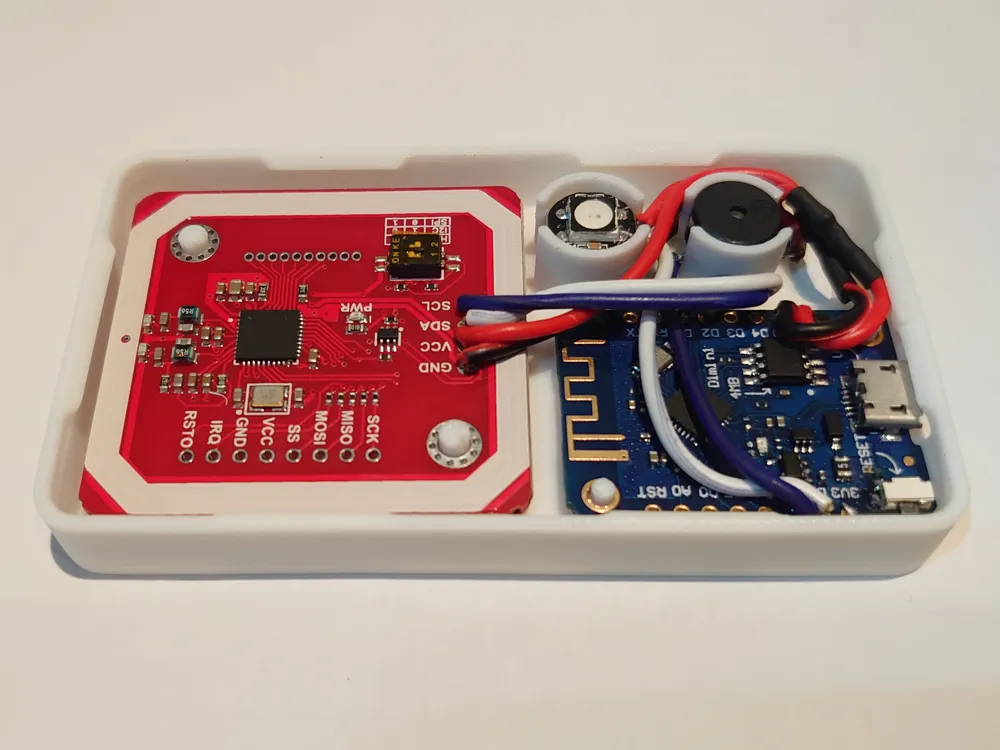
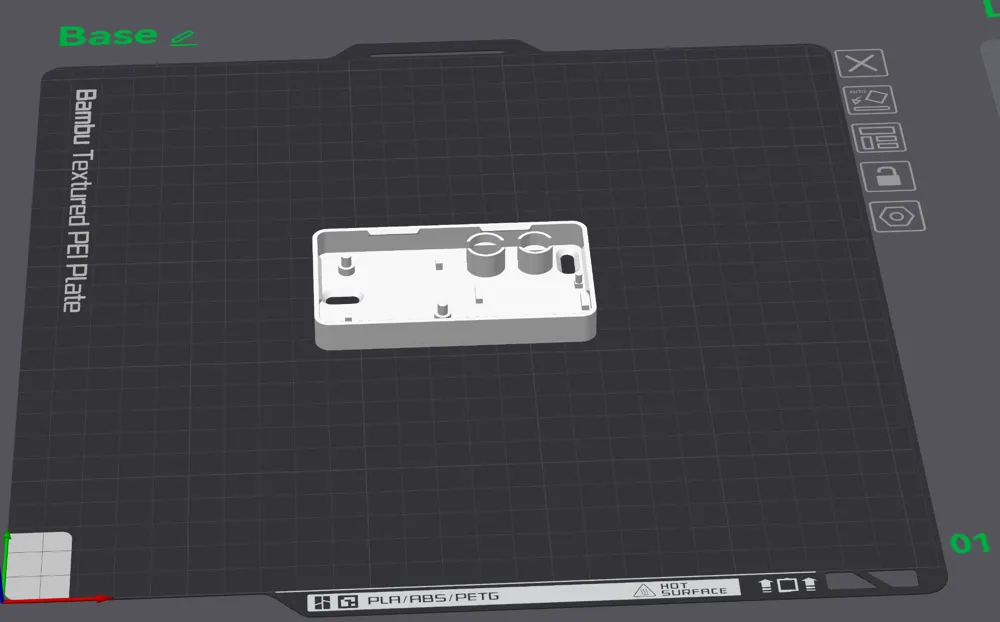
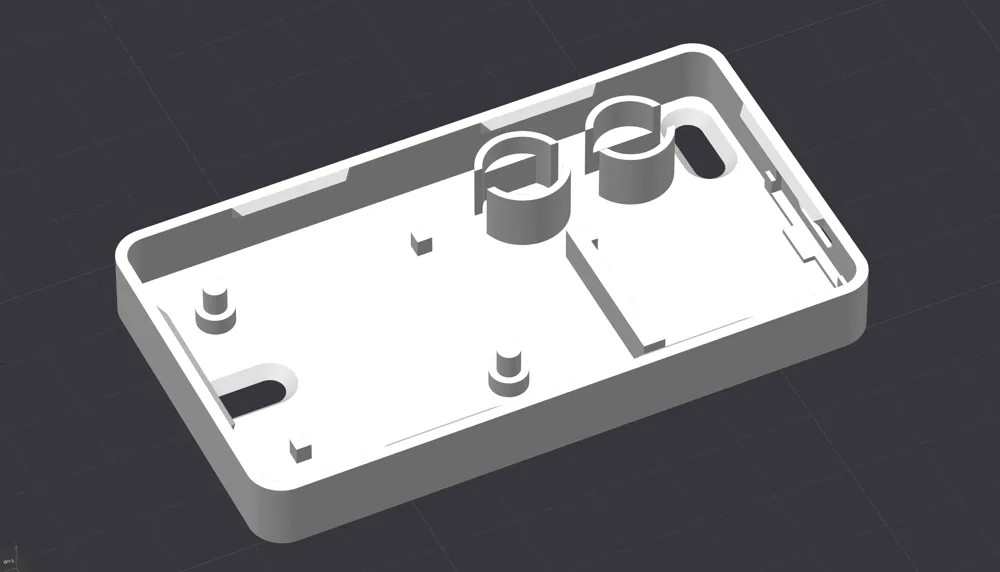
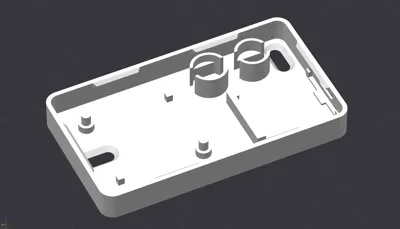
The reason for making this remix came about because I wanted to change the orientation of the USB port but also found the mounting of the D1 to be unstable and whilst I was there I might as well address the fact that the buzzer and LED were just hanging around in the case.
Note:
I'm using V3 of the Wemos D1 Mini and the case is designed to accommodate the mounting holes which may not be compatible with a different revision.
Changes from original design
- Re-orientation of Wemos D1 Mini V3 USB on the shorter side
- Re-orientation of PN532 for more efficient cabling
- Support for buzzer
- Support for LED
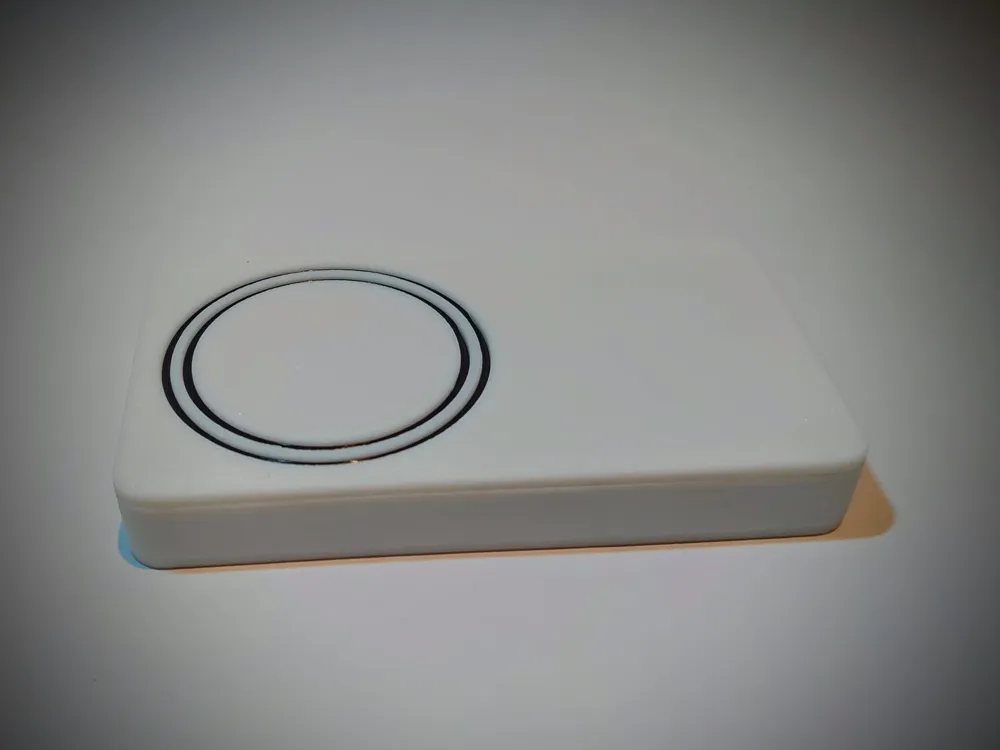
- Distributed clips for lid
Parts needed to build the tag reader:
- Wemos D1 Mini V3 (ESP8266): https://www.wemos.cc/en/latest/d1/d1_mini.html
- PN532 NFC Reader: https://www.elechouse.com/elechouse/images/product/PN532_module_V3/PN532_%20Manual_V3.pdf
- WS2812 LED module: https://cdn-shop.adafruit.com/datasheets/WS2812.pdf
- Active Buzzer: https://components101.com/misc/buzzer-pinout-working-datasheet
- wires to be soldered
Jumper configuration for PN532
These need to be set to enable ic2 protocol on the PN532
- Switch 1: On (up)
- Switch 2: Off (down)
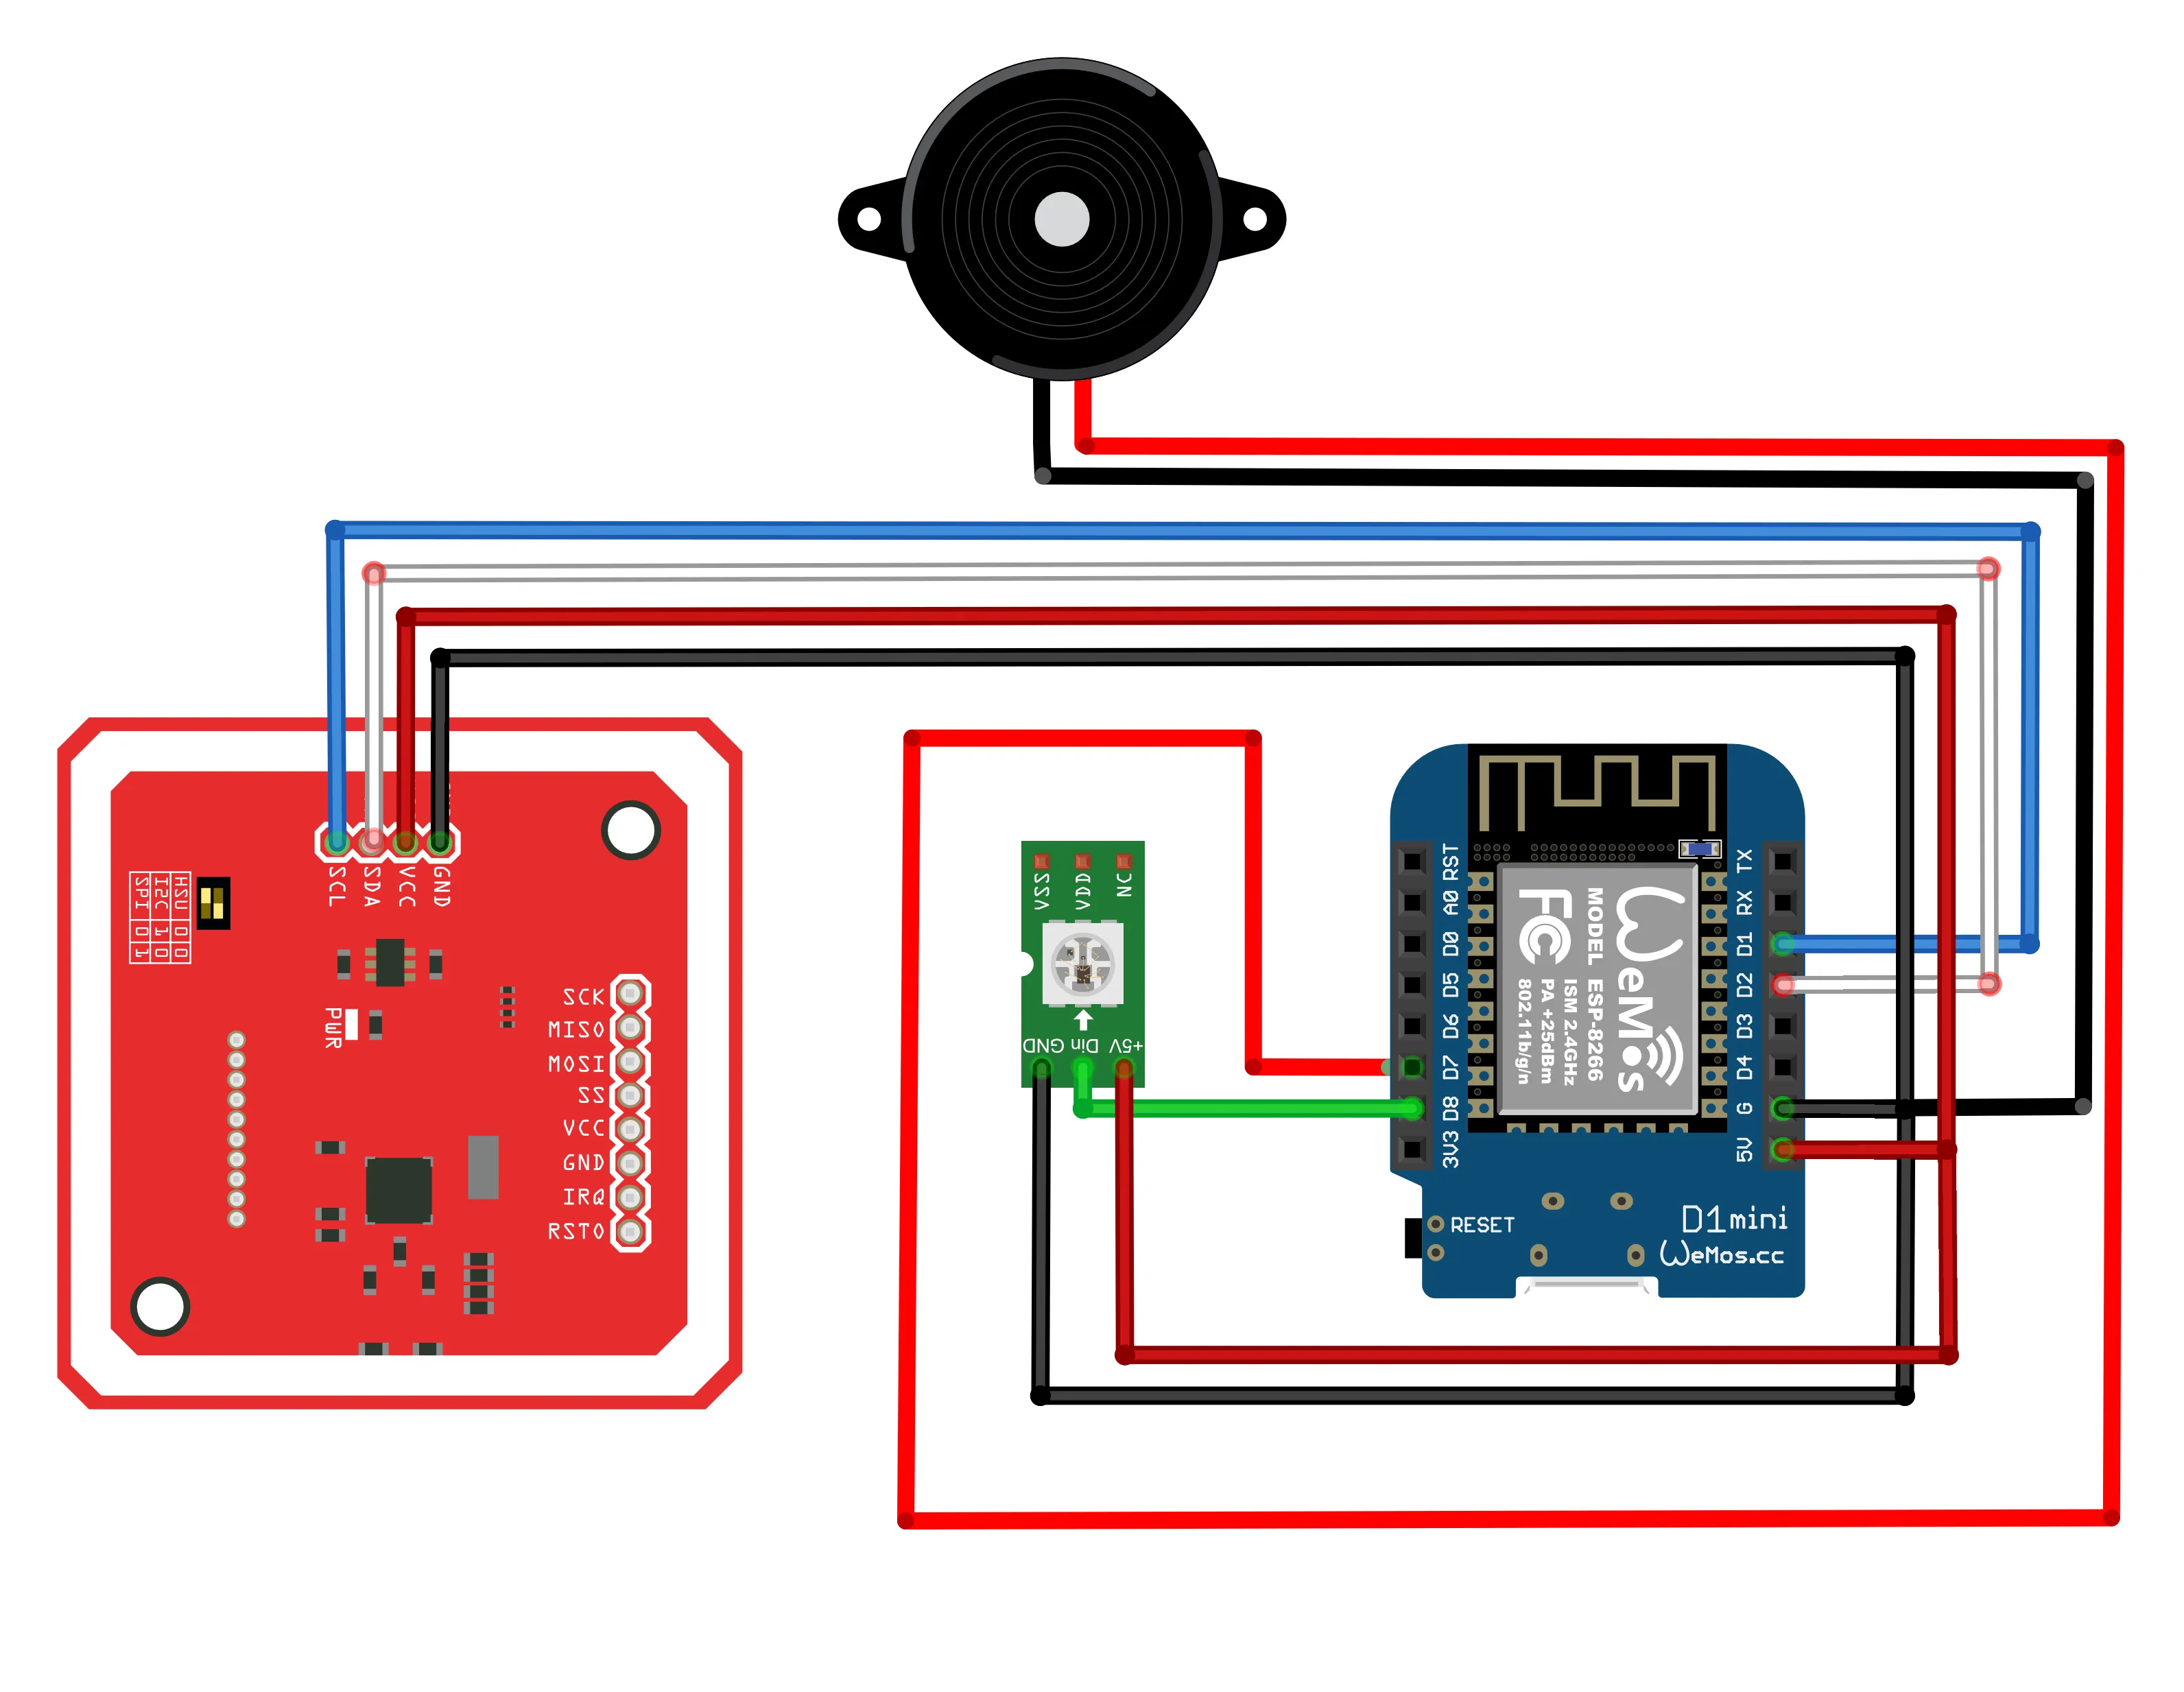
Wiring diagram
ESPHome
Make sure ESPHome is installed and working.
Download and edit the ESPHome configuration file file, modify the WIFI connection details and install onto the device. Once restarted you should be able to connect to it via Home Assistant ESPHome integration
Home Assistant
Make sure the ESPHome integration is installed and it should detect a new device.
Once setup you can see the tags as they are being read under /config/tags. From here you can then setup automations based on these tags.
Rererences
Thanks to the work from Andrea Donno and Ed from SmartHomeJunkie.
Andrea Donno github
SmartHomeJunkie blog post with step by step instructions
Similar project based on an ESP32.
This remix is based on

License



Comment & Rating (31)