
SpoolBox4All - For all Brands + Filament Feed
Print Profile(3)


Bill of Materials






Description
Boost Me (for free)
I usually don’t ask for this, but I’ve noticed that many creators actively encourage it on other platforms—and it makes sense, as it helps increase visibility. So, if you can follow me, it would make difference. It’s a great way to support my work and show appreciation. For more insight subscribe my blog at: https://designrepcom.com/ This design is freely available for the community, but if you enjoy my work and would like to show your support, you can boost this project. Thanks!
Membership
This model is available for personal use. To obtain a commercial license, please check the available options.
Introduction and contextualization
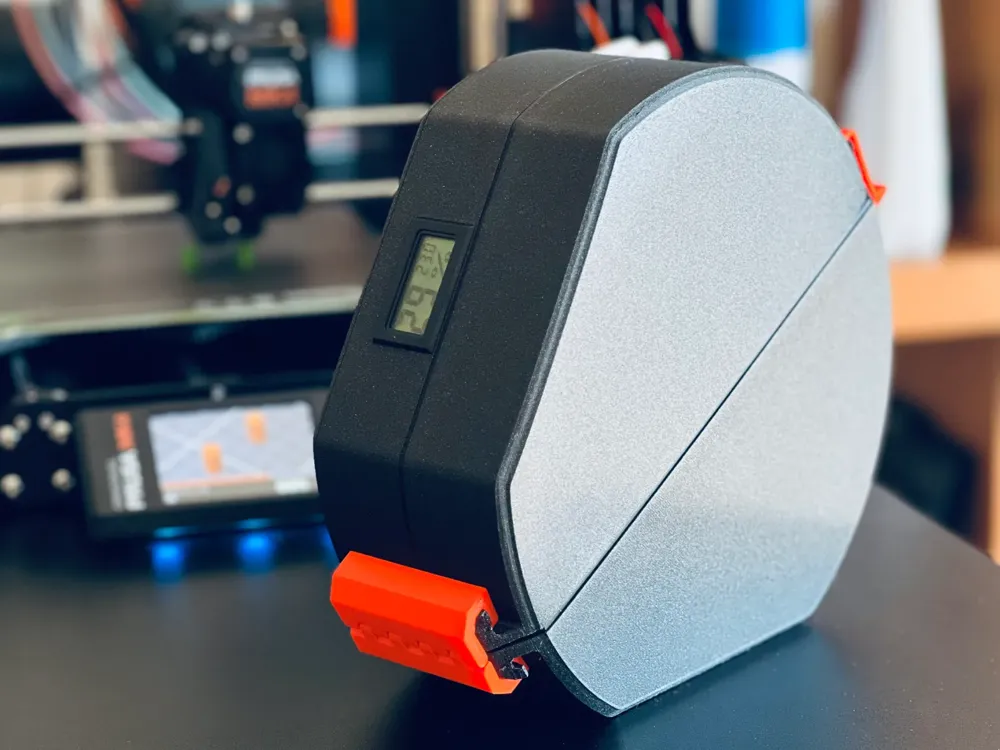
Letting the filament out in the open air is something that bothered me; having the material permanently exposed to moisture, something that won't be so bad in the area where I live. However, I felt that I should do something to address the issue (I have a Bambu Lab X1C with AMS and, I think, this is the culprit of my paranoia).
However, even with AMS, it is sometimes necessary to feed the printer with another material, such as TPU, or sometimes the spool does not load. This has happened to me several times, and I am sure it may have happened to most users who explore their printers.
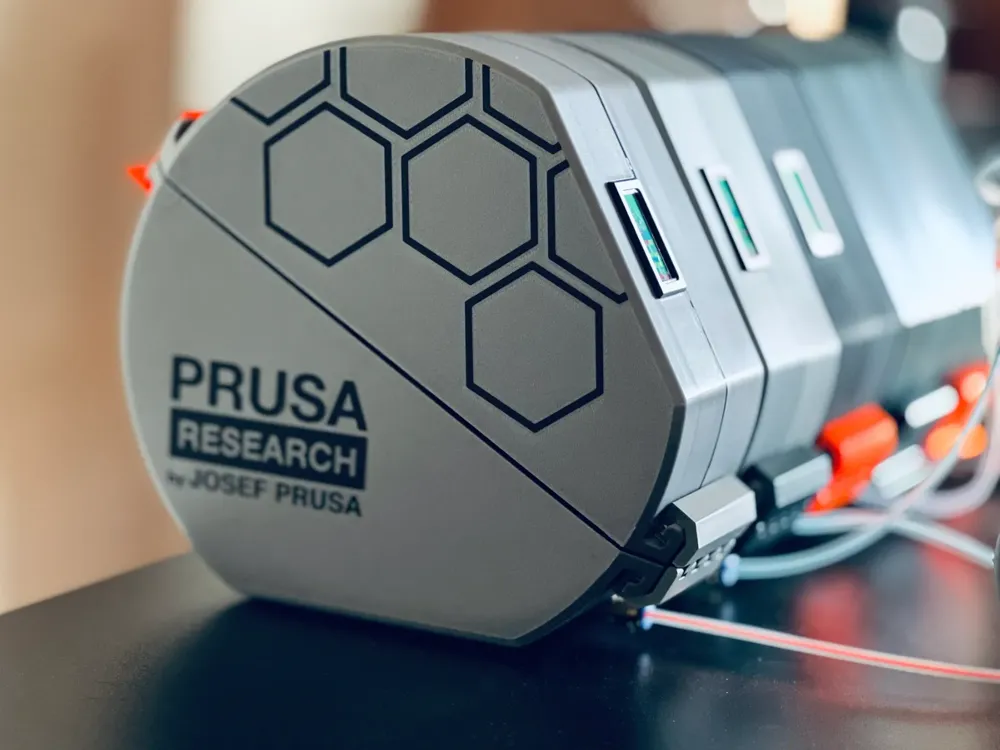
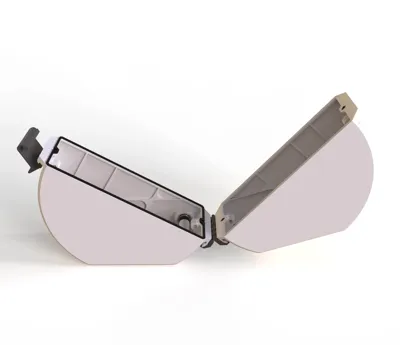
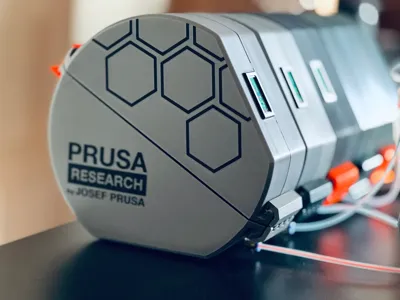
Thus, this box can be used with any printer, as long as the spool meets the standard 1kg dimensions. Prusa, Bambu Lab, Creality, and others. The advantage is that it allows the filament to be relatively protected from humidity while being used by the printer.
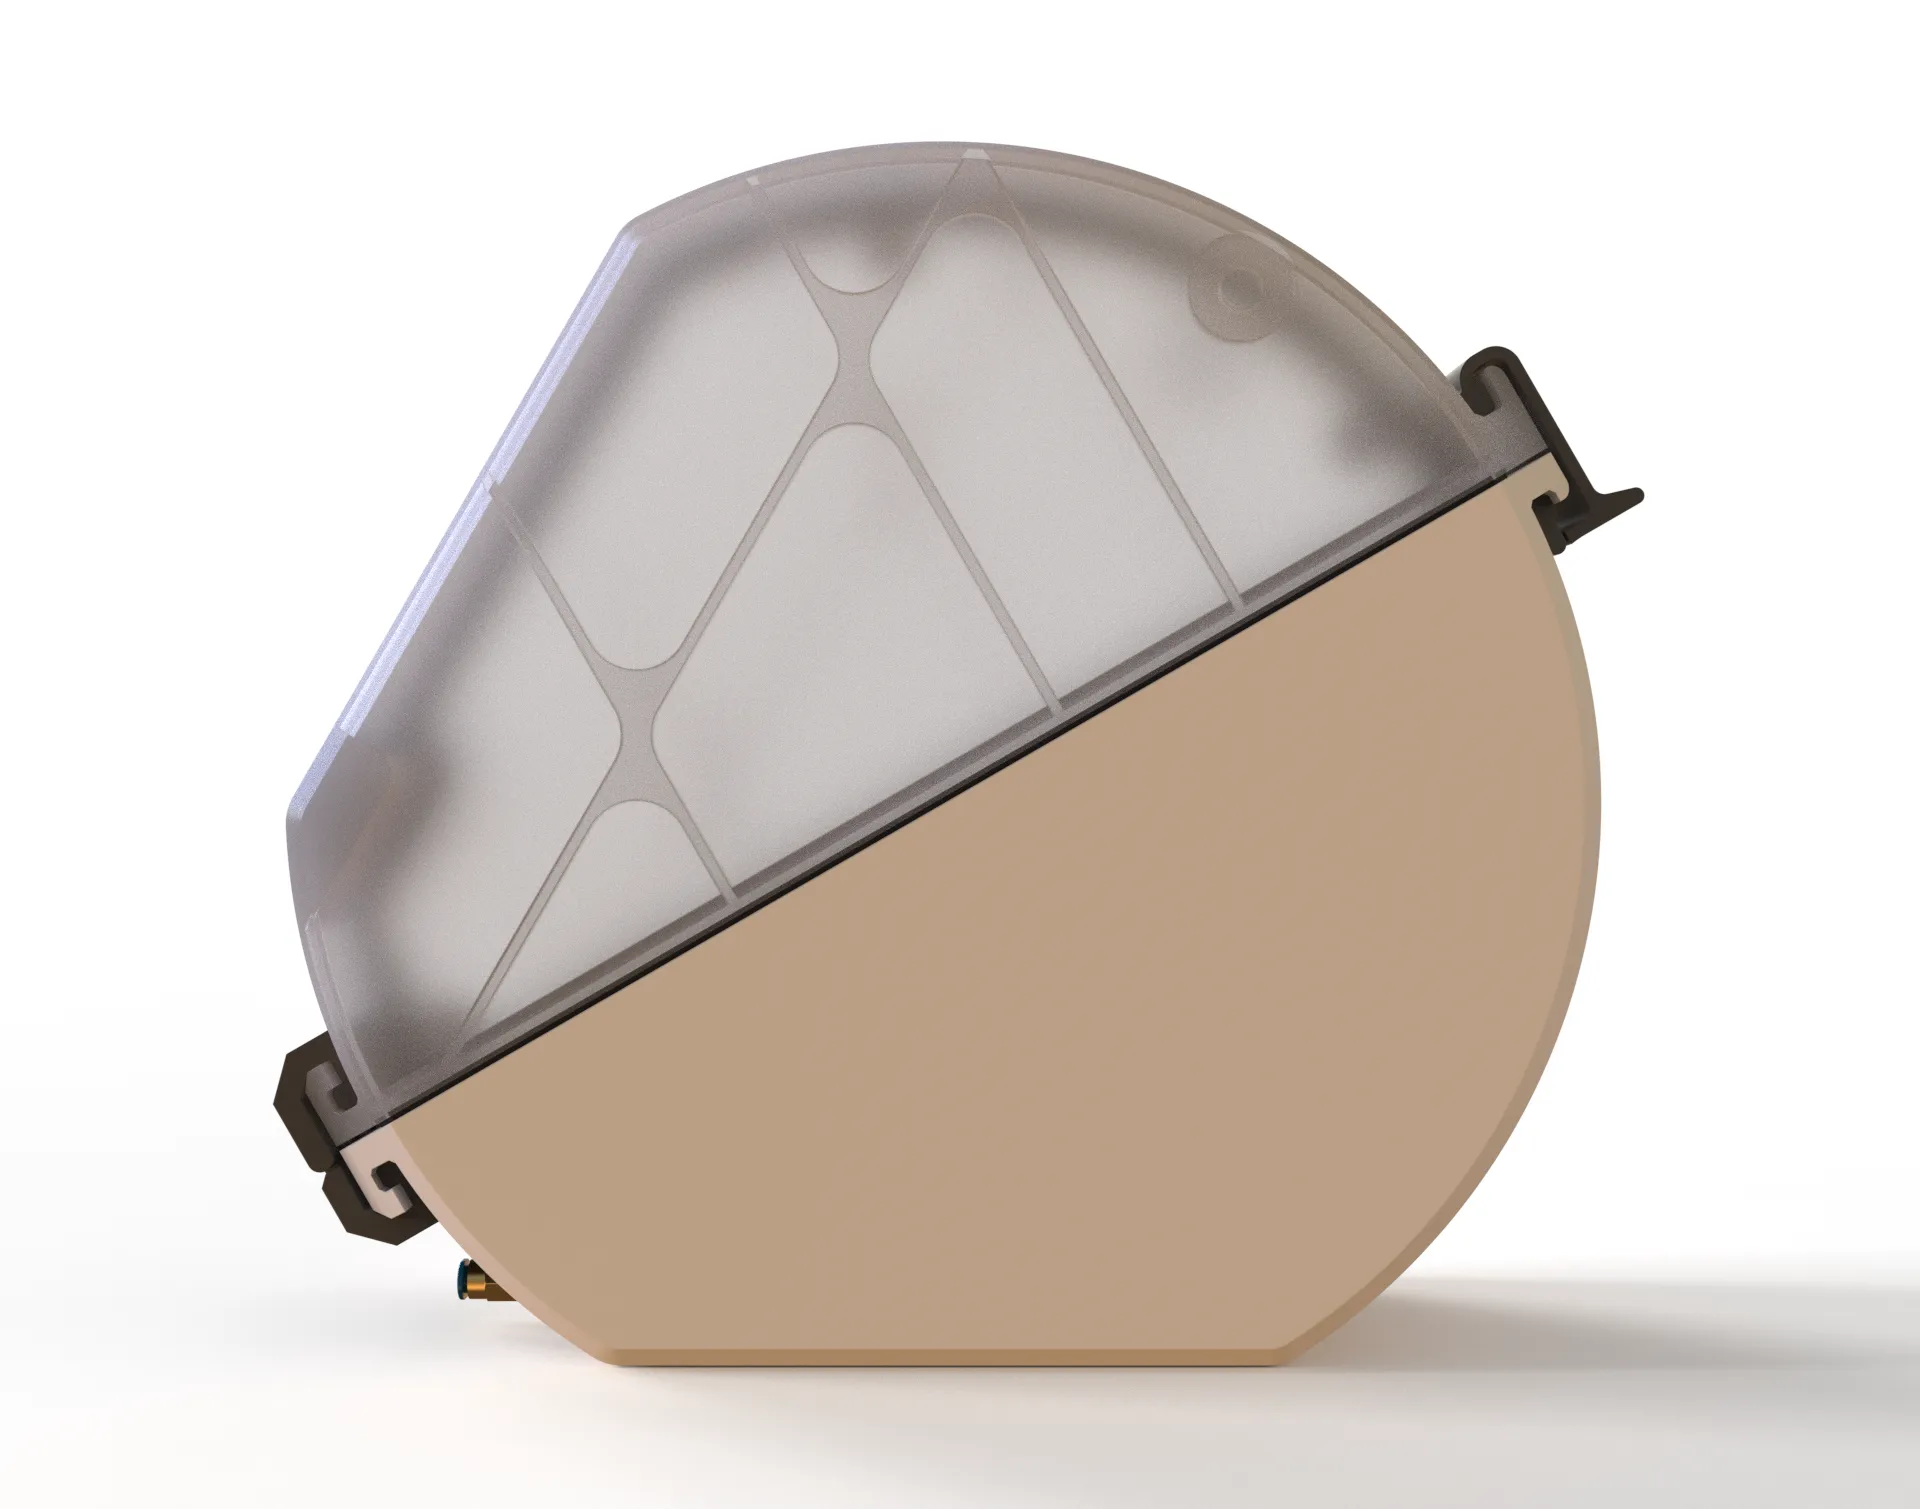
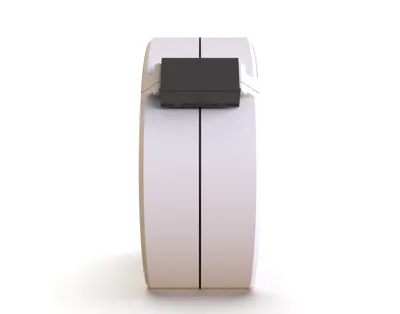
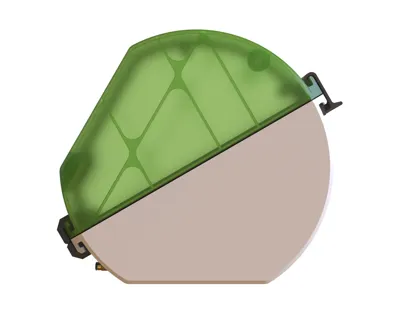
A box for spools, I know there are many out there, but for those who already know me, they know that I like to do things my own way. So, I decided to make a box for the filament spools.
What is particular about it, you may ask:
- It must be closed and provide the best possible seal (I think I've managed to do that)
- Allow its production on almost all Bambu Lab printer's (Except the mini), Even so, it was necessary to divide the model into four parts for better management.
- It should be aesthetically pleasing, visually communicating its function (more on this later).
- Be aesthetically interesting while fulfilling functional needs (such as sealing and others).
- Utilize the AMS which will assist in the previous point, both aesthetically and in communicating part of the function.
- Easy printing with minimal material usage, PETG (PLA is another option) and TPU, and 3 screws and corresponding nuts to create a good seal, which is necessary for insulation.
- Allow for the placement of some desiccant at the base to maintain controlled humidity levels. Check my Desiccant container for Spool and a more complete version, the Desiccant container with thermometer hygrometer
- The time it takes for the desiccant to become saturated depends on the humidity in your area. I recommend silica desiccant, which can be reused by heating it in an oven or microwave, and the after colling put in the container mentioned on the last point.
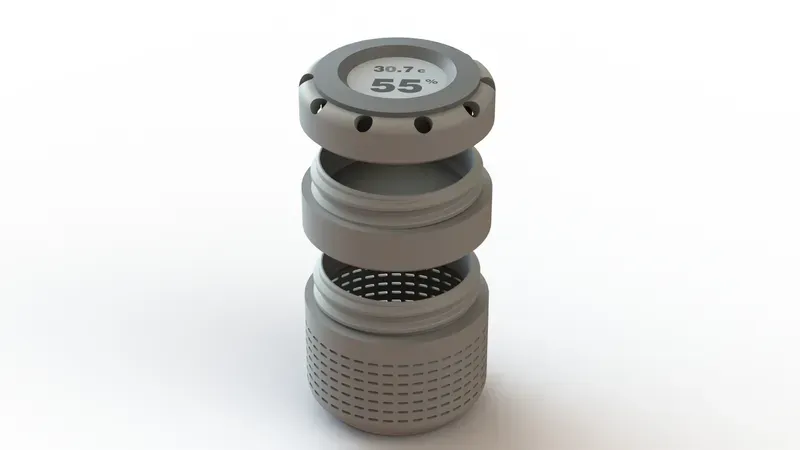 | 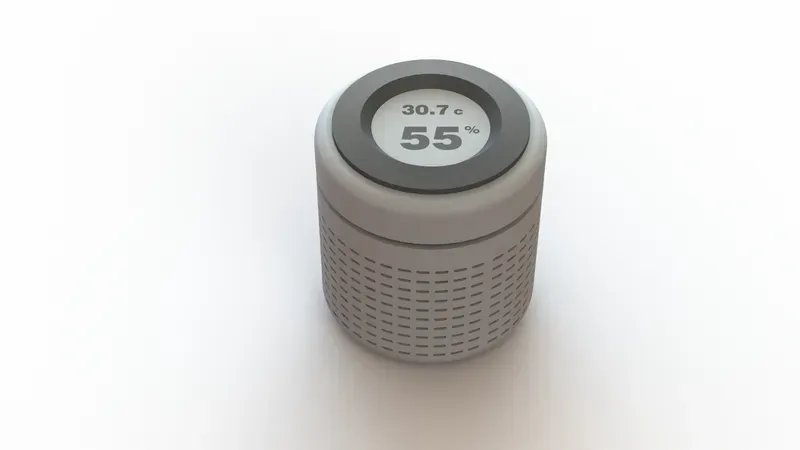 |
Or the simple version, that you can find here:
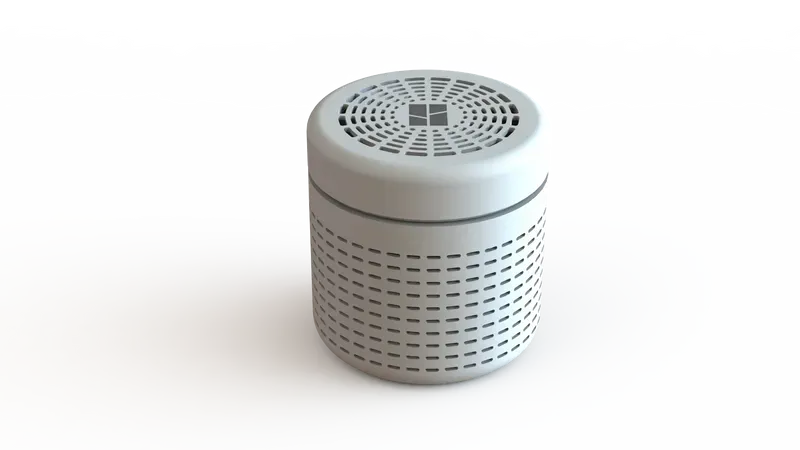
- Besides these points, a box that would only serve to store the filament, I added some things:
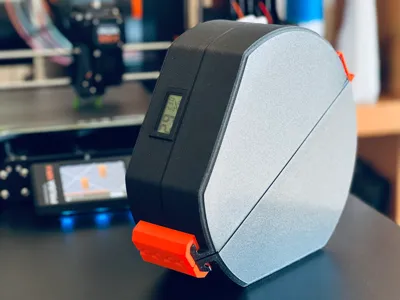
- Something to show me the humidity level inside the box. I had two options: strips of paper that change color depending on the humidity or an electronic device. I ended up using the latter, although paper strips are interesting, It is necessary to replace it from time to time…
Tree versions will be made available, one with the temperature and humidity sensor, another without it, and finally a simple container.
Another level up, which seemed obvious to me, was to create conditions for the filament spool to rotate inside and allow the filament to exit to the outside. In this situation, it was necessary to add more hardware, such as bearings... the cheapest ones I could find. The rotation as well as the weight of the spool are both irrelevant to the static or dynamic load acceptable for a normal ball bearing (a little over 10 Newtons for a full spool, and rotation is mostly inexistent).
So, the list of things has increased:
- Printing material PETG and TPU from Bambu Lab,
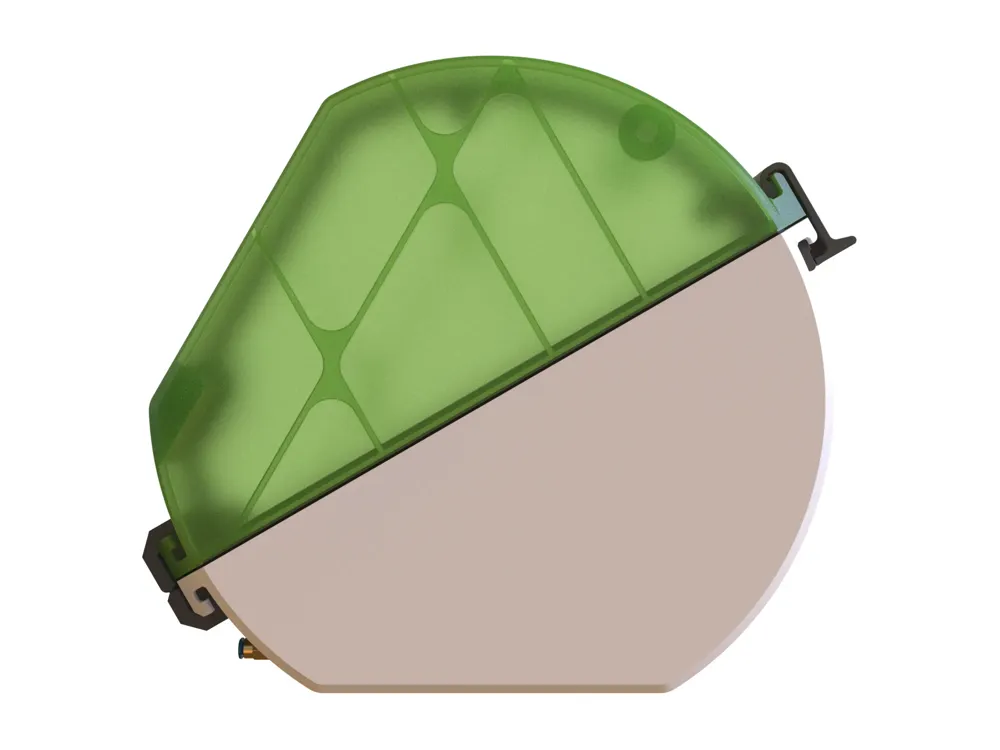
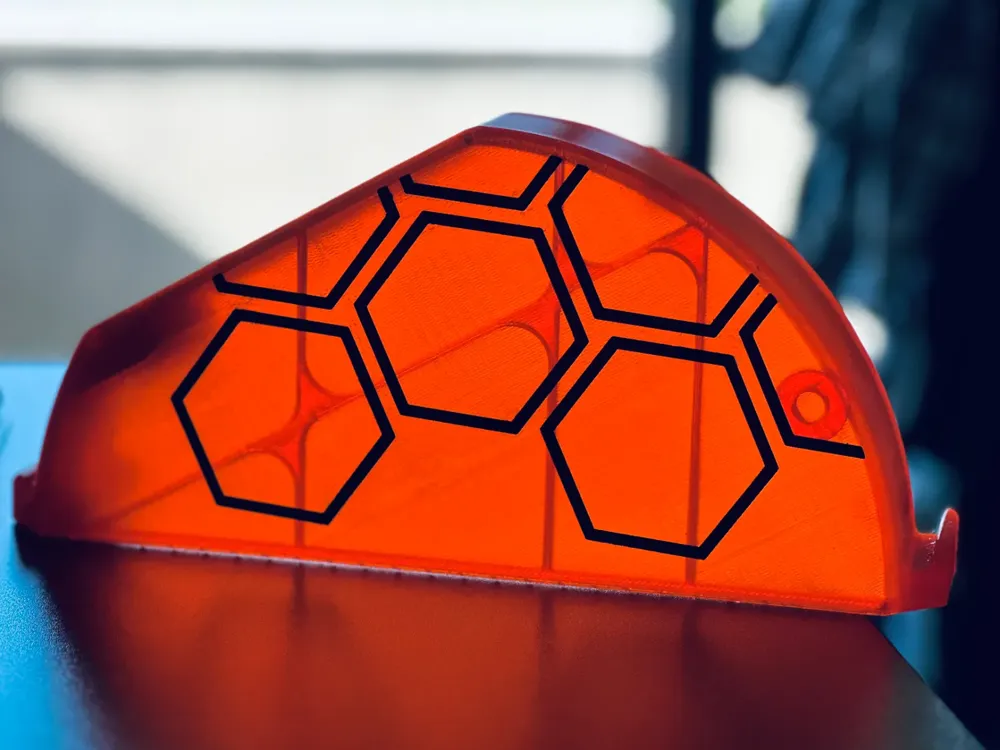
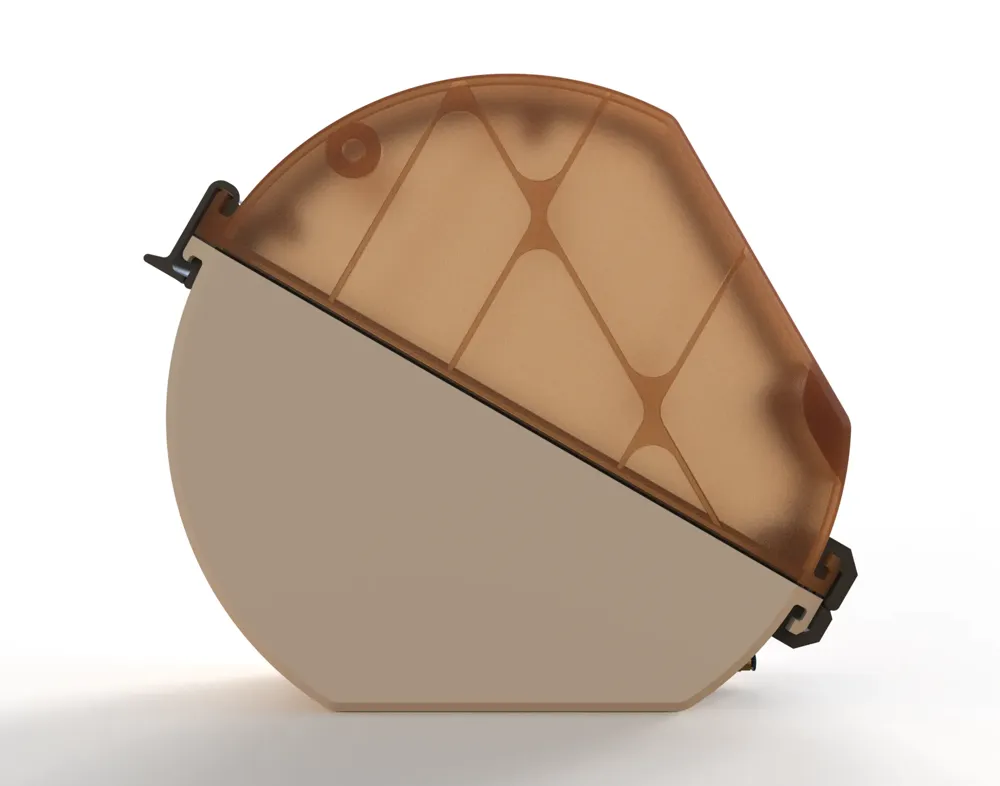
- Other material can use other materials you may prefer, like PLA, but PETG can make translucent parts (not easy, but possible (very slow and hot with a nice quality filament without moister, and don't expect "glass" like opacity. Here you can find an exceptional example of application: How To Print Glass by Rygar1432
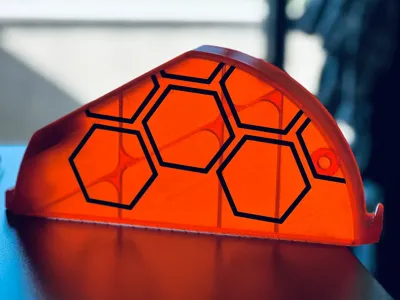
- This way is possible to see what's how much filament you have.
- the file “SpoolBox_translucent.3mf” contains some top lids (with logo and clean) with a configuration that I think will render you the best results without taking you days to print. The one made by Rygar1432 will give you the best result, but will be a very slow print approx. 20mm/s
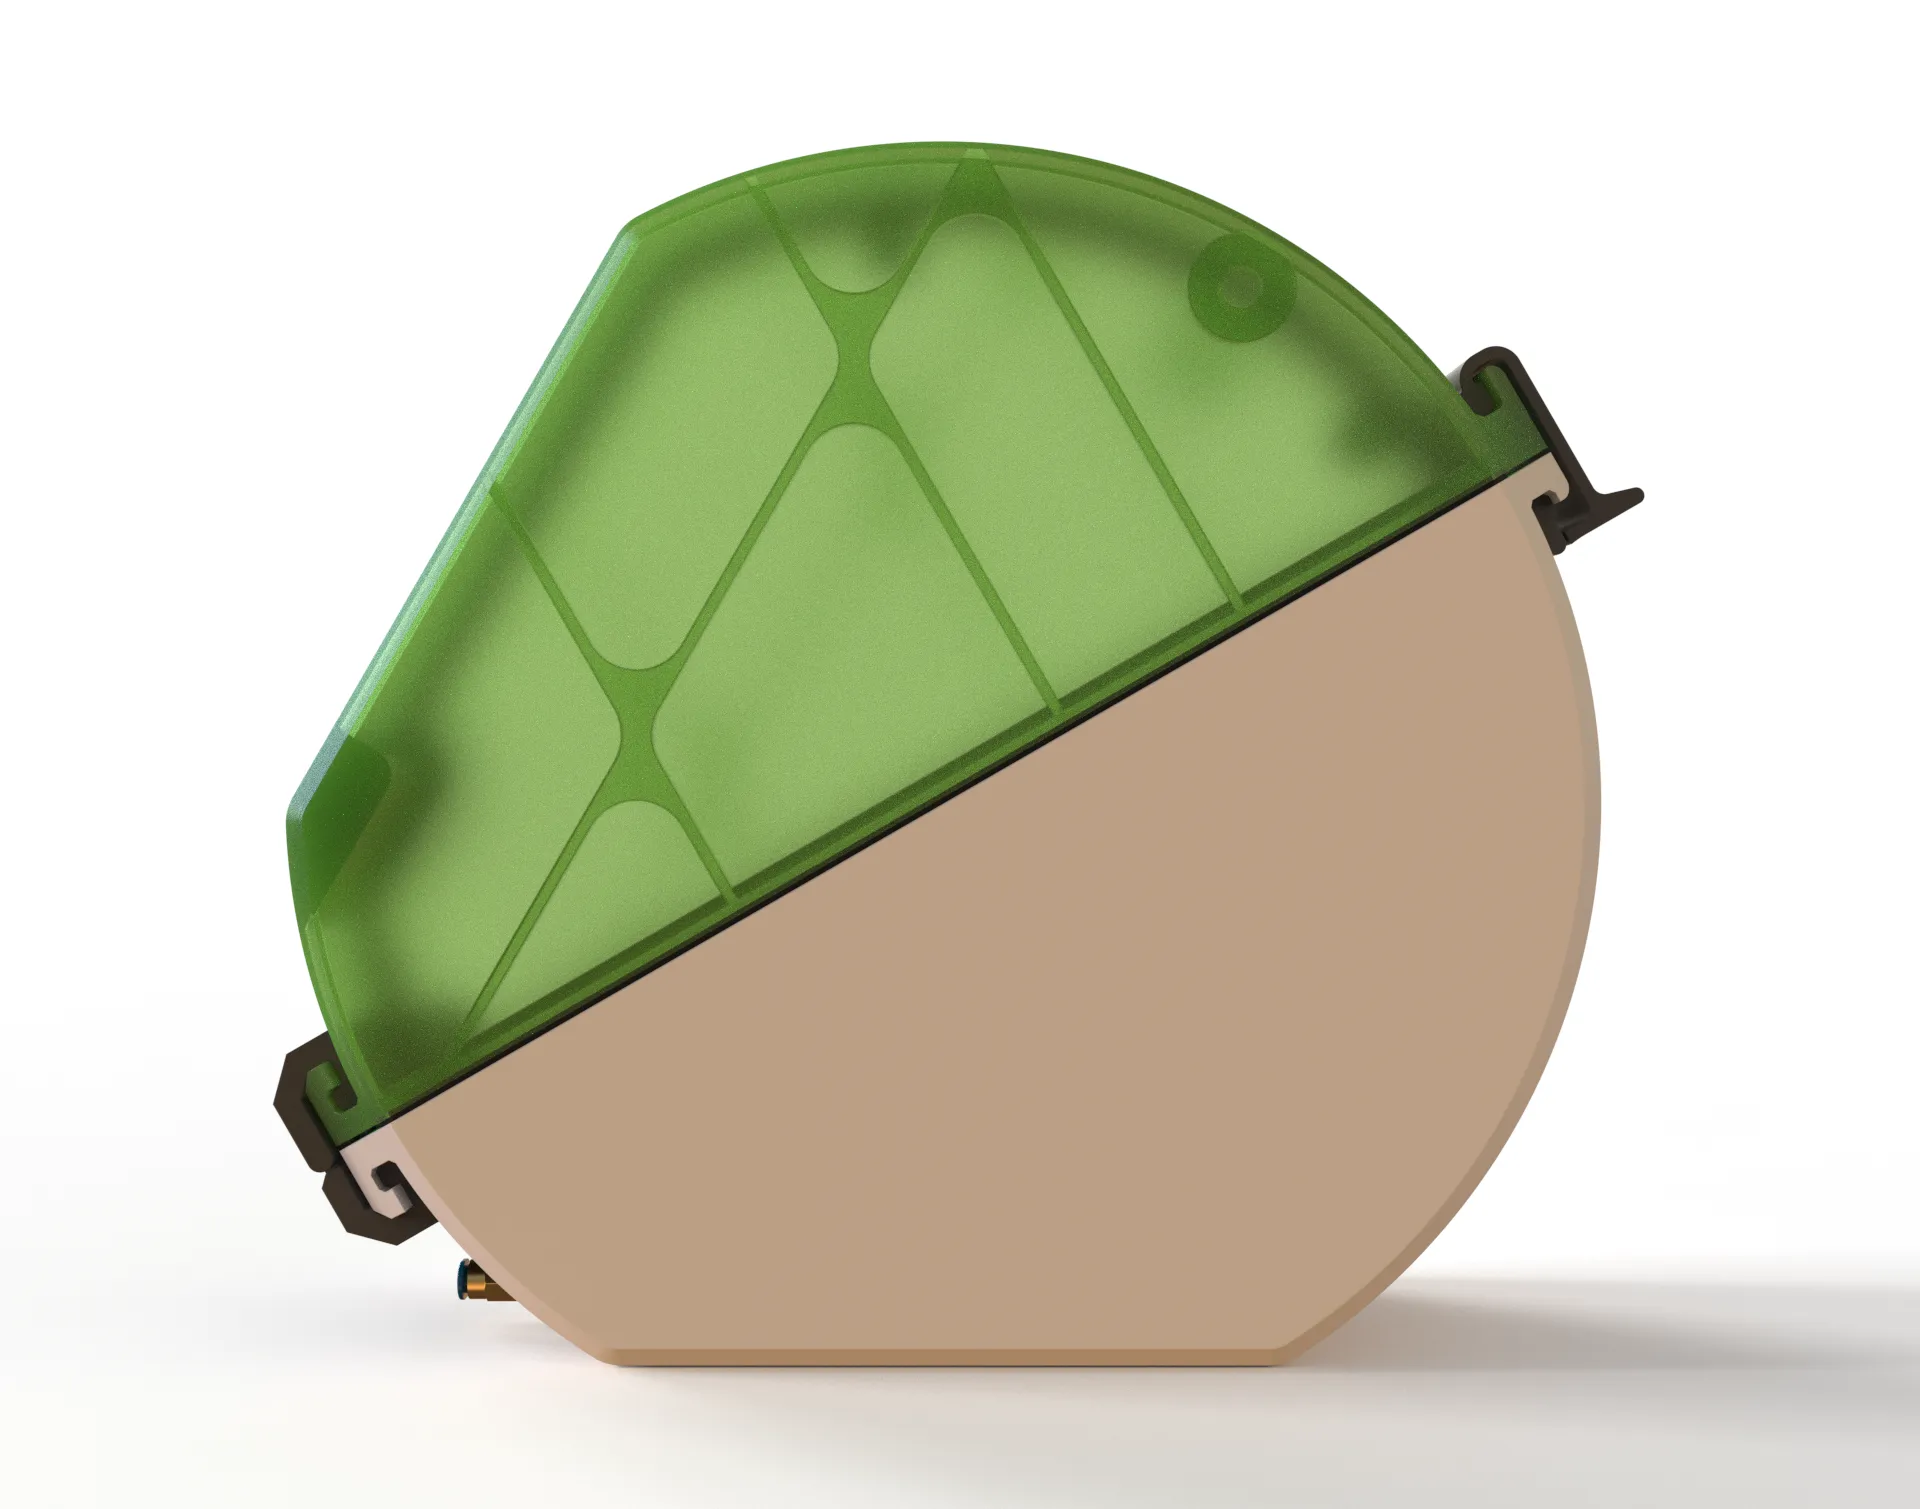
For the TPU, use the one you may have, but the softer the better. Check the BOM list above or bellow.
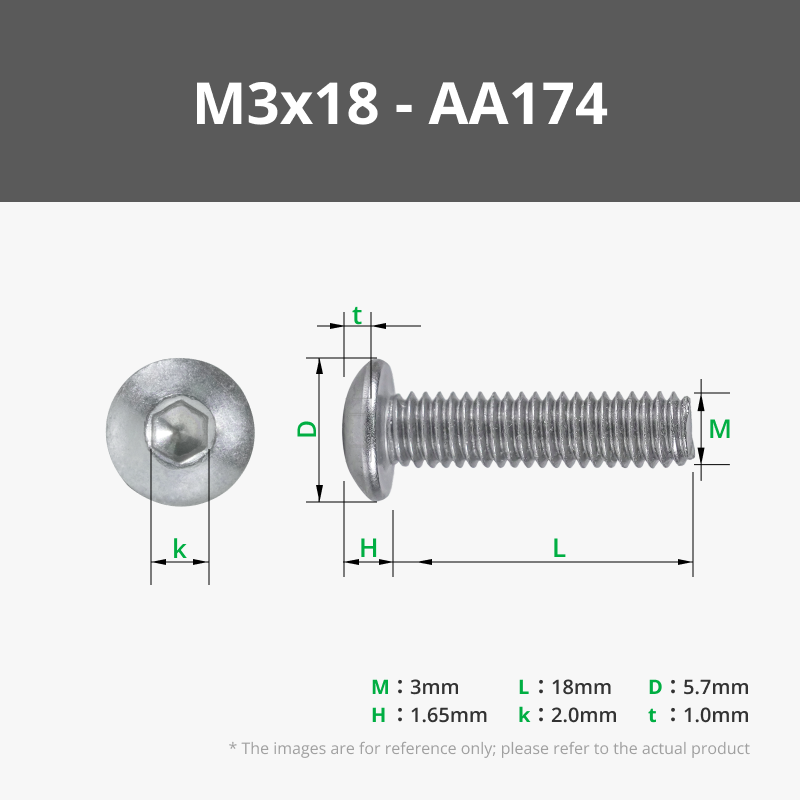
- Screws and nuts (M3x18 A2-70 DIN 912 / ISO2768 or any other equivalent will do);
- Bearings;
- Optional:
- temperature and humidity sensor;
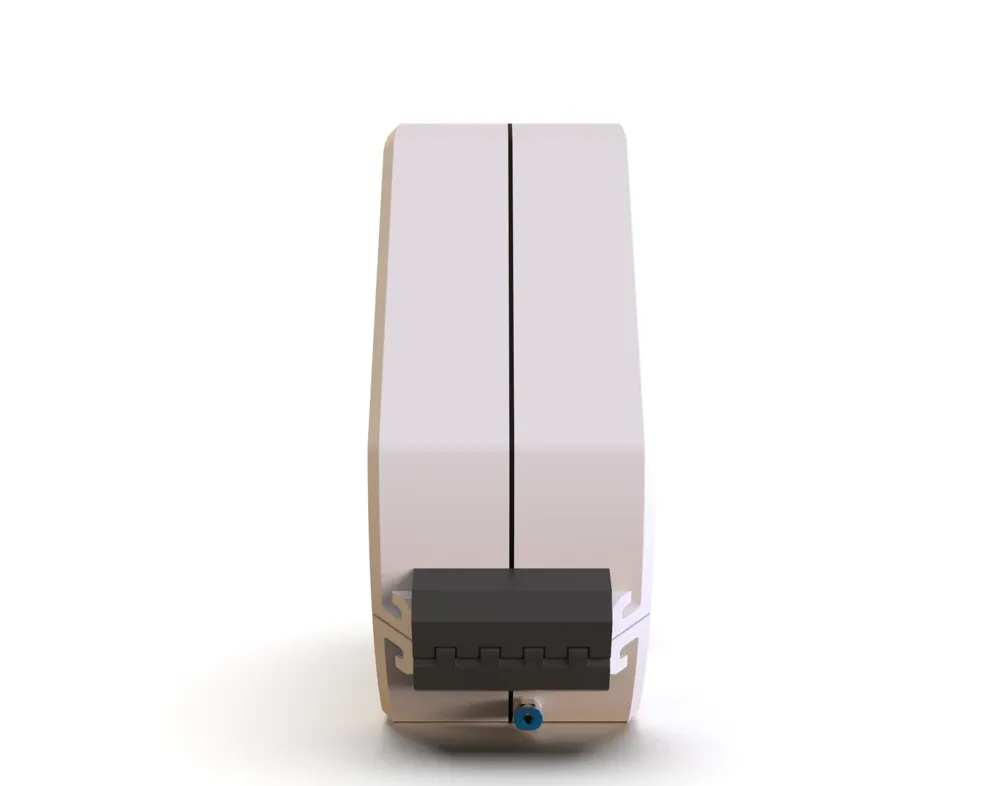
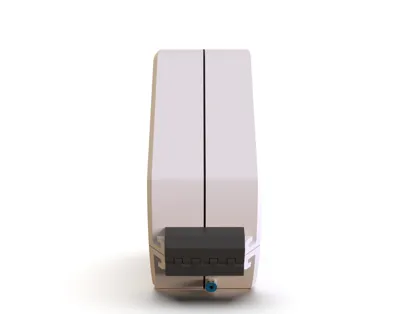
- Pneumatic adapter . This one I know works, but others should work too. What I’ve experienced with the cheaper ones is that the filament tends to get stuck when inserting it.
I think that's all, maybe a little glue if necessary. Even so, it's much cheaper than anything you can buy for this purpose (excluding cereal boxes and other food containers, which are a good option for those seeking something purely functional; I had to make do with an IKEA box).
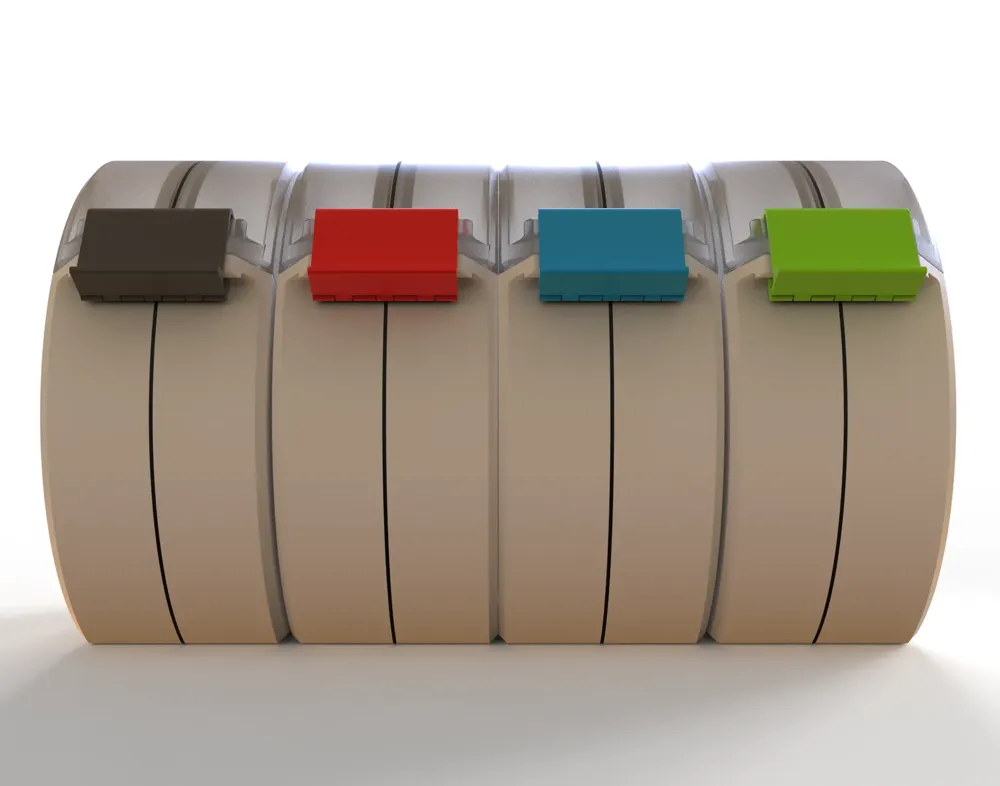
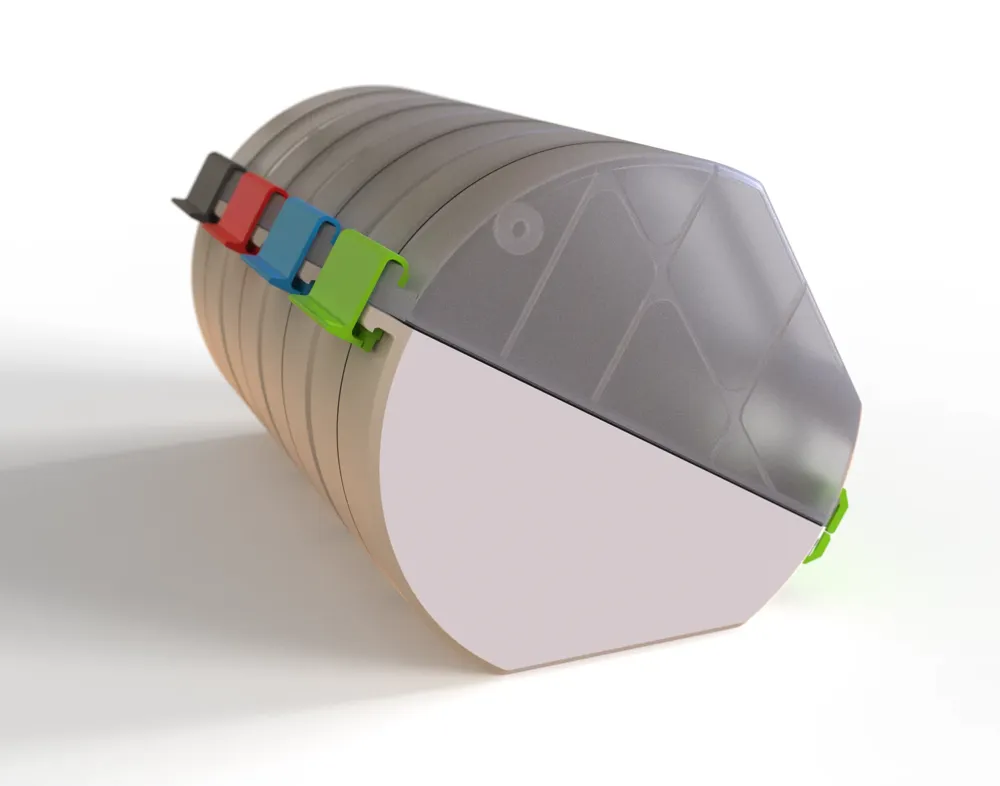
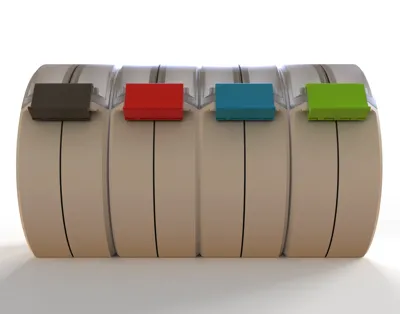
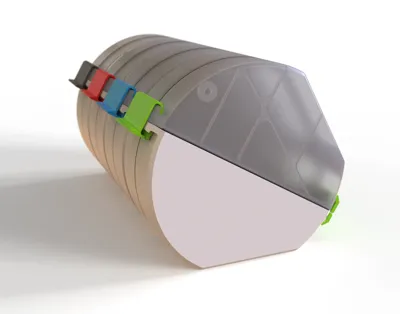
As an update, I’d like to share that this is now stackable with the Racks4All modular system. You can find more information in the 4All Collection.
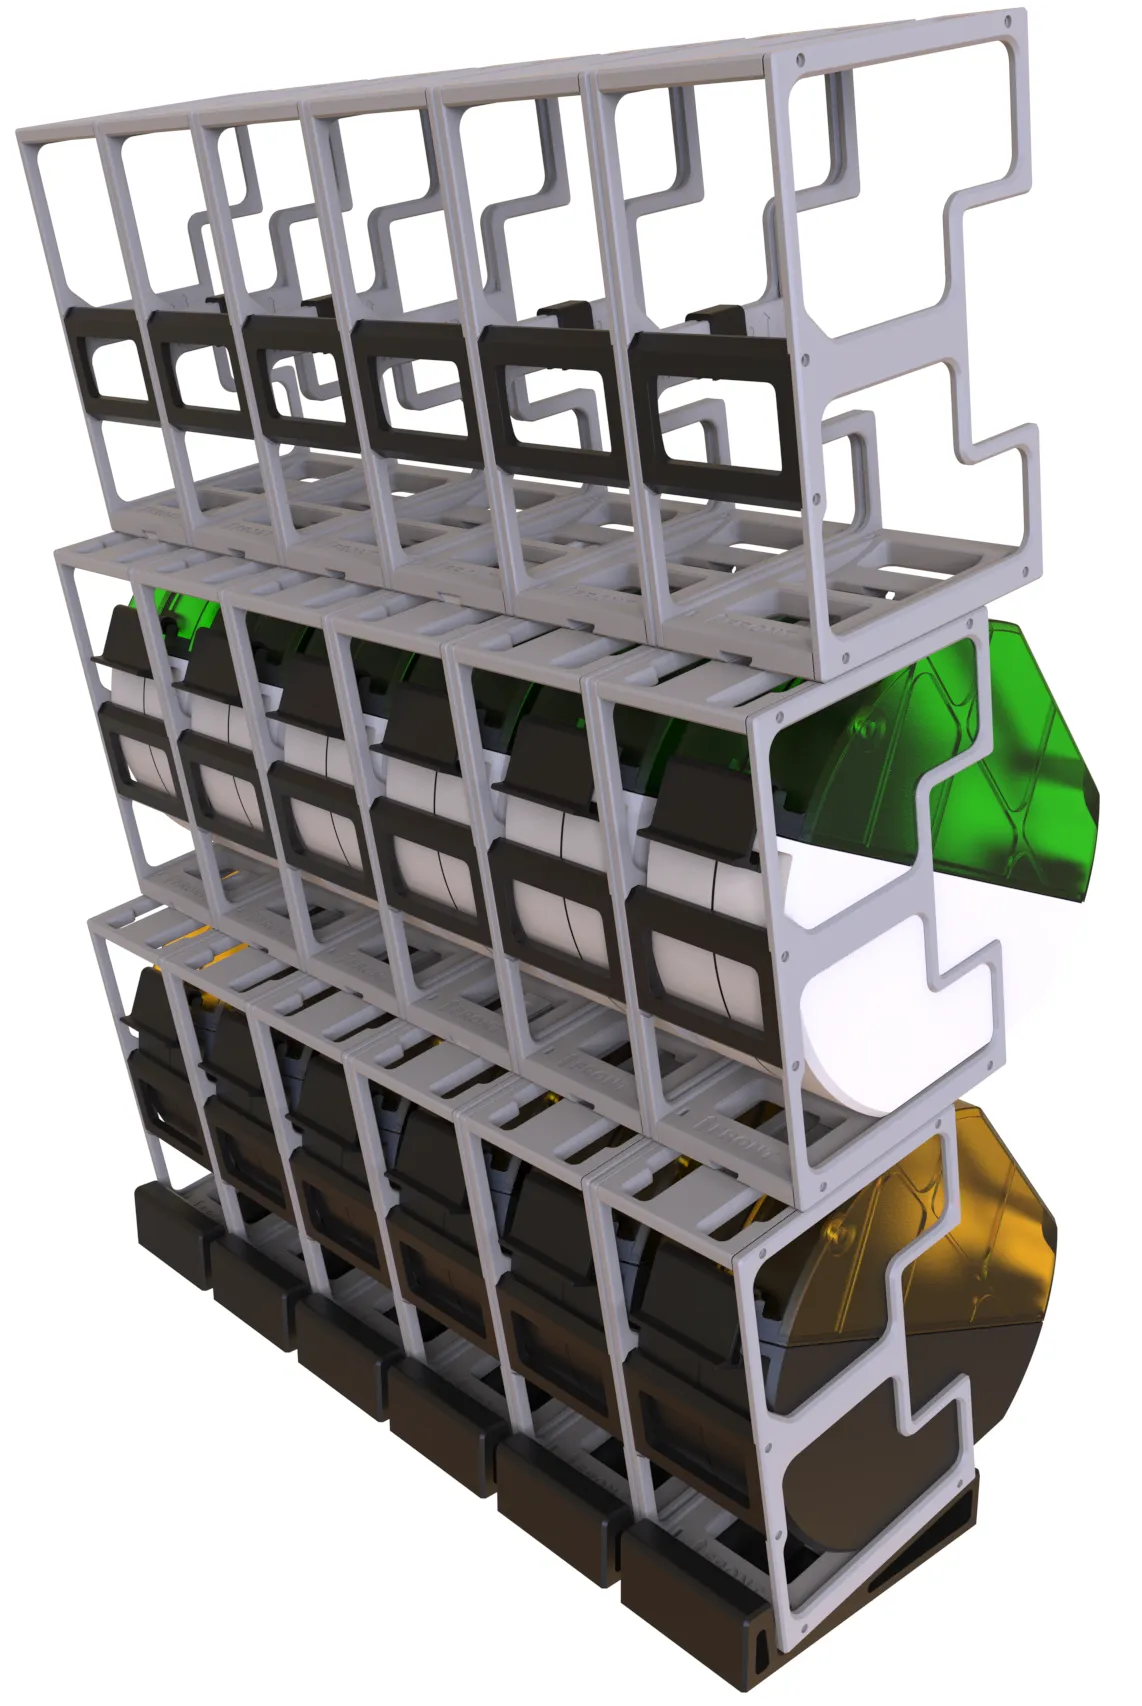
Modules available for the 4All Ecosystem
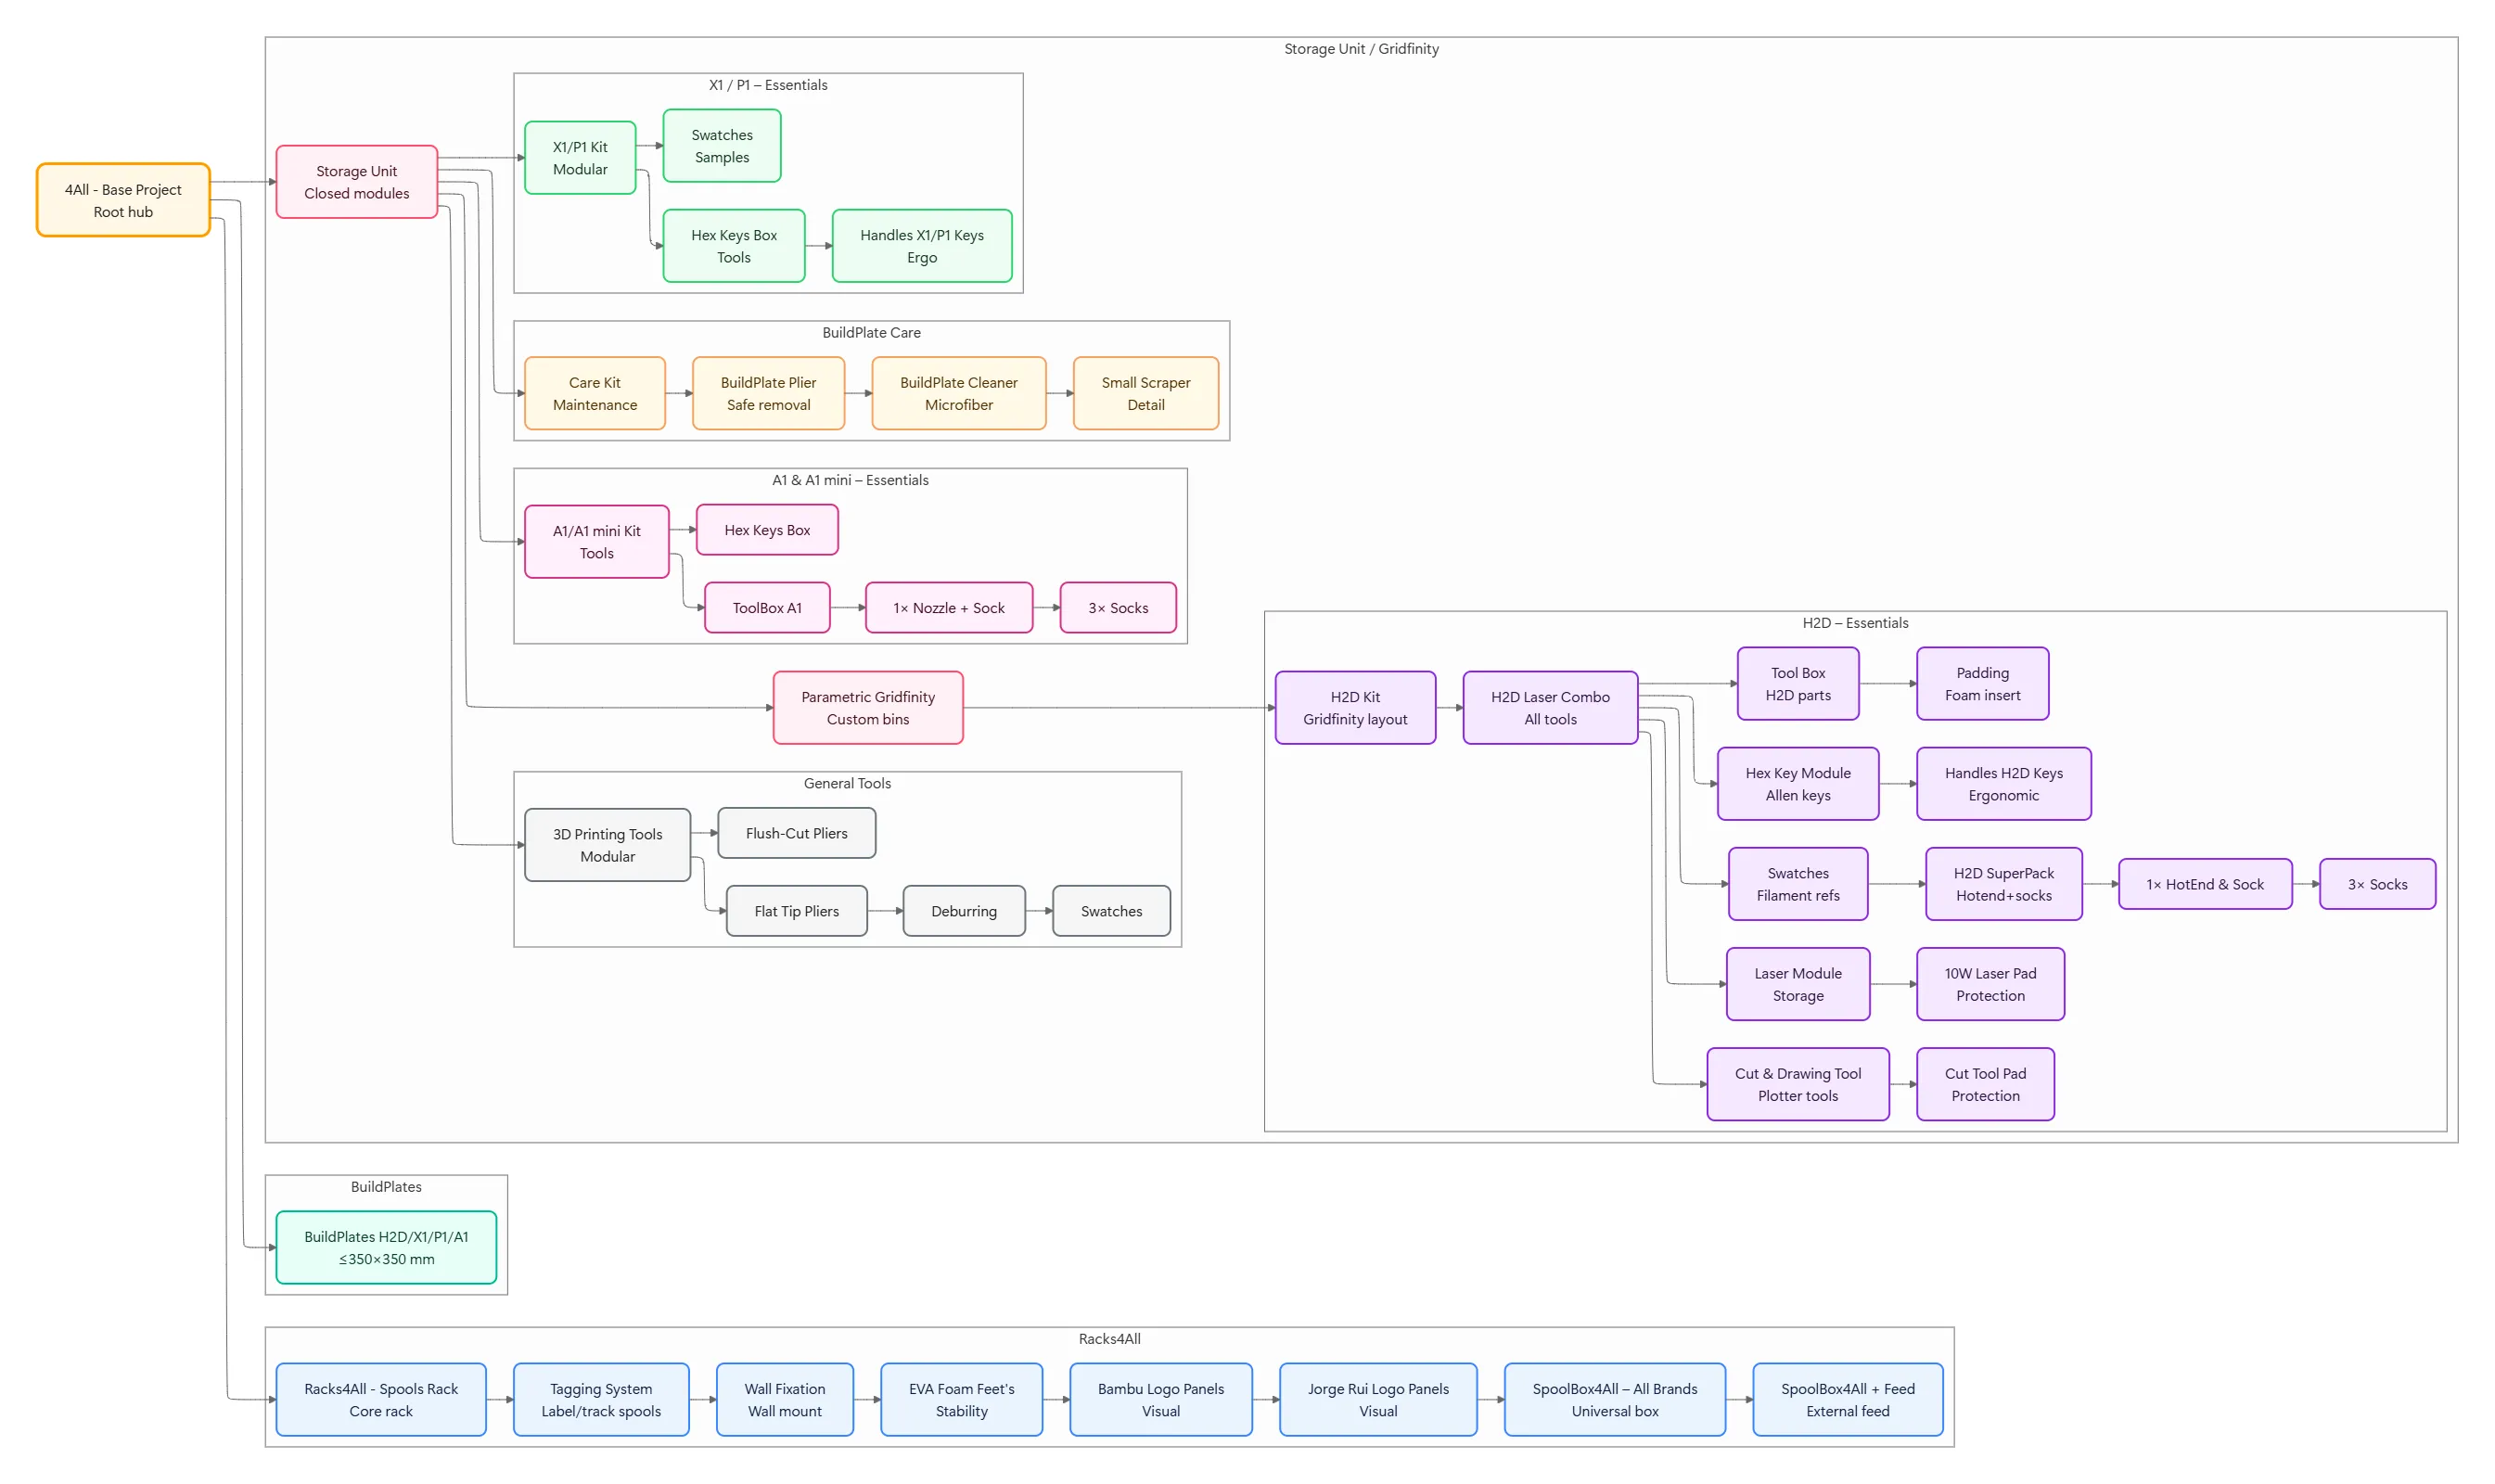
Please refer to the 4All collection at: https://makerworld.com/en/collections/6004654-4all
Printing parameters
Special care has been taken to provide the models with the printing parameters already defined; however, you are free to change whatever you them if necessary. The use of multiple colors should not hinder those who do not have a multi-material printing unit, as there are only 4 color changes throughout the process. That being said, the provided 3mf files are configured for use with the AMS and changing them for printing without the AMS is up to you.
I would like to emphasize that these models cannot be distributed in any way or form; therefore, any alterations are solely for your own use.
This decision stems from issues I had previously, where my work was copied extensively, leading to accusations that I had copied the models myself (my own models…)
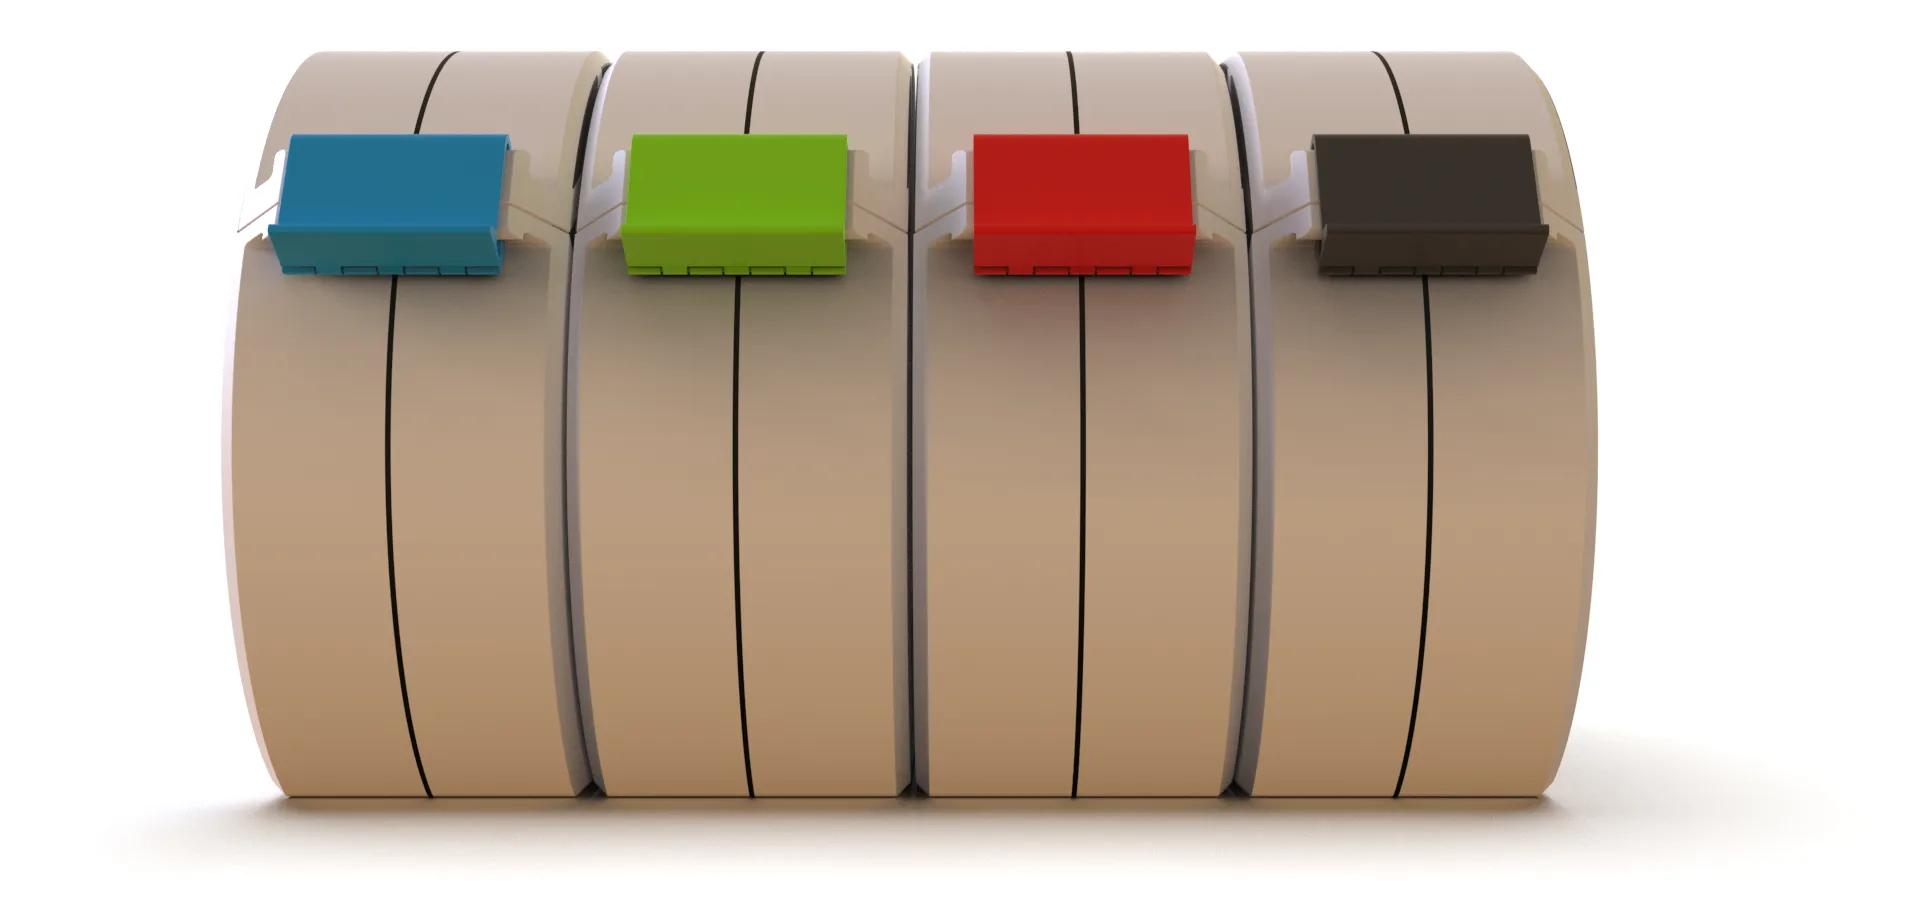
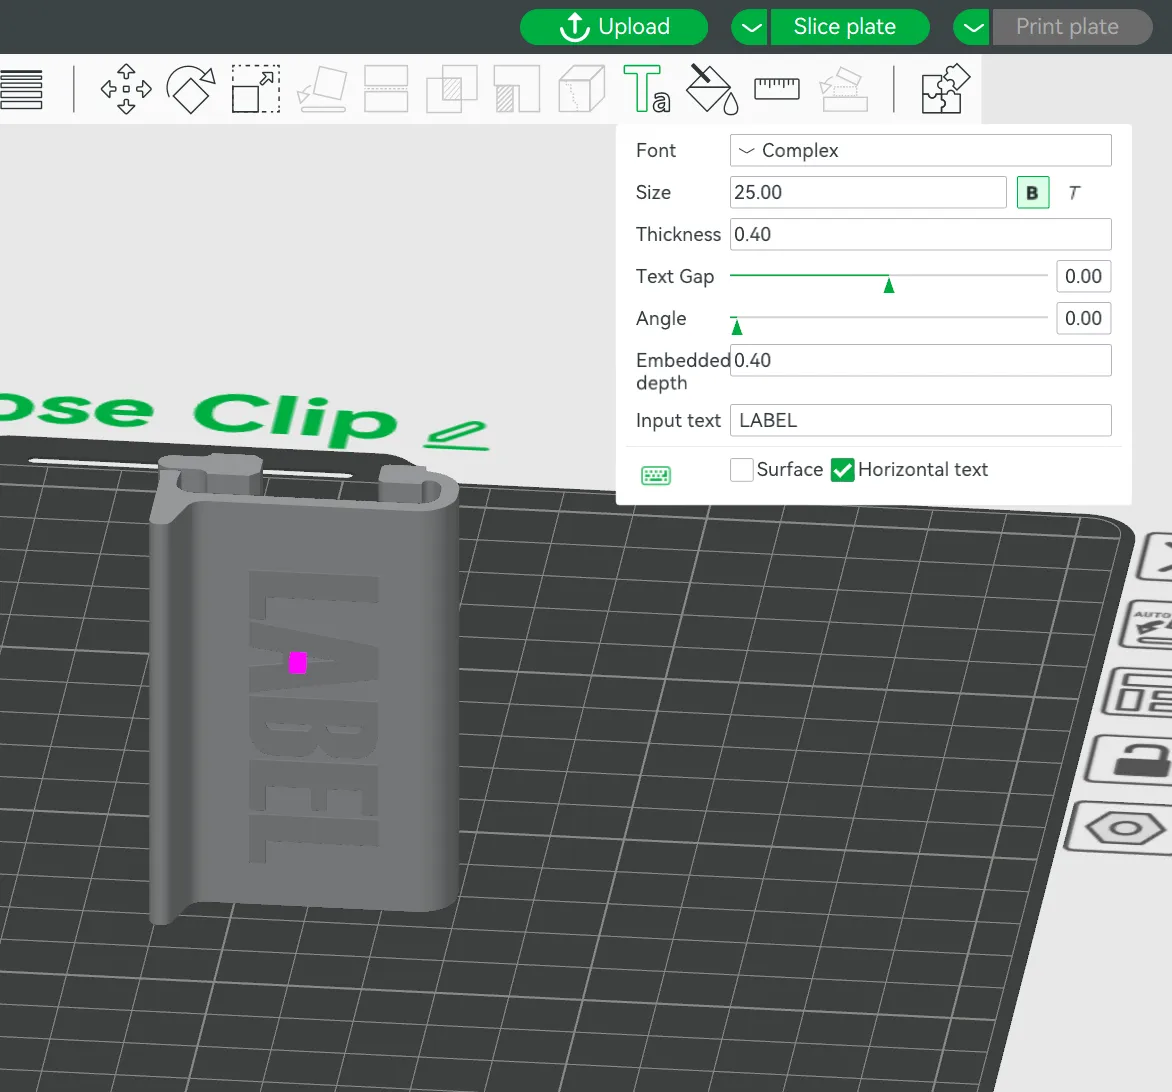
Some may have some special feature that you can configure to your linking's. An examples is the closing clip that you can change the text label and material color to match the spool material.
Assembly
Parts included that are needed to print
- Base (PETG or PLA);
- Right
- Left
- Top (PETG or PLA);
- Right
- Left
- Joints (TPU)
- Volume 1 & Volume 2, They include:
- Side
- Top
- Bottom
- Top
- Right
- Left
- 4x Foot's
- 4x Anti Slipe Sleeve
- Side
- Volume 1 & Volume 2, They include:
- Shaft and Shaft End (PETG preferable
- 2x Shafts
- 4x Shaft Ends
(I've needed to apply 3% of scale for the measures to be ok, for some reason these cylinders manifest the material contraction in some unusual way, go figure… That will happen to you to, so you may need to tune the scale for a precise fit with the bearing, you can scale all part, I've added some extra tolerances)
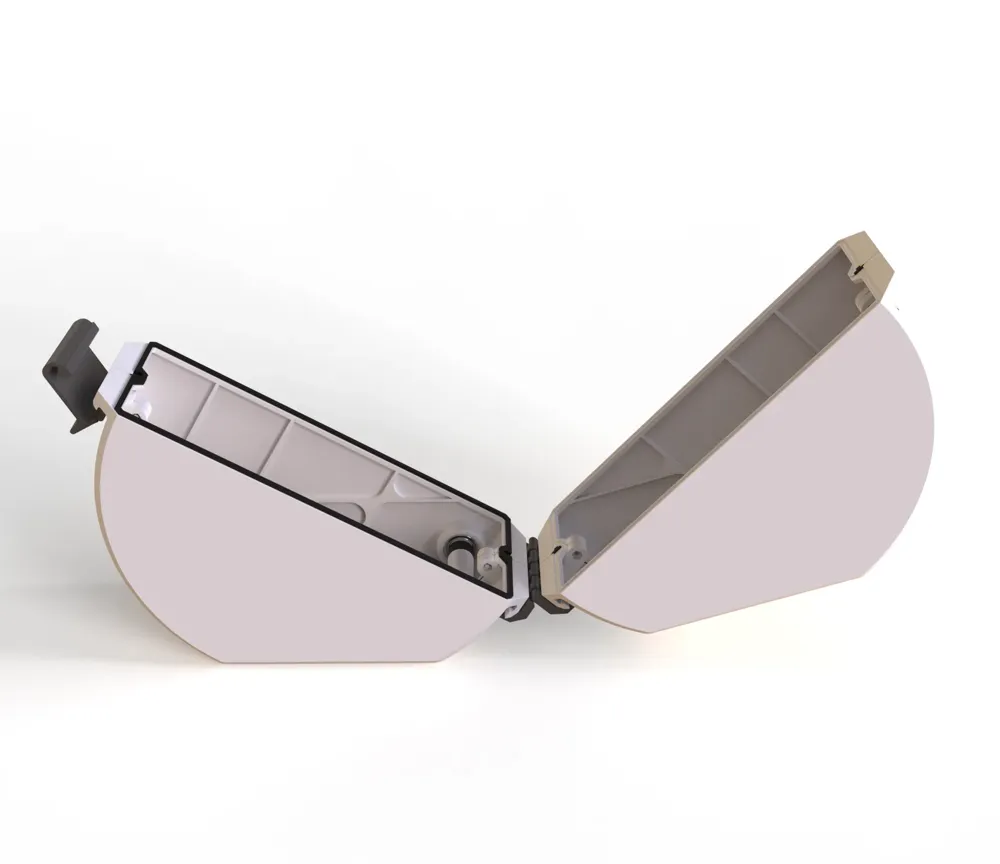
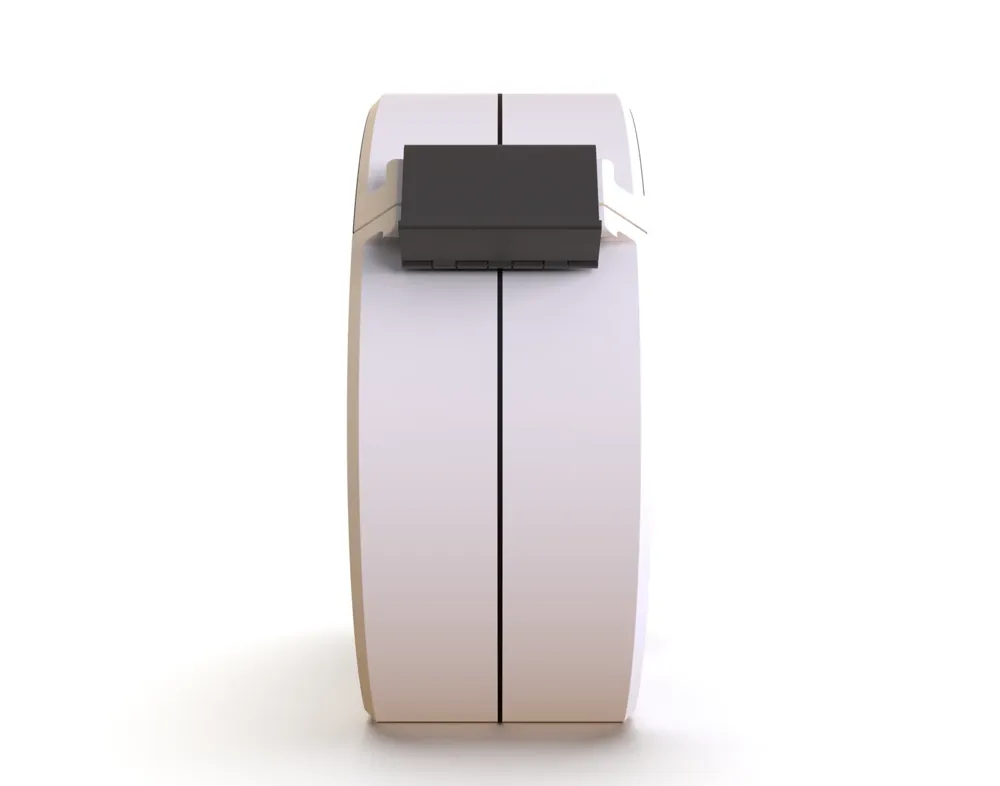
- Hinge and Closing Clip
- in total there are 2 parts, which print in place 4 bodies.
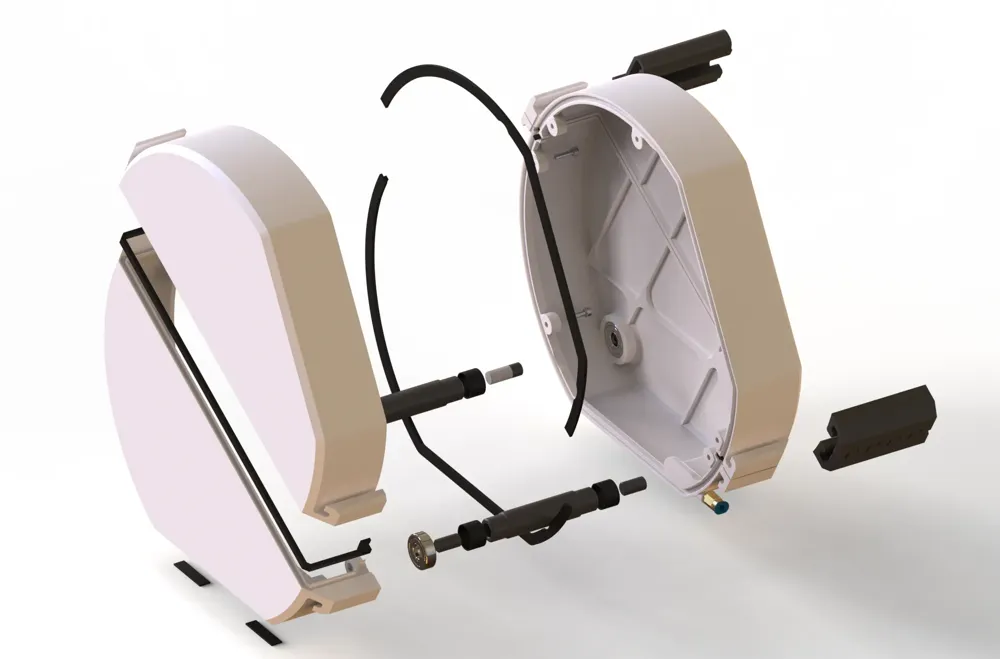
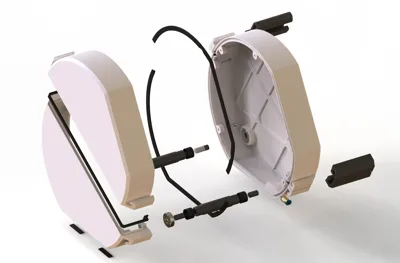
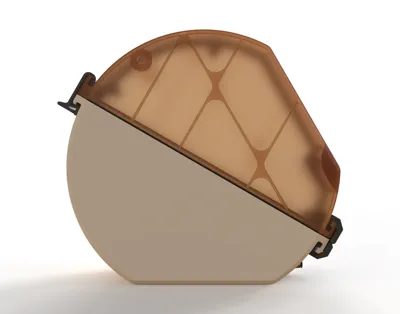
See image on how to assemble (The exploded view may help one this, so check it)
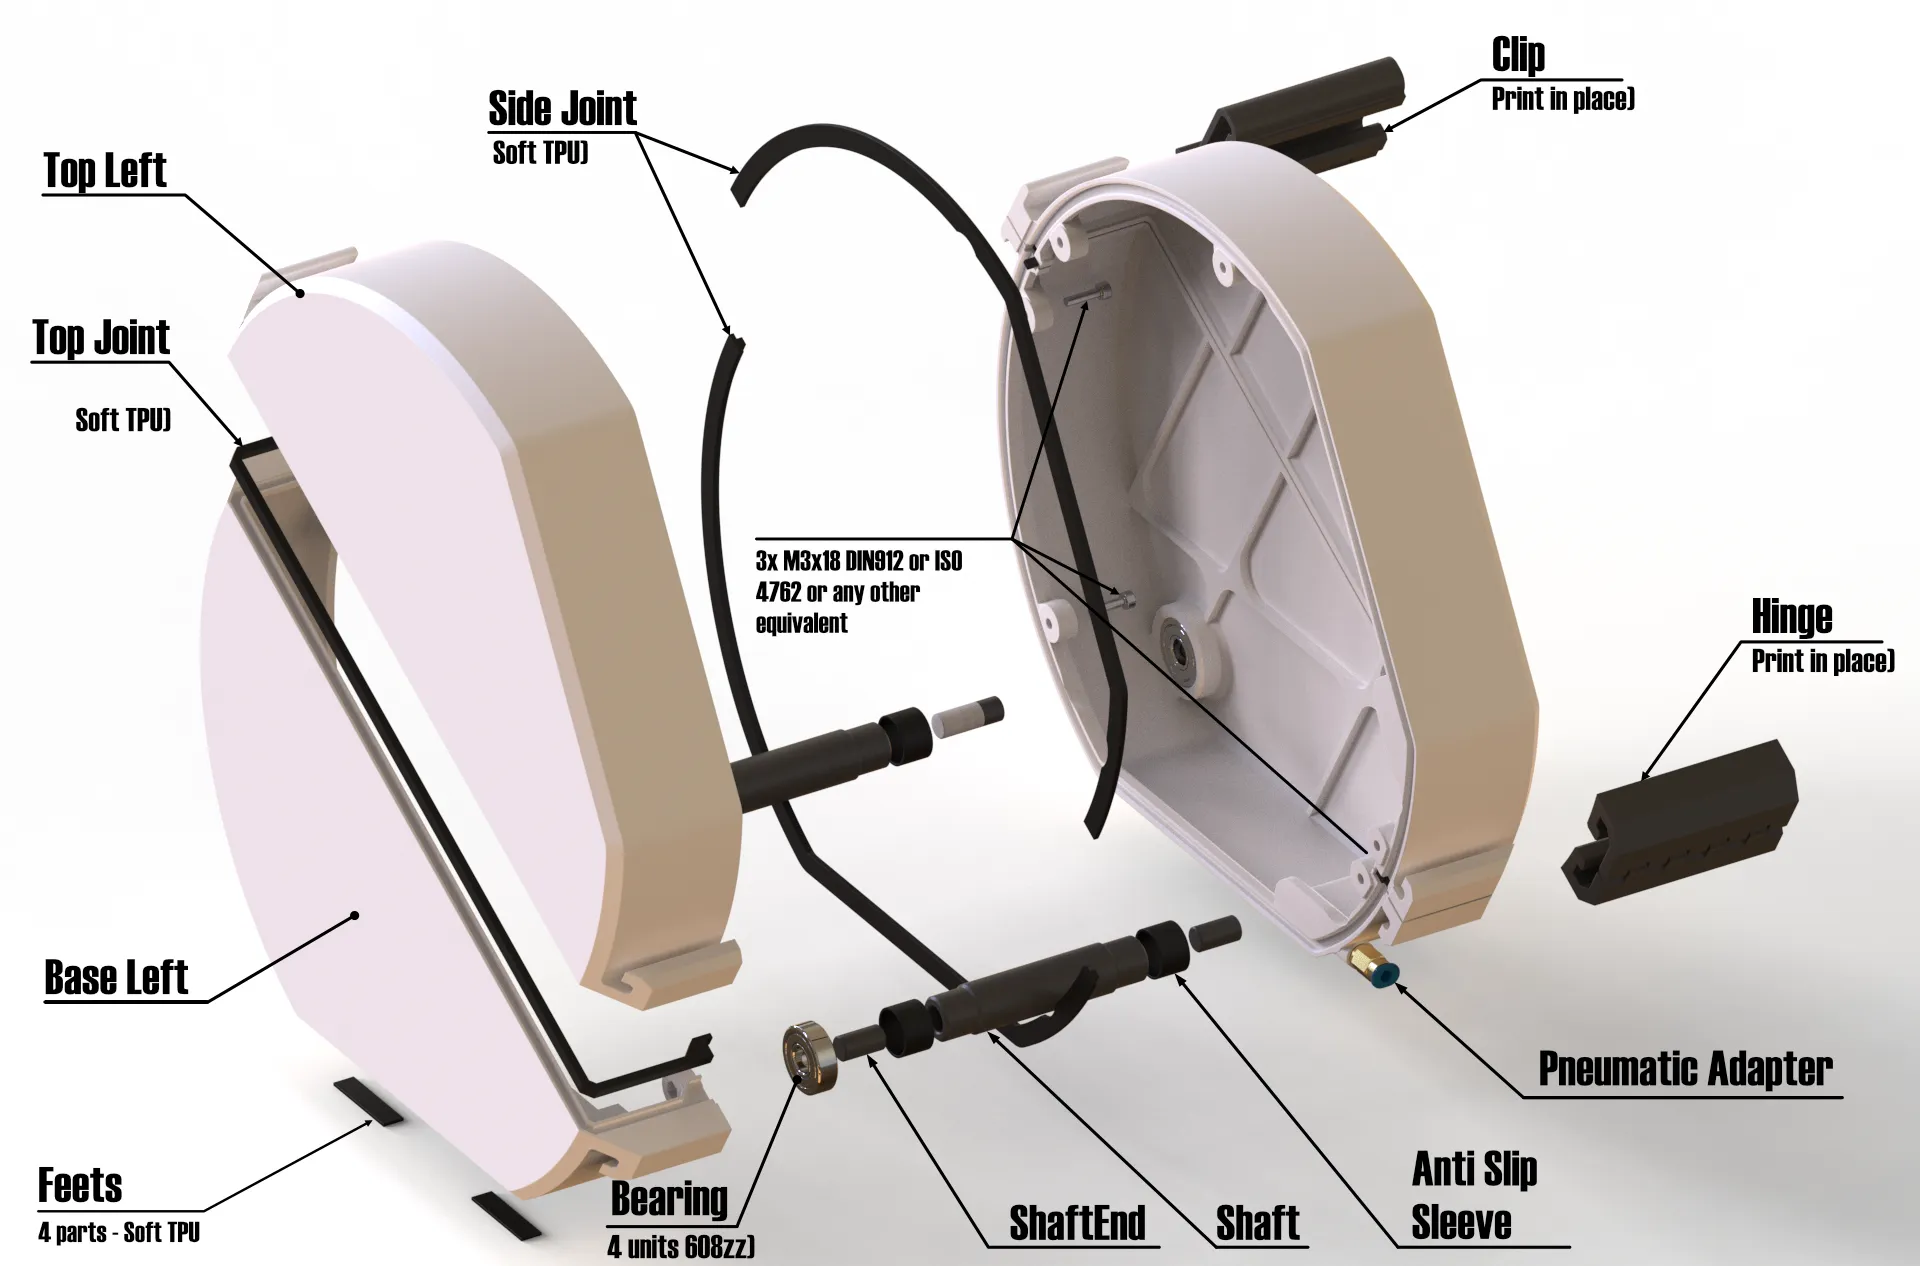
The feet's on the base must be glued if you what to use them (recommended).
Positioning for the side joints (you can glue them to one of the half's, I did not find it necessary).
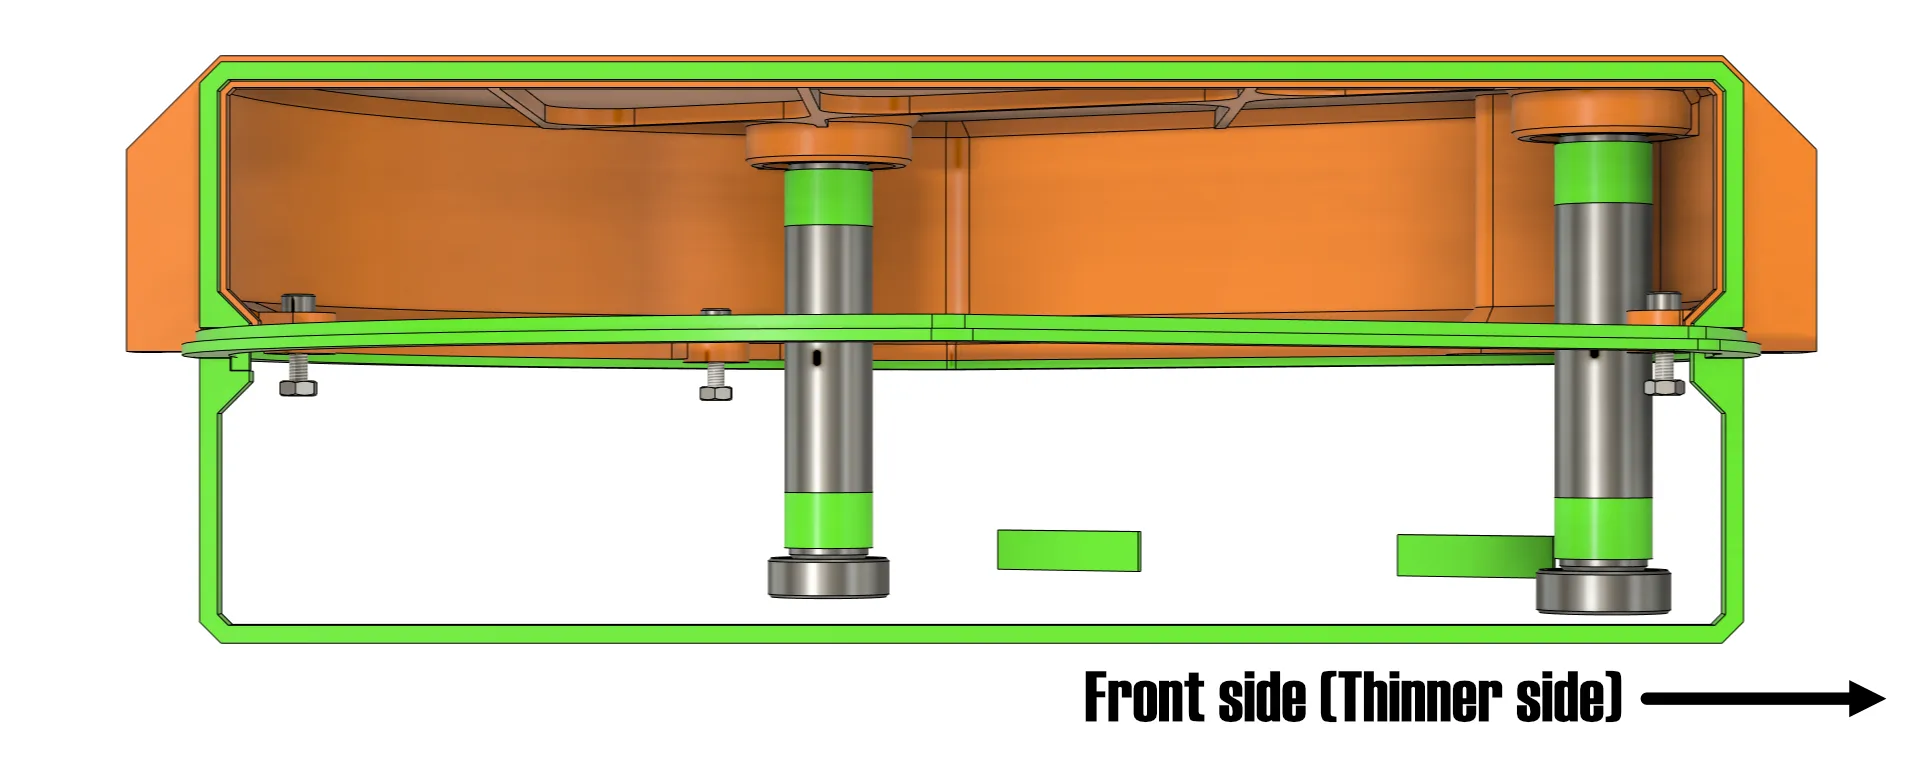
The PTFE tube, has to have the same specifications as does that came with the MMU. When assembling it, you will find that it has a tight fit, that is by design. If needed, you can use the pliers, to gently push the tube inside the case until it reaches the interior.
Don't force it, if the tube does not go all way in, see if there are any obstructions inside.
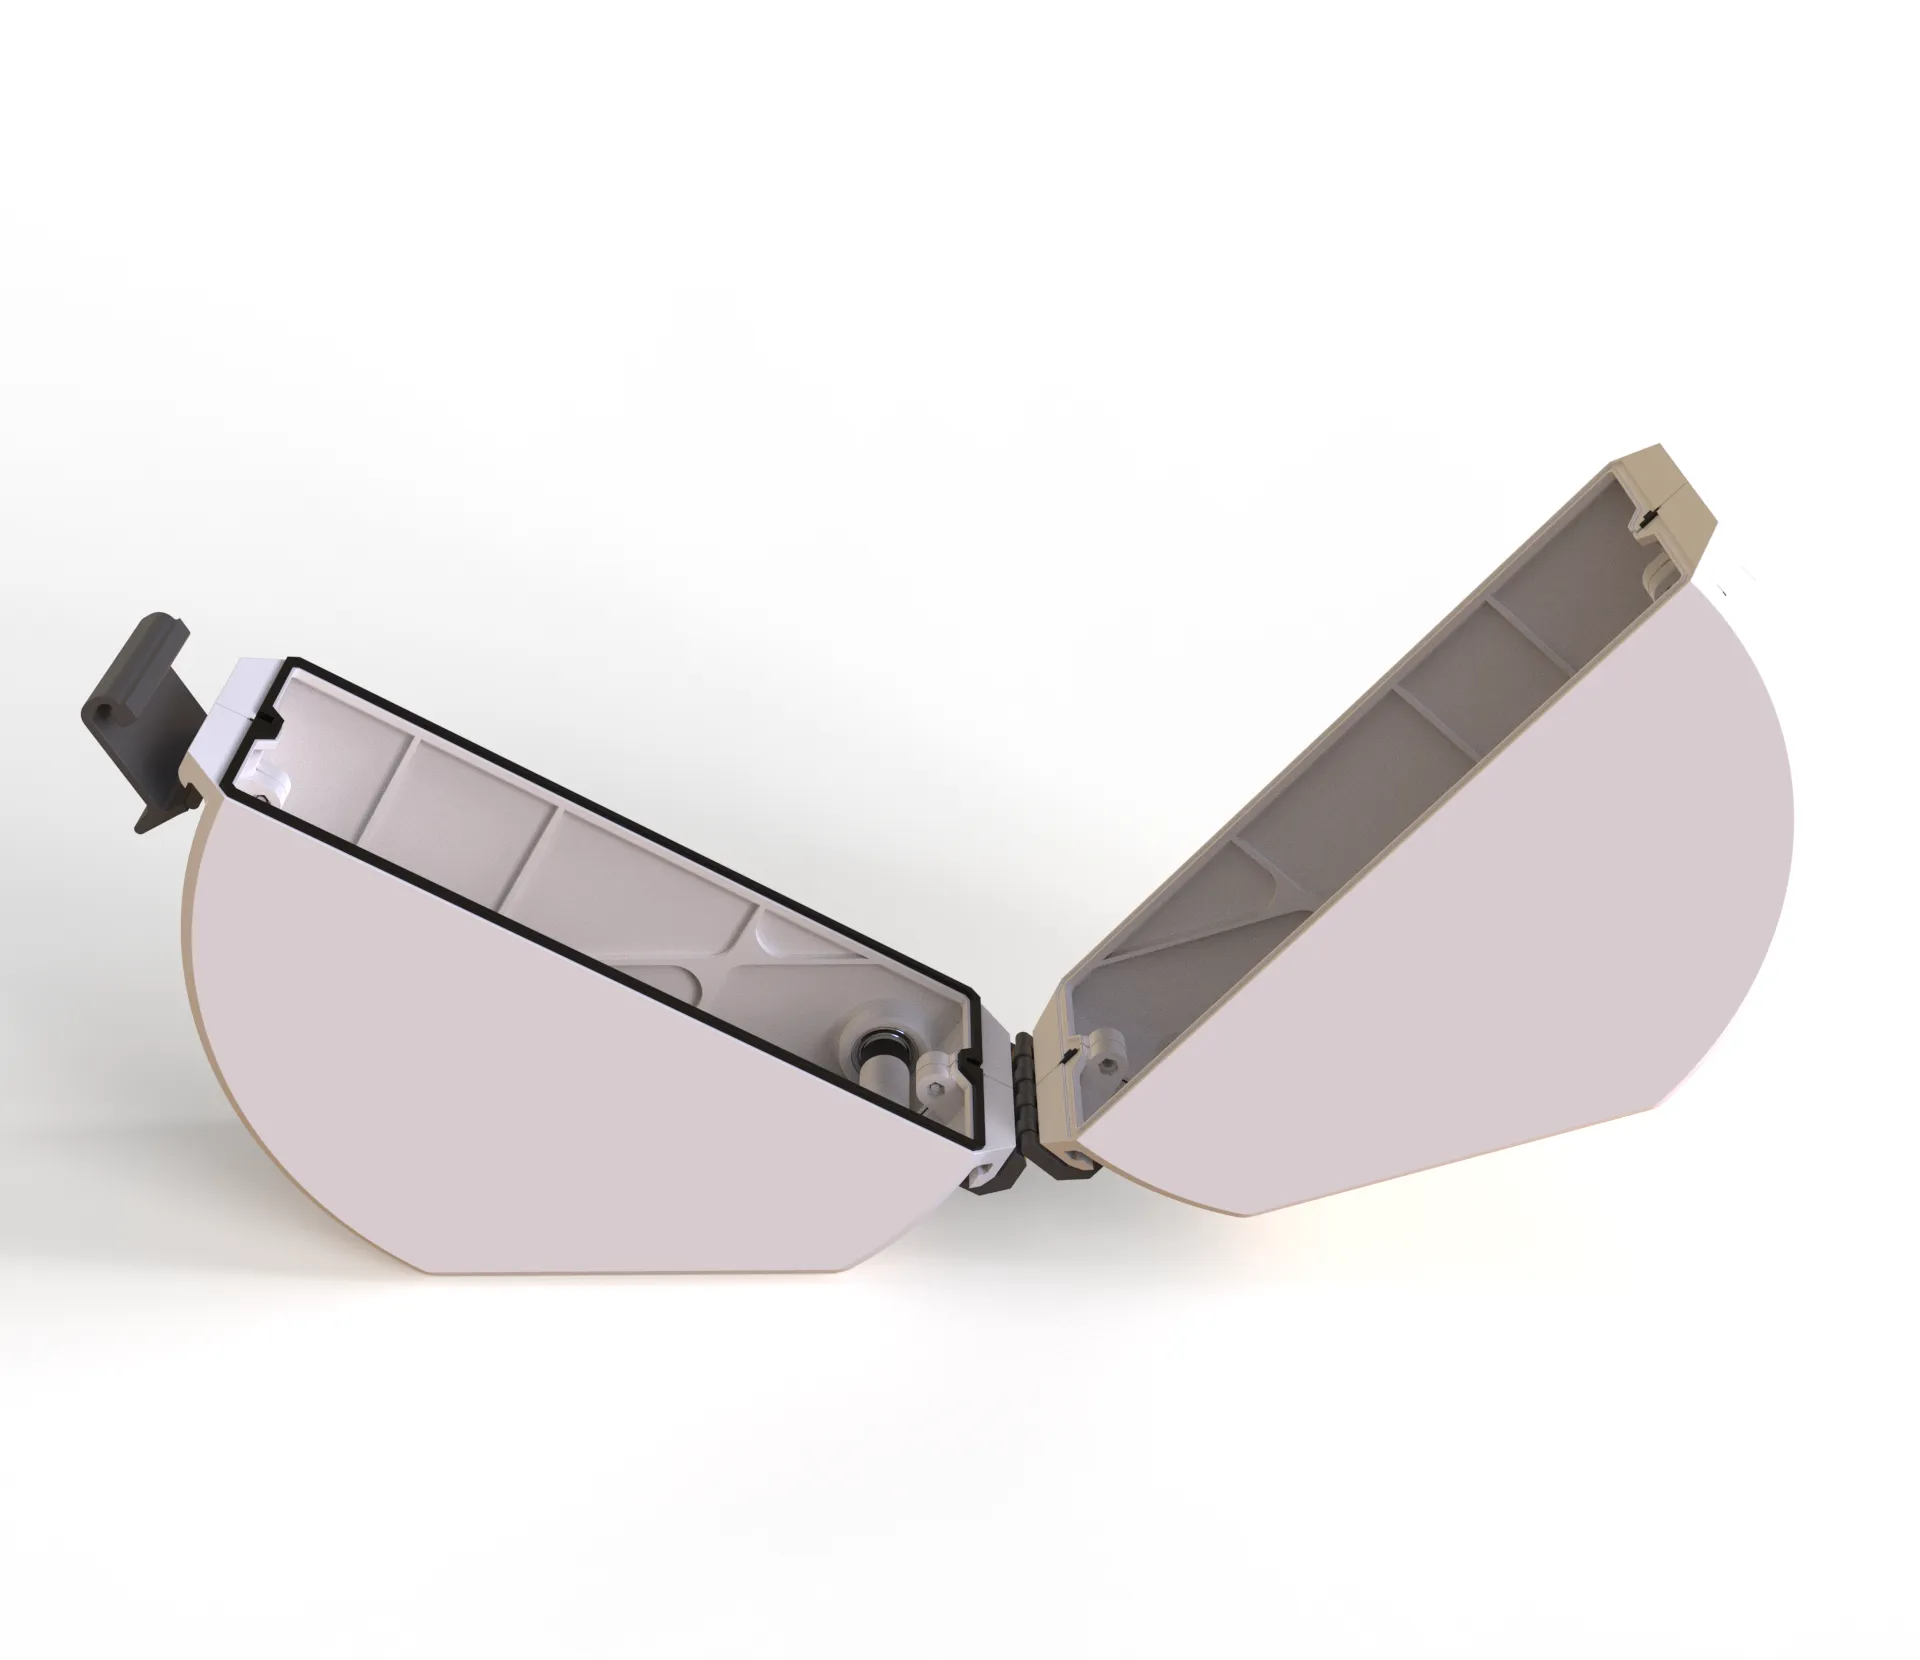
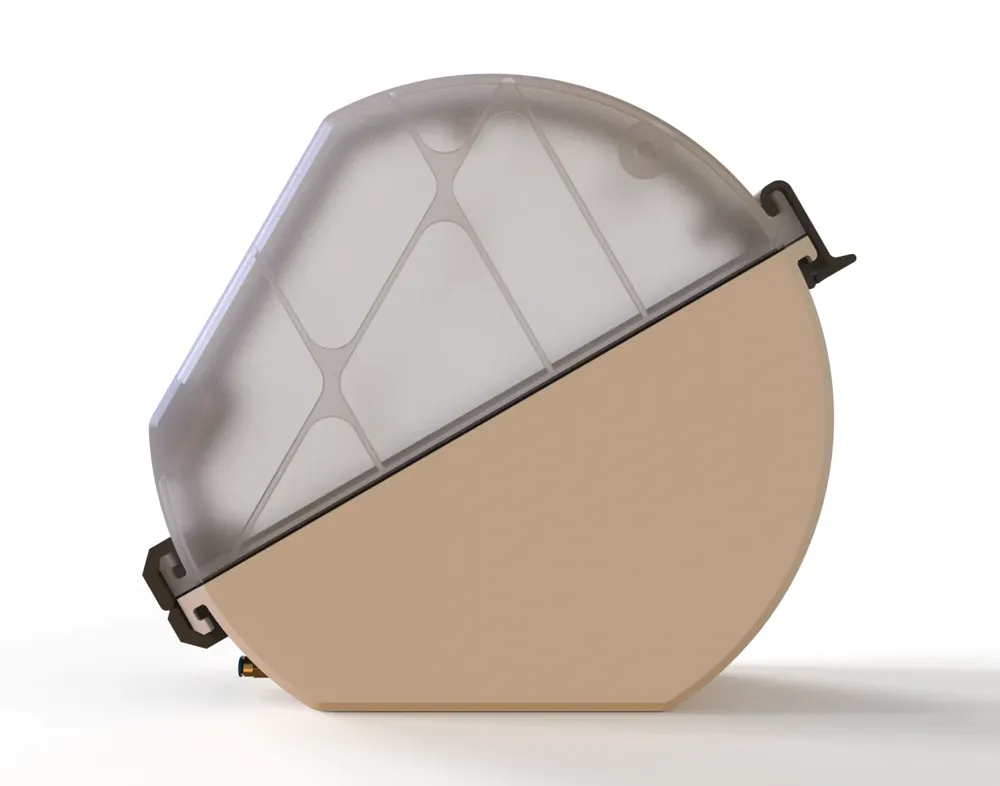
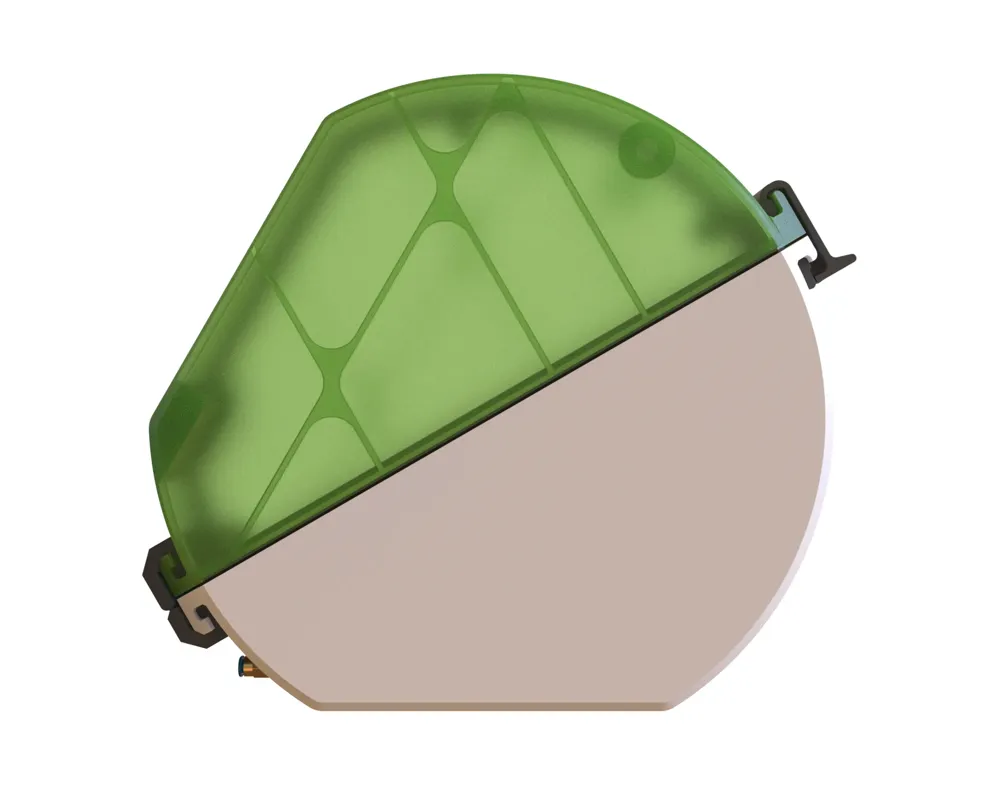
Translucent effect so you can see the interior
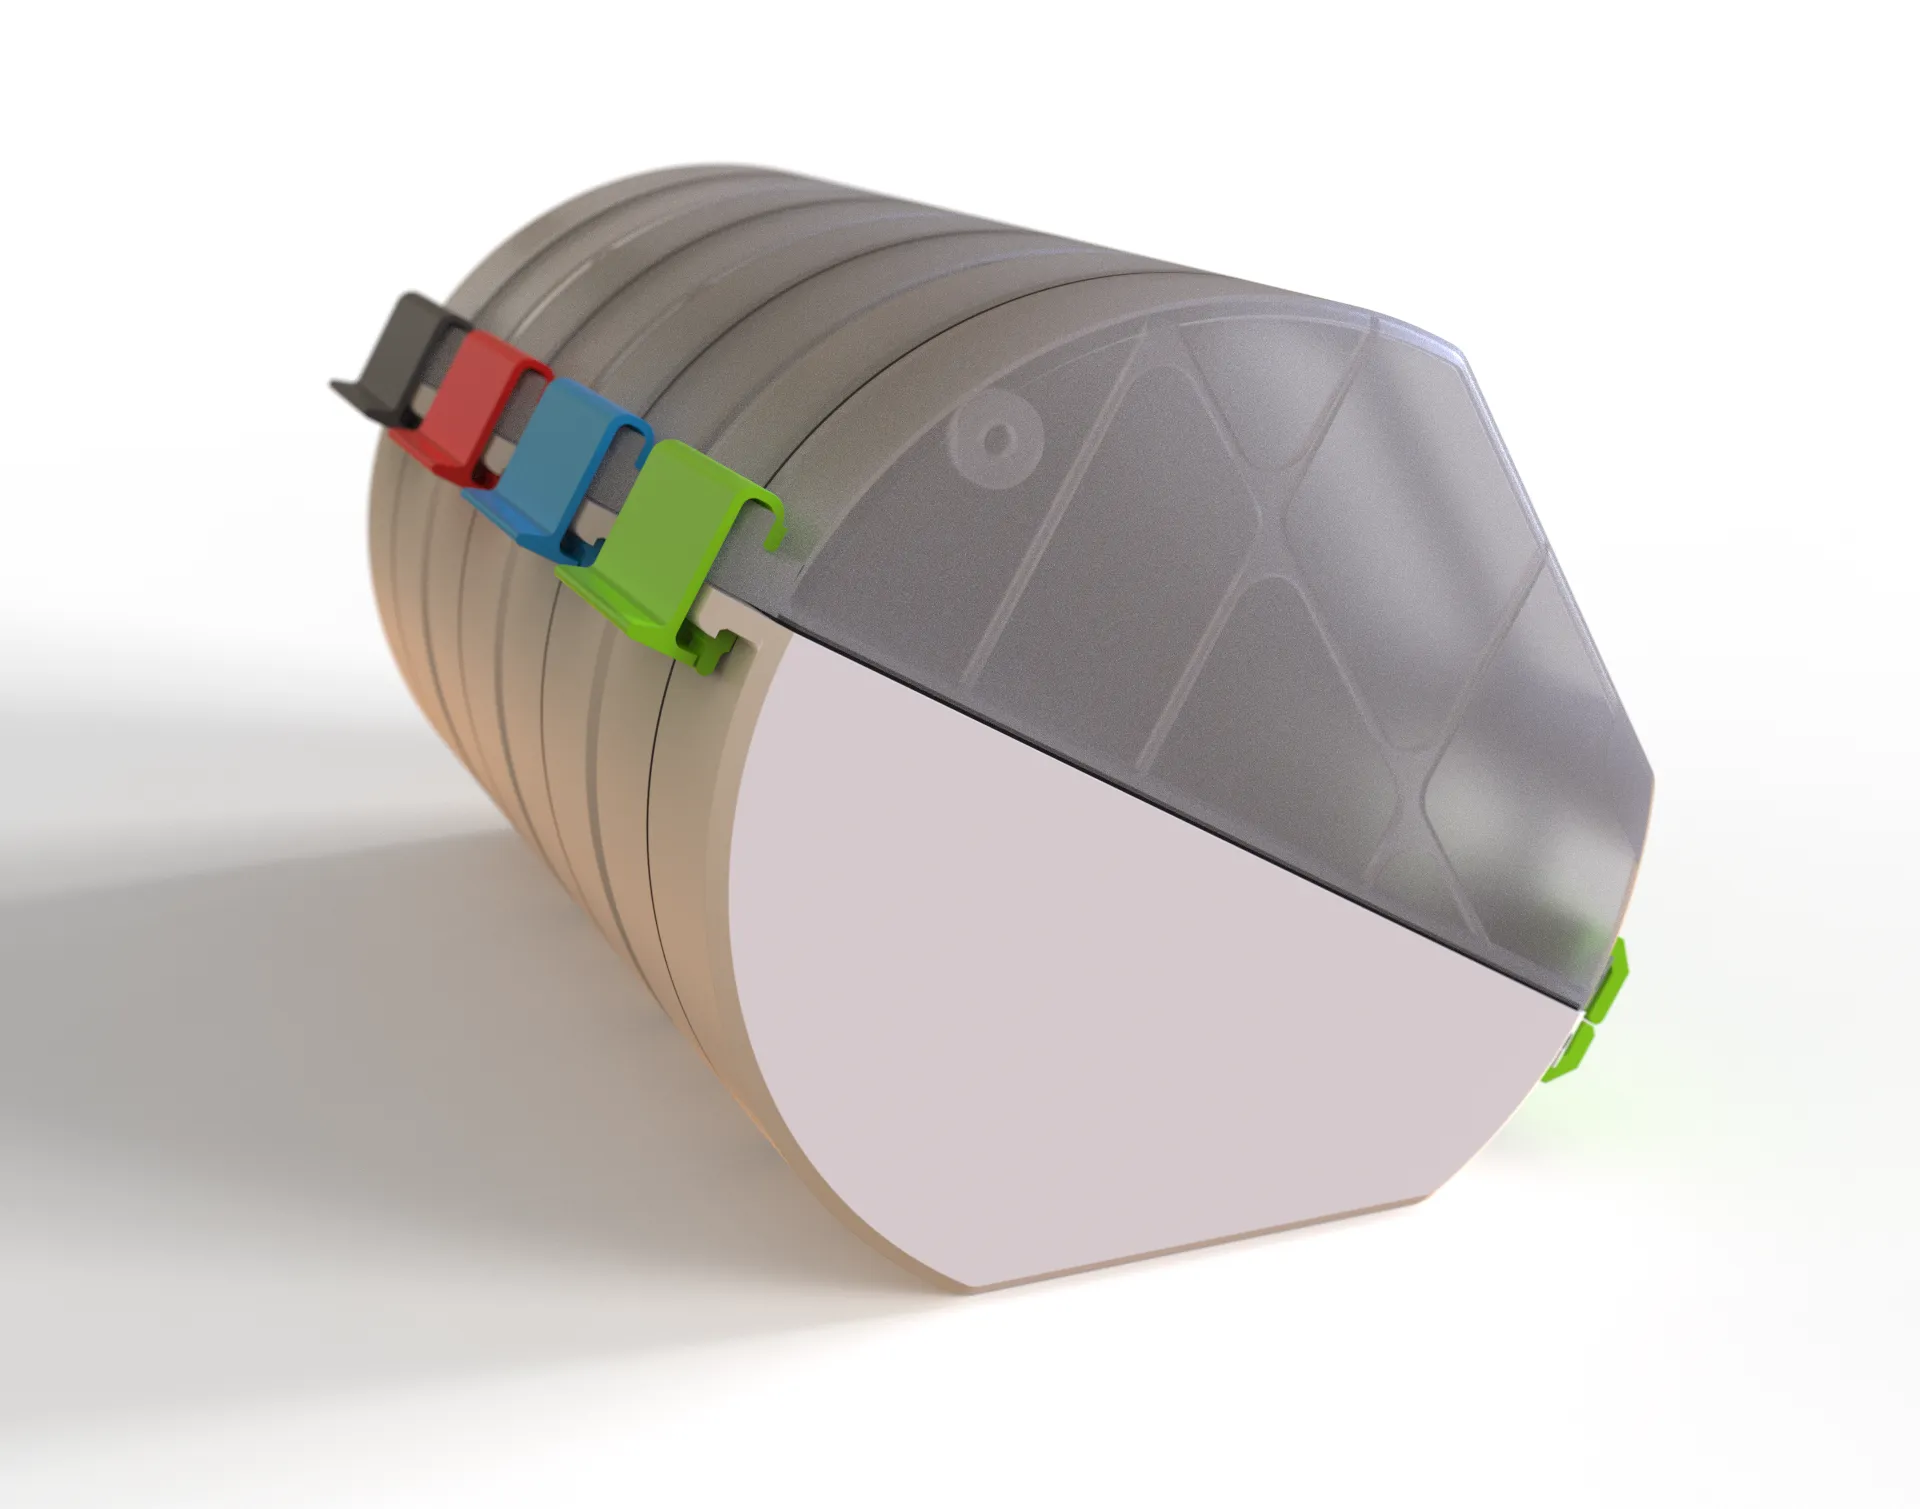
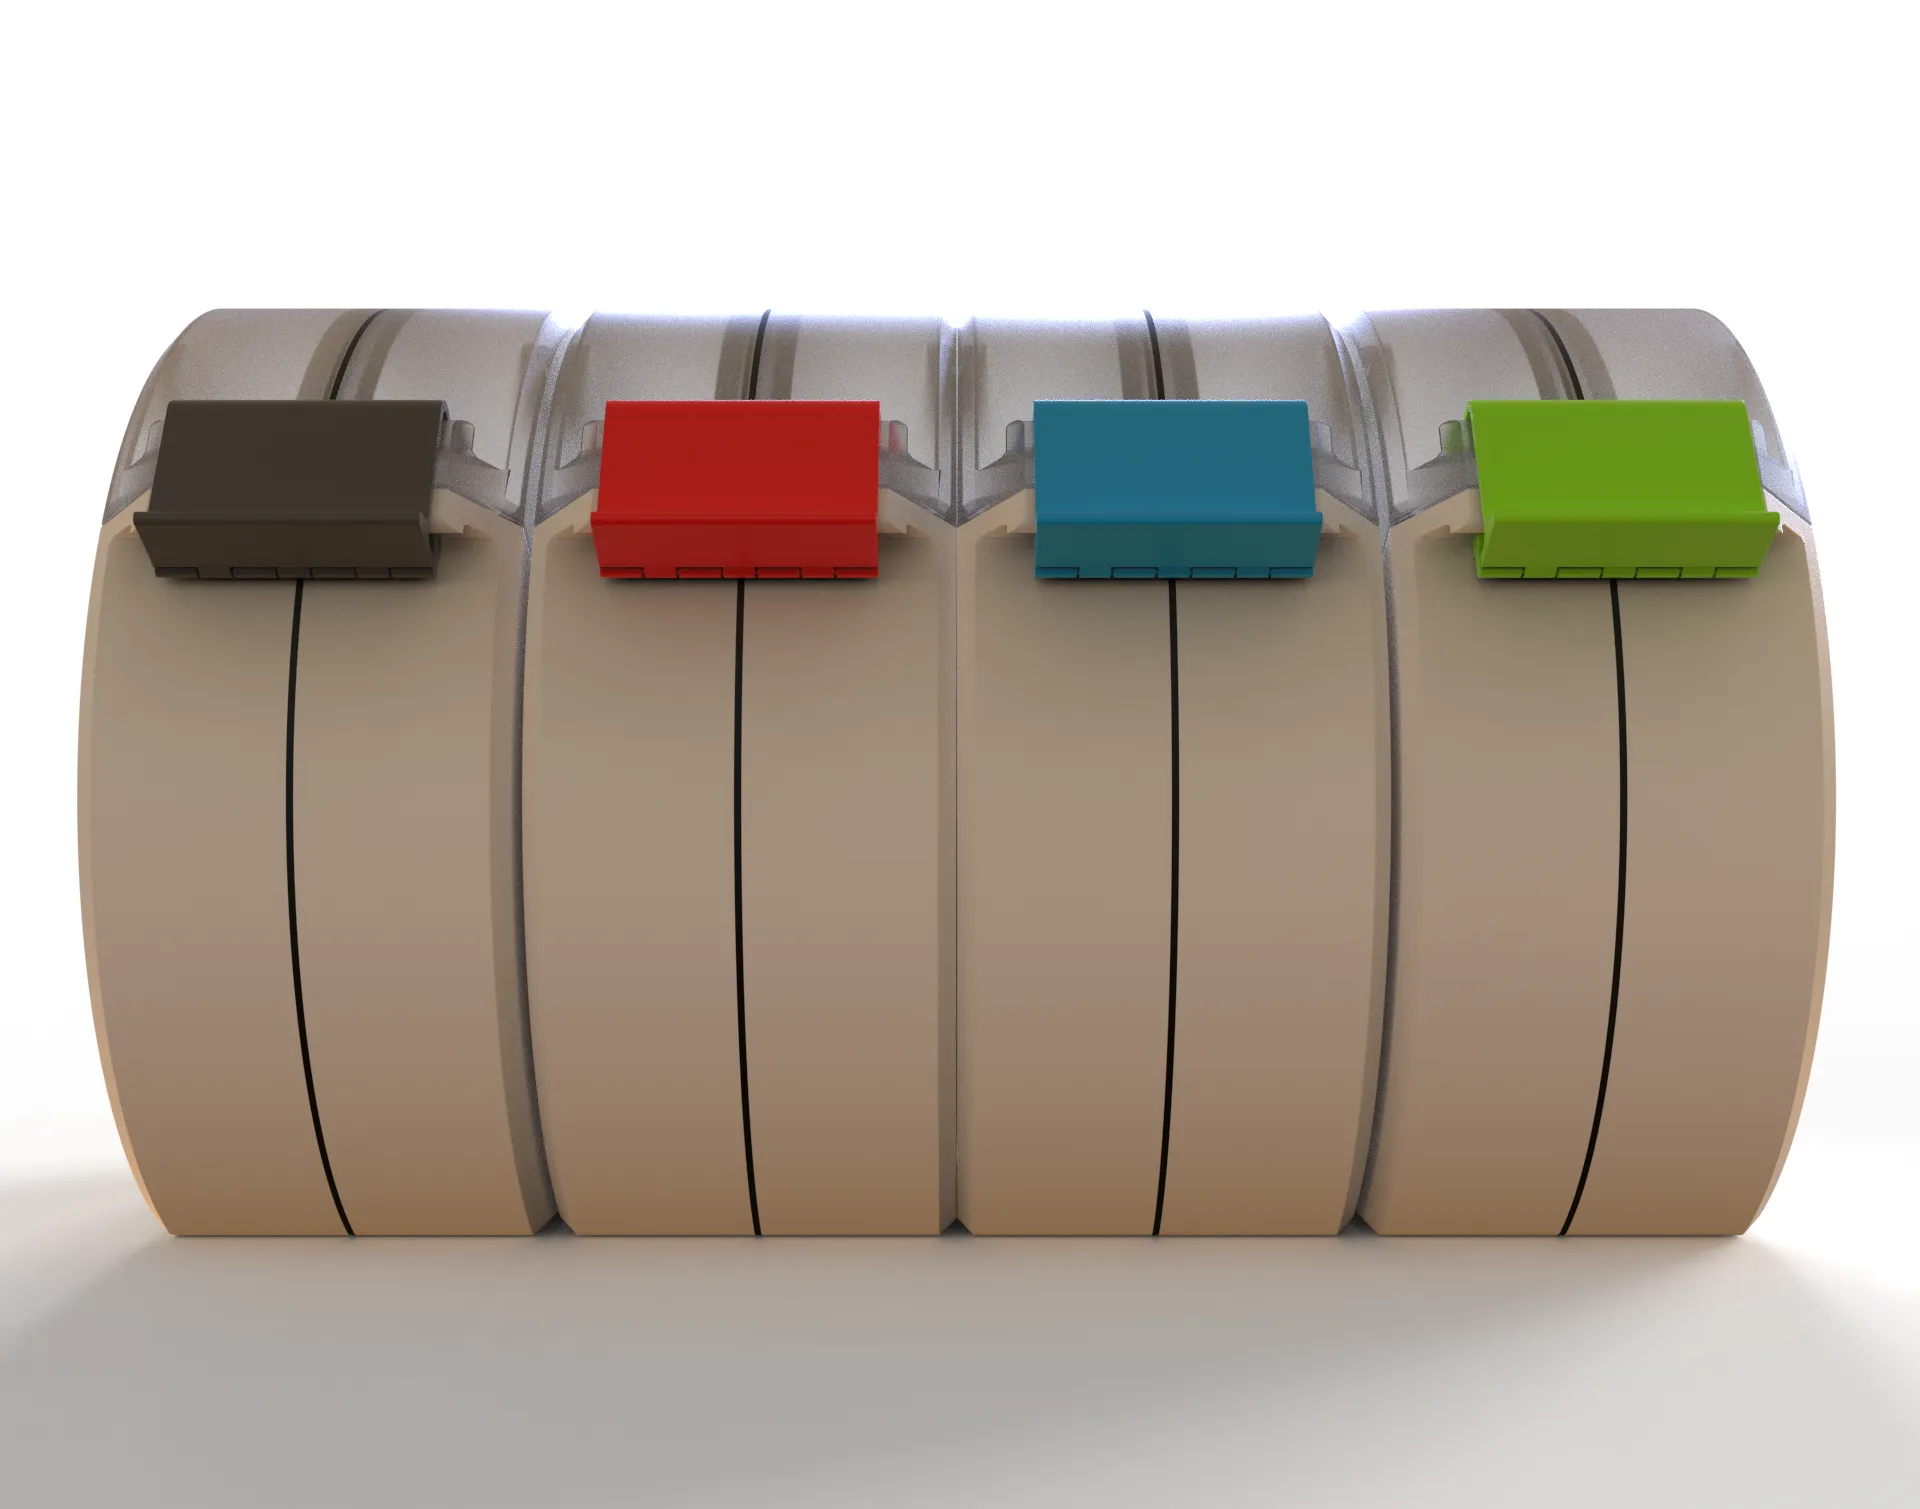
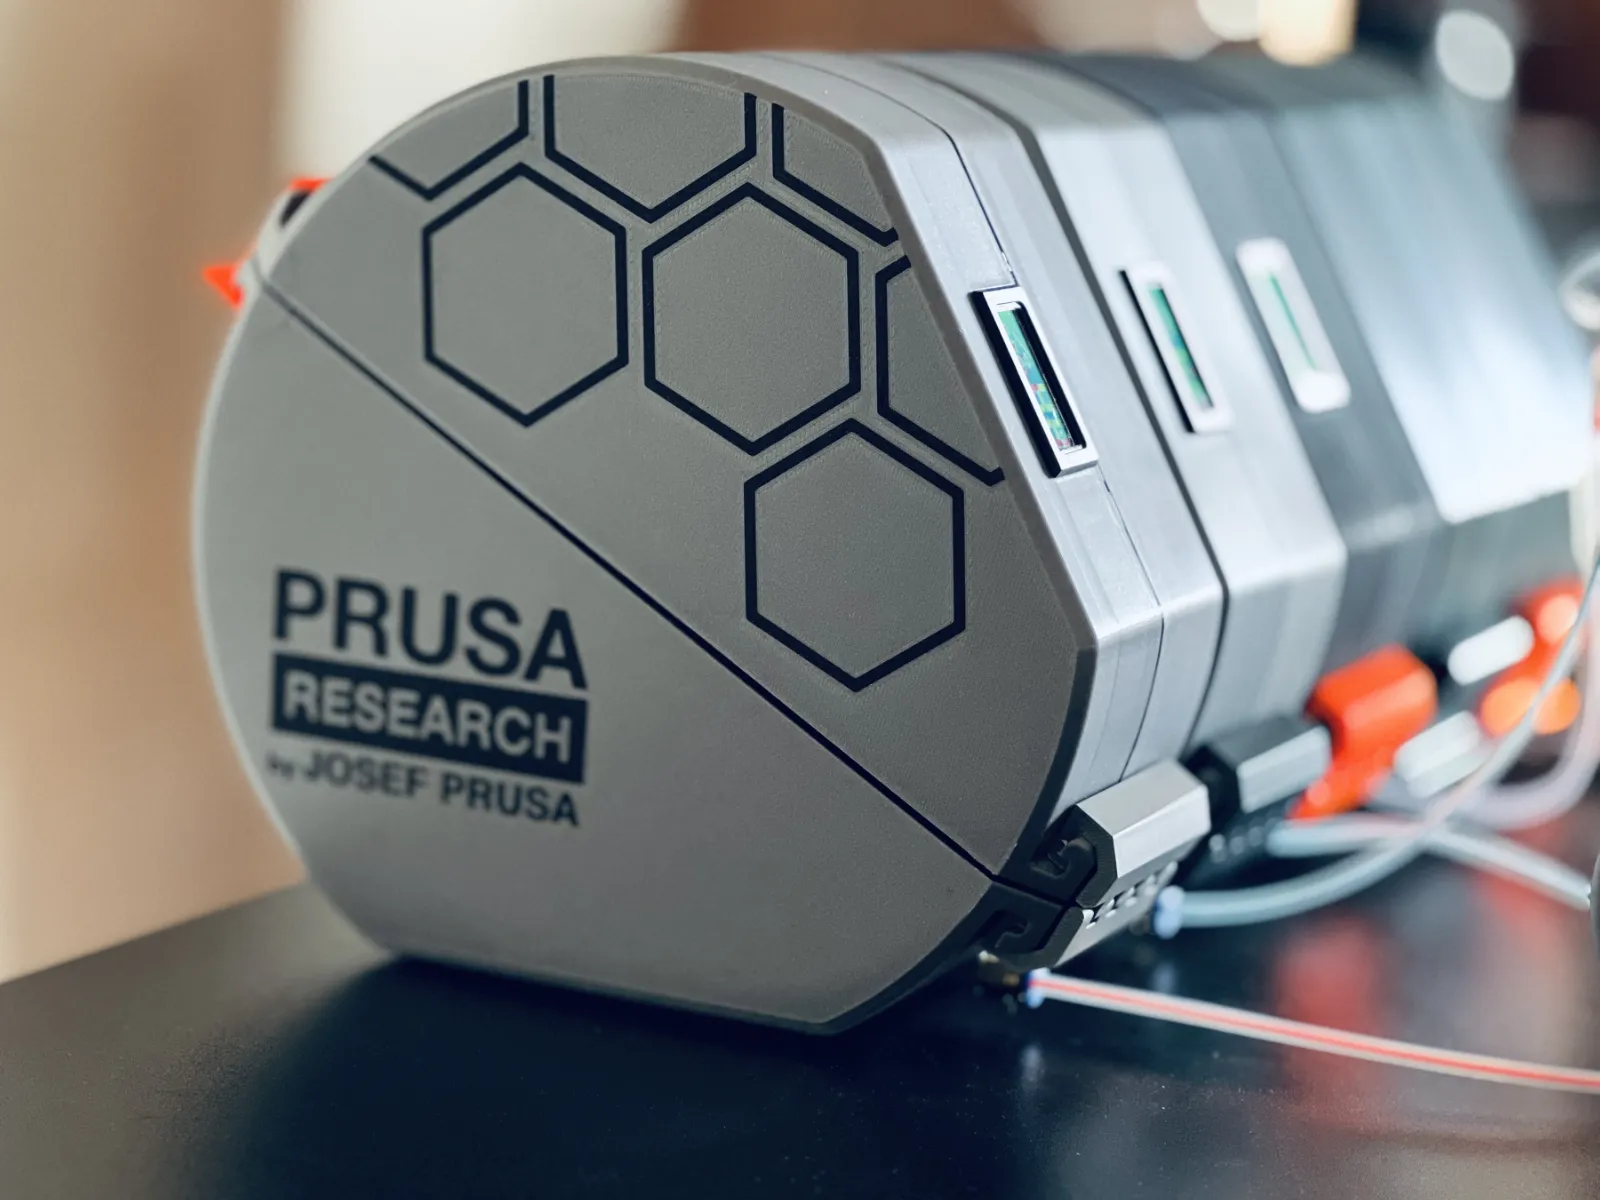
The closing clip can identify the color and the material (remember that you can add a parametric label)
And the version with a temperature and humidity sensor without any markings.
You can find this variation following these instructions:
- Sometimes I update or add more print profiles, they can be found under the section “Download STL/CAD Files”
Change Log
- Initial release
- Added a configuration for translucent filament “SpoolBox_translucent.3mf”
- Removed all traces of Bambu Lab Logo from the photos, renders and models.
- Deleted the version without the pneumatic adapter for the PTFE tube
- Added support that were missing for some parts.
- Added a Custom Label that you can specify, on the slicer, the name of the material. that label can be interchangeable.
Curious About My Tools? Check This Out!
For those of you who often ask about the tools I use to bring ideas to life, this article, The Journey From Idea To Object (Part I), offers some insights into the initial stages. It highlights the use of various tools, including software like Autodesk Fusion for CAD design, Blender for render and Bambu Studio for 3D printing preparation, and other... So, if you're curious about the software and hardware too, that I've incorporate in my workflow, take a look at the link for more details!" – Visit https://designrepcom.com/ for much more.
License

You shall not share, sub-license, sell, rent, host, transfer, or distribute in any way the digital or 3D printed versions of this object, nor any other derivative work of this object in its digital or physical format (including - but not limited to - remixes of this object, and hosting on other digital platforms). The objects may not be used without permission in any way whatsoever in which you charge money, or collect fees.


Comment & Rating (167)