Bissell AirRam 19841 Brush Drive Gear


Print Profile(1)

Description
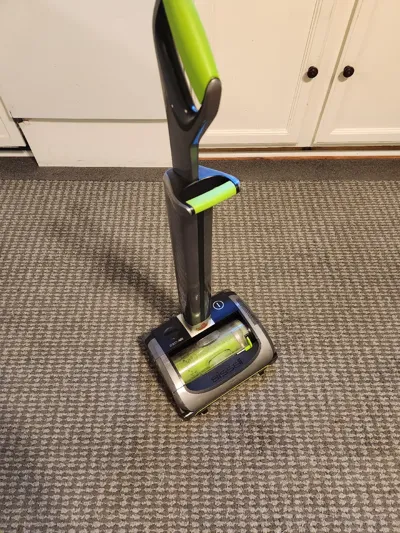
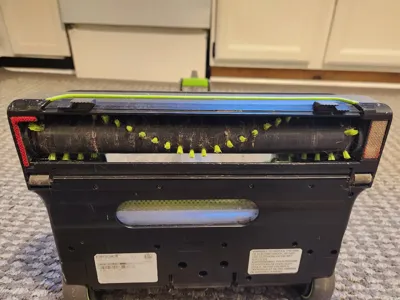
This is specifically for the Bissell AirRam 19841 (shown in pictures 4 and 5). As far as I know, this is the exact same vacuum as the Gtech AirRAM 2, so it should also work. But I do not have that vacuum, so I cannot guarantee it will work.
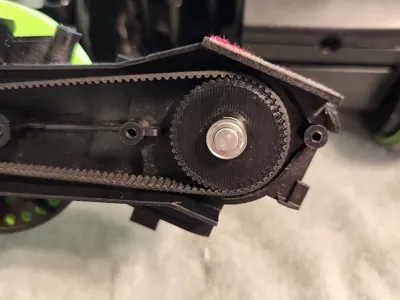
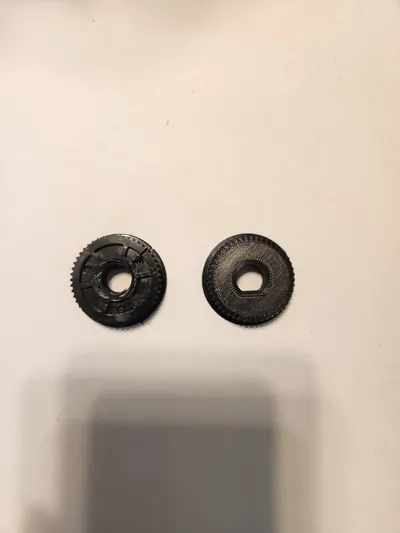
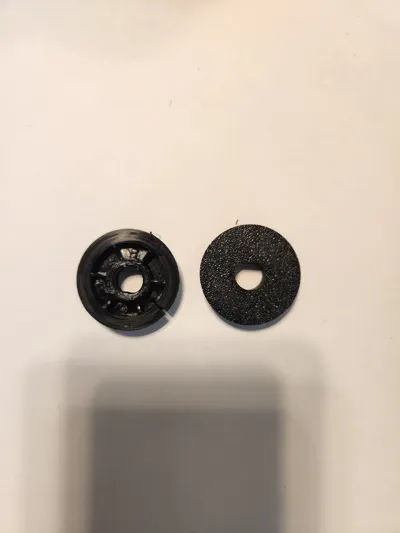
I recently got a used Bissell AirRam 19841 for quite cheap because the brush was not spinning. After opening up the vacuum, I noticed the original plastic brush drive gear was cracked and melted (left gear in pictures 2 and 3). I had a hard time finding a replacement online, so I whipped up this quick replacement (right gear in pictures 2 and 3) and it dropped right in. Not perfect, but now the brush spins! I'll update if it doesn't last long, and will probably tweak the design to make it a bit better. Hope this helps someone else!
Disassembly and replacement:
You will need a few hole punches, a long T10 Torx/star bit driver (some of the screws are set very deep from the surface, so a regular bit driver will not reach), and a regular hammer or mallet (it will need to have some weight to punch out the holding pin for the drive gear, so a dedicated pin punch mallet wasn't heavy enough in my case). I used Harbor Freight's 8 piece pin punch set (https://www.harborfreight.com/8-piece-punch-set-93424.html) and 6 piece star bit screwdriver set (https://www.harborfreight.com/6-piece-star-bit-screwdriver-set-94757.html) along with a regular hammer I already had. I also used parts from a bearing press kit to support the brush gear assembly as I drove the pin out, but this could also be done with a bench vise, for instance. This was all I needed for this repair.
I used these videos to take apart the vacuum and get to the broken gear:
Once you've removed the broken gear, simply reverse the assembly steps, swapping in the new printed gear. The alignment isn't perfect, and there is a bit of wiggle room (I probably need to make the inner D profile a bit smaller to press fit better) but your brush should now spin! I hope this helps save more otherwise good vacuums from the trash.
Comment & Rating (0)