
theONE system - one system, all the solutions. External spool, filament guide, left side buffer/hub.


Print Profile(4)


Description
Hello guys,
this project was created to keep the printer in a small space (bookshelf, for example).
I designed a single system that takes up very little space and allows you to:
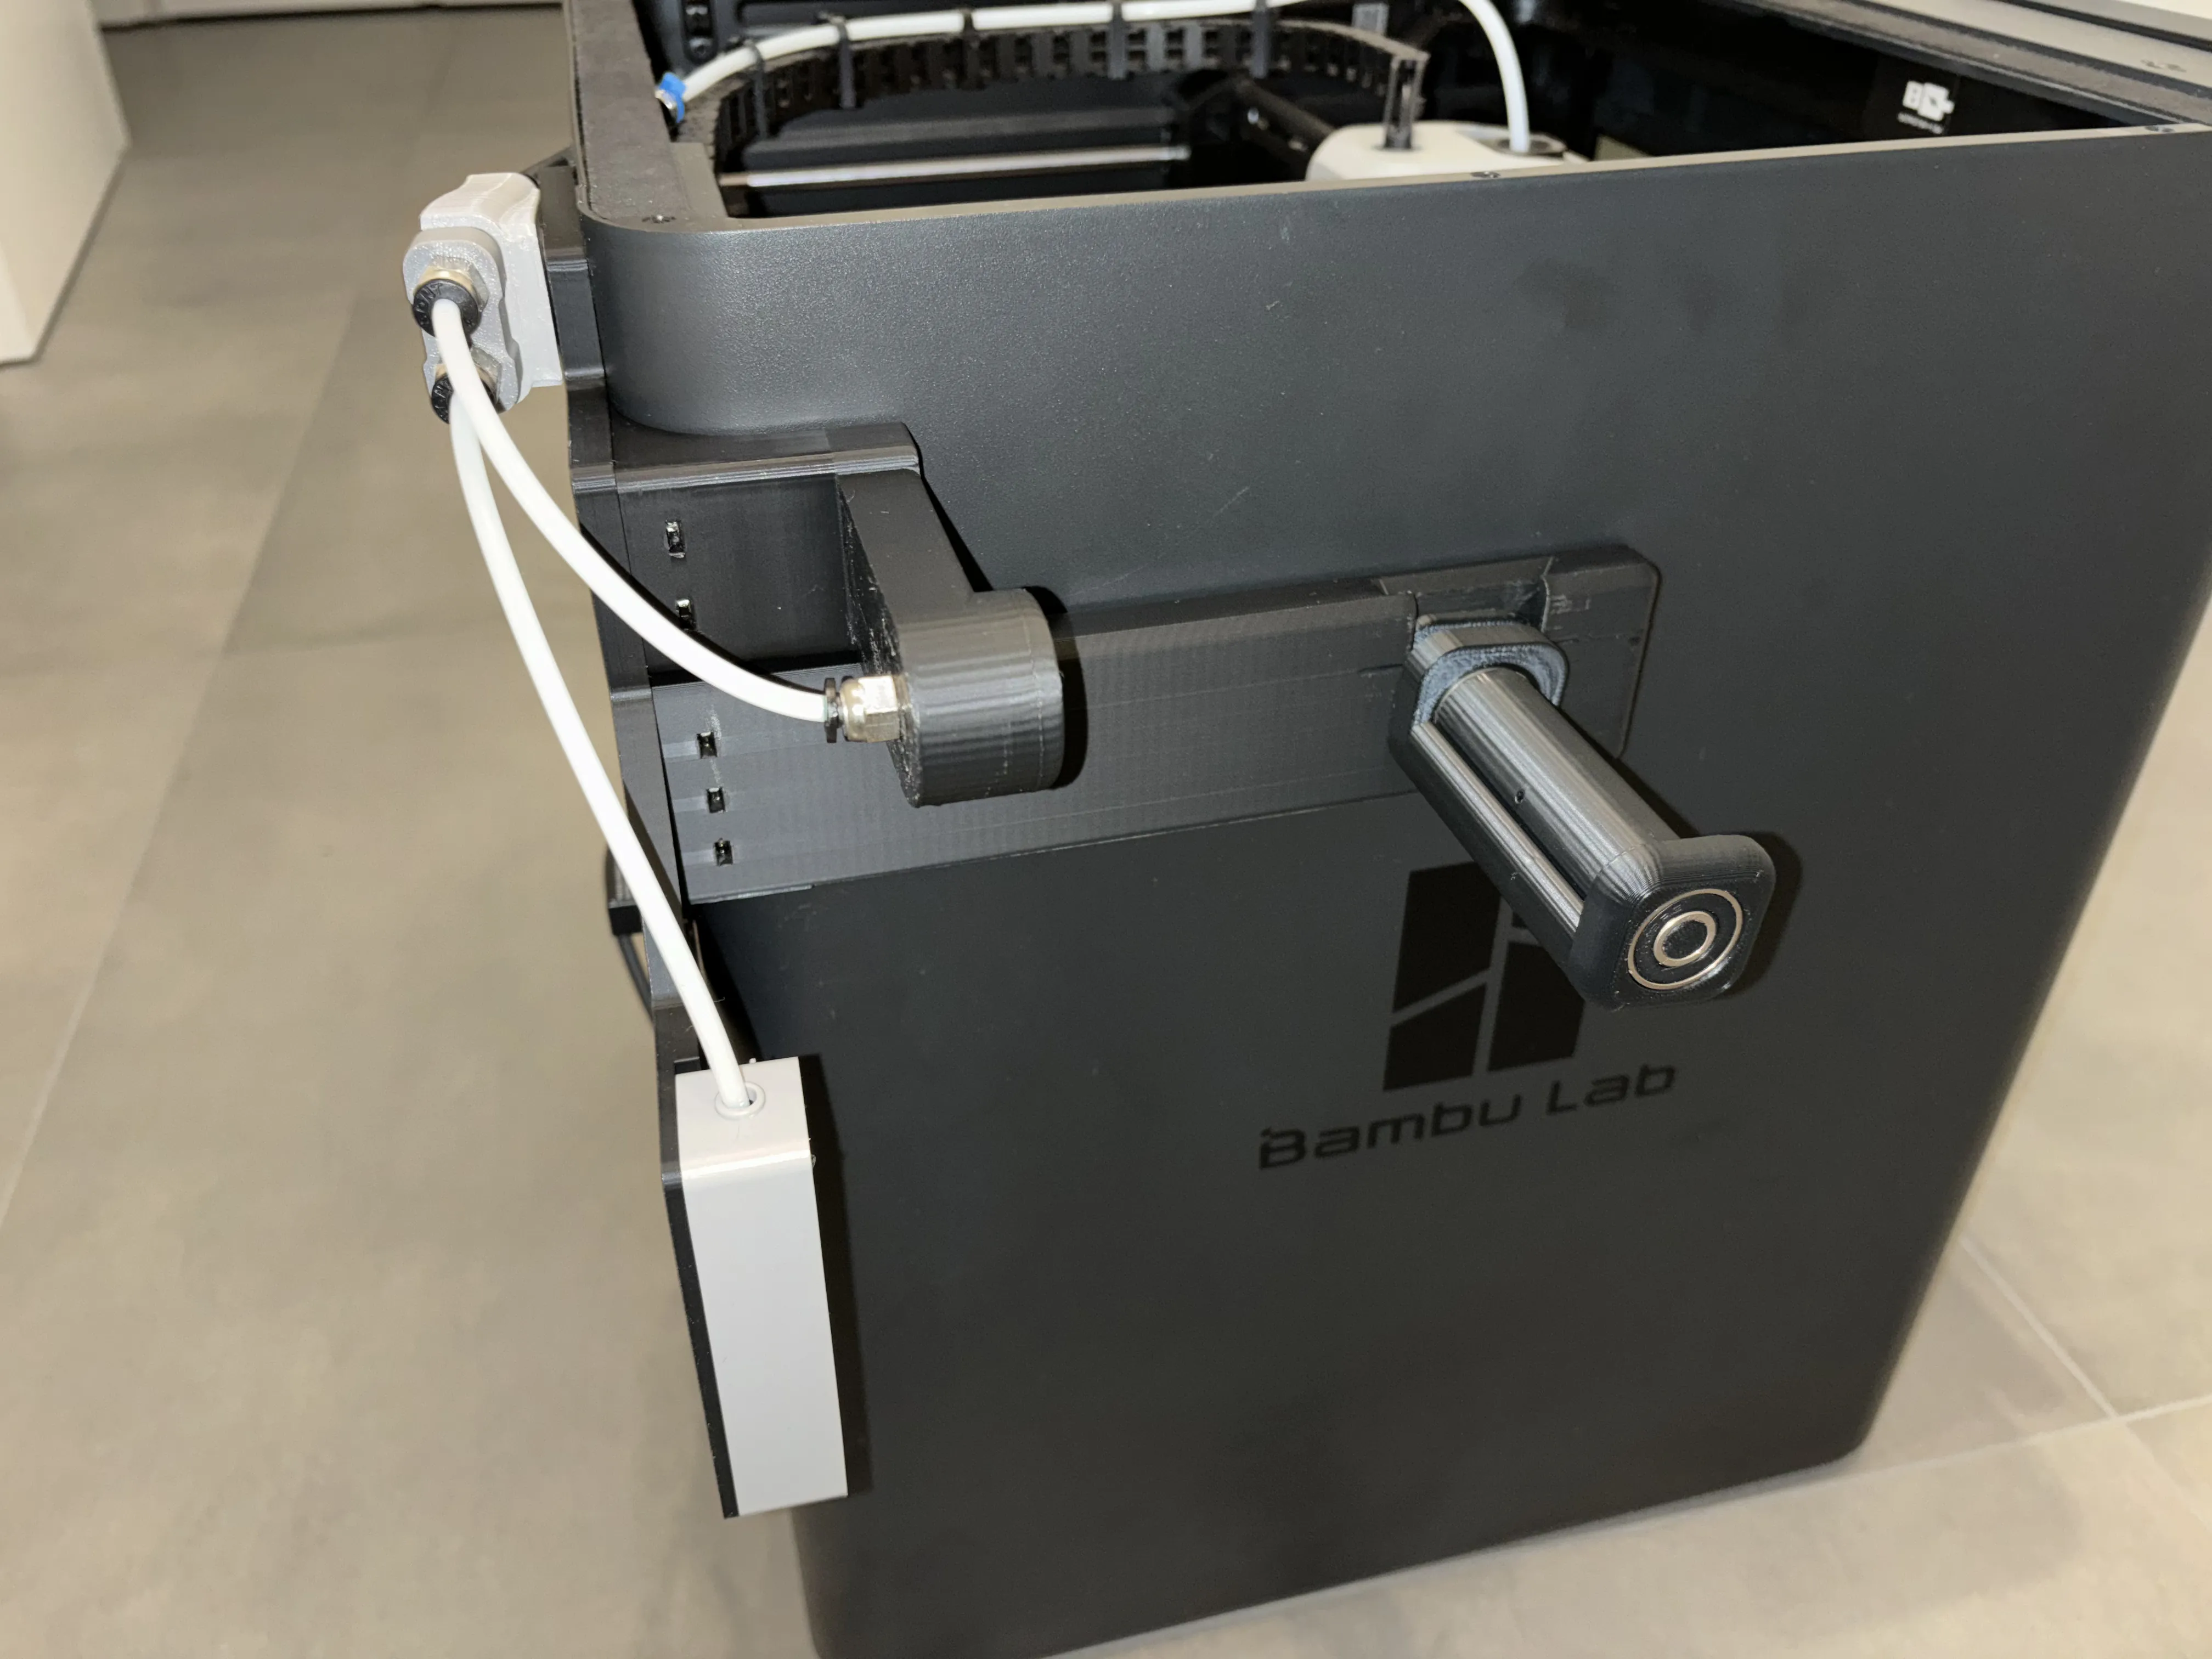
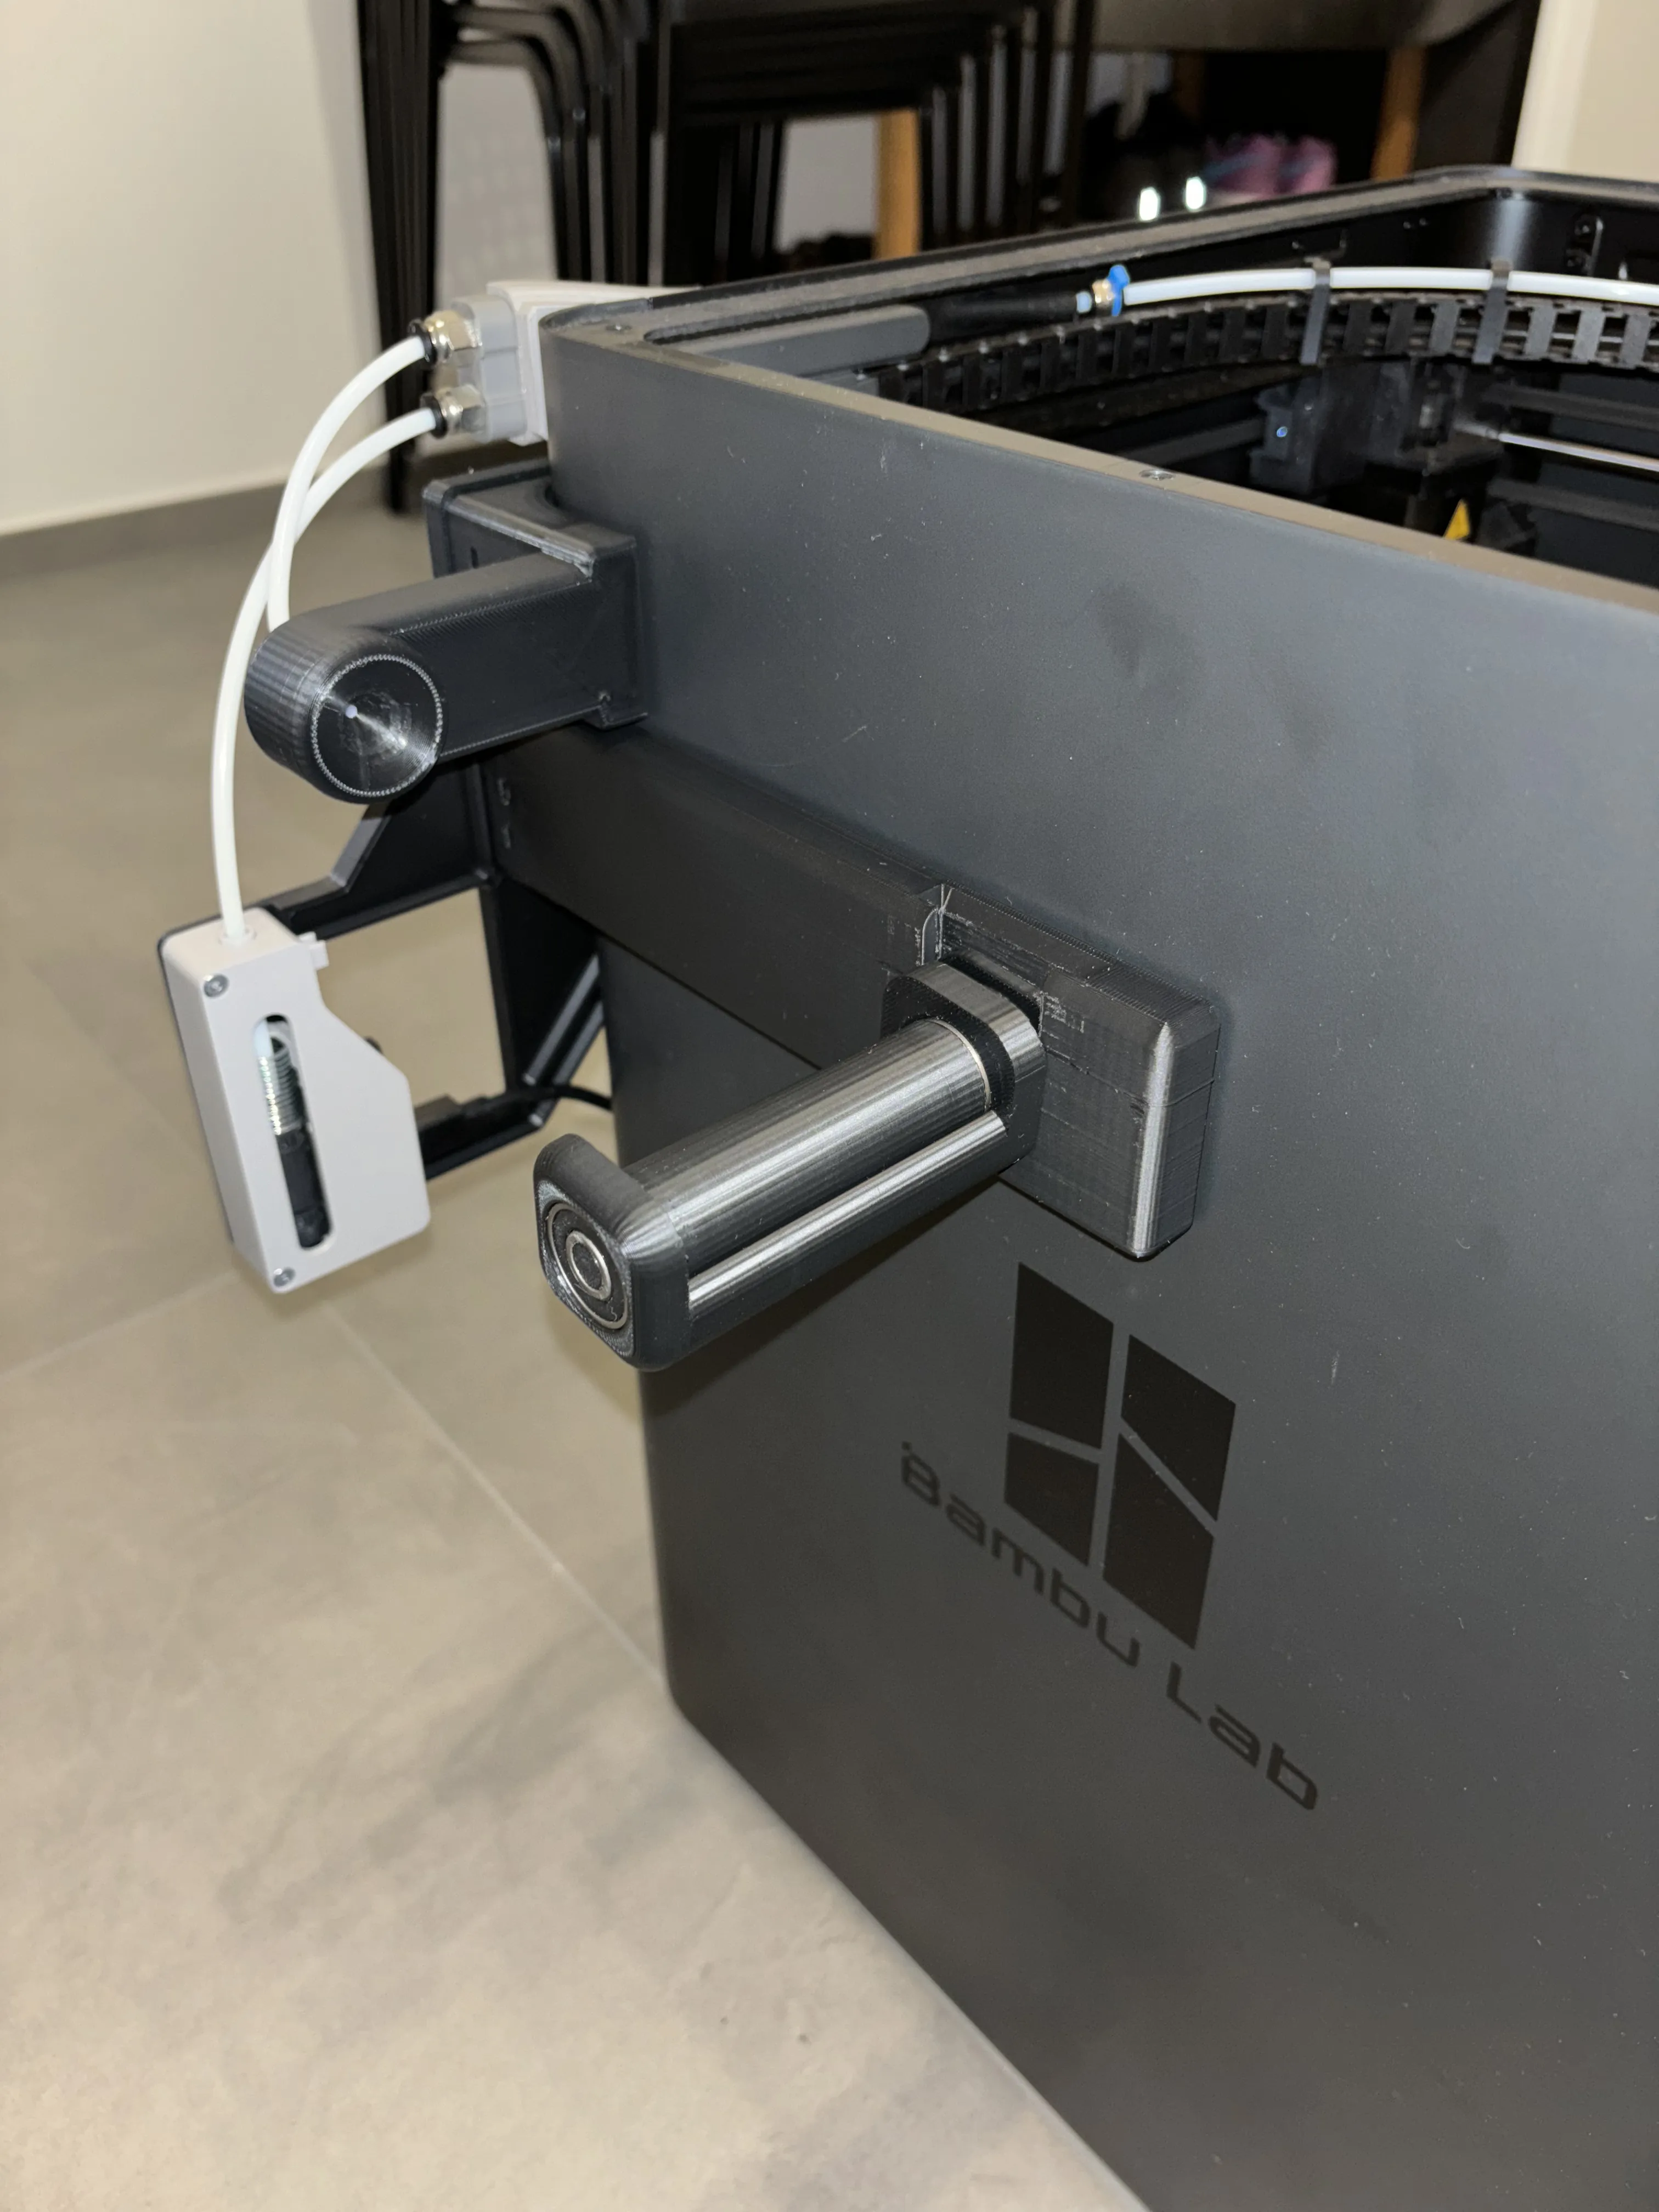
- move the AMS buffer to the side (reducing bends and cm of pipe);
- integrate the splitter with a simple 90 degree bend;
- include an arm that holds the external spool holder;
- integrate entrance for the outer material;
- make sure that the spool of external material can be inserted even though there is only 10 cm of space on the side;
- and much more, beacause the system is fully expansible.
Before starting with the project there are 3 important things you need to remember:
- this system integrates a support to connect an iconic splitter designed of another creator. You can still connect the splitter you want via the extra holes but, trust me, you should print this: https://makerworld.com/it/models/18174#profileId-17021
- I recommend you use theONE Roller instead of the original holder. Here you can find the link: https://makerworld.com/it/models/110455#profileId-118082
- please be careful: many of the pieces are large and must be printed without the auxiliary fan to avoid warping!
I've been testing the system for 3 months (with excellent incredible results). During this trial period, everything went perfectly. Everything runs smooth, never jams nor has any kind of problems.
Now I wanna give you a guide to assemble the system (you can find all the materials you will need on the slide 7):
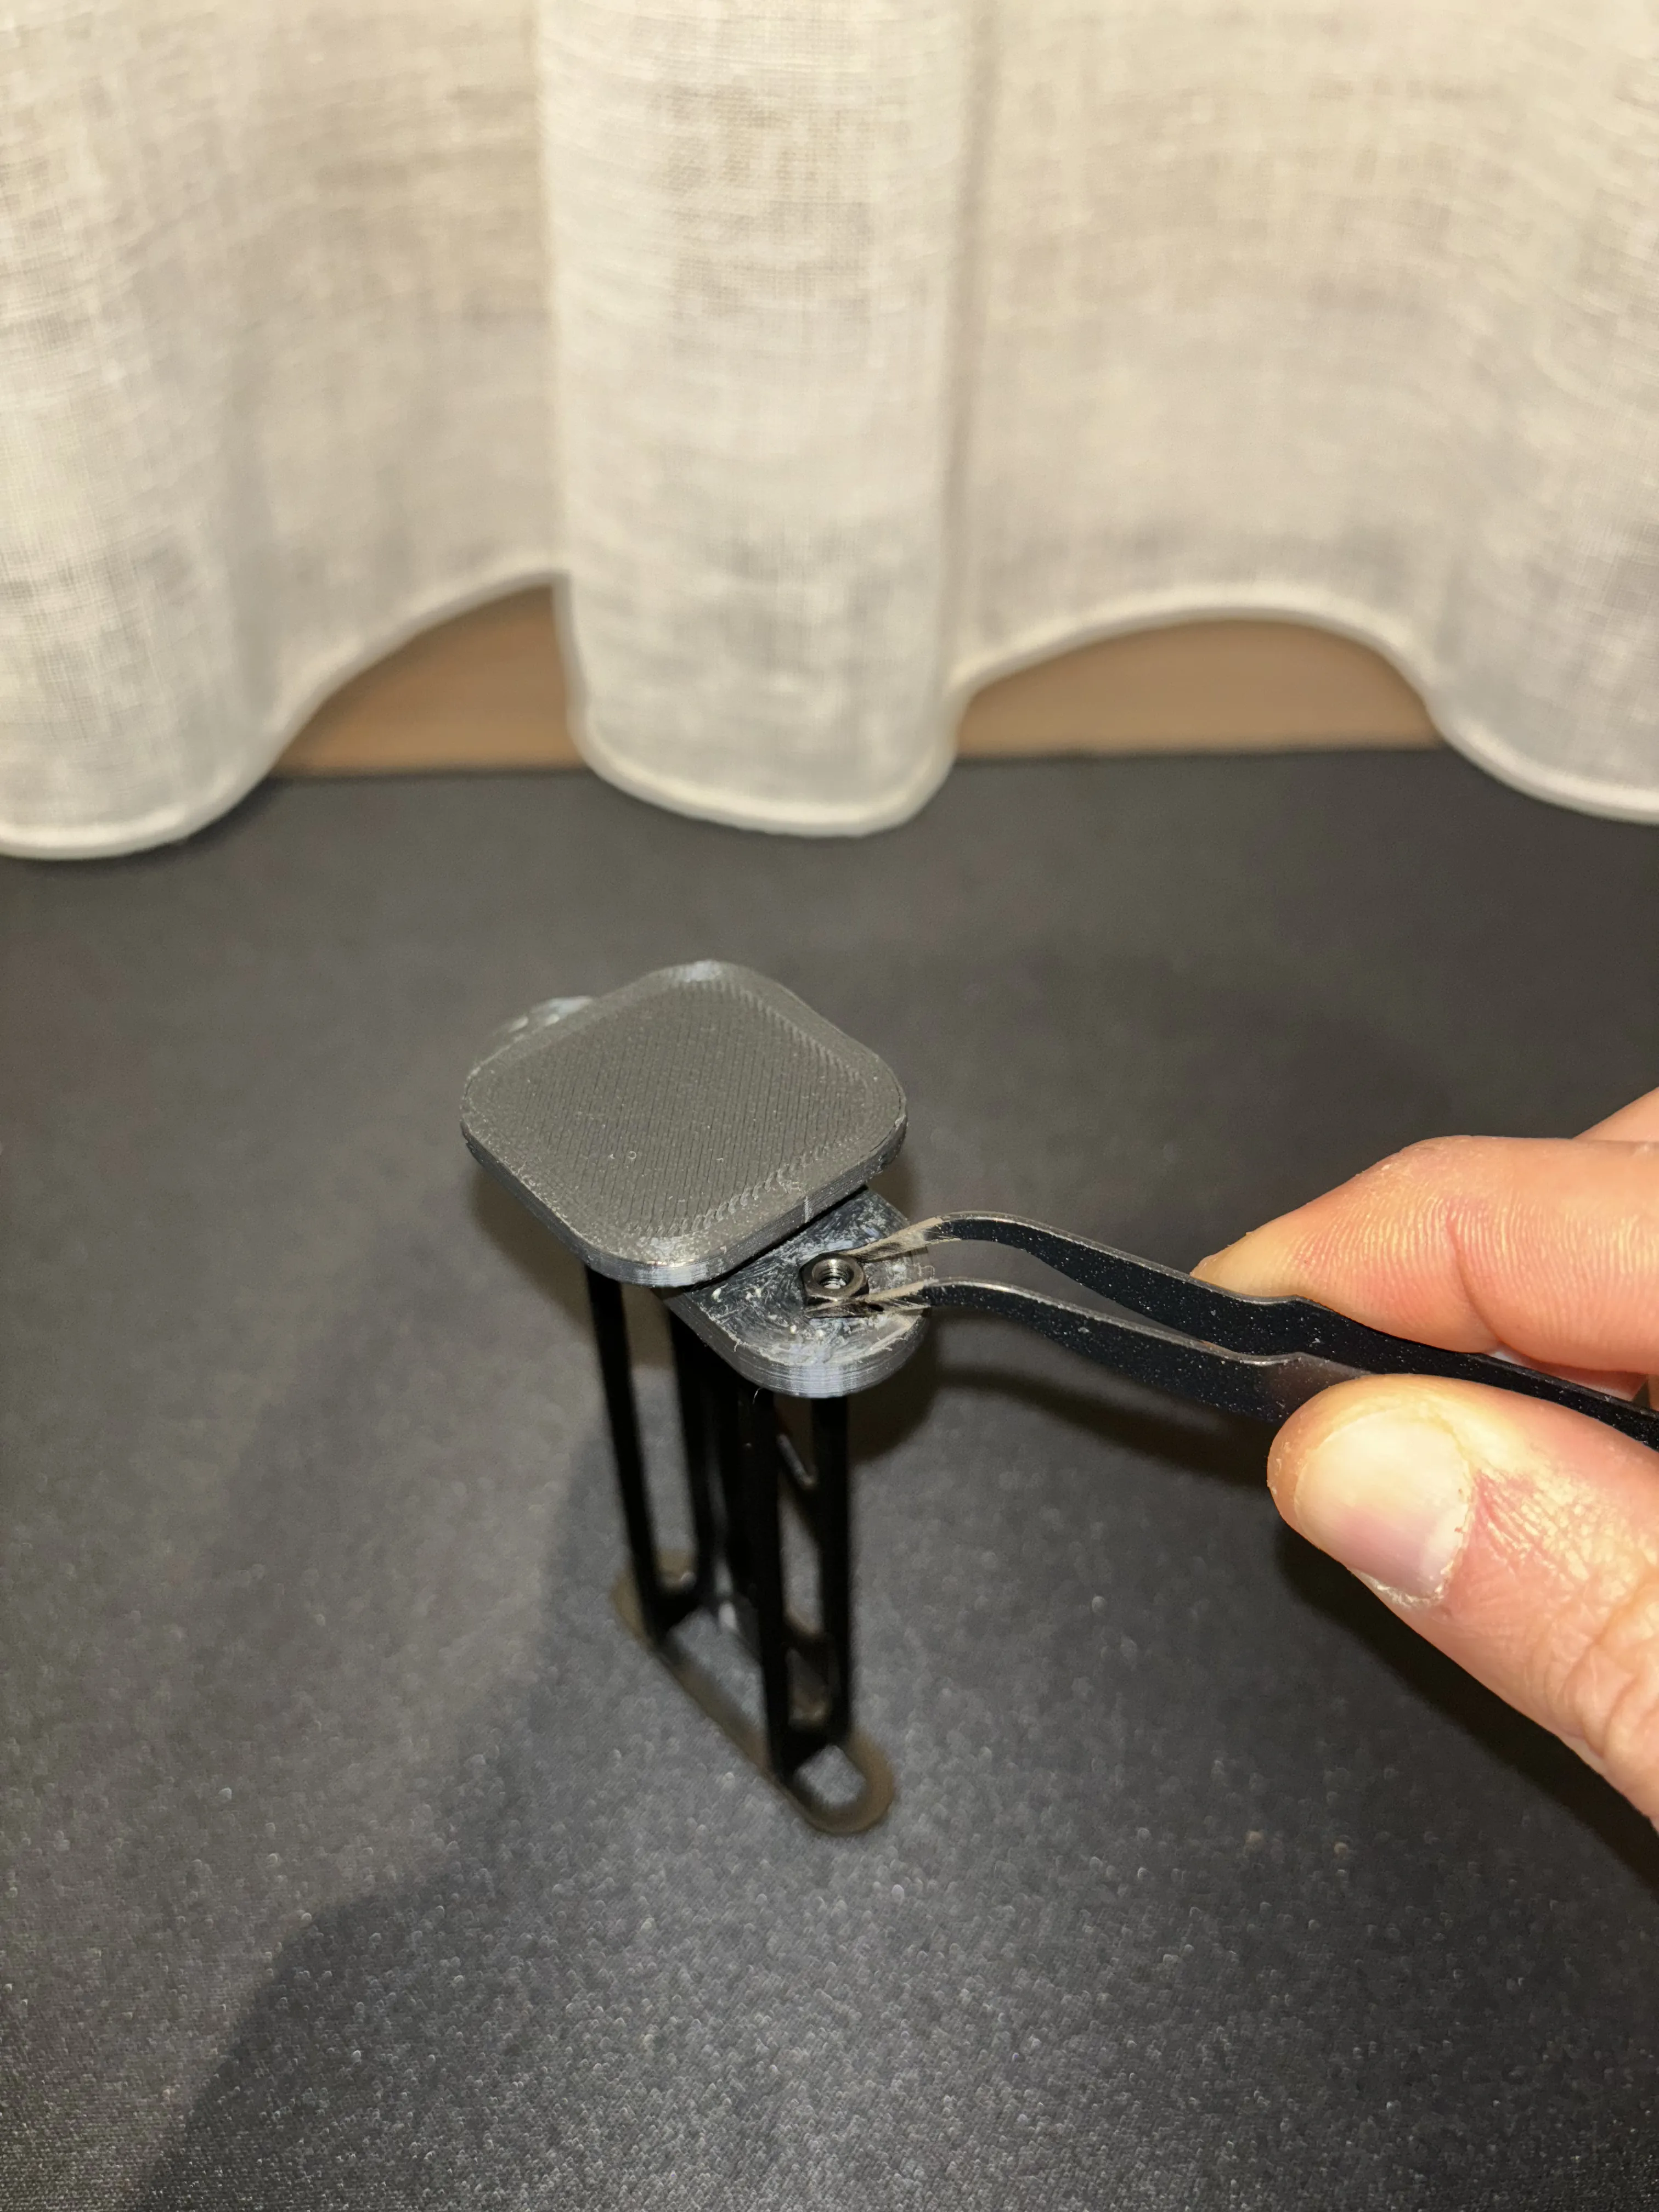
- first, after having printed everything, you will have to insert 5 nuts into the appropriate holes provided in the 2 arms. Use tweezers, heat the nuts and insert them until the end (be careful). I also add a little drop of epoxy glue in the holes to fix everything.
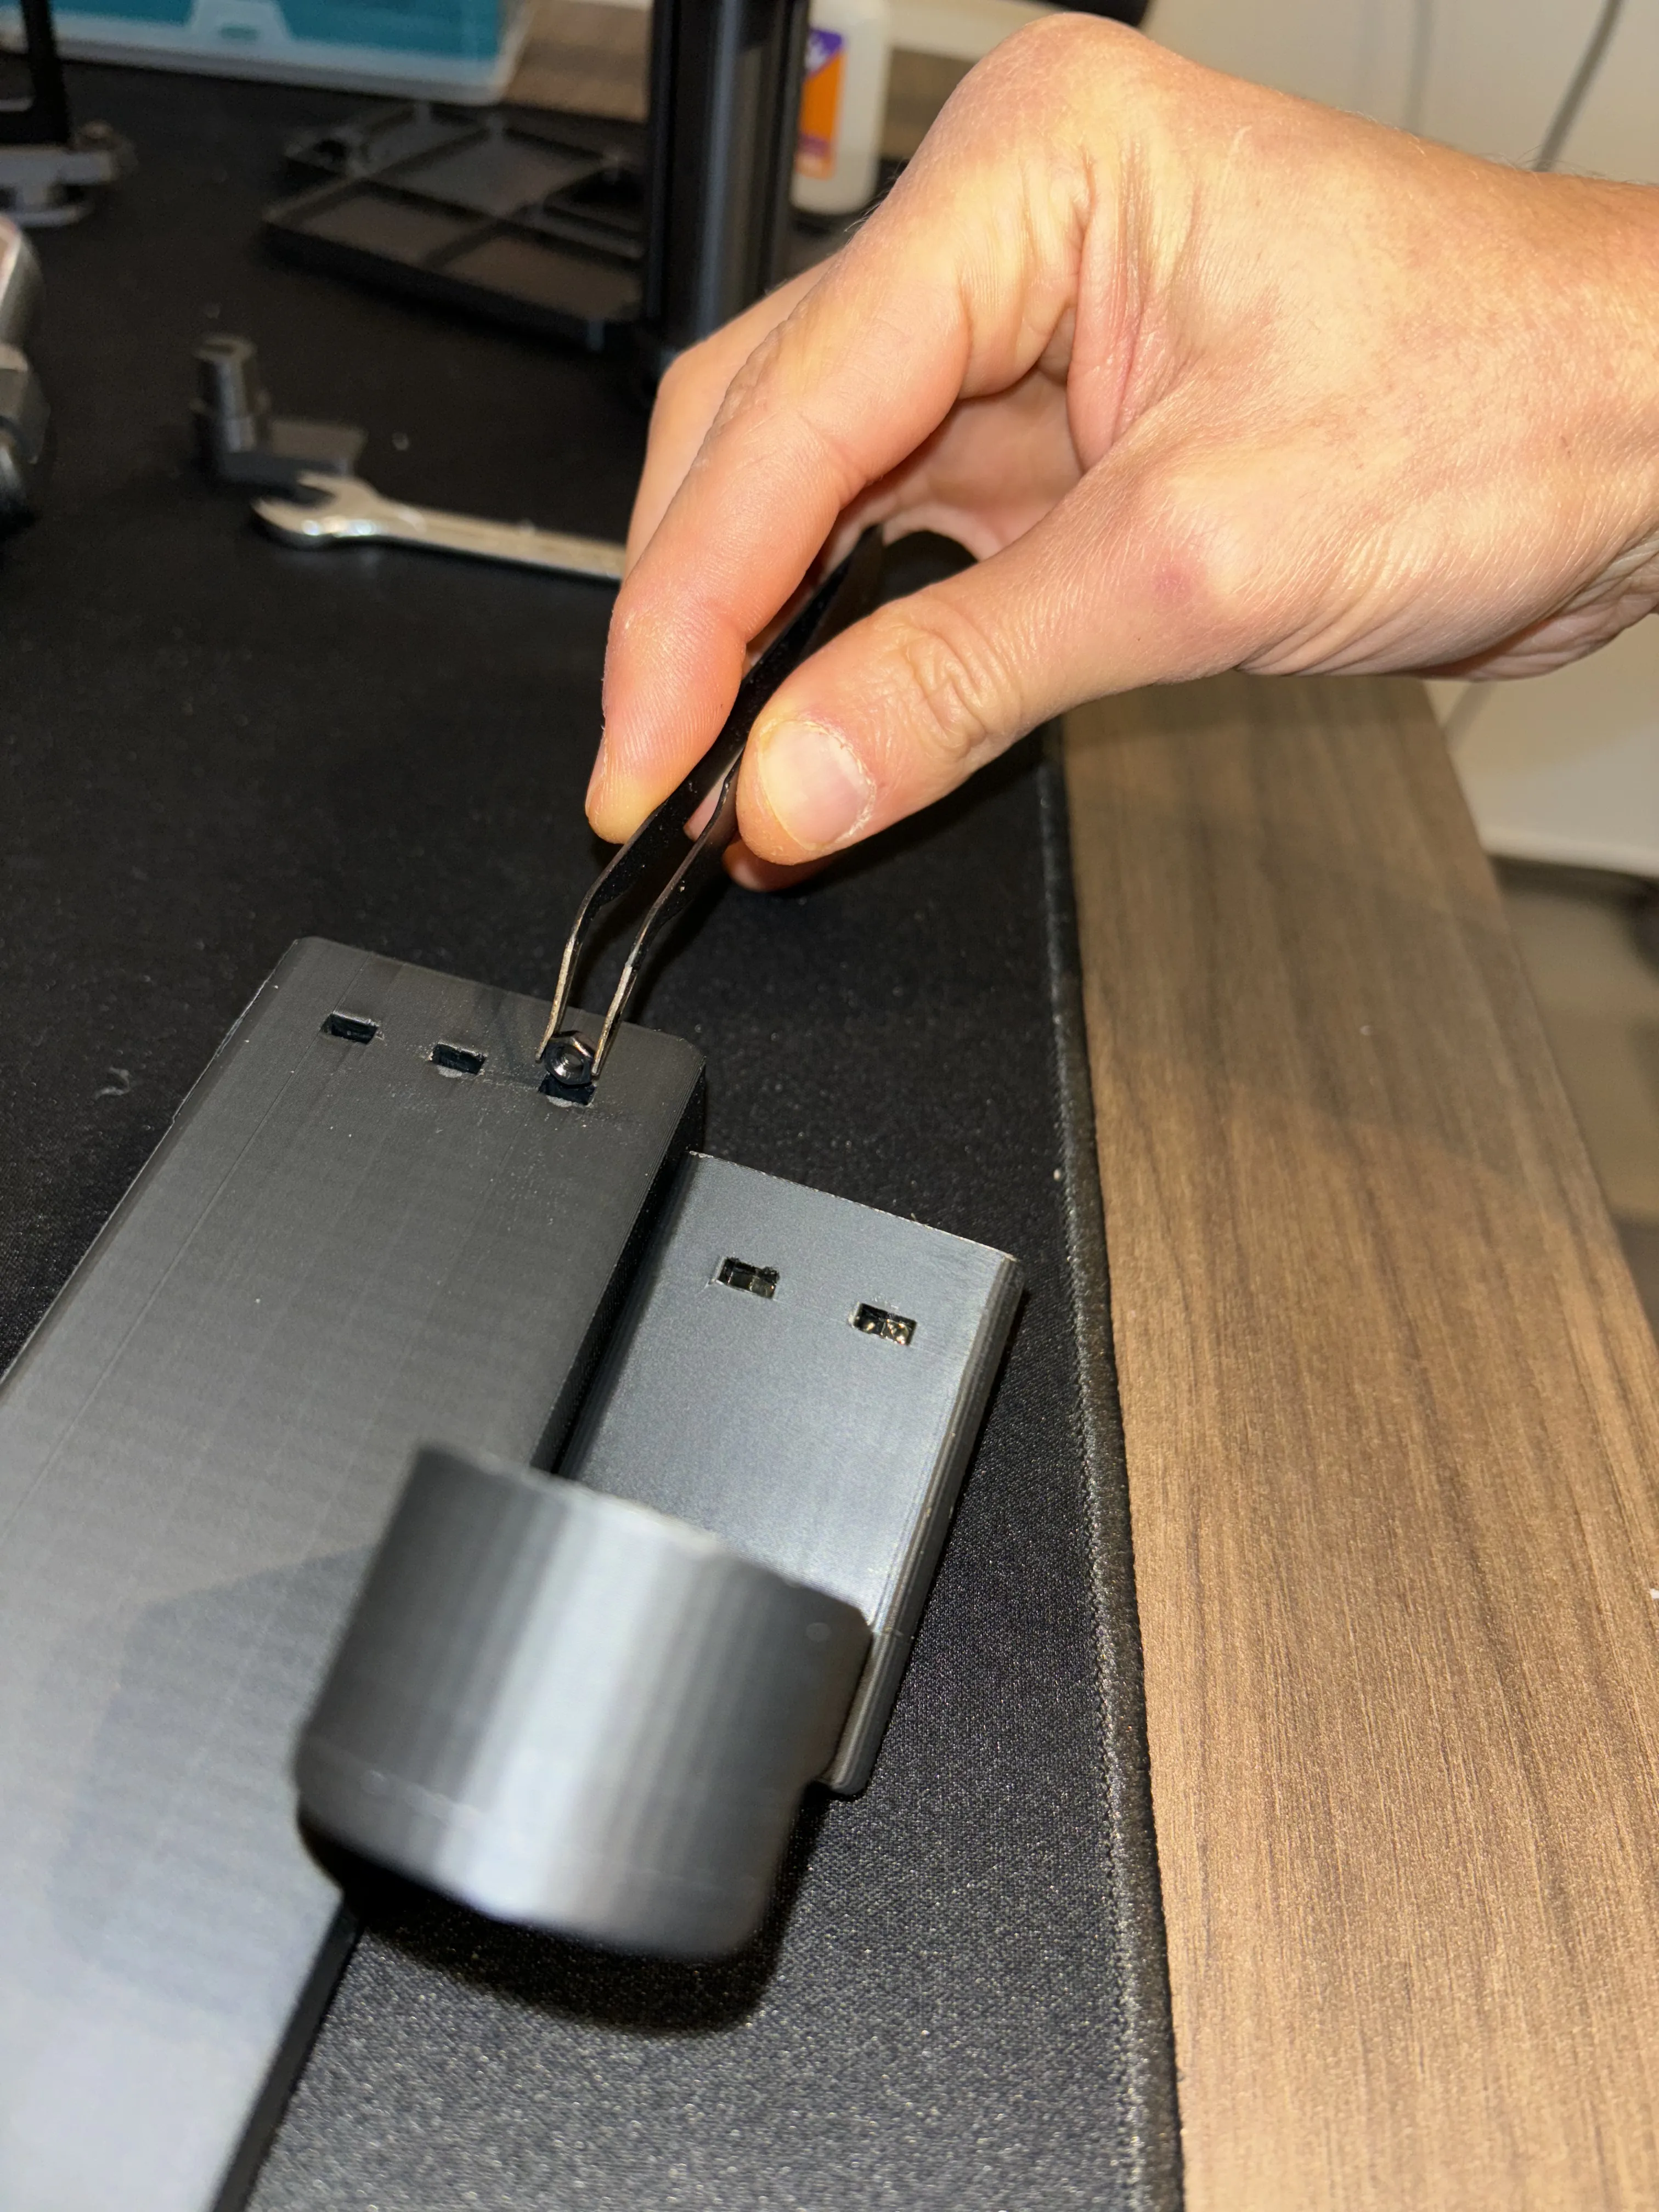
- insert the arms into the appropriate spaces on the base and secure them with 5 screws (20mm);
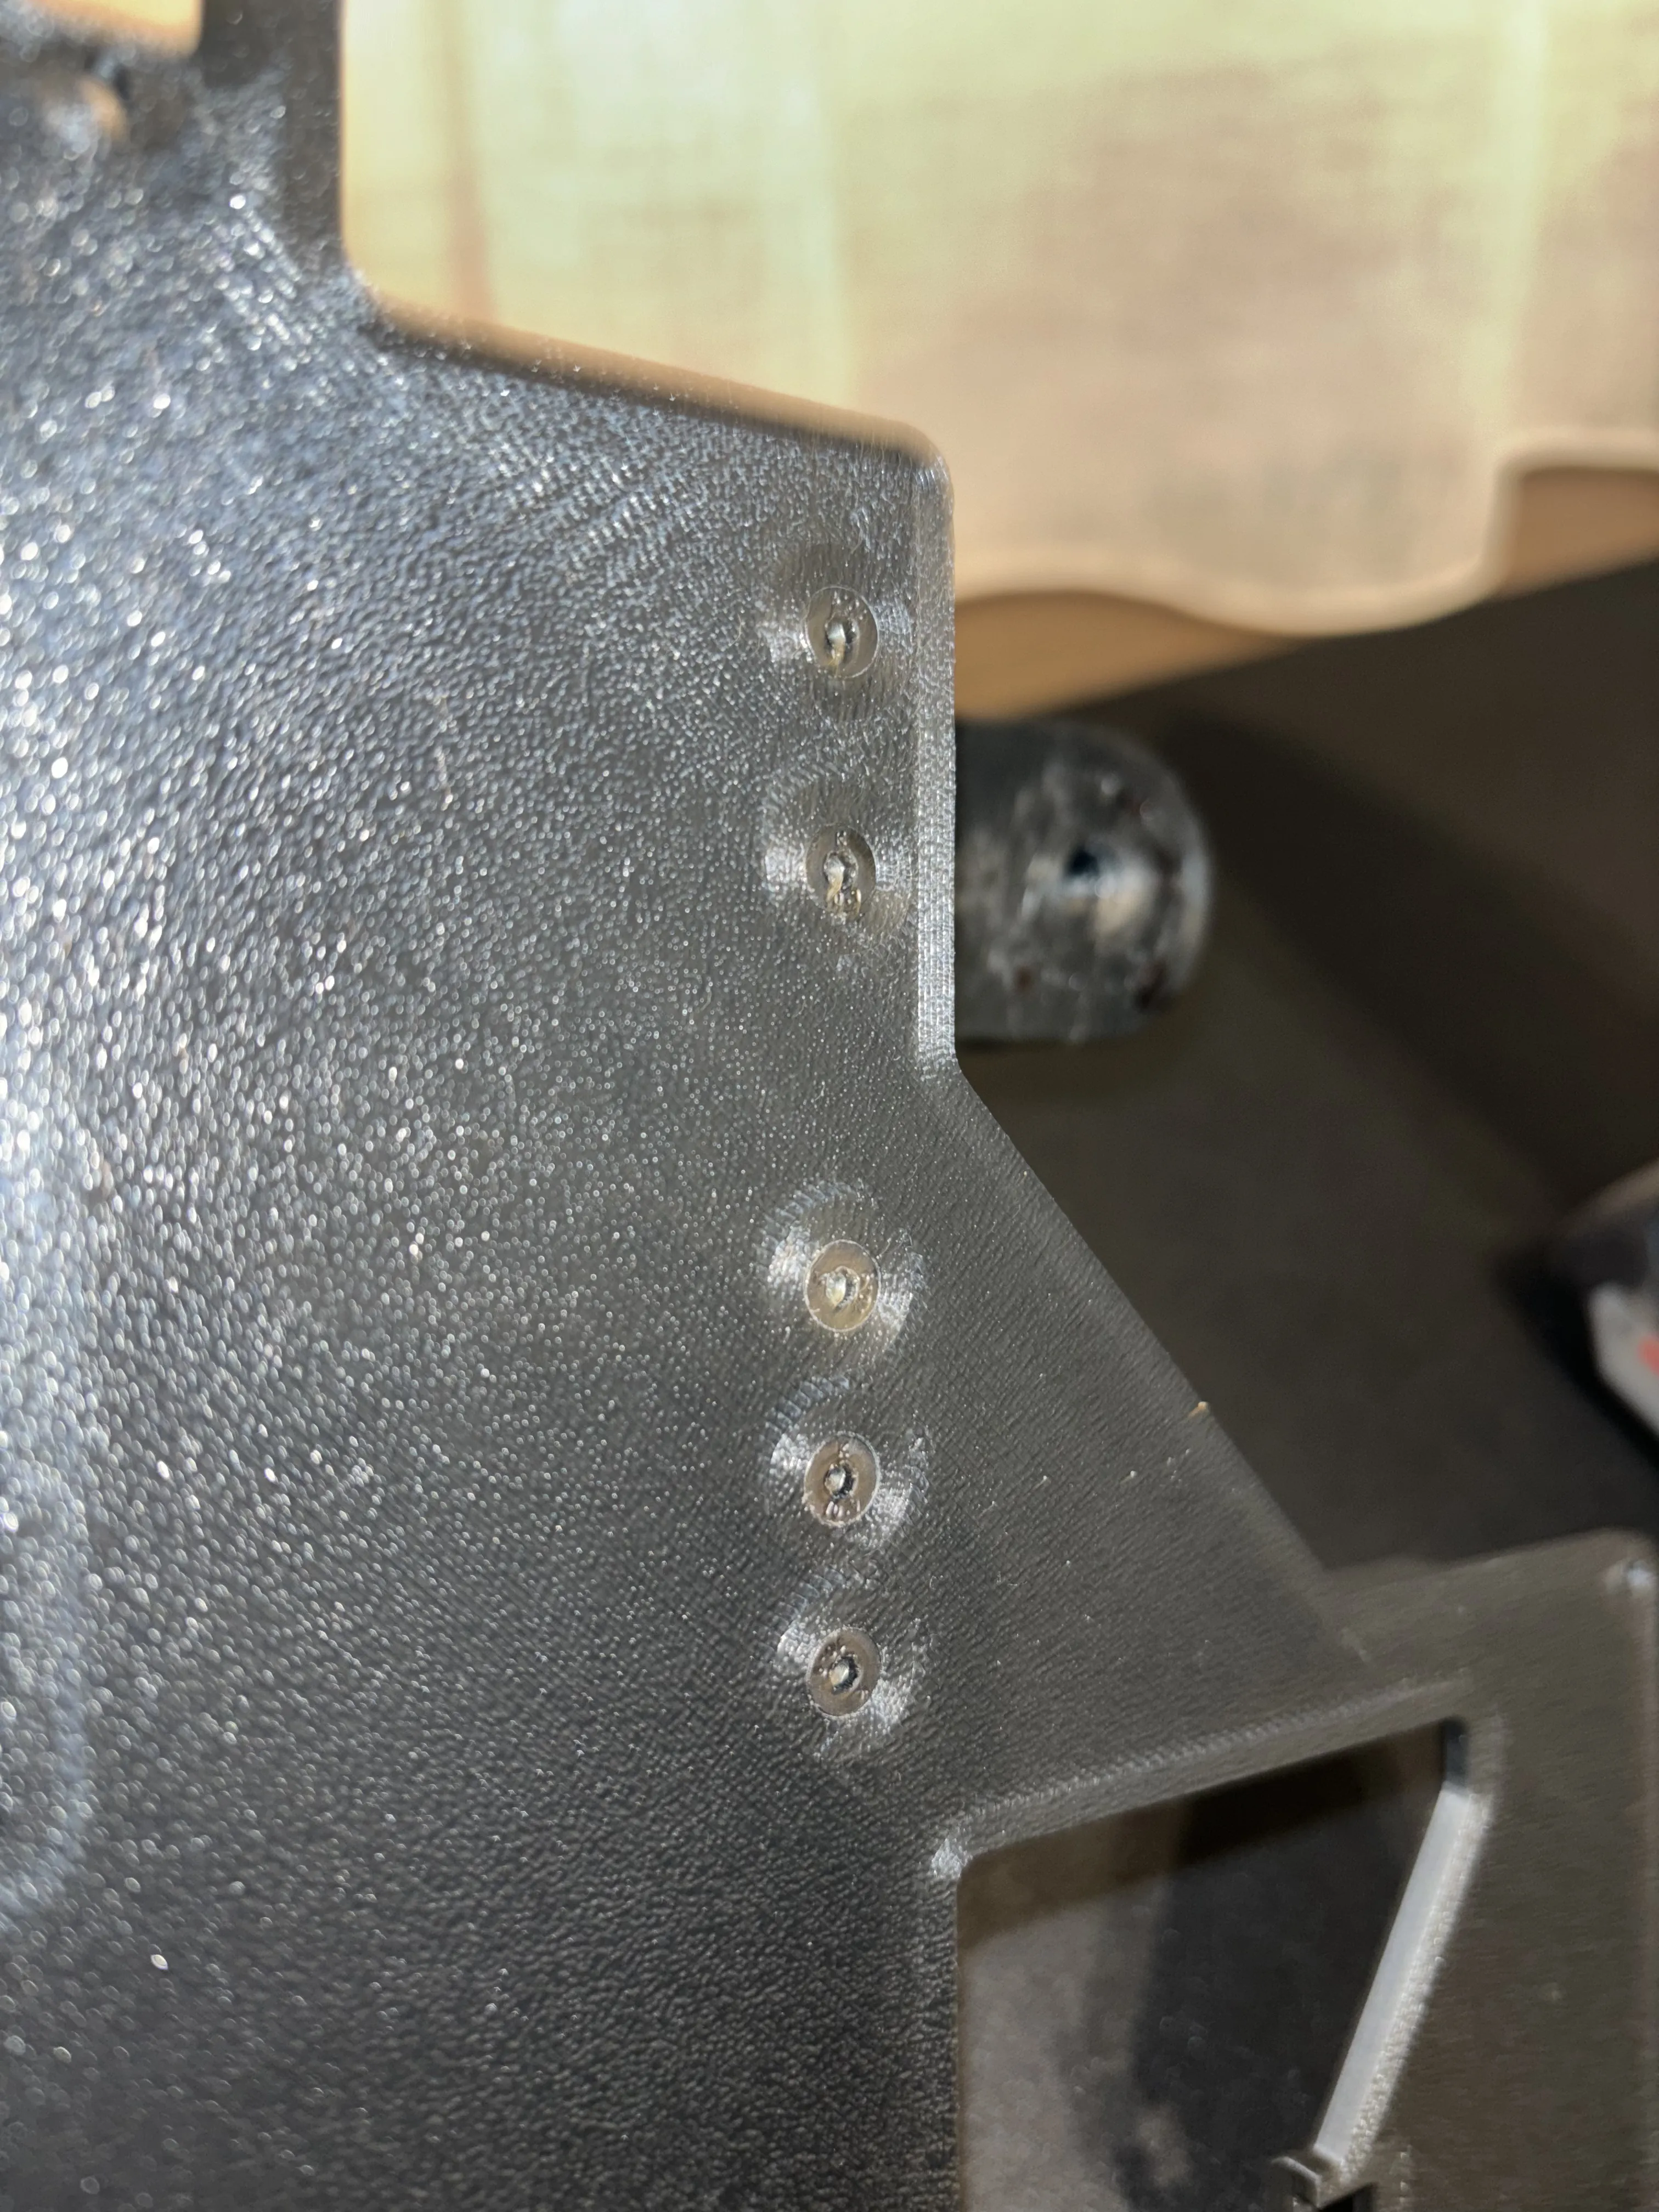
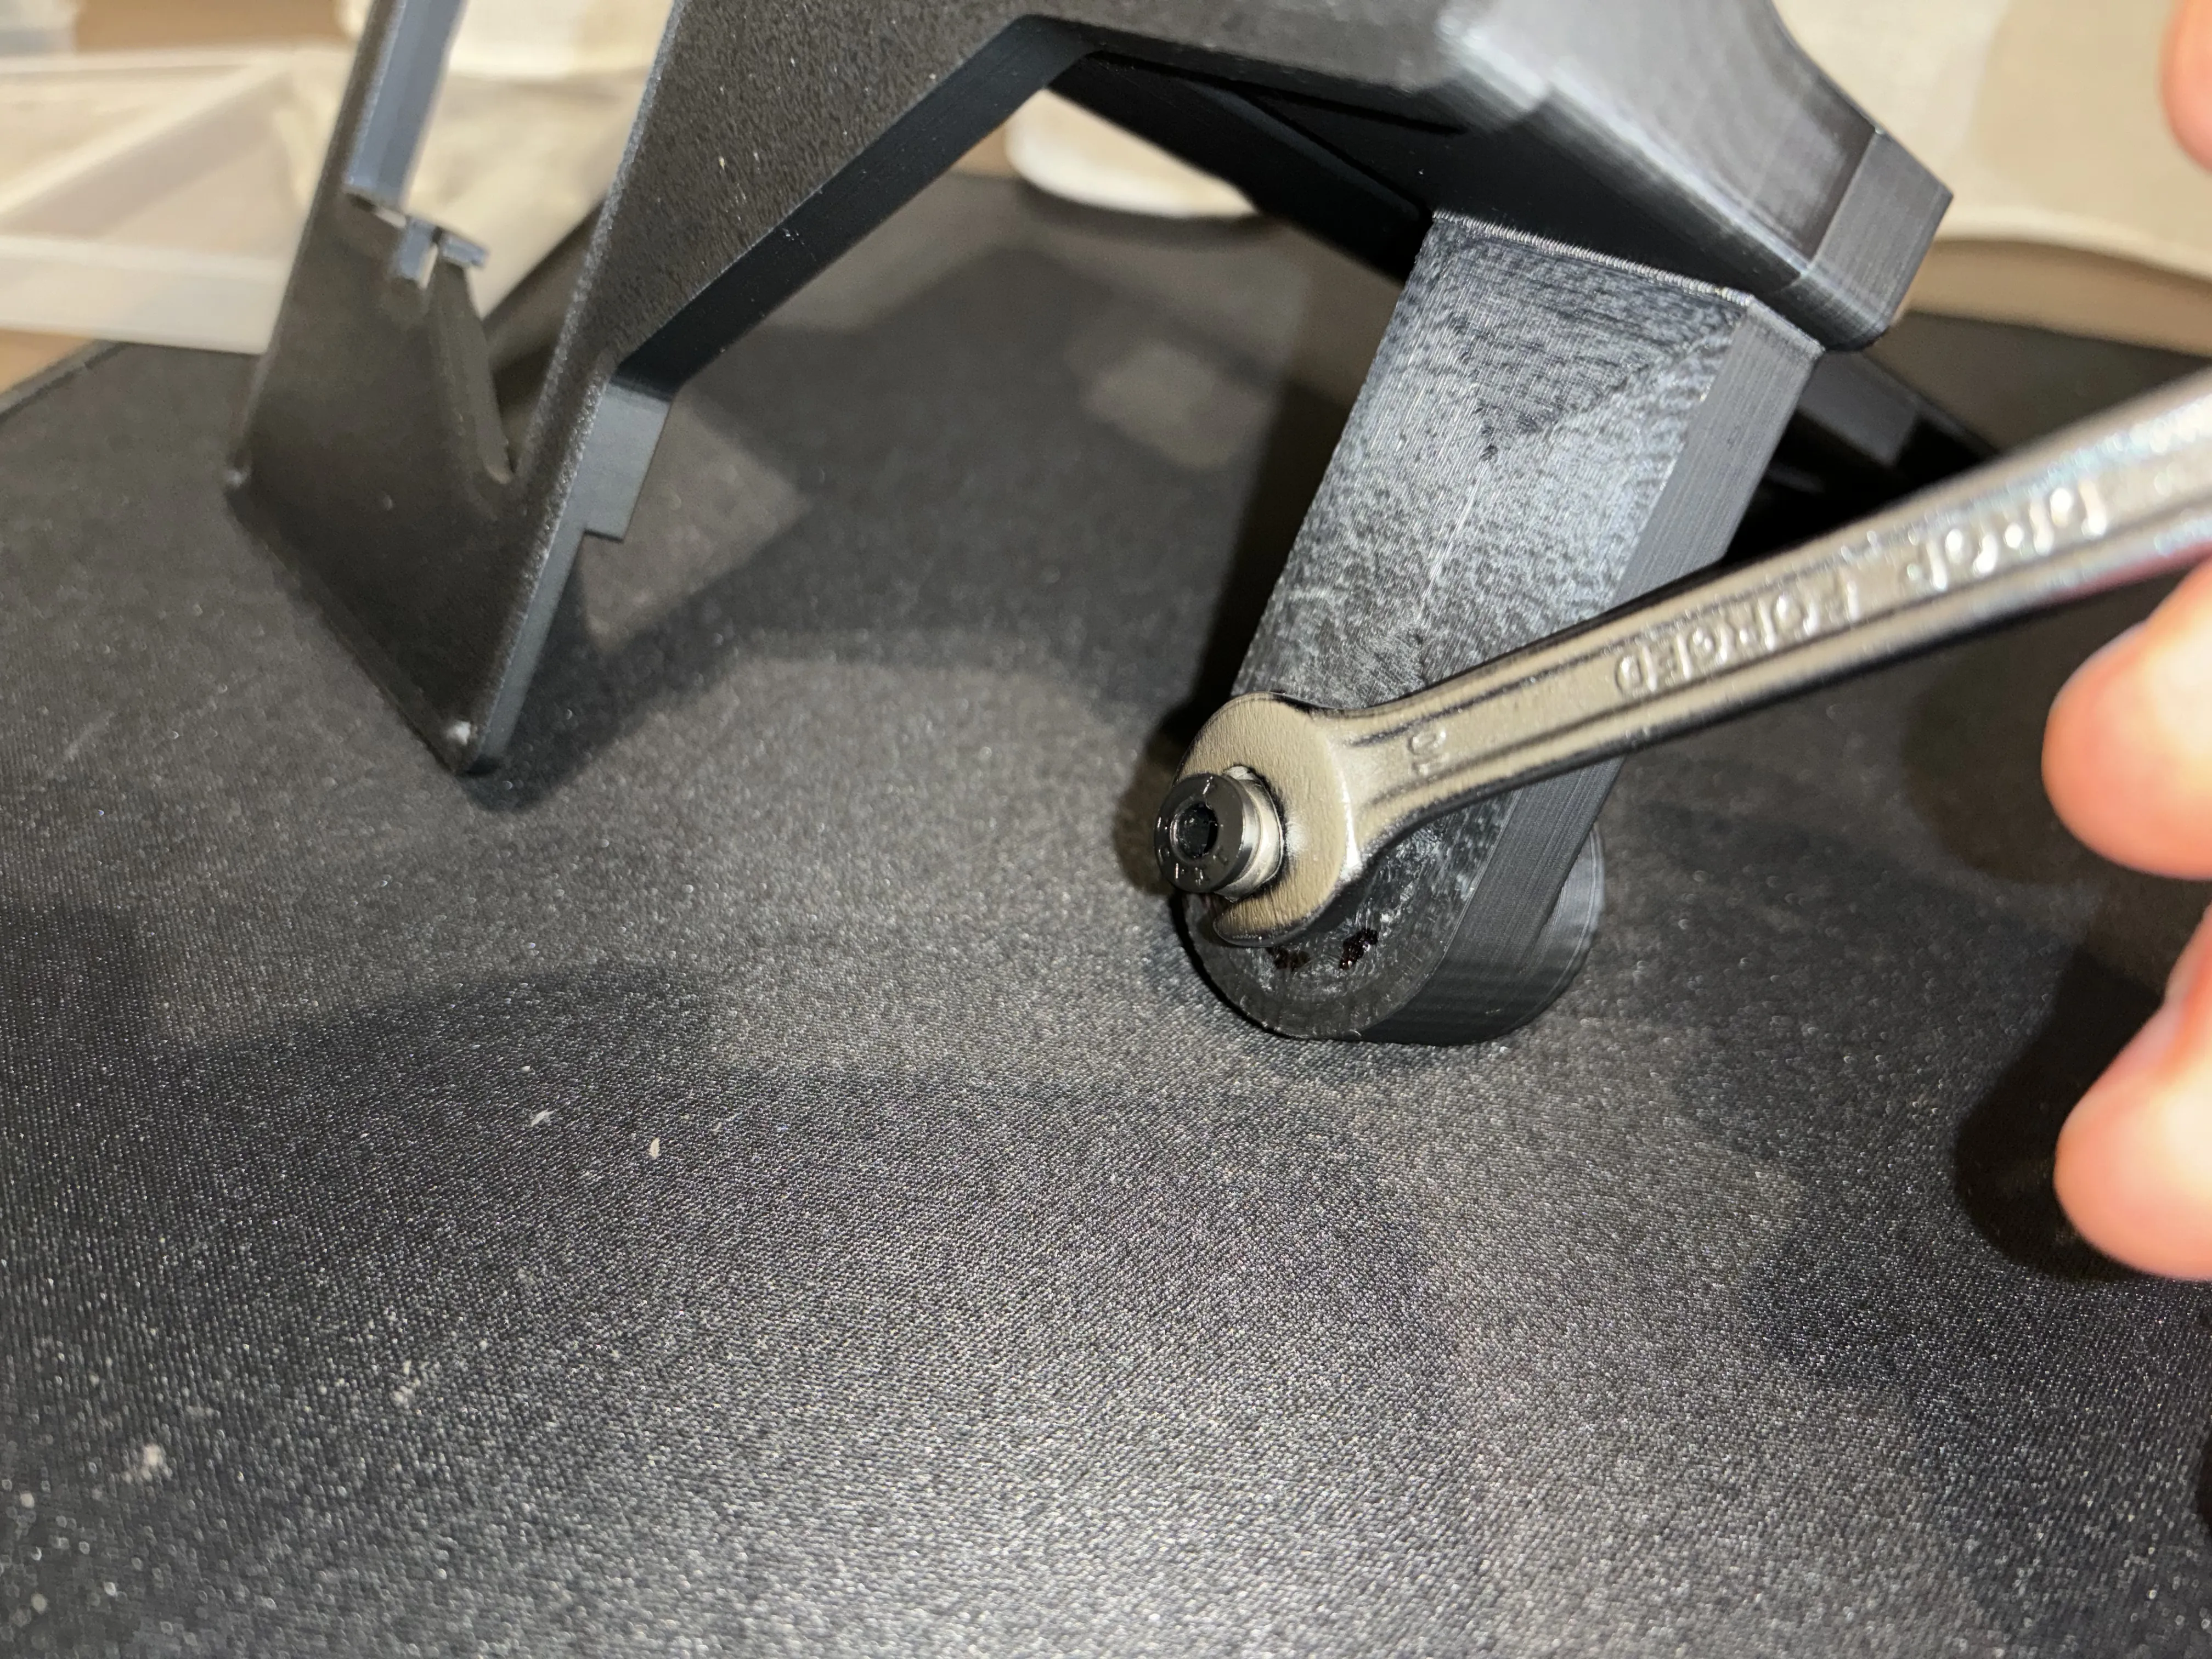
- screw the PTFE connector on the smaller arm;
- connect the base with the back of the printer with 4 screws (16mm). 1 on the top and 3 on the bottom.
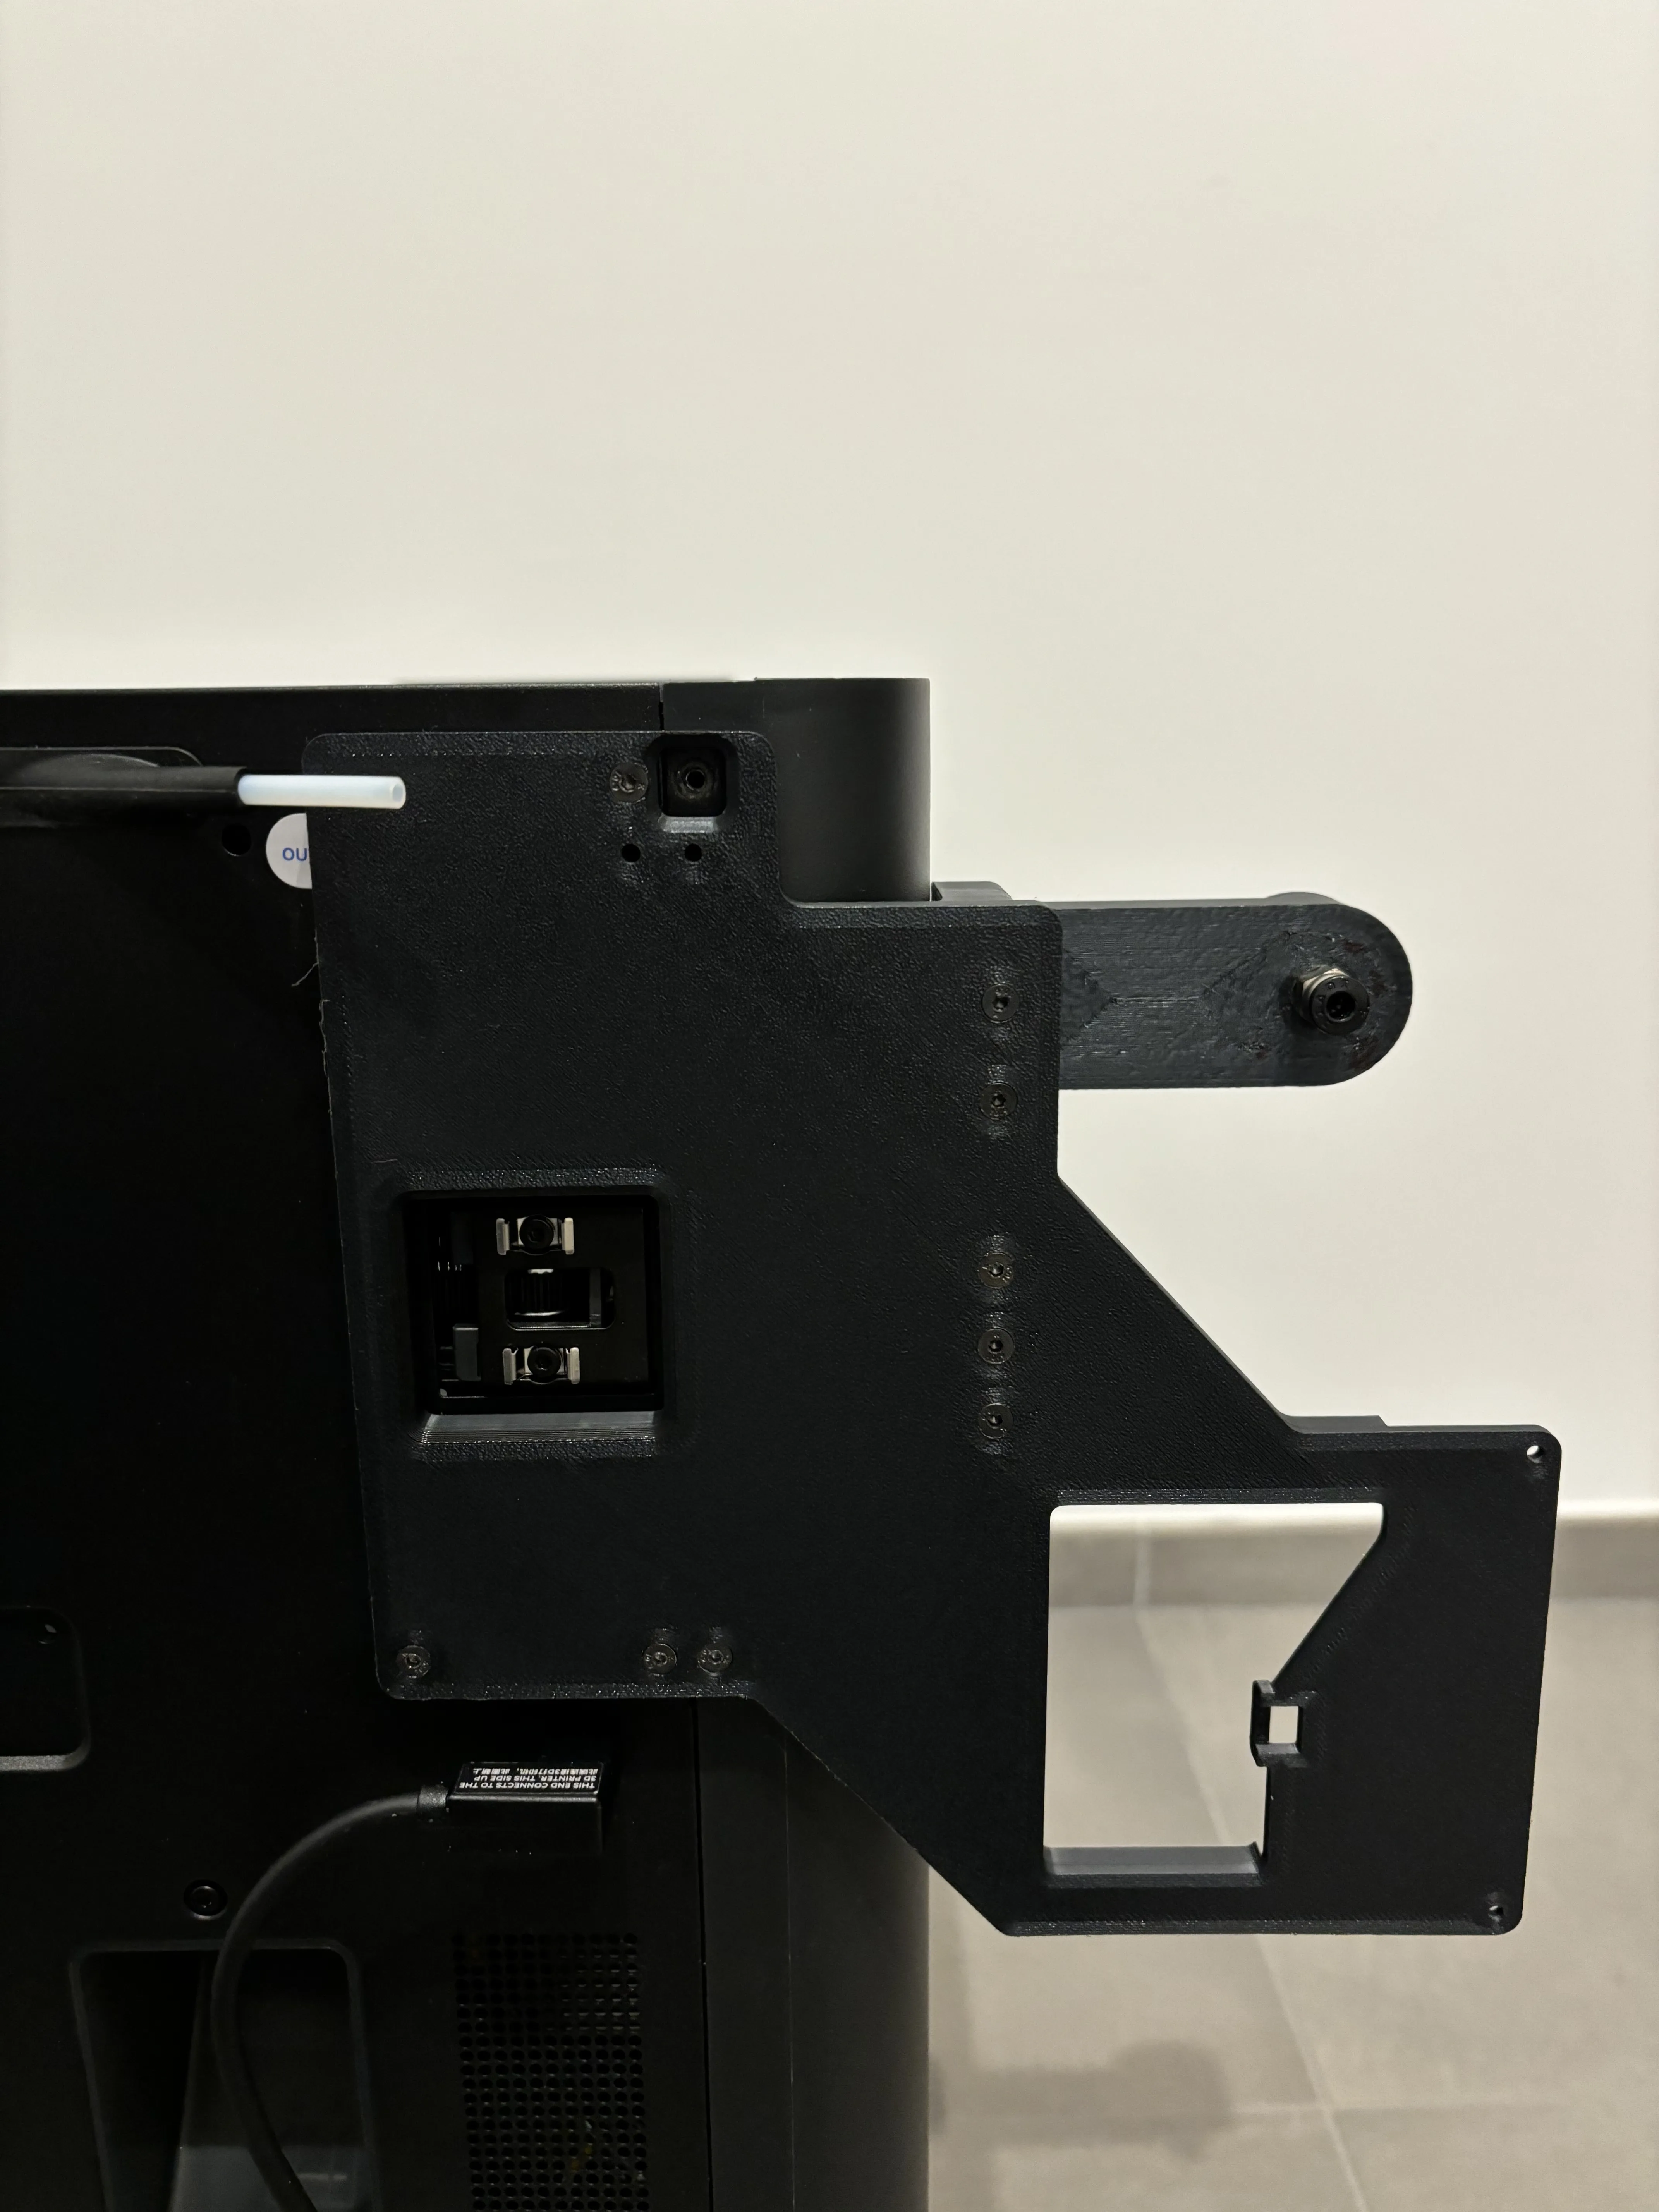
- fix the support for the splitter or the button (depending on which one you decide to use) with a 20mm screw;
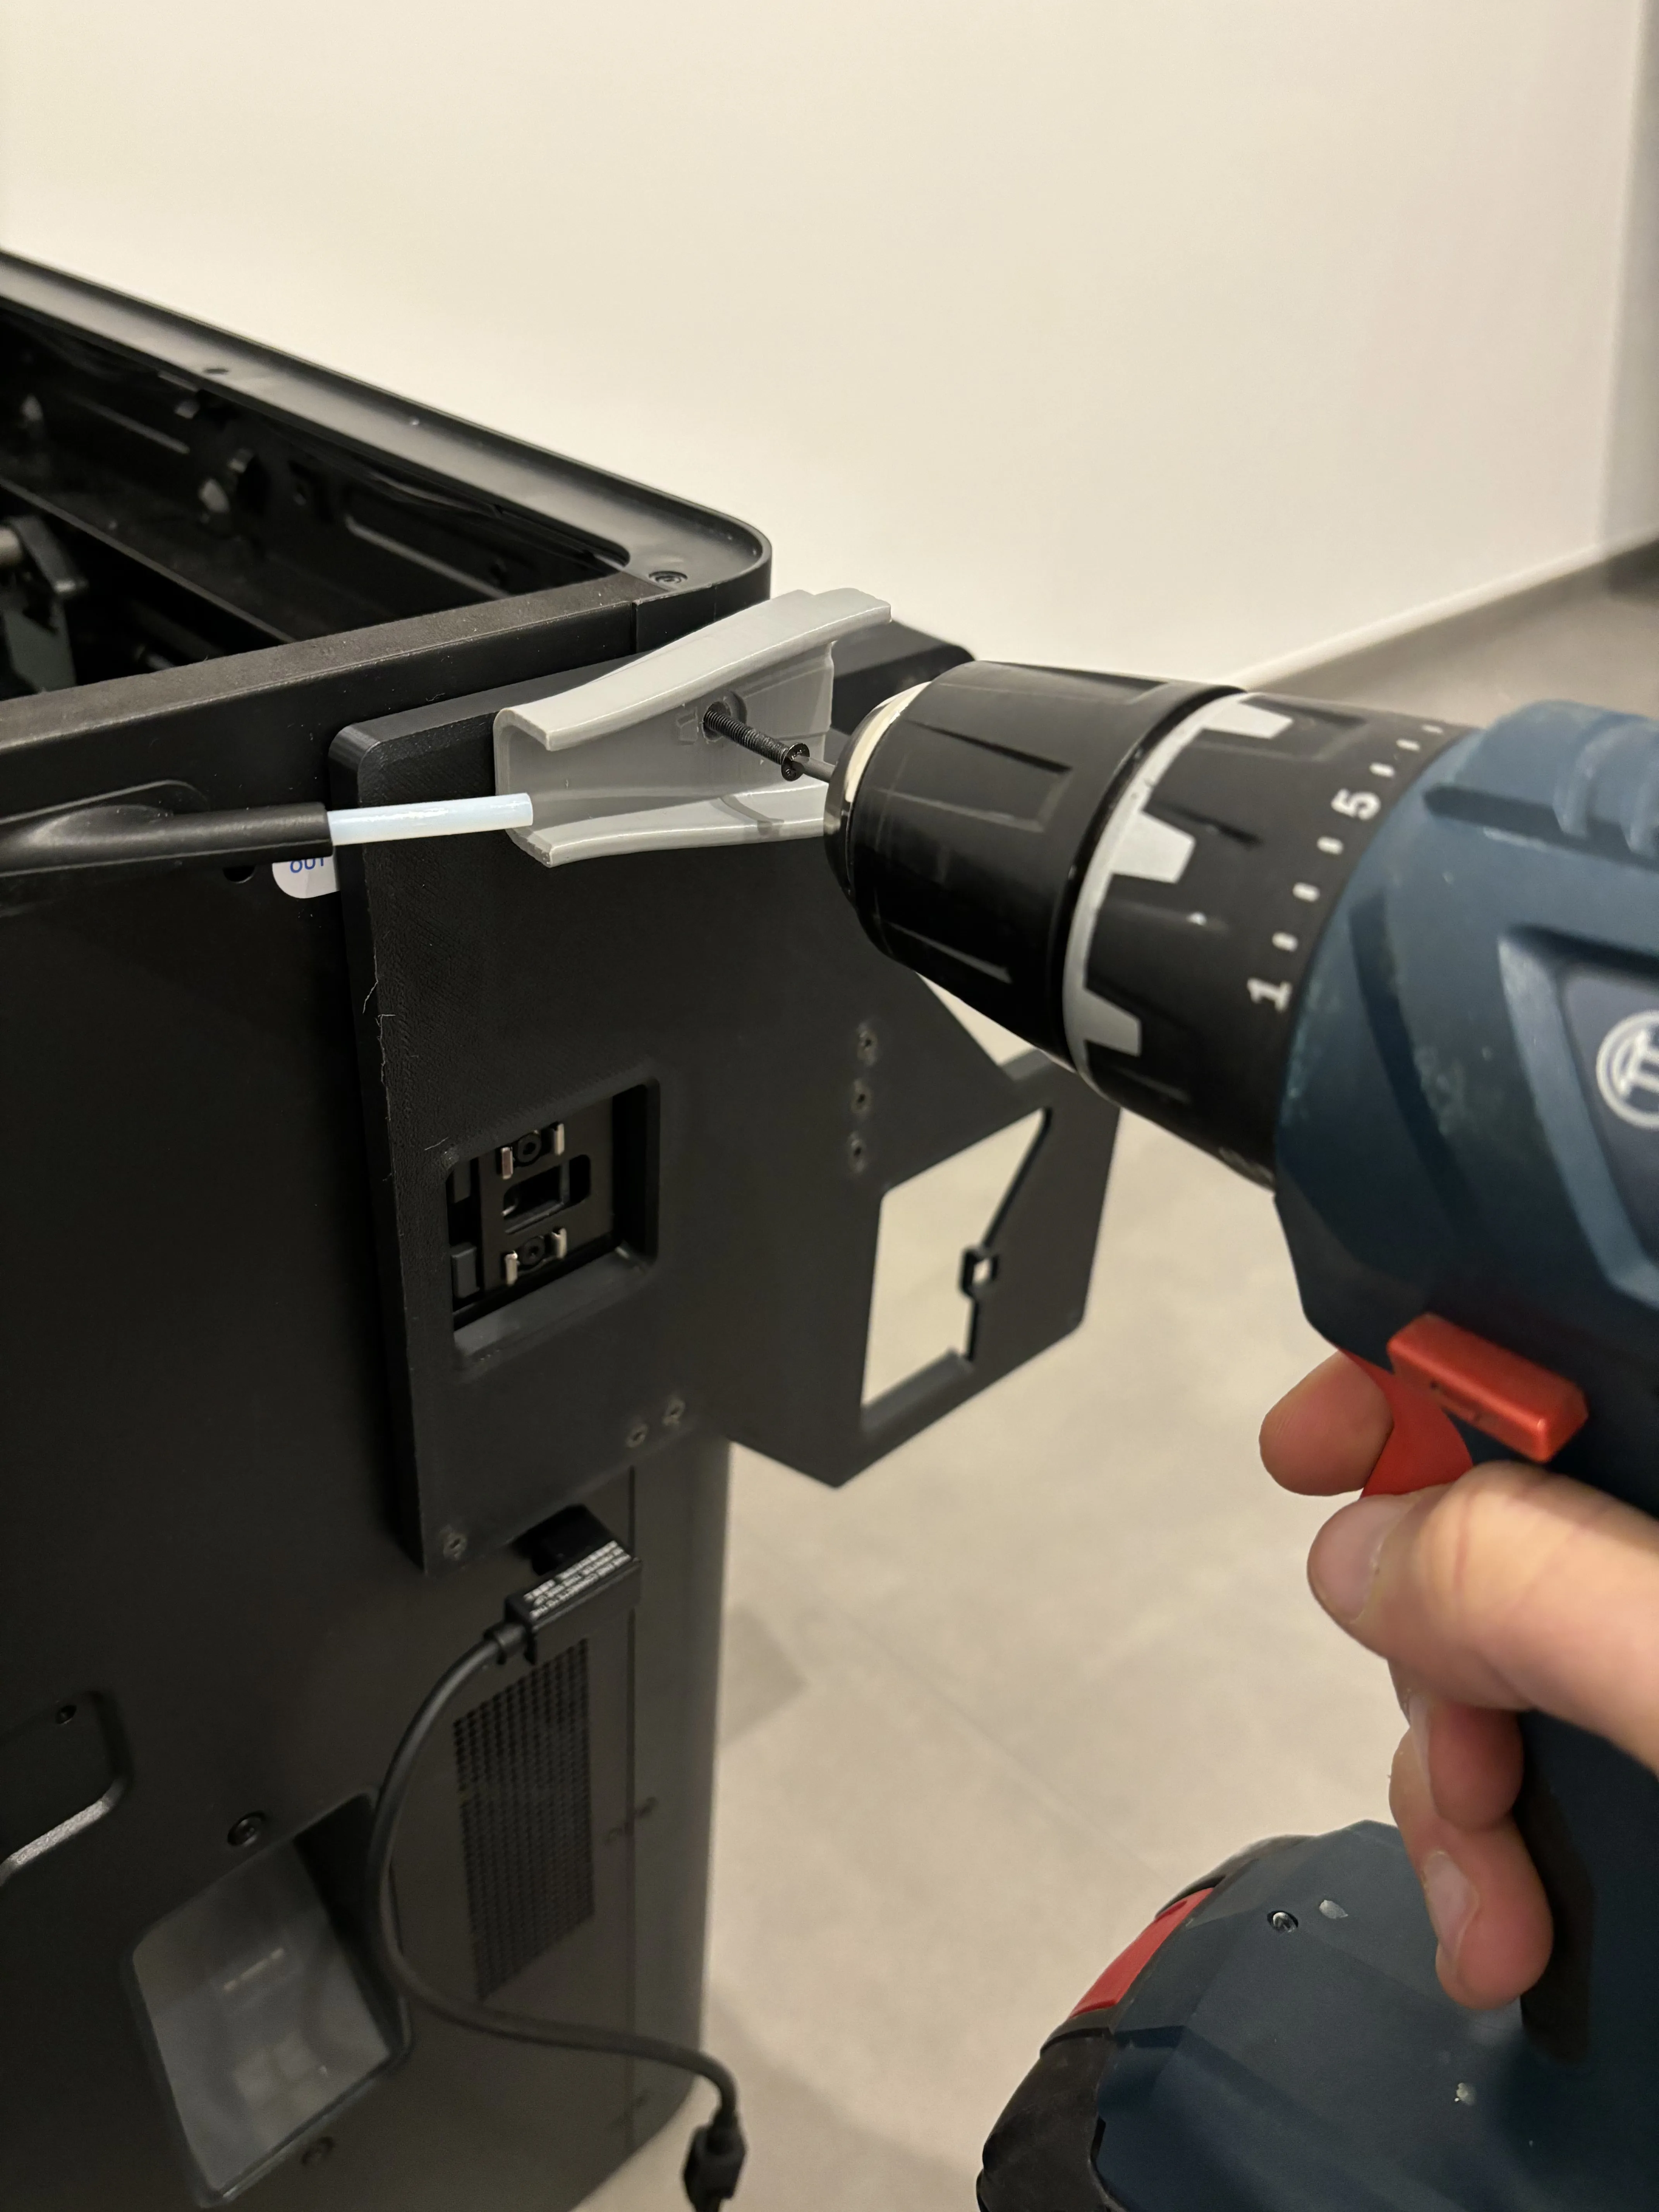
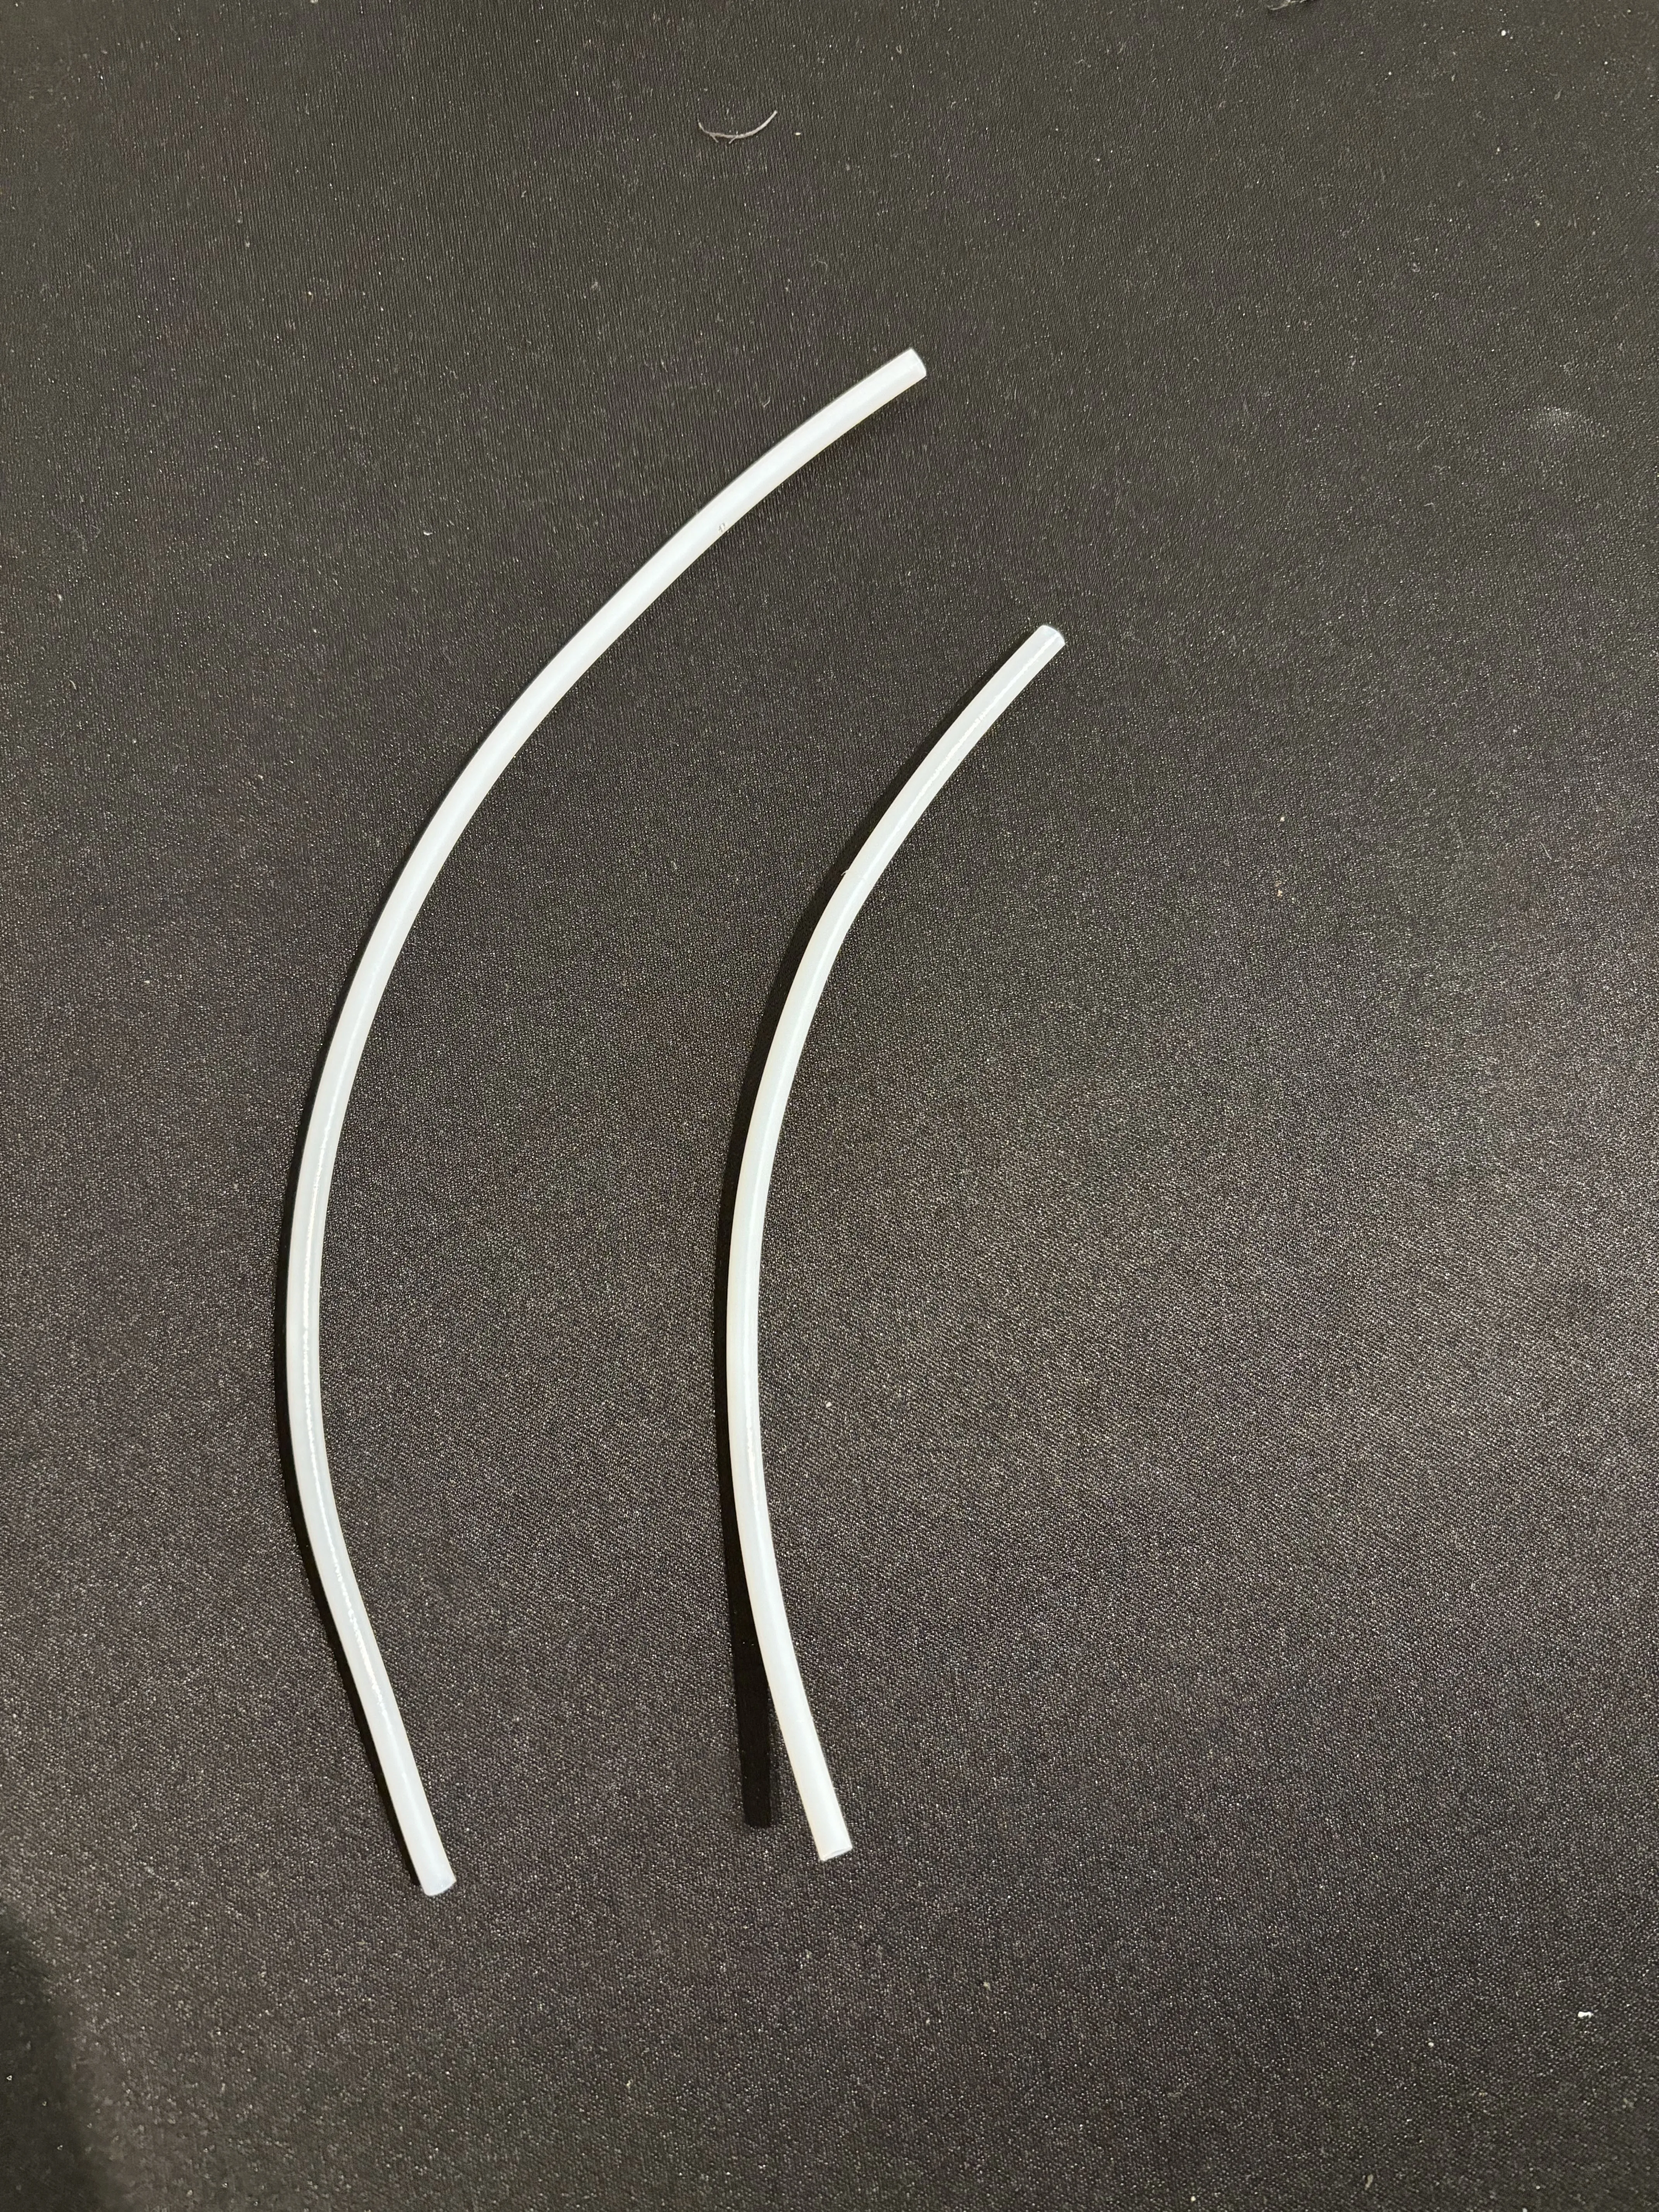
- prepare two PTFE tubes. One of 23.7mm (from buffer to splitter) and the other of 17.2mm (from small arm to splitter);
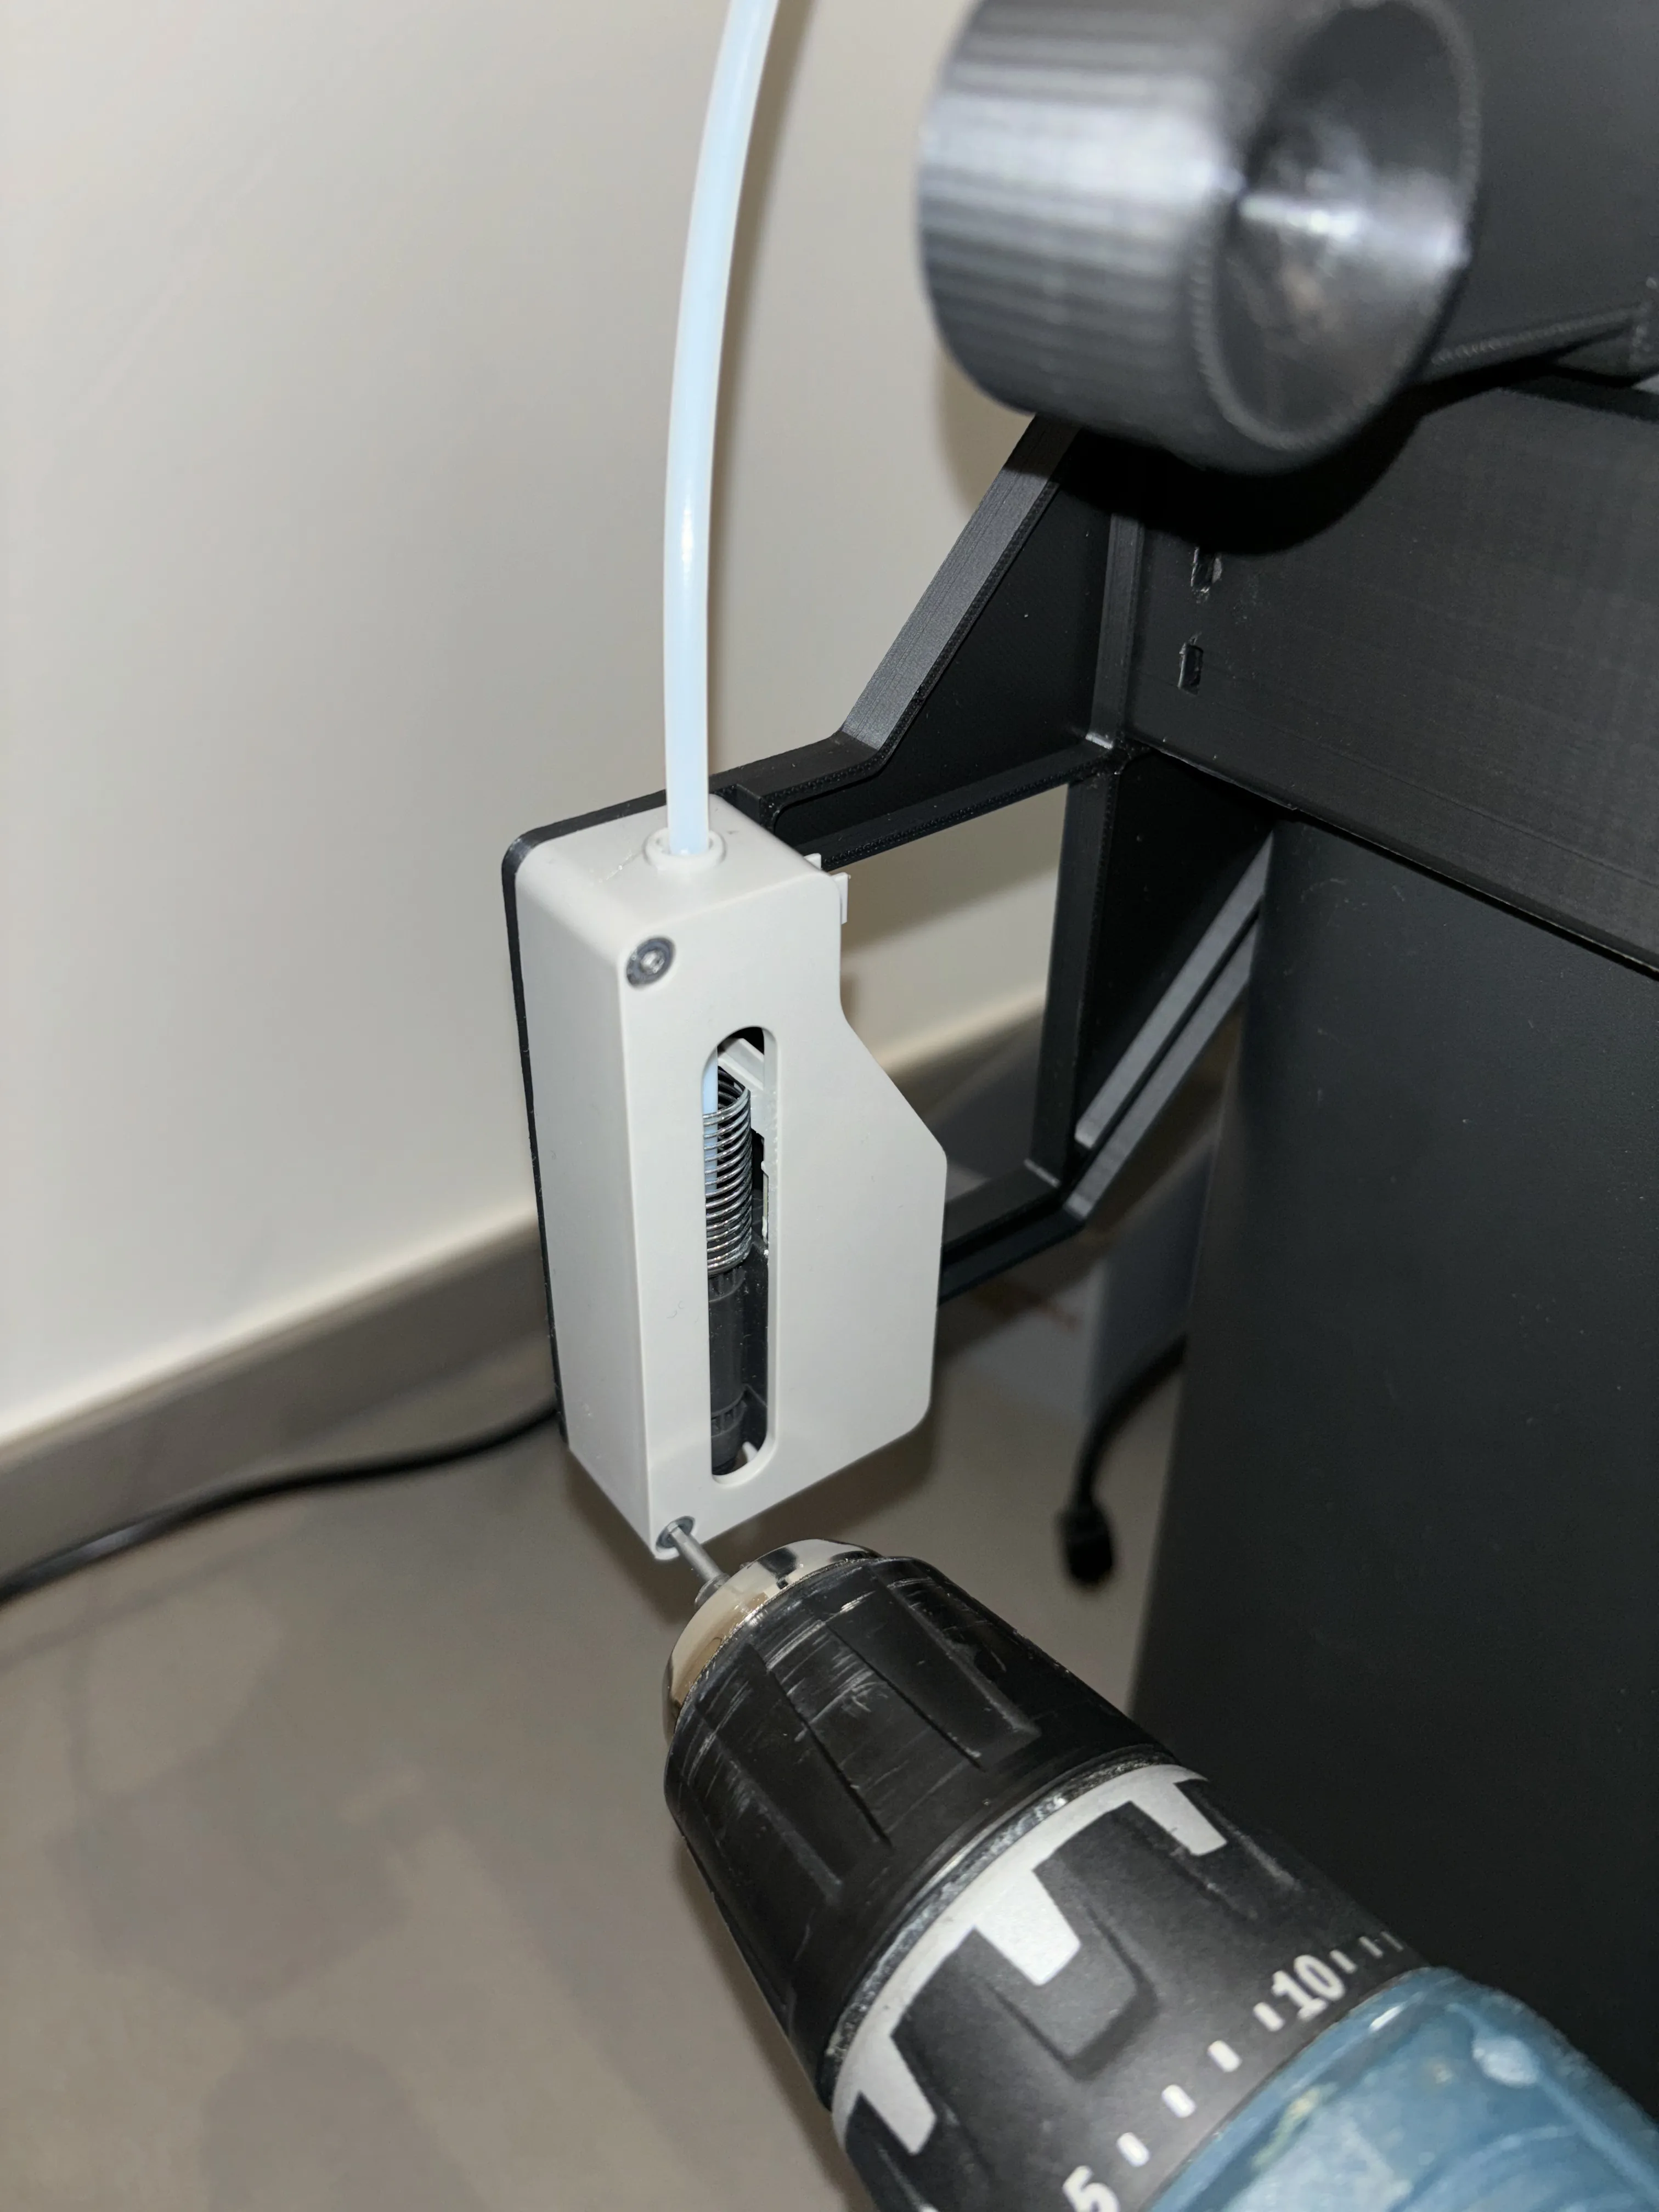
- fix the buffer and connect the tubes to the splitter.
- now, if you decide to use the original holder, you should mount it in the support, insert the nuts and secure holder and support with m3 screws (8 mm); remember to look at the ONE ROLLER, it will be much more efficient than the standard holder.
- this will be the result:
License

You shall not share, sub-license, sell, rent, host, transfer, or distribute in any way the digital or 3D printed versions of this object, nor any other derivative work of this object in its digital or physical format (including - but not limited to - remixes of this object, and hosting on other digital platforms). The objects may not be used without permission in any way whatsoever in which you charge money, or collect fees.


Comment & Rating (80)