
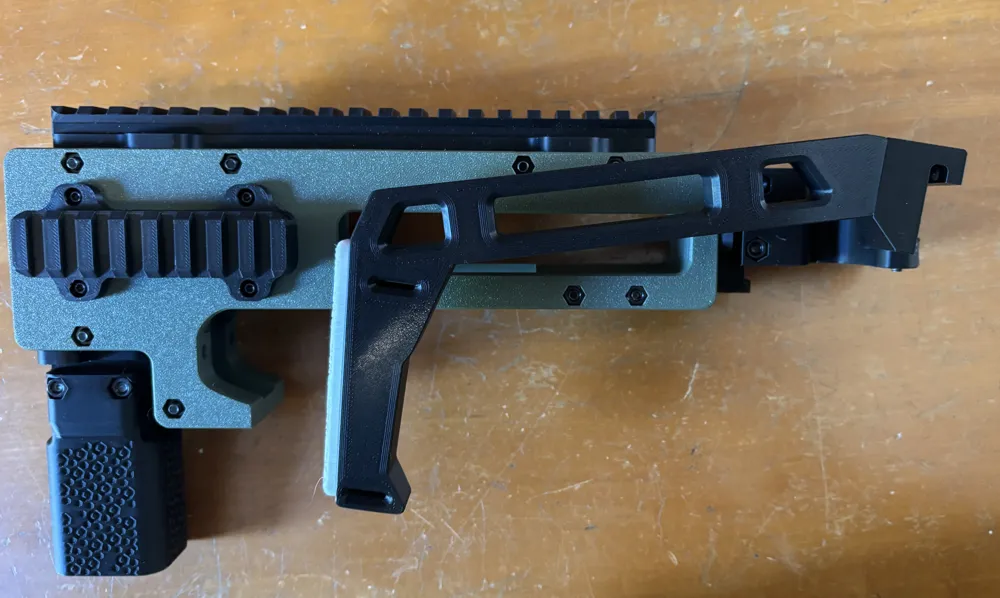
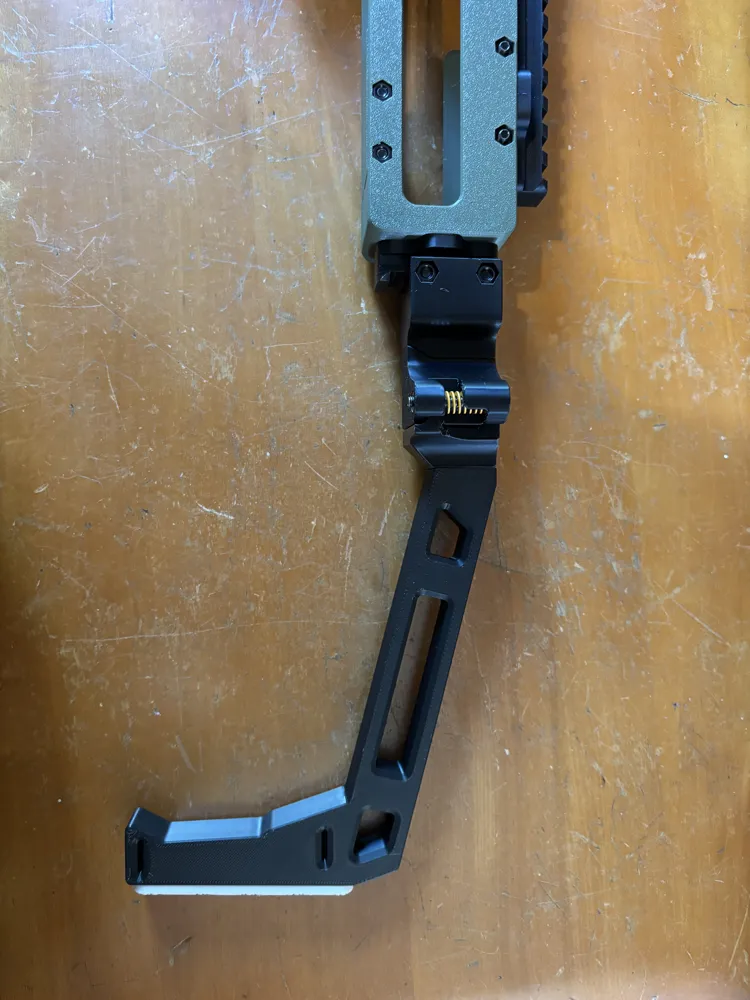
Block o Roni PDW
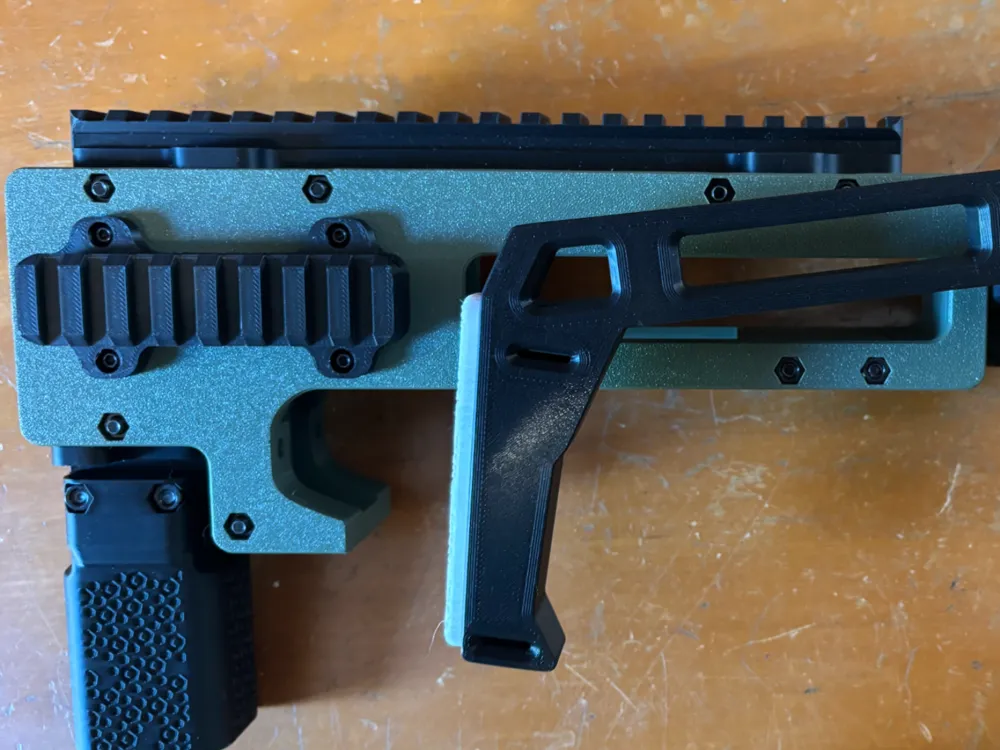
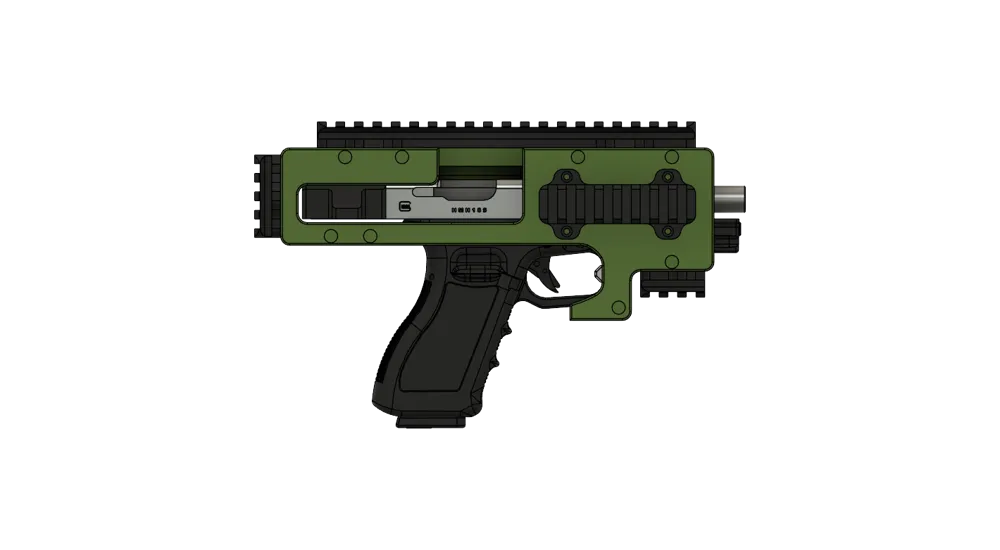
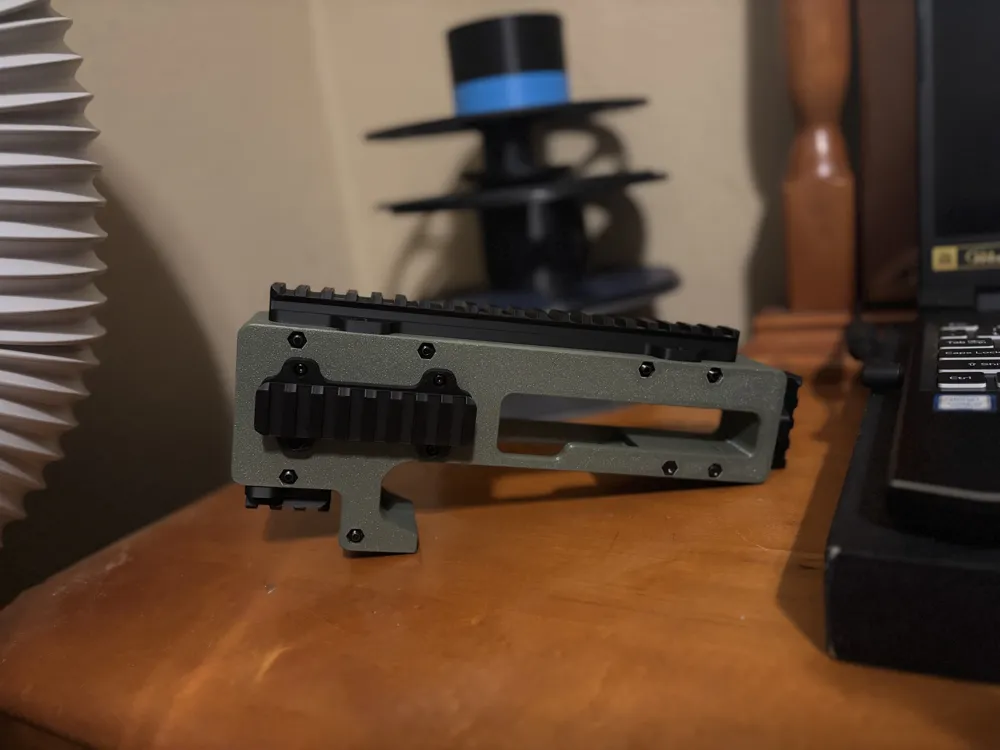
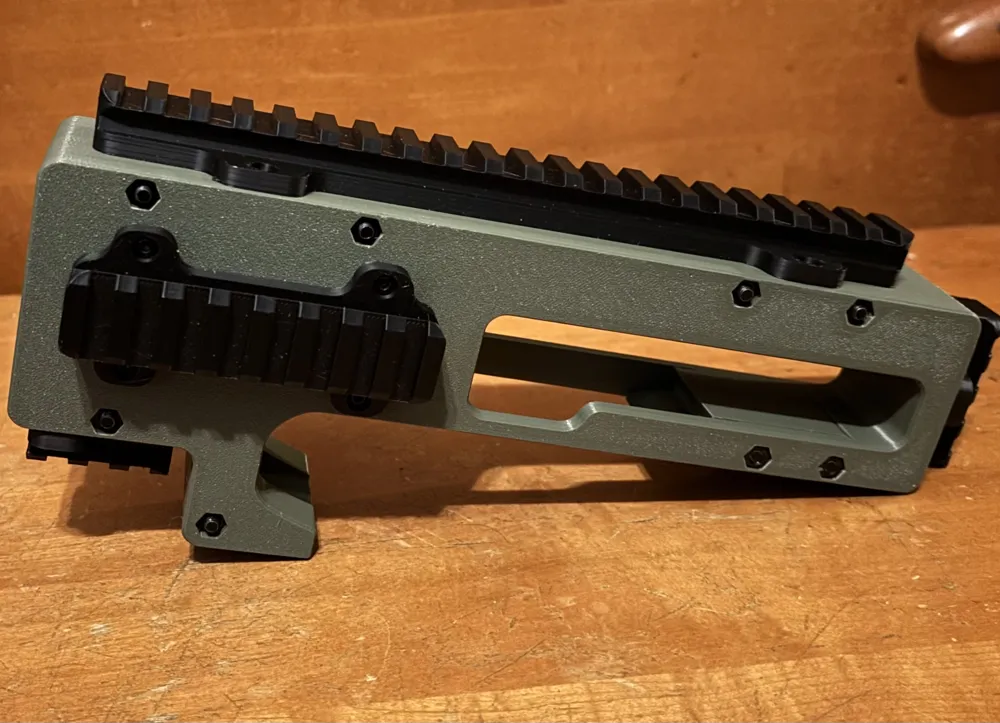
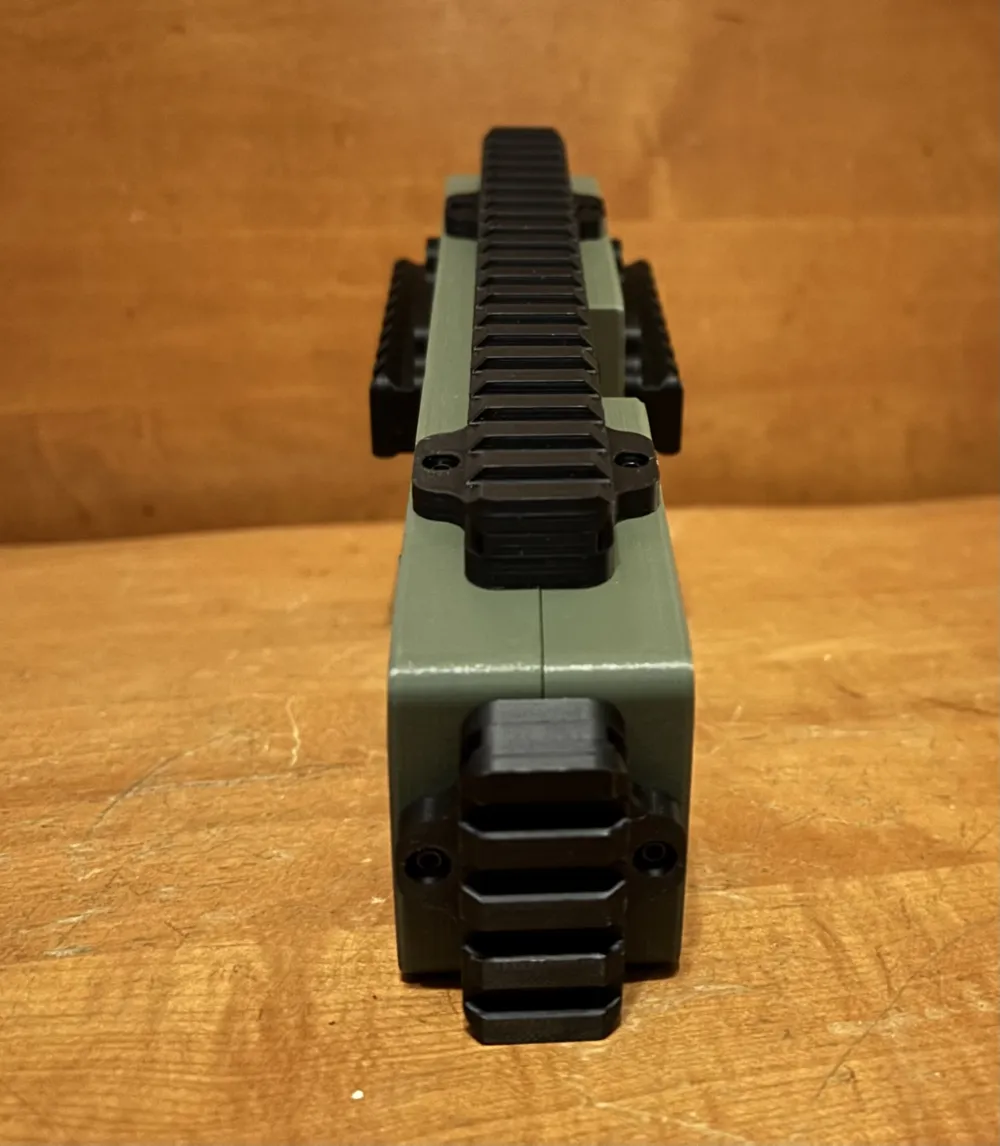
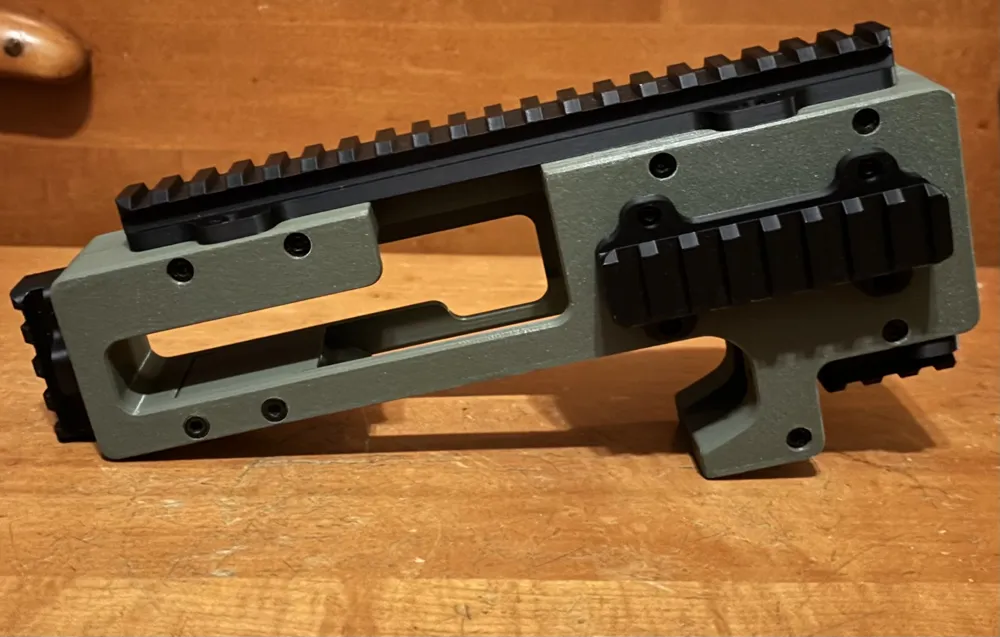
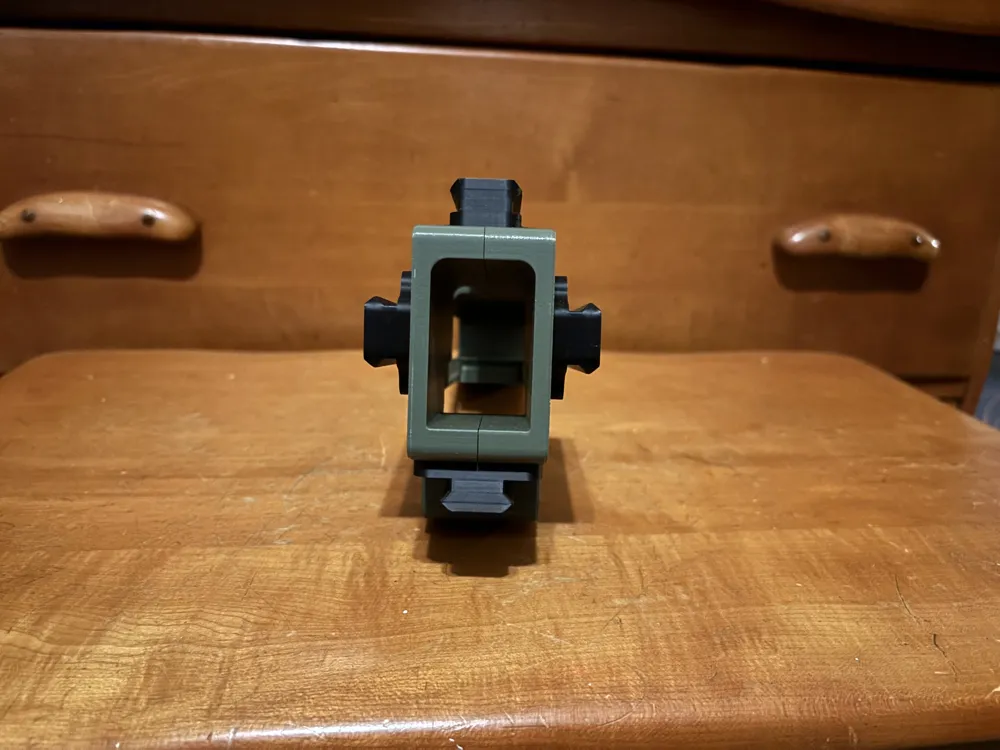
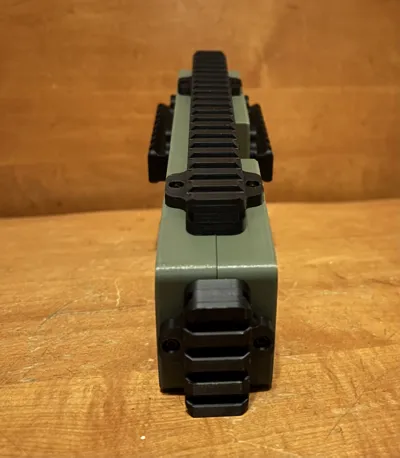
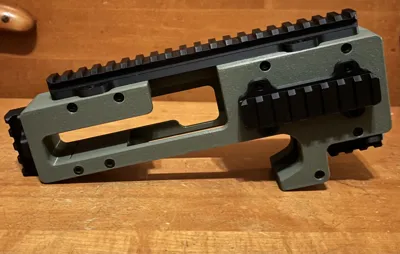
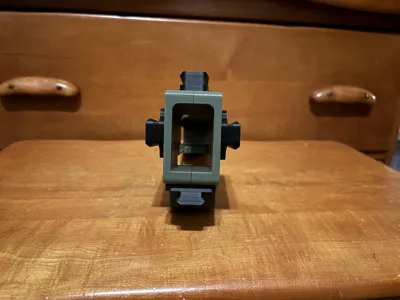
Print Profile(2)

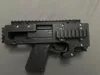
Description
Boost Me (for free)
PUBLIC DOMAIN (FOSSCAD)
link to Blockoroni V2
link to BLOCKOGRIP
link to BLOCKOBRACE
UPDATE:
Added some CAD files for P80 in the drop down menu
Added New Charging Handle V3
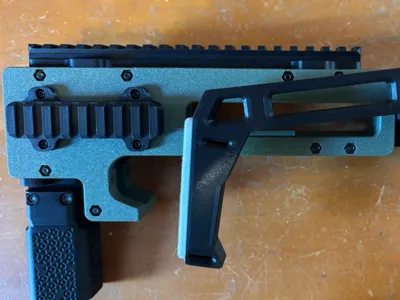
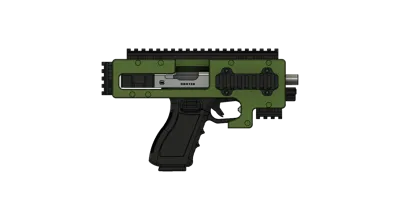
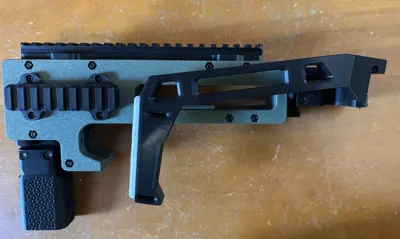
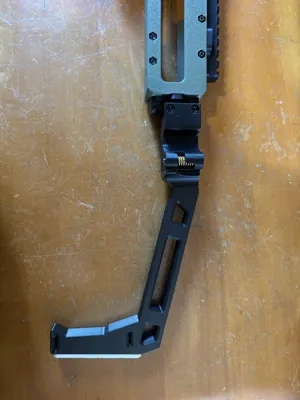
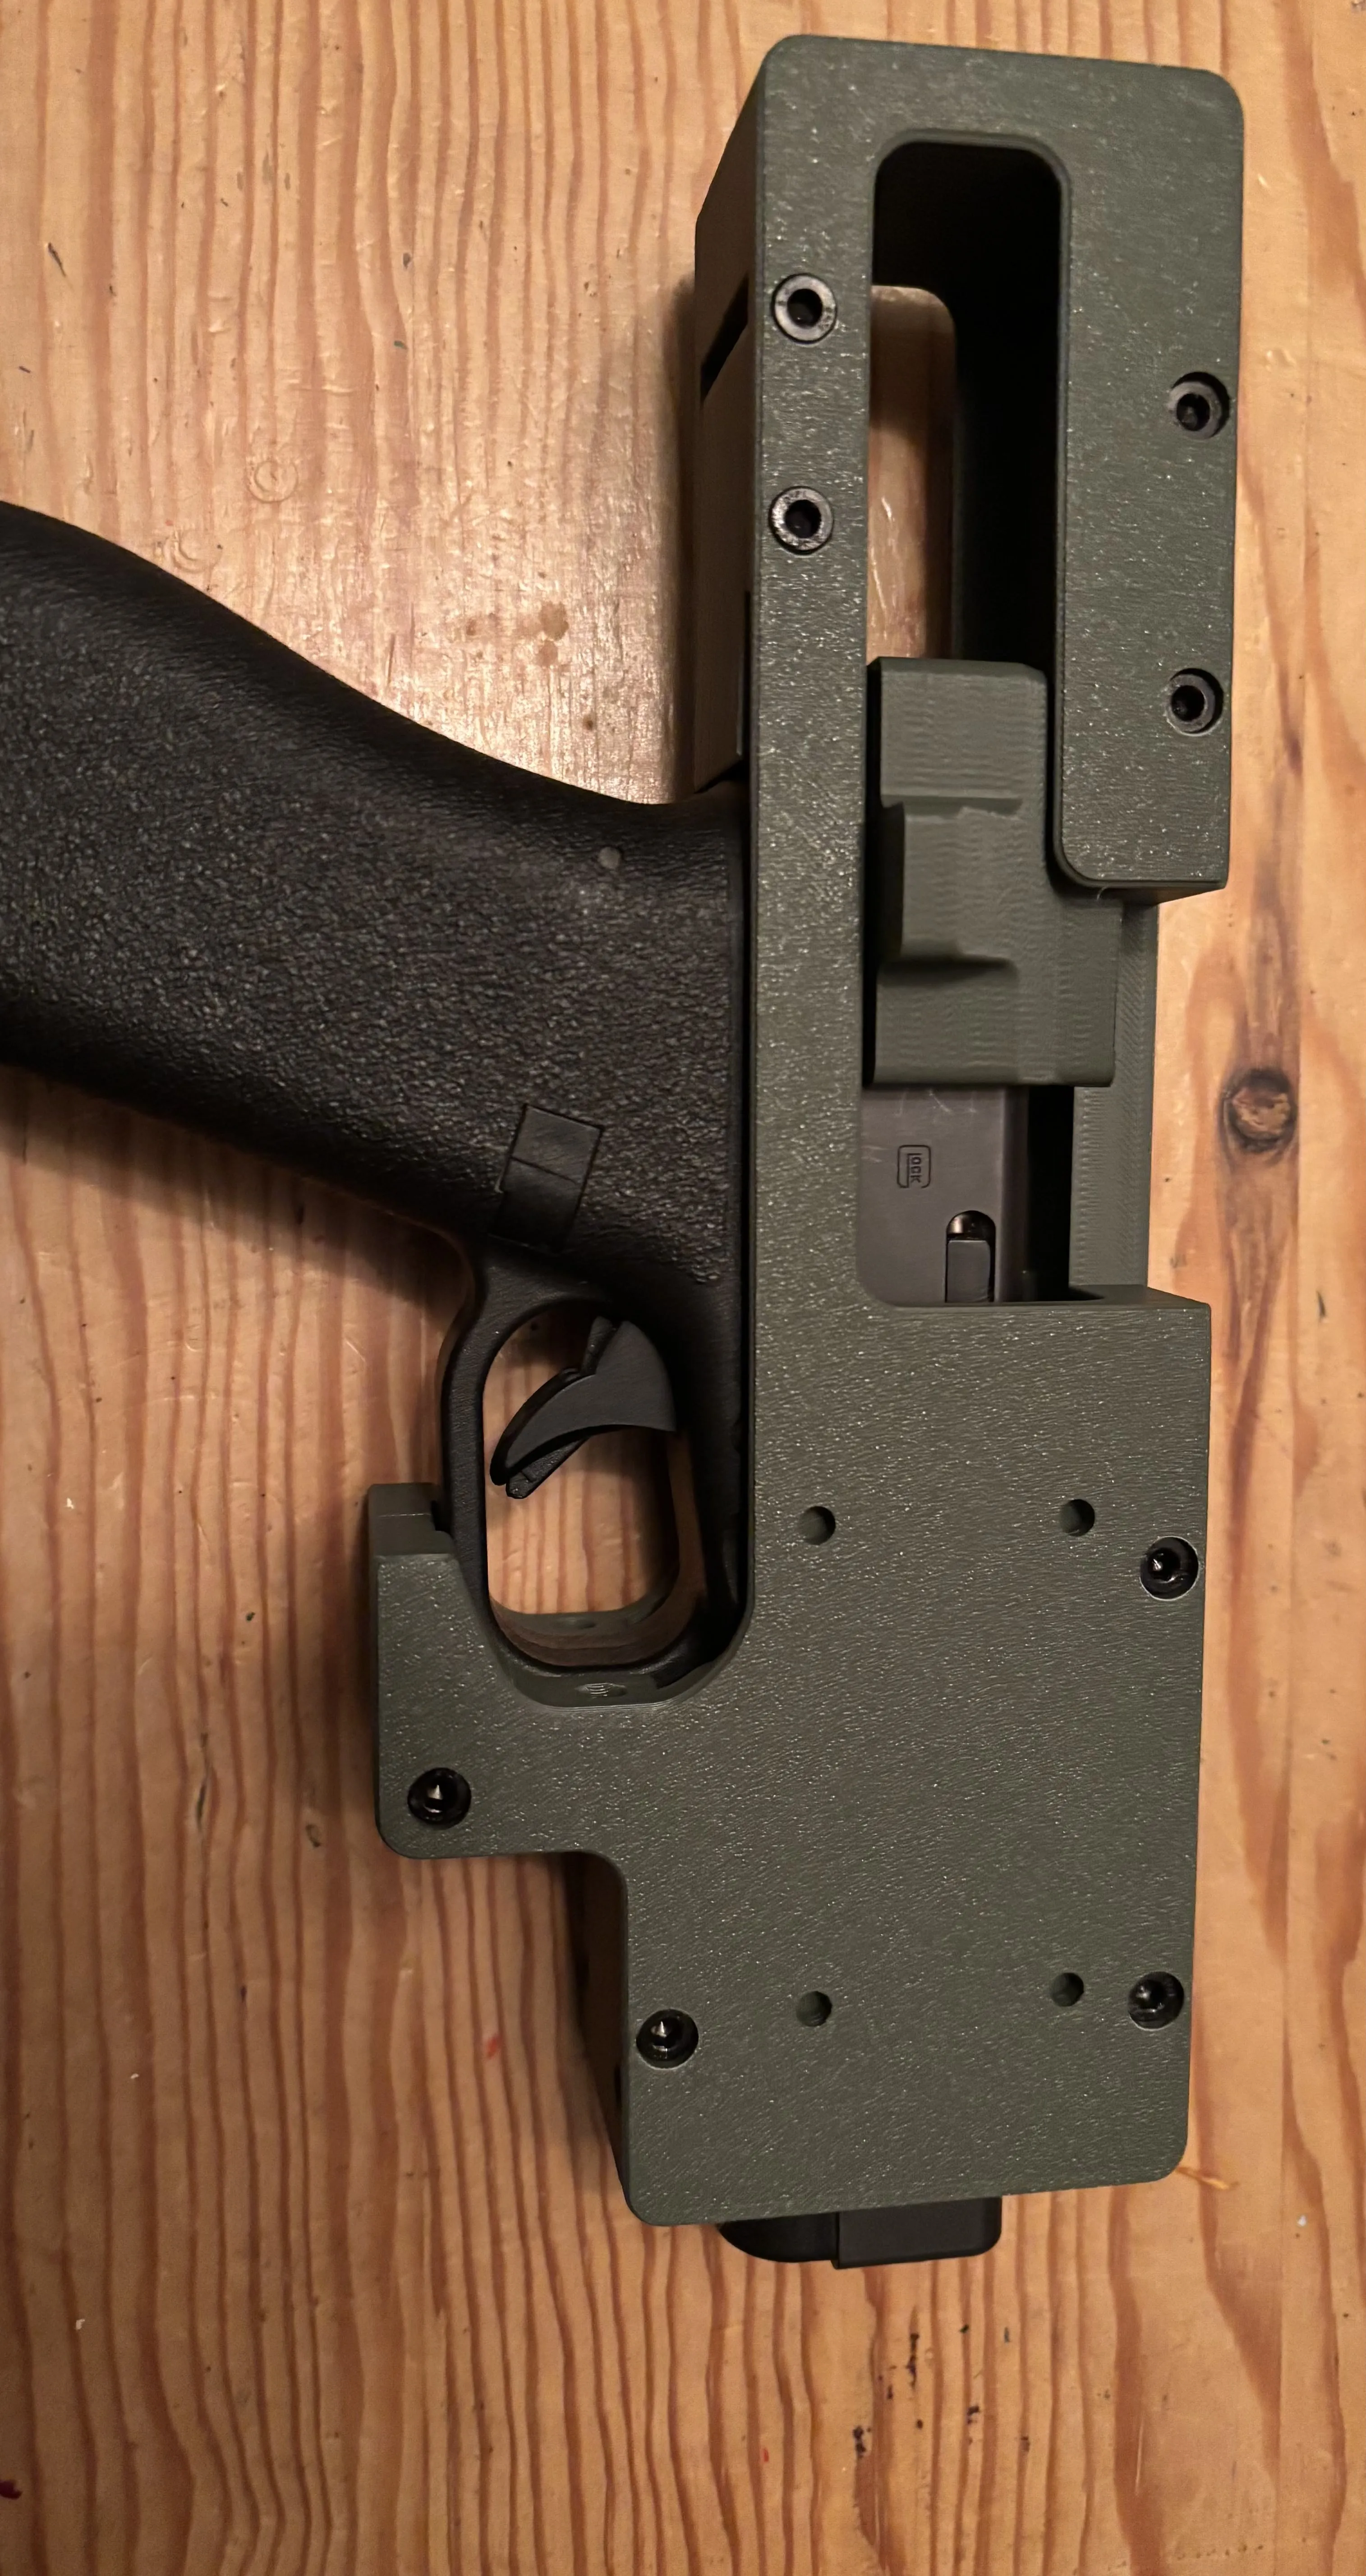
This design cradles the back of the frame and the front of the trigger guard, so it should fit most other Glocks as well!
If people with other Glock variants could print and verify that would be awesome!
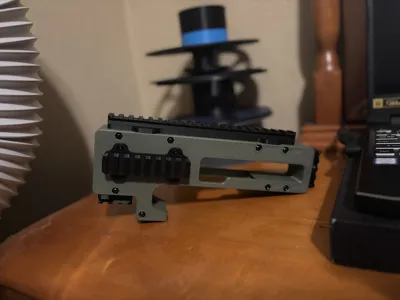
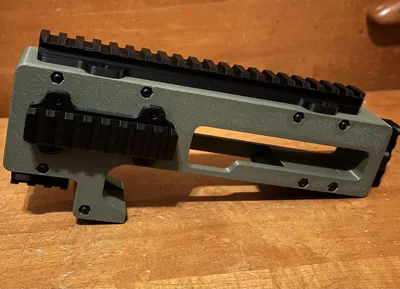
Im waiting on filament to print the rails so the reference pics are missing those, but its simple enough
Print settings
4 wall loops
.2 layer height
5 top and bottom shell layers
40 percent gyroid infill
BOM
PRINTED PARTS
8 M4x35 SHCS
8 M4 hex nuts
16-18 M3x4x5 Brass Heat-stake inserts (these are shorter than most brass inserts)
16-18 M3x6 BHCS
ASSEMBLY
Use 6 M4 screws and nuts to secure the two halves of the shell together. (the tolerances are snug so use a flat surface to help pop the nuts and screws through the thin sacrificial support layer) leave the two “locking block” holes empty for now
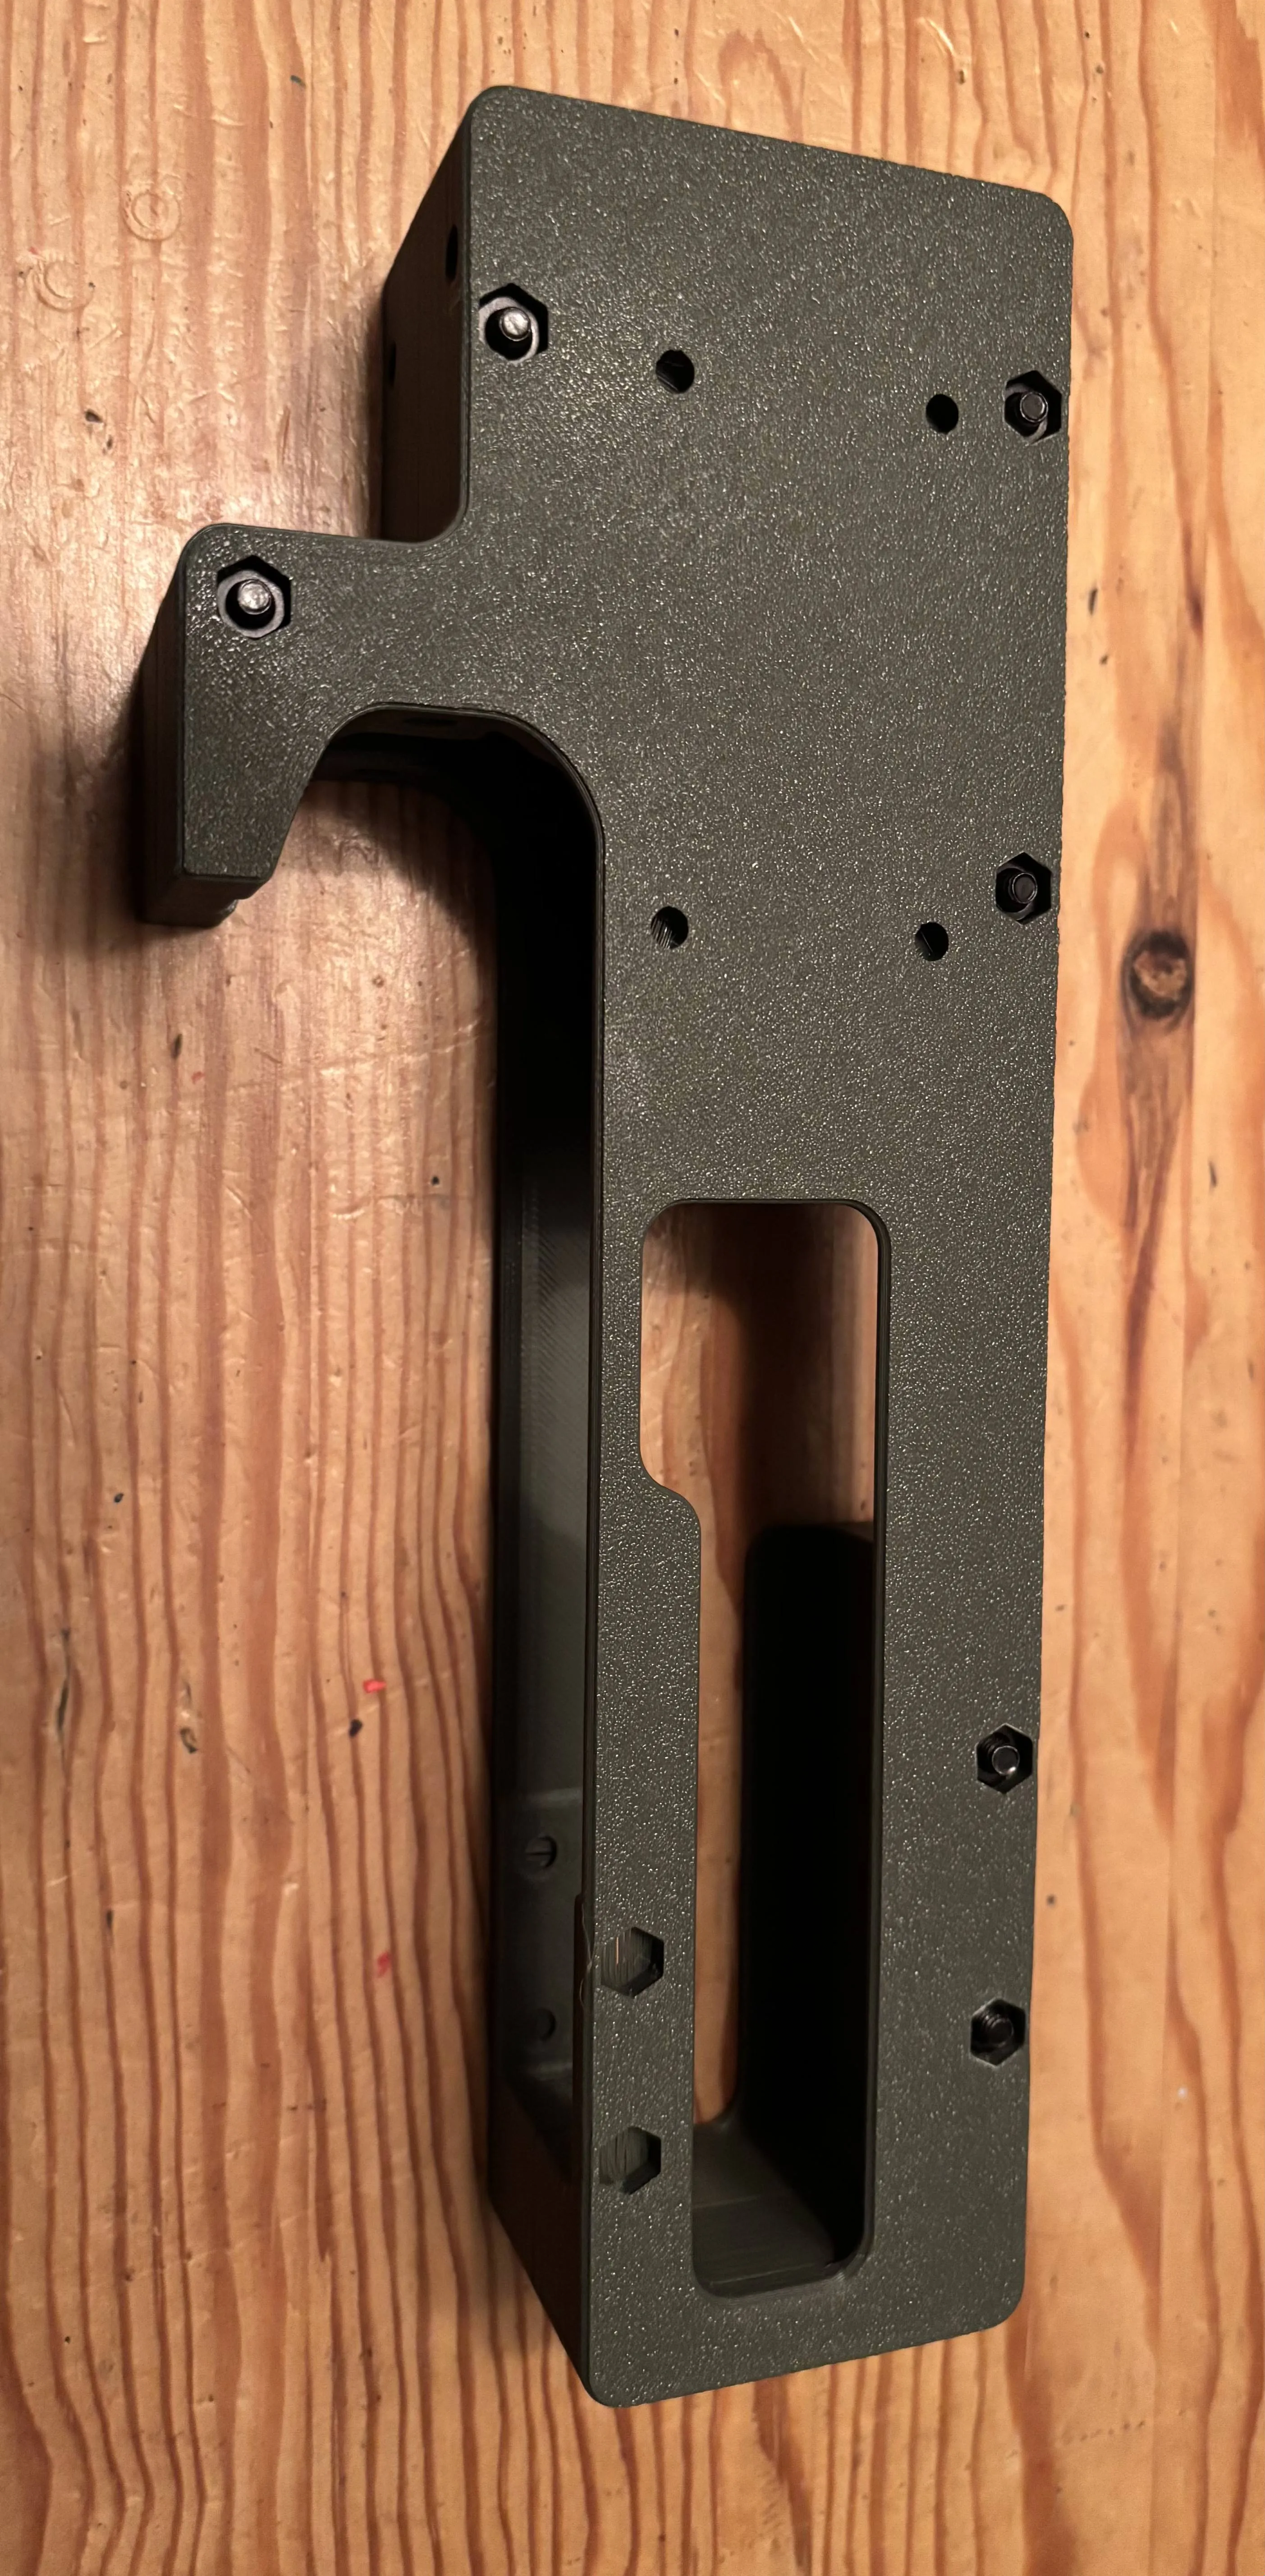
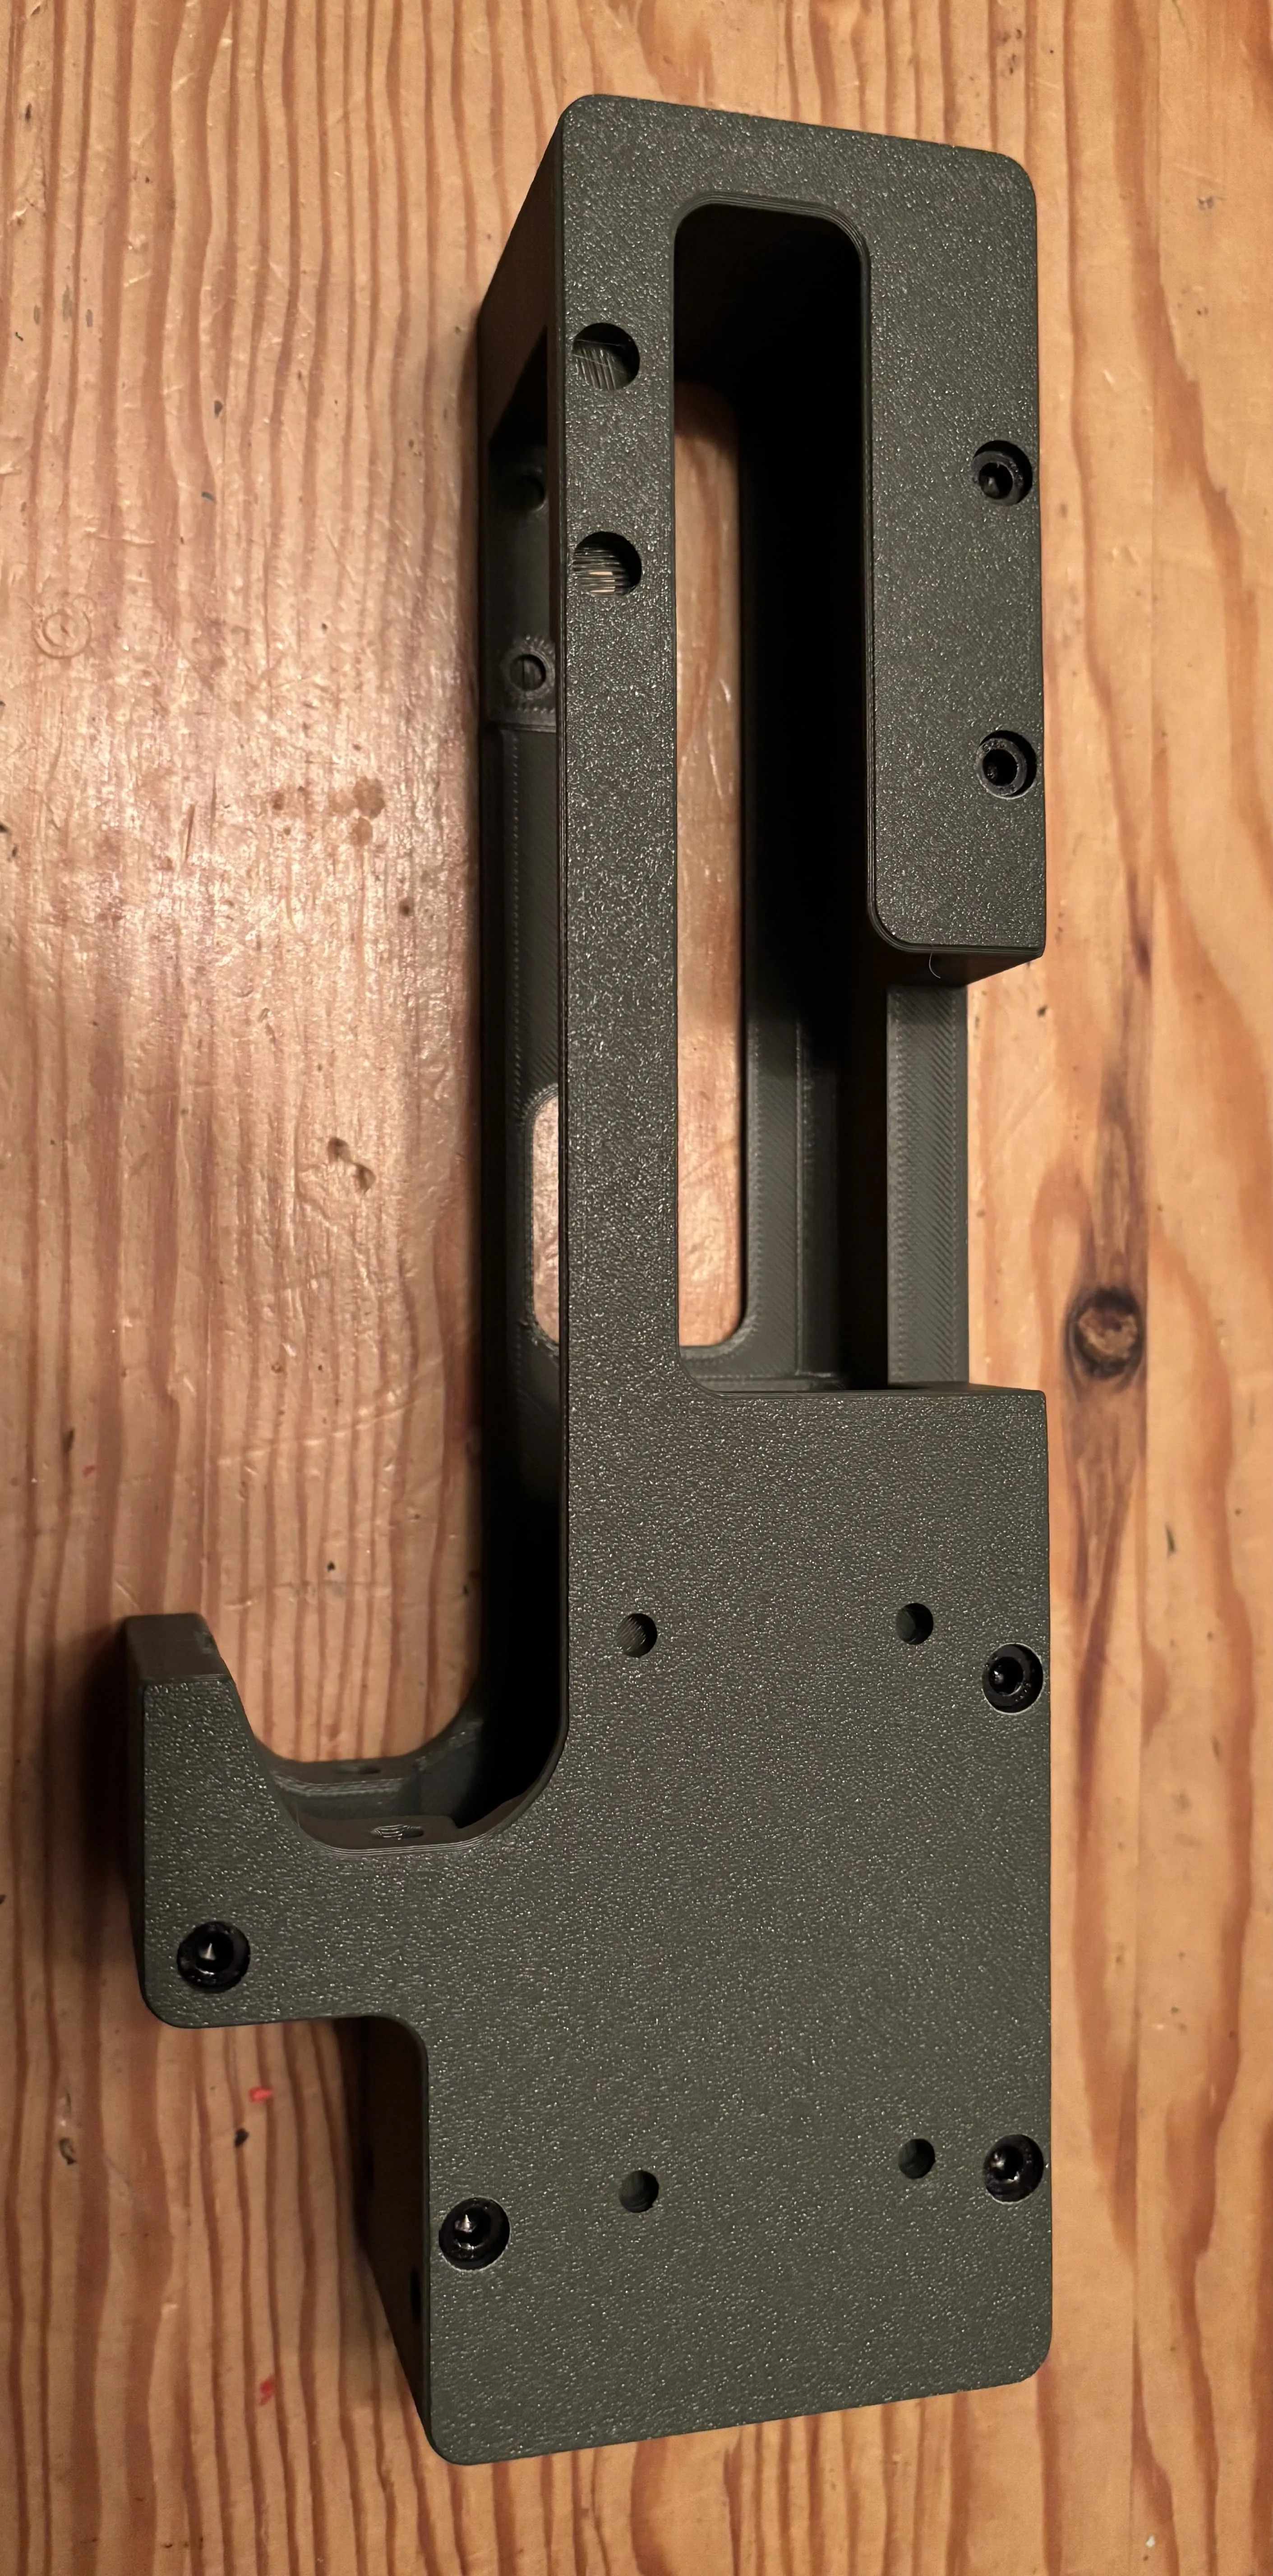
Use the heat stake inserts and insert them in all the rail mounting holes
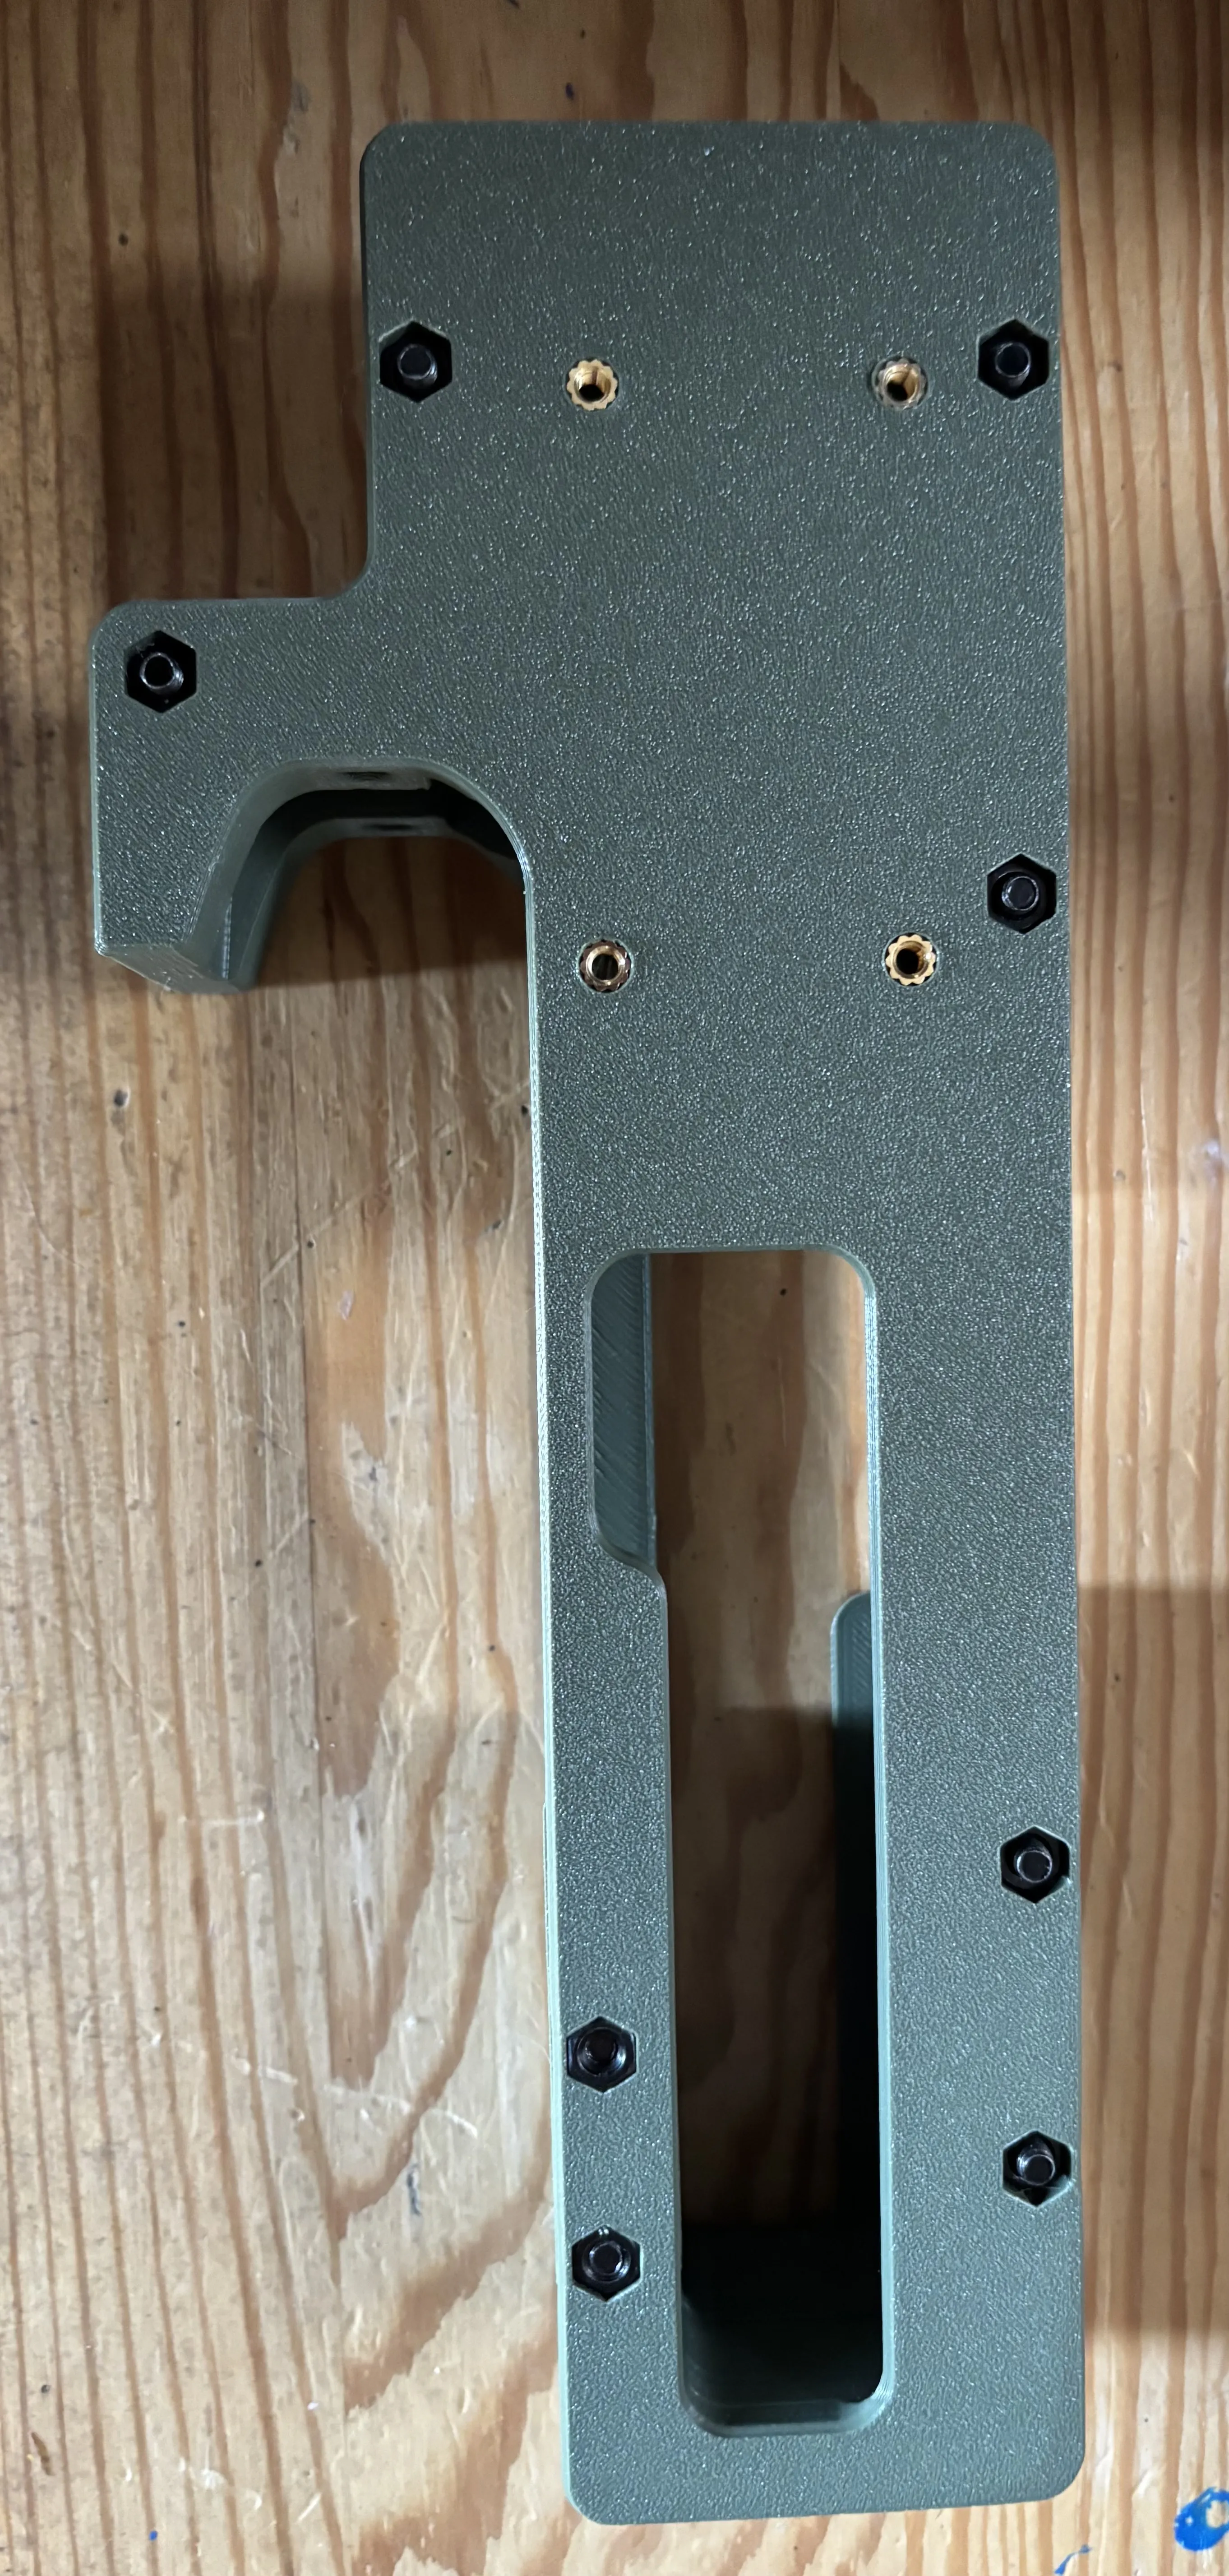
Mount the rails with the M3 BHCS
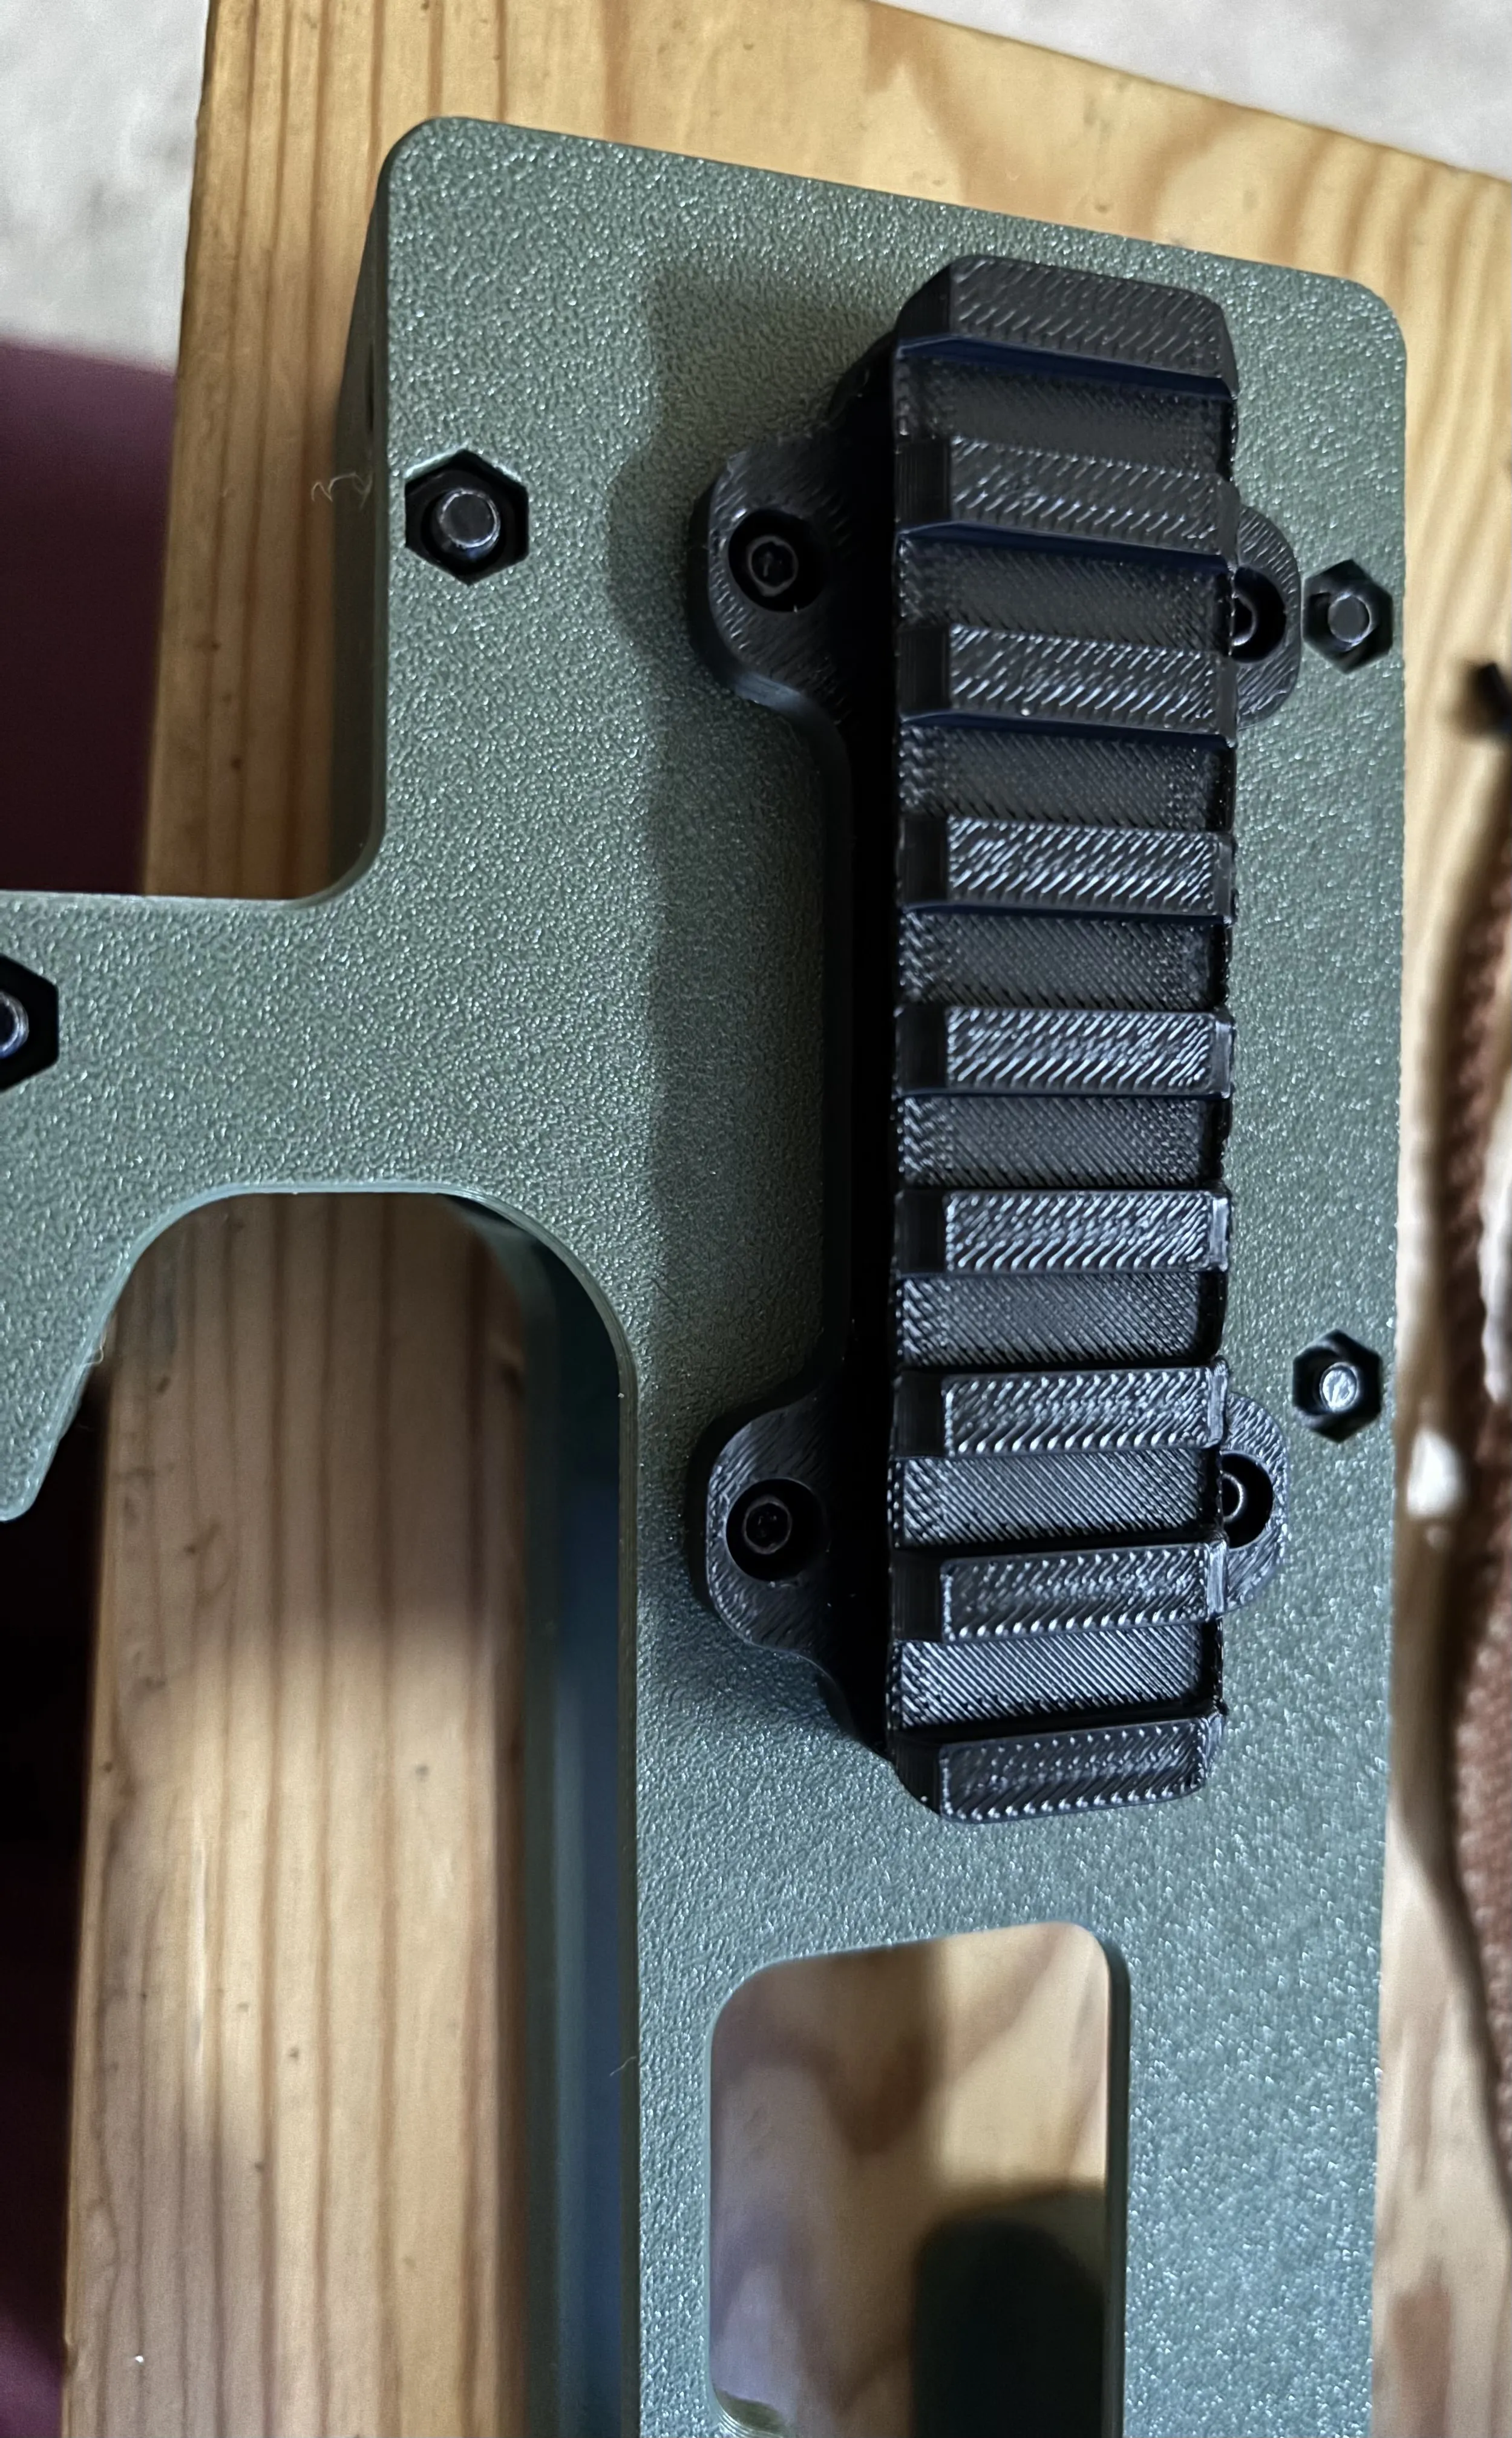
Slide the charging handle into the shell through the ejection port and into position
Slide the front of the pistol into the shell and line up the charging handle onto the rear of the slide, the inside of the charging handle should be up against the slide cover plate (its also a bit snug)
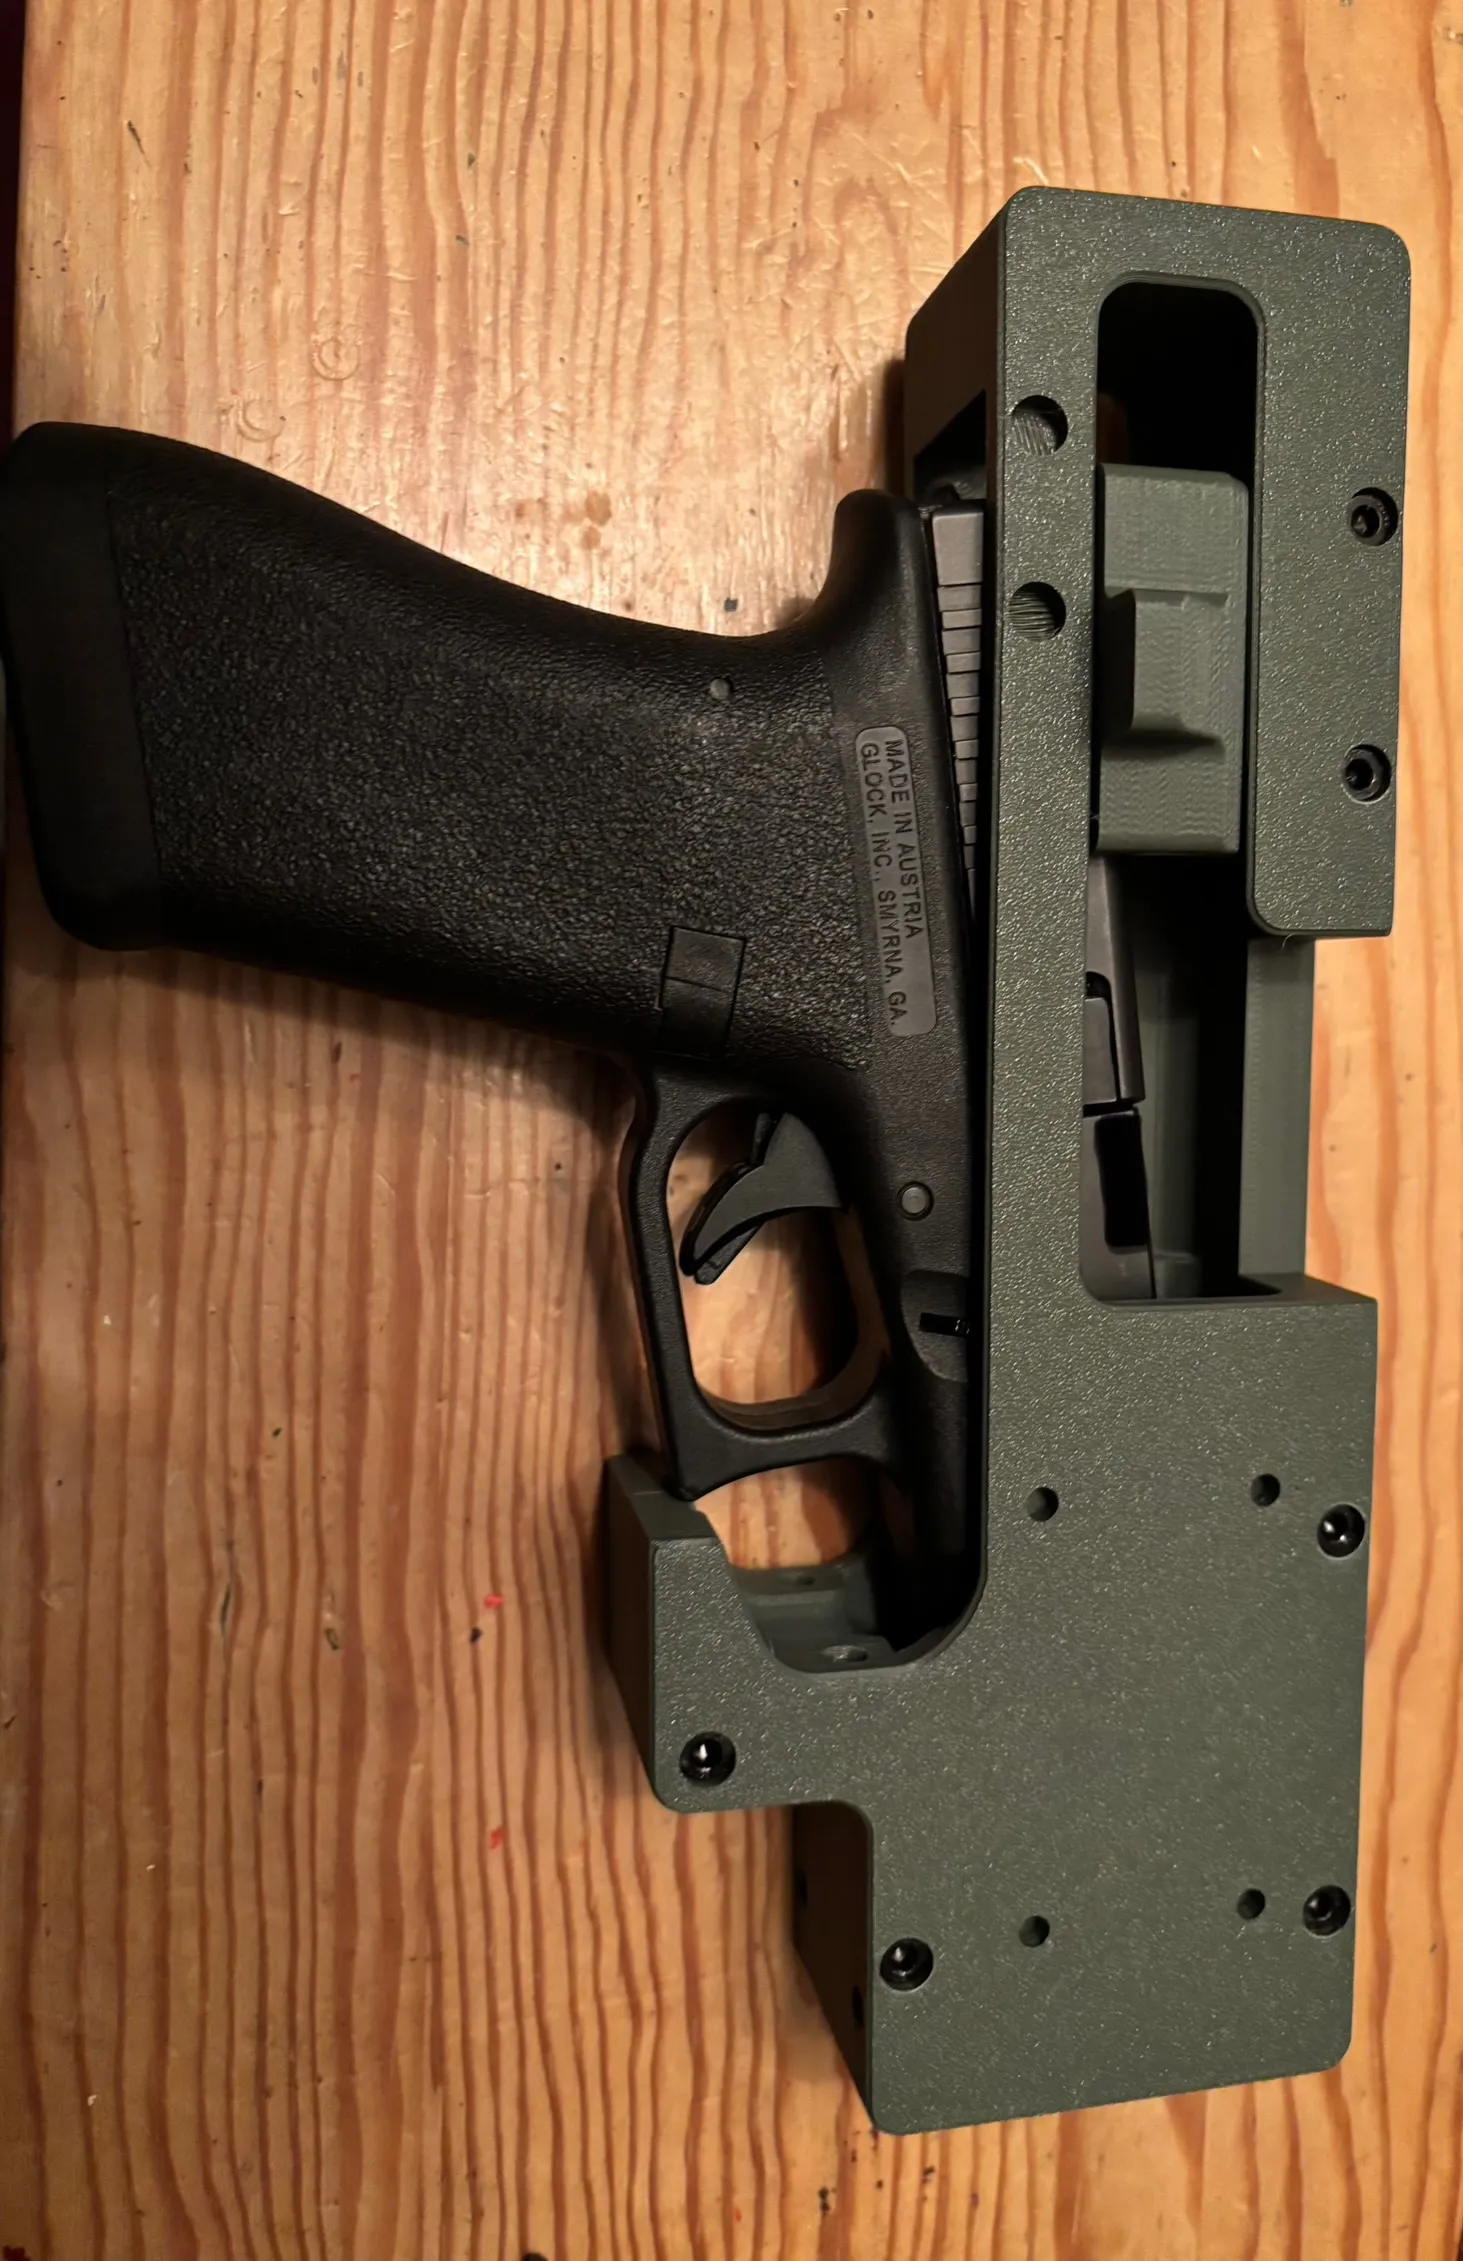
Once charging handle is fully seated slide the pistol all the way forward in the shell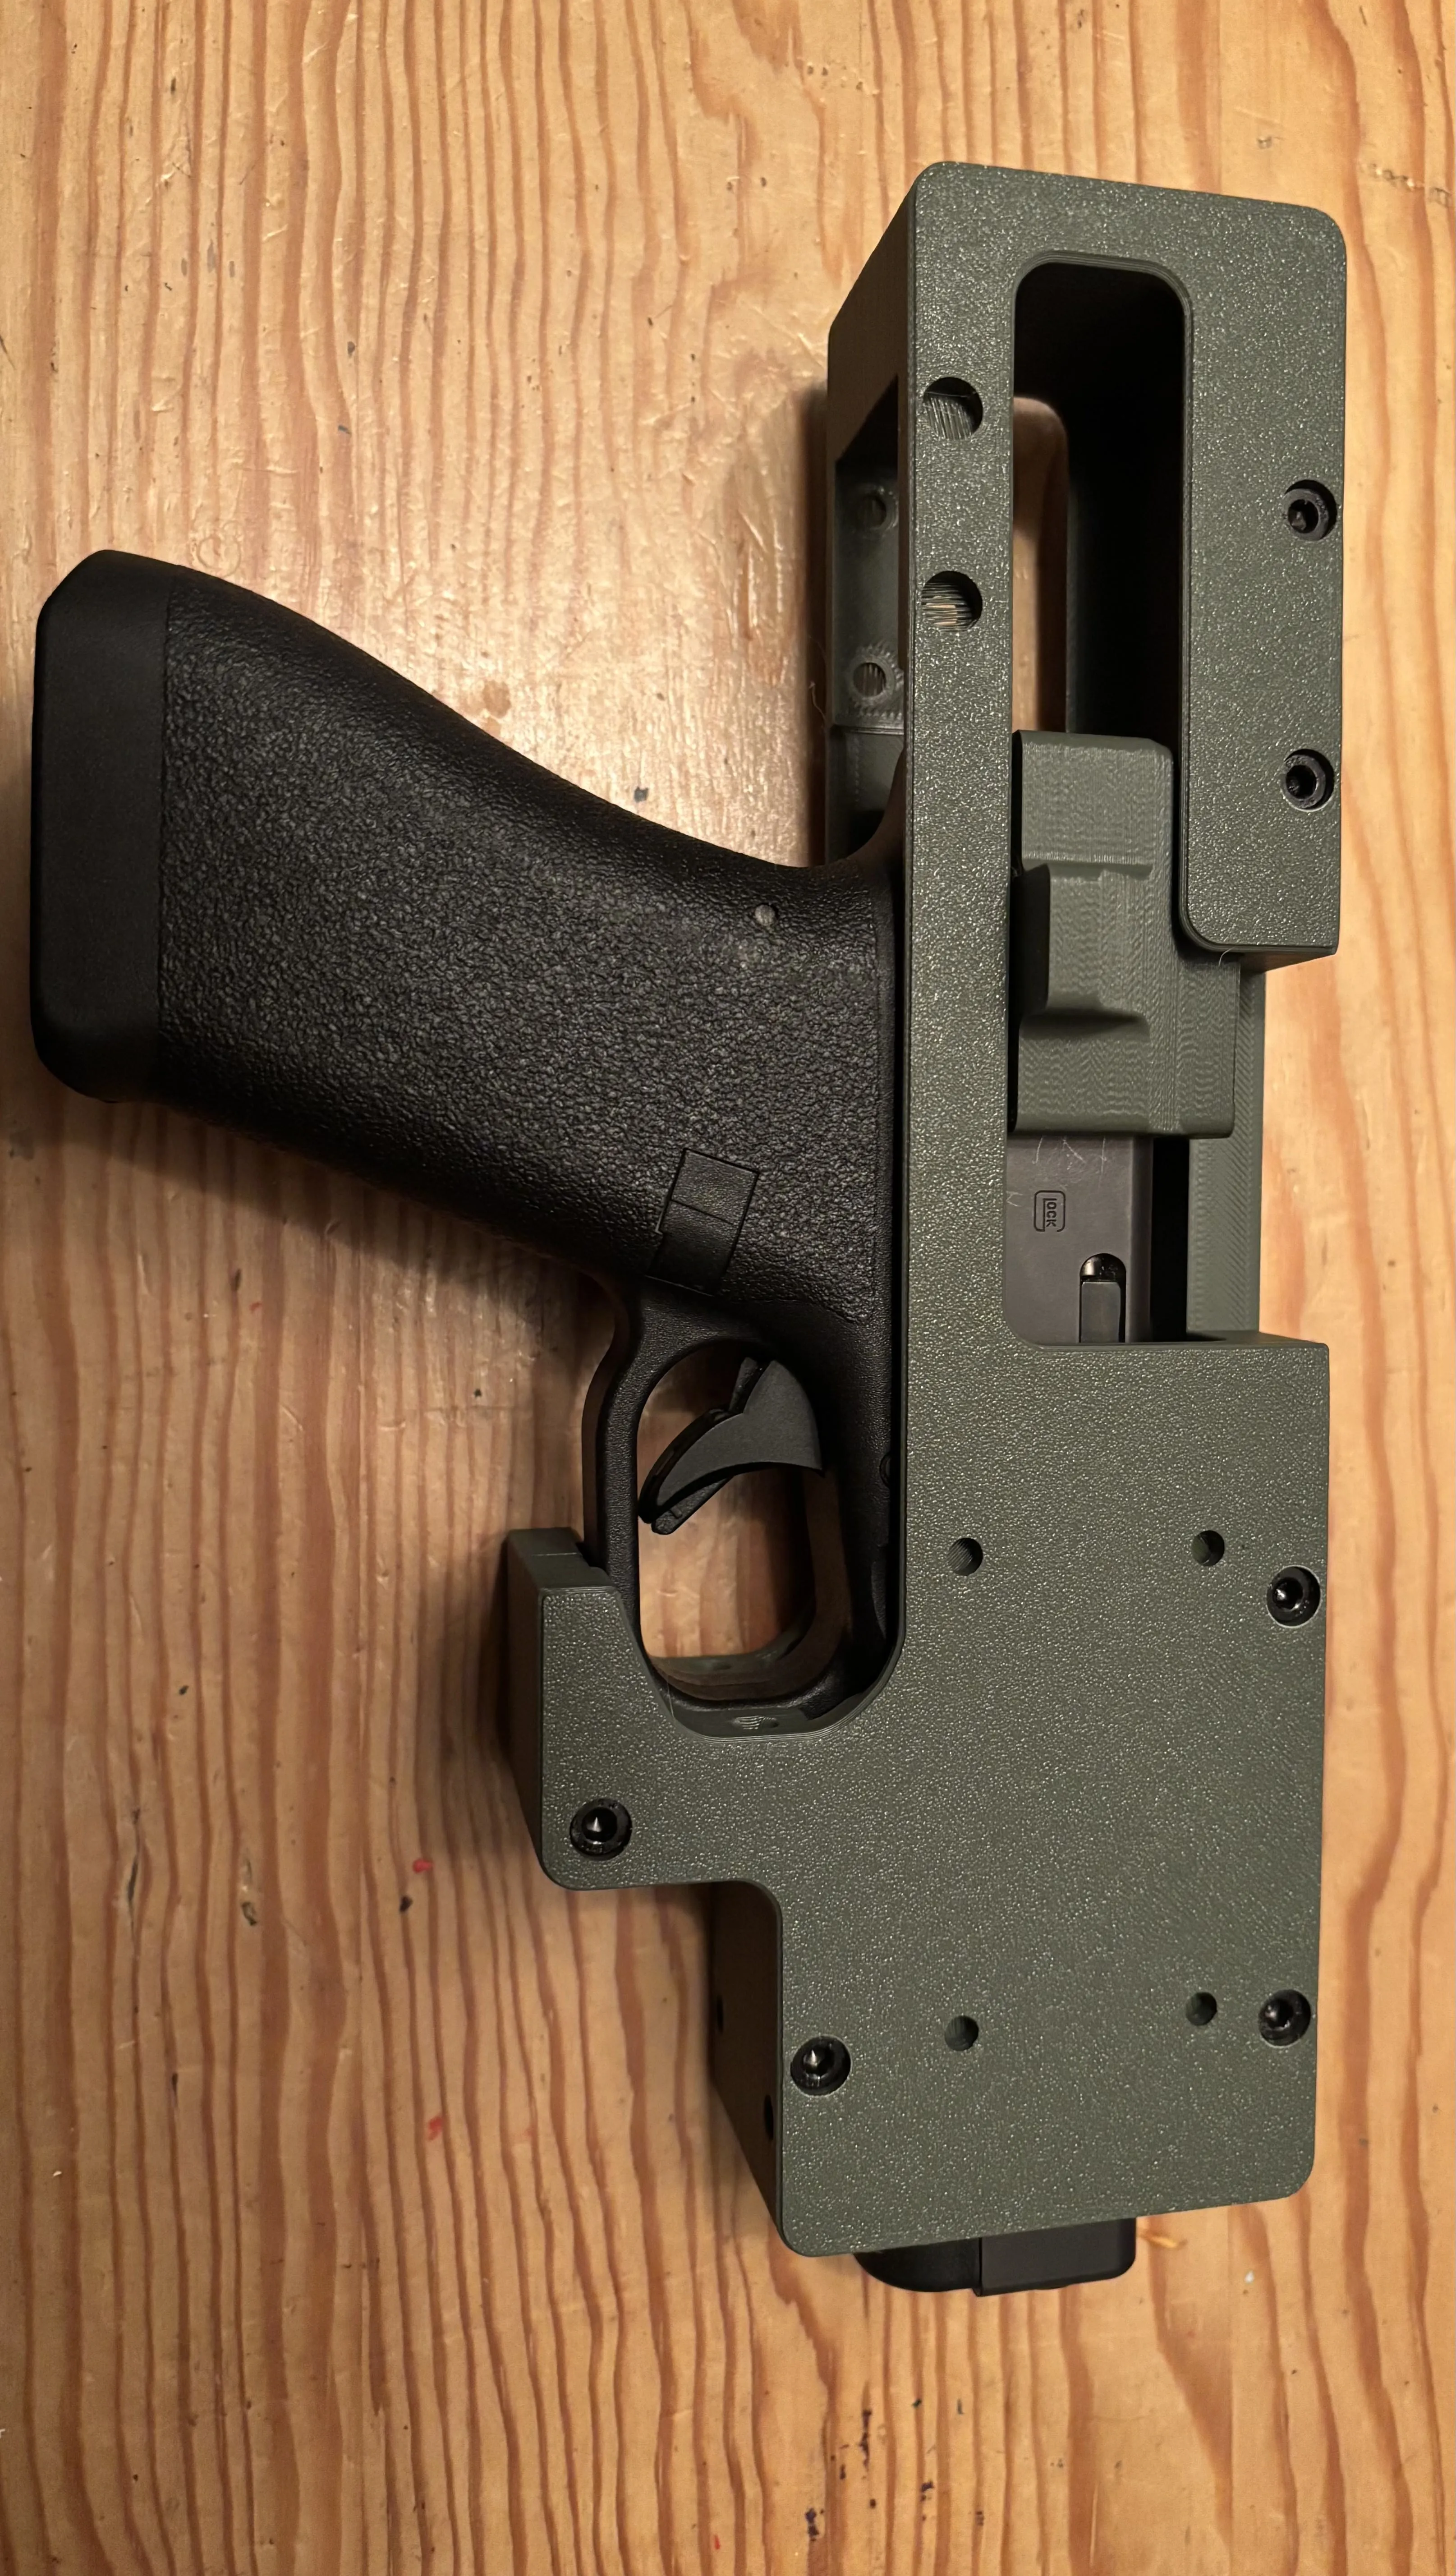
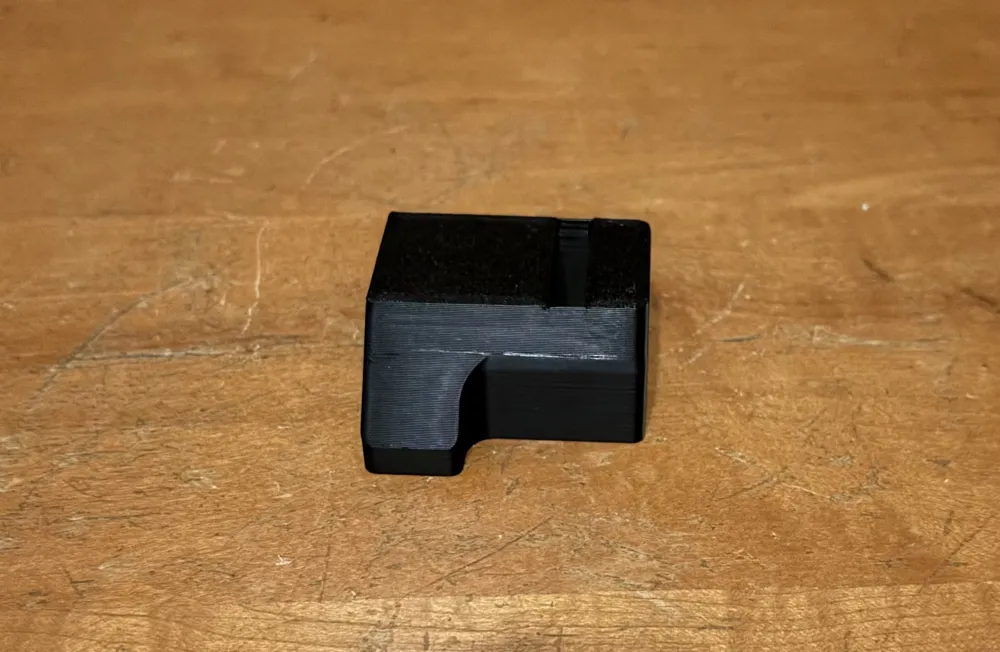
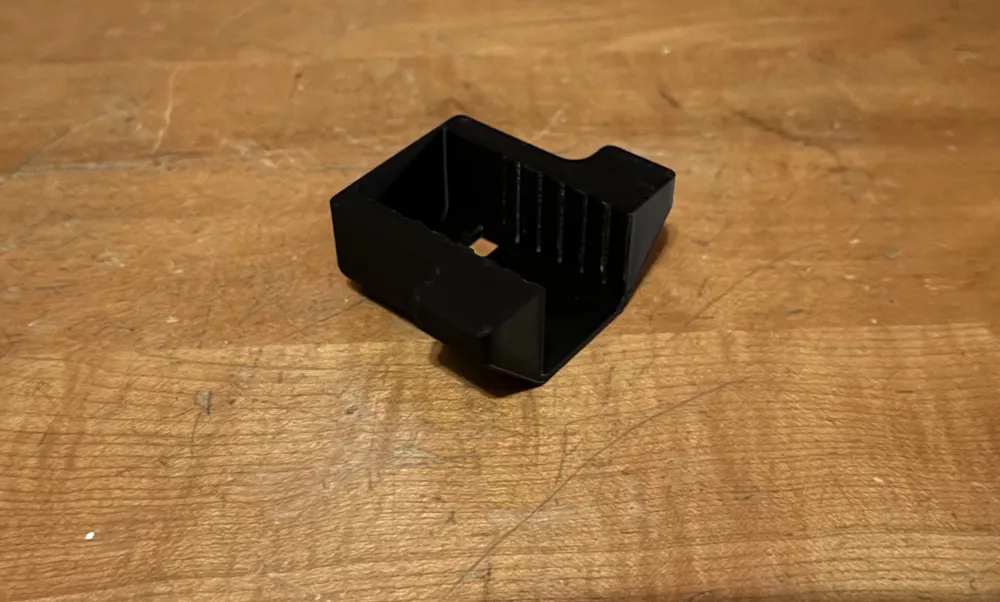
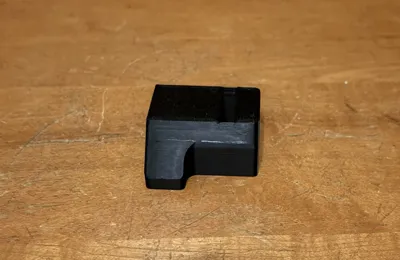
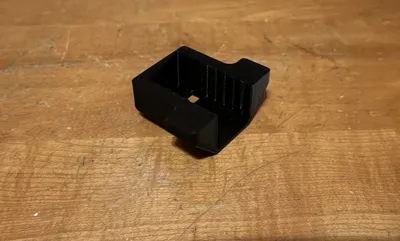
Take the locking block and maneuver it in place behind the pistol and insert the remaining 2 M4 screws and nuts
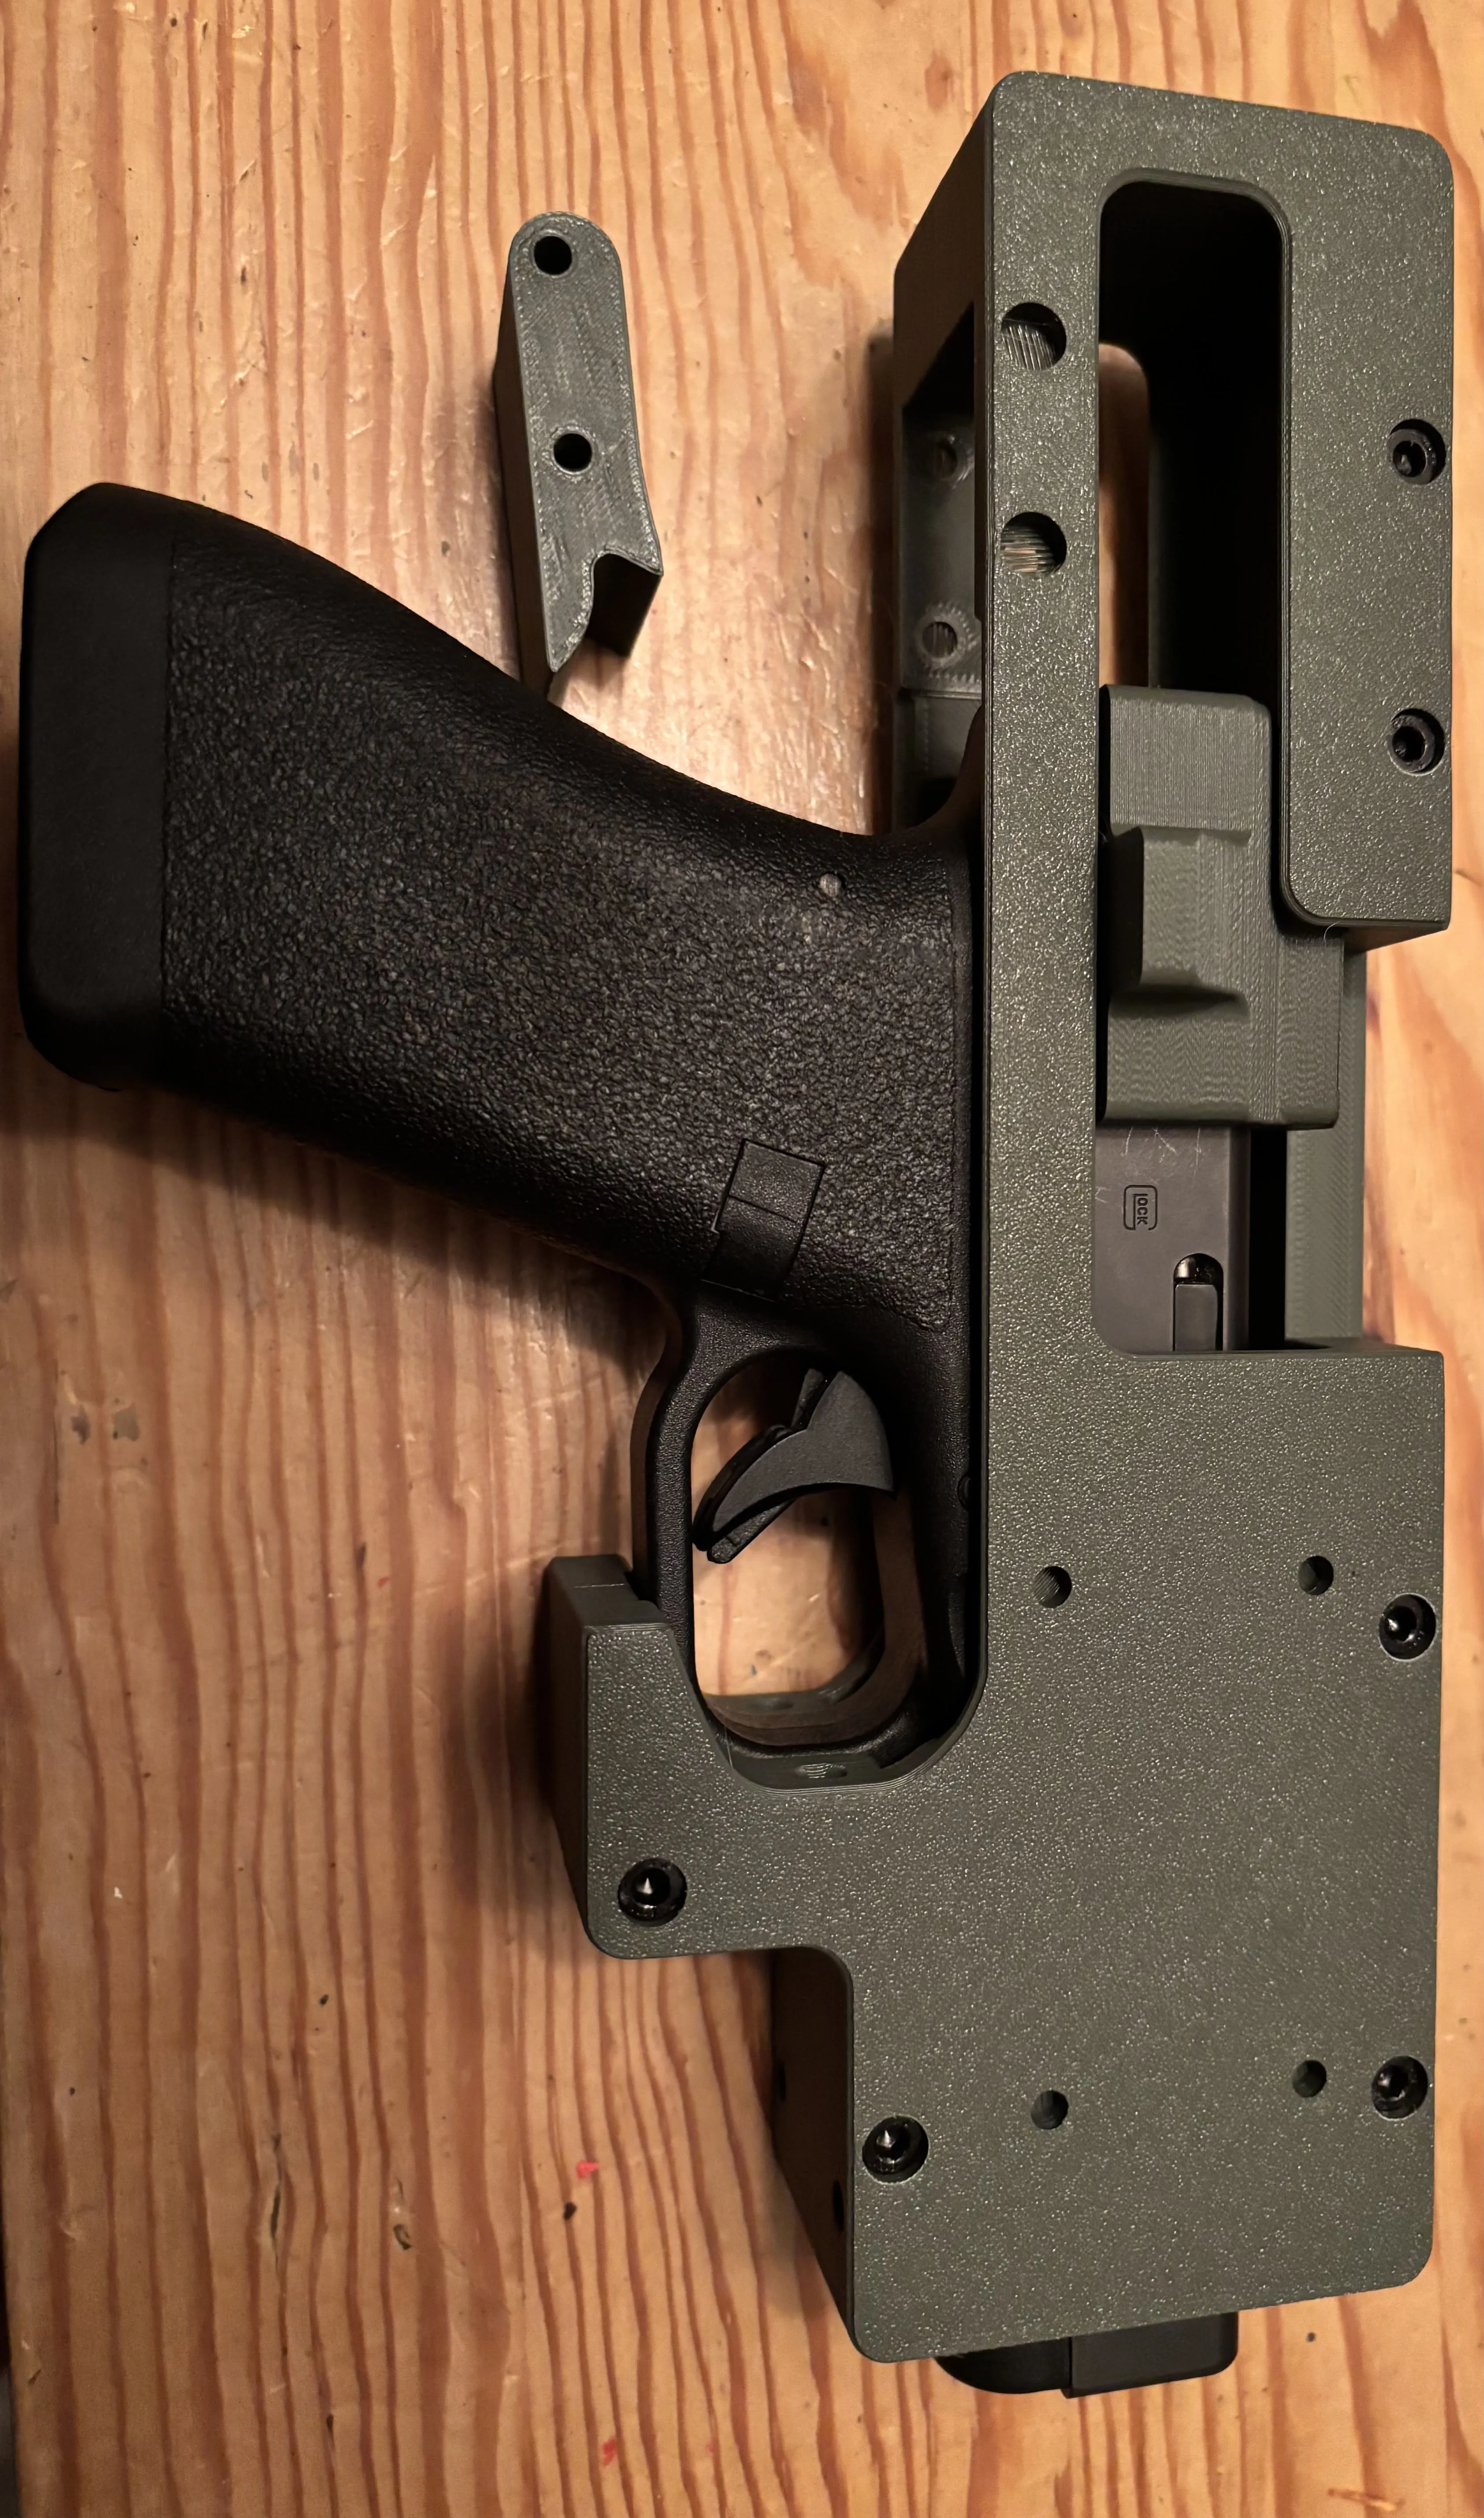
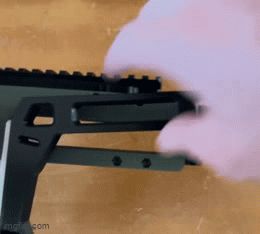
Test Video
OPTIONAL
I added two holes in the trigger guard area to allow for an additional locking bar that uses the M3 Heat stakes and M3 screws that is why the BOM says 16-18
Used this model to assist in my P80 version: https://sketchfab.com/3d-models/polymer80-pf940c-27d533bbbfb7473482e2b71013368b95




Comment & Rating (145)