
Feather Weight Filament Rack System

Print Profile(11)


Bill of Materials











Description

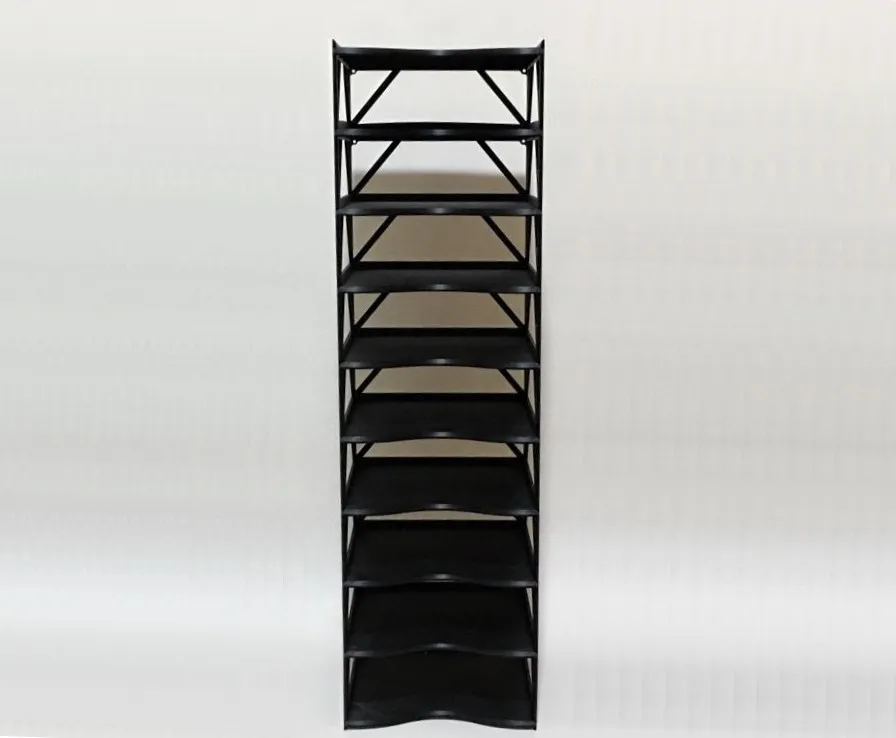
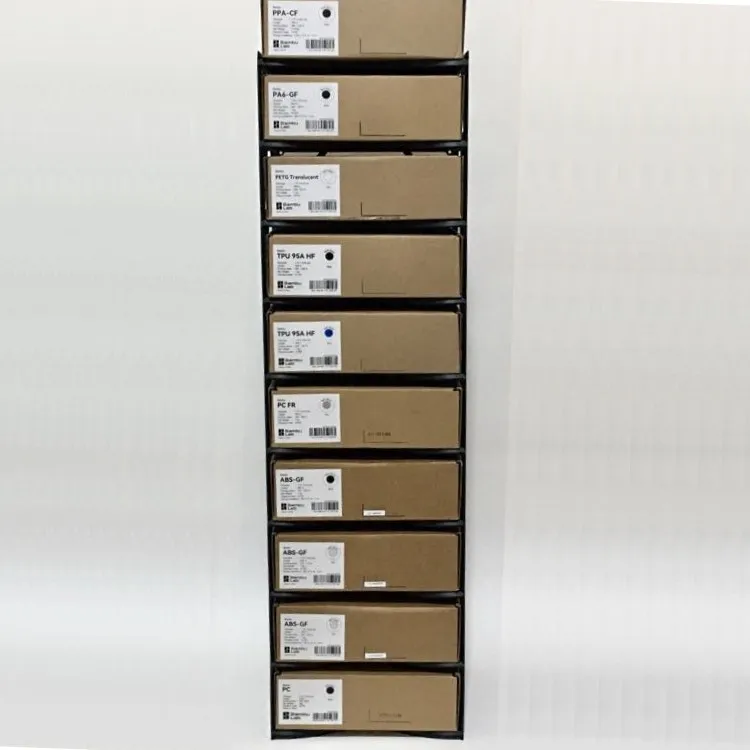
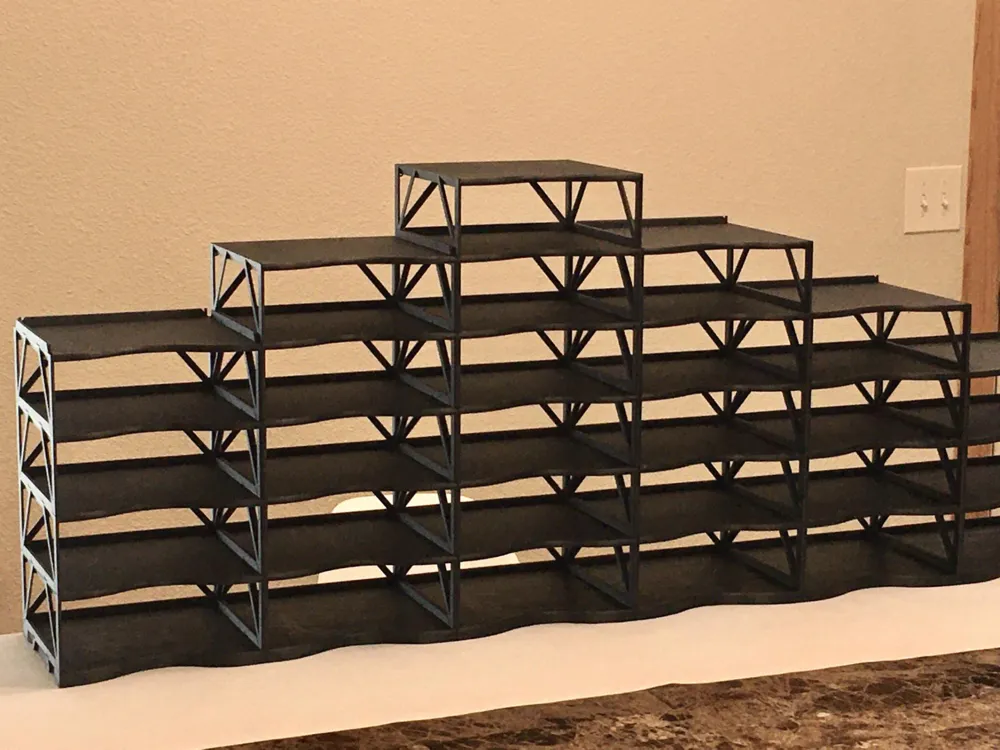
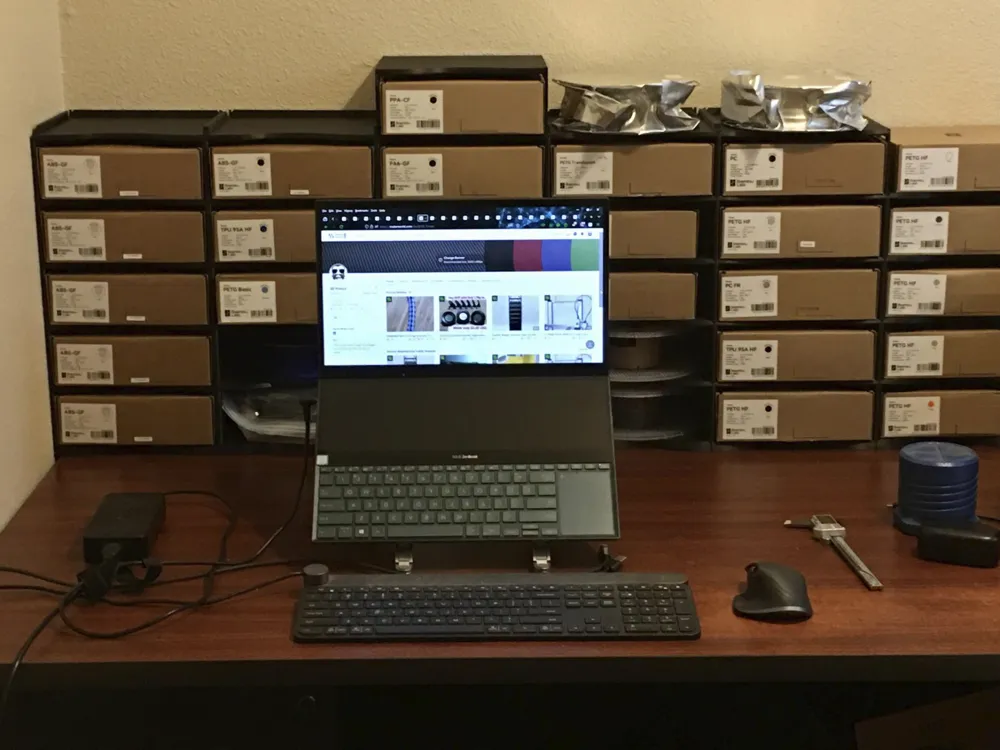
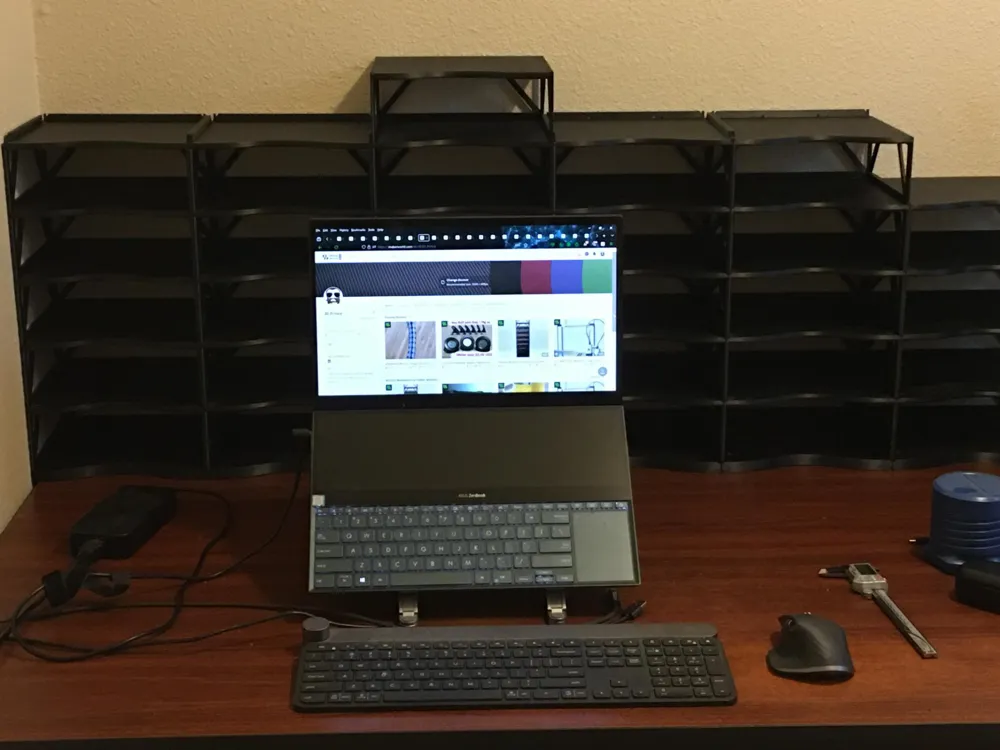
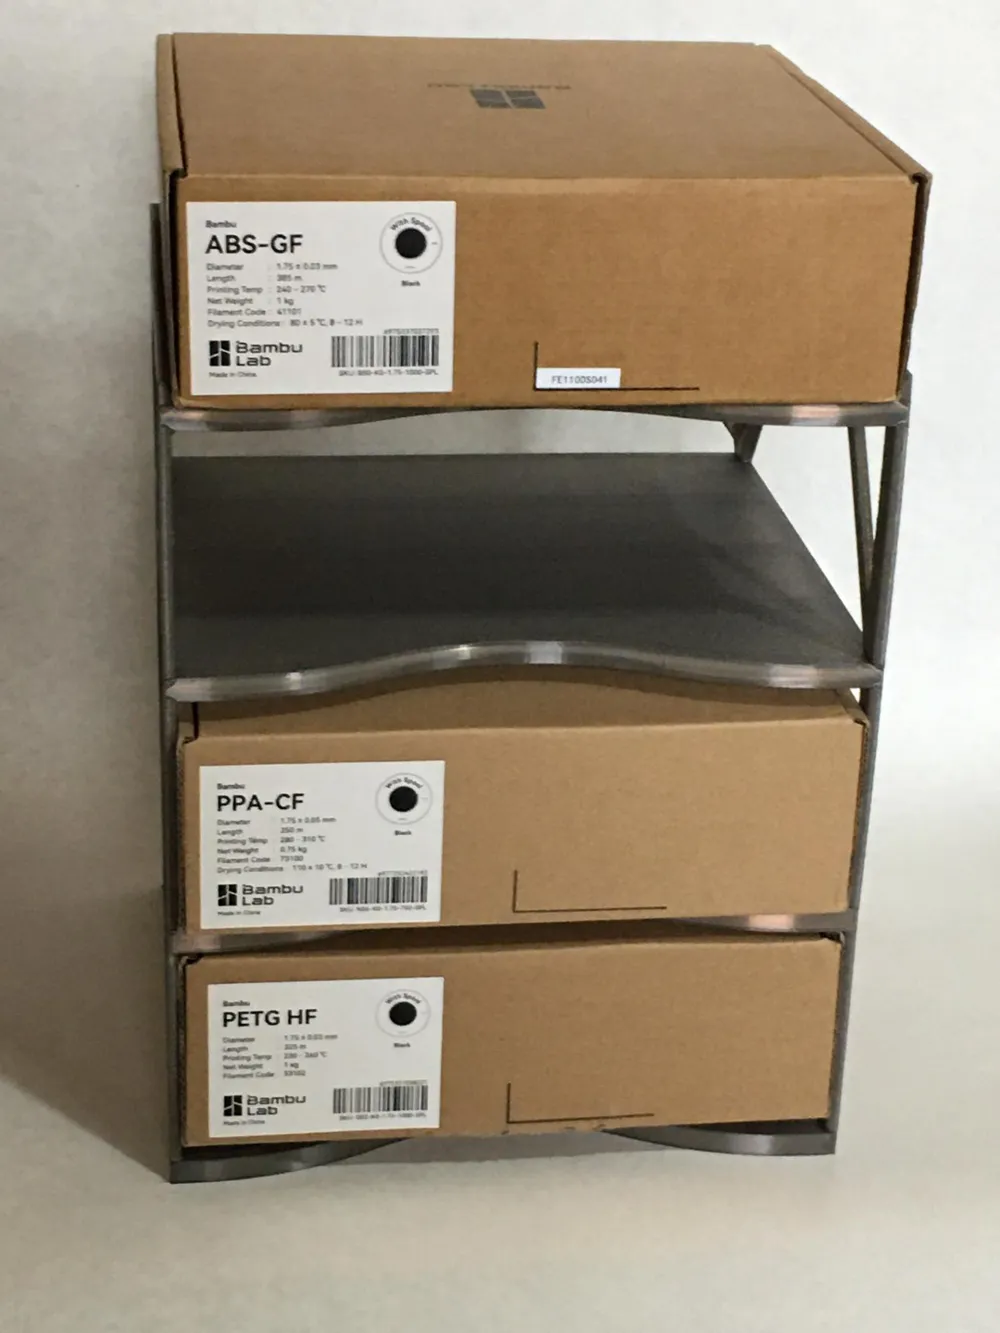
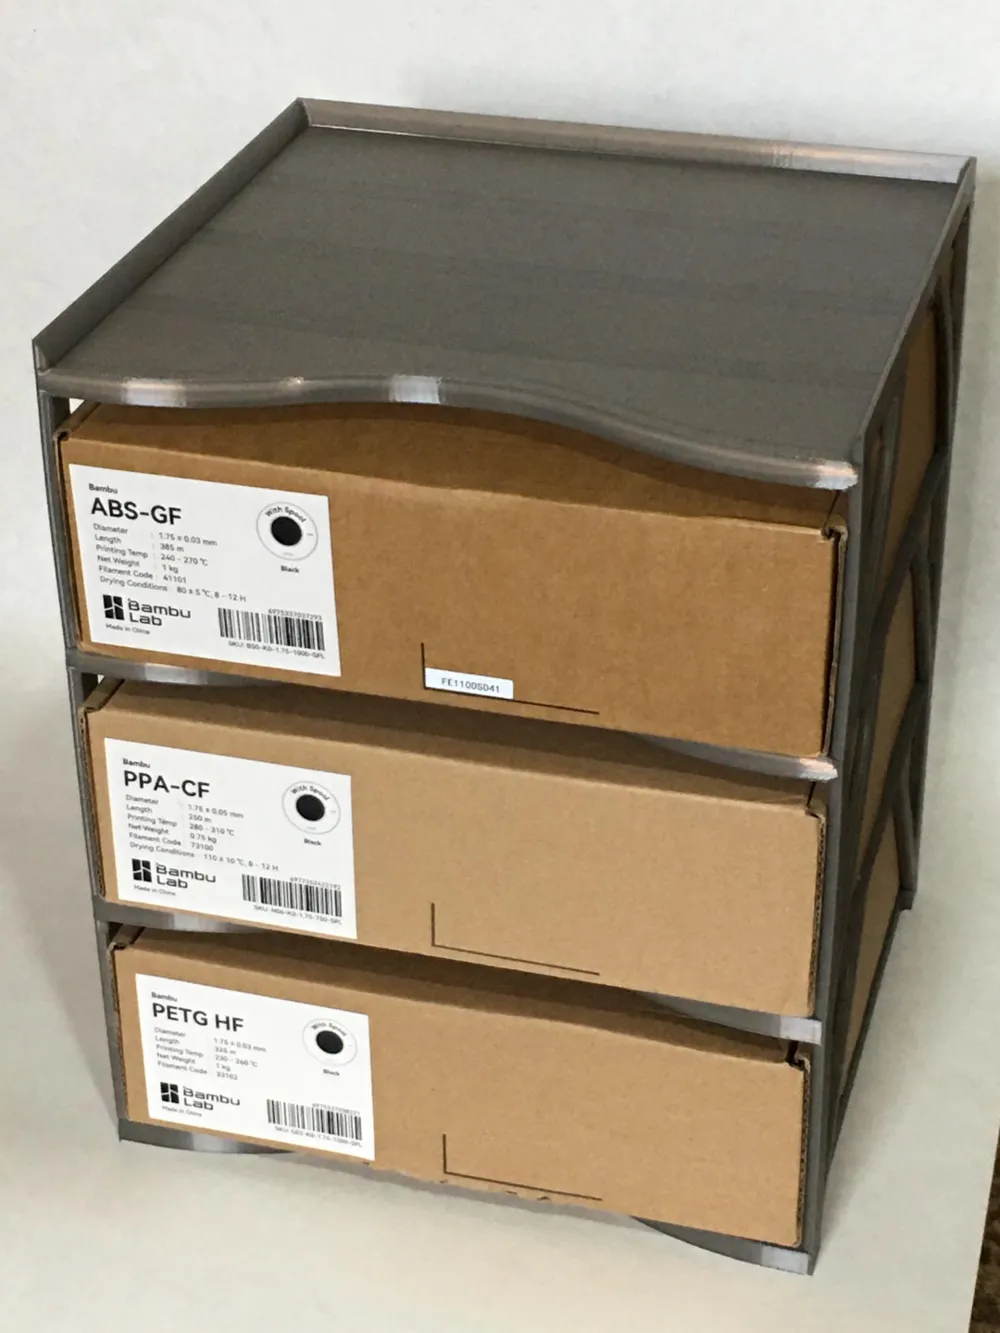
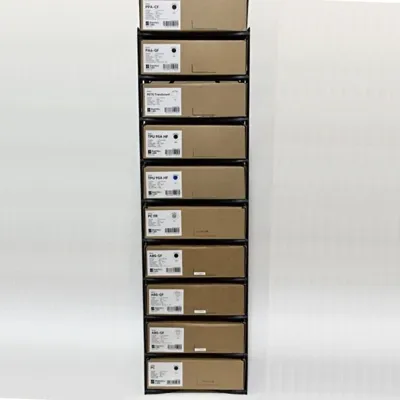
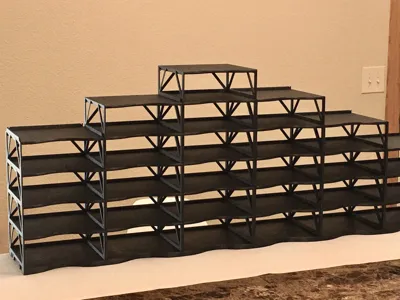
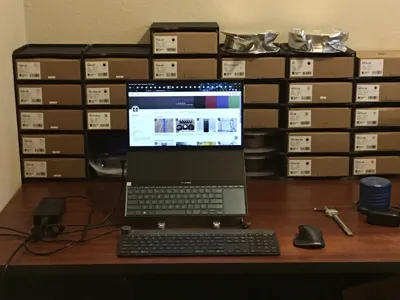
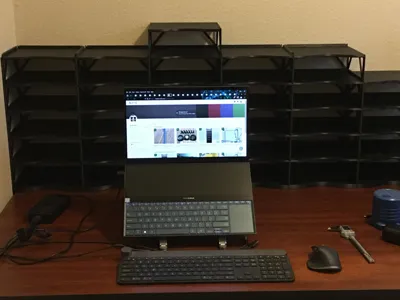
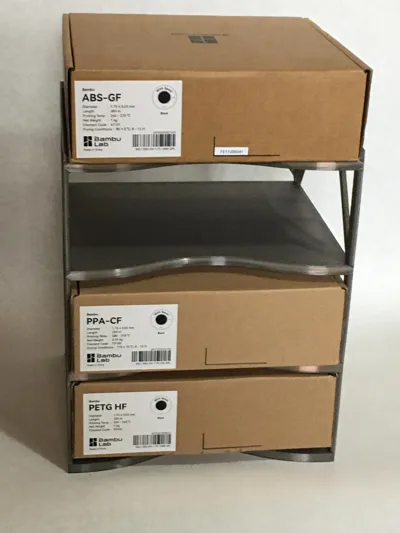
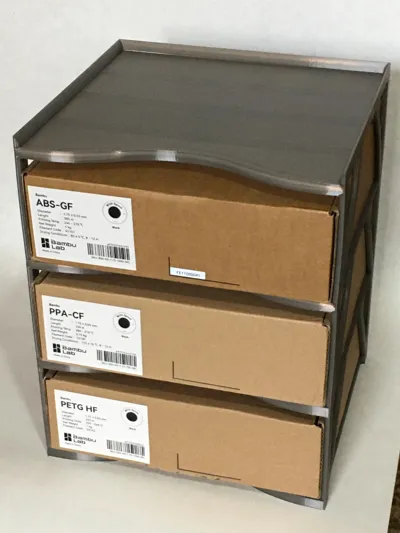
This filament Rack system allows you to keep your Filament stacked and organized while allowing you to pull any filament from any where in the stack! you can also use the empty boxes to keep projects organized with this Filament rack system too!
Also please check out my other cool models that you might like by clicking on this text here !
Boost Me (for free)
If you saved a small fortune in the cost of Filament and many many hours of printing with this model, please Boost Me, by giving this Model the boost(s) that you feel it is worth in your savings. let me know how much you appreciate the savings and to help me make more cool models, it really does help a lot. Thank you :D
!!!Update!!! Check out FAST-RACK it is uses about 50% more filament but prints in less than half the time as this model !
+ About 50 grams* each rack level ( could get 20 racks out of one roll of filament! )
+ 2~ hour or less print time each module
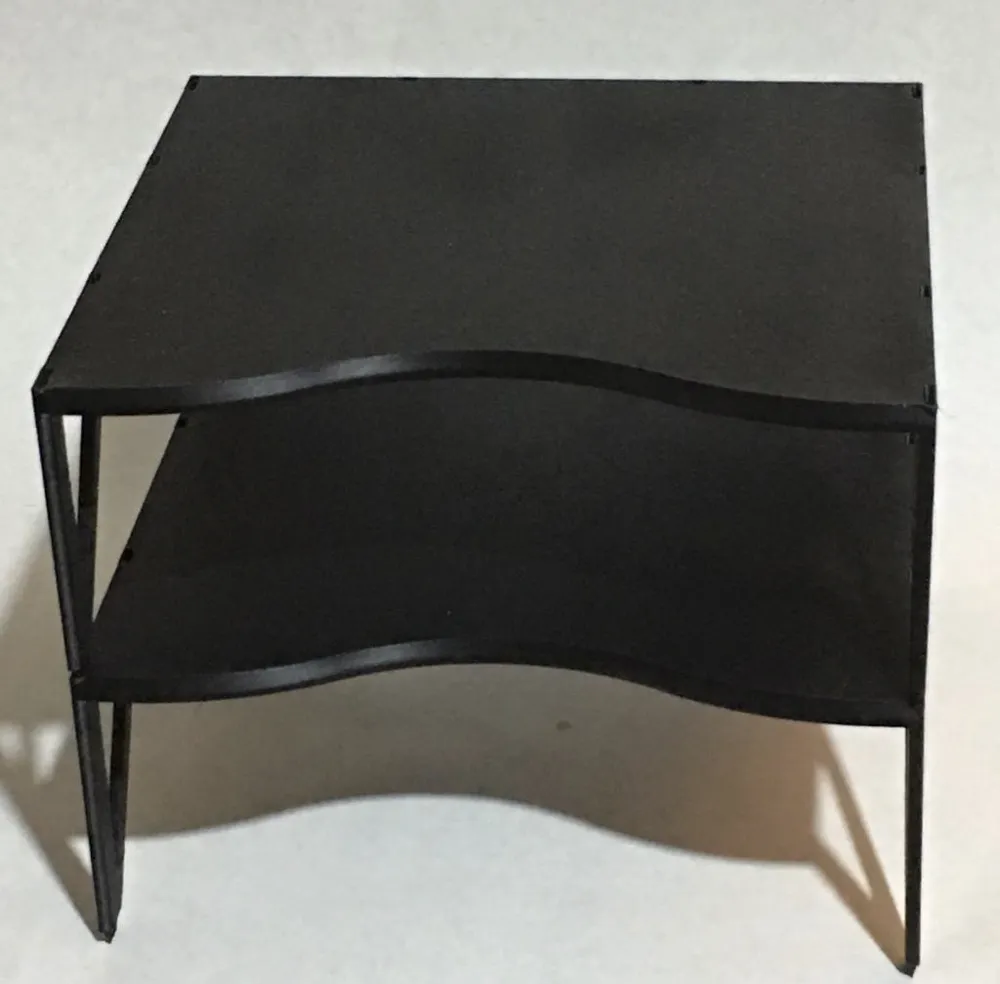
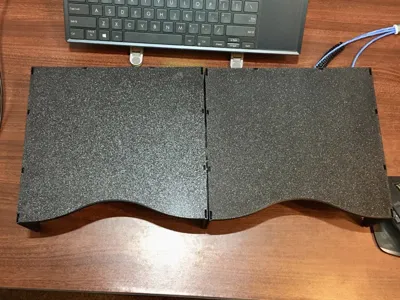
+ Ergonomic finger cut out and spacing between levels for easy access to grab a box
+ Print in PLA or PETG (TPU not recommended lol )
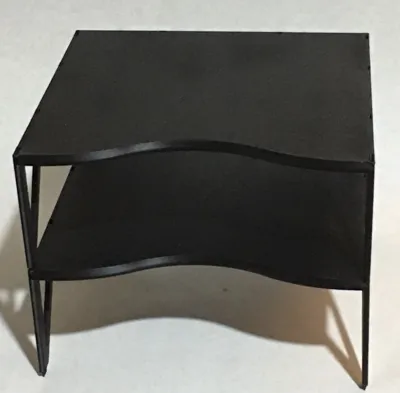
+ Snaps together each level
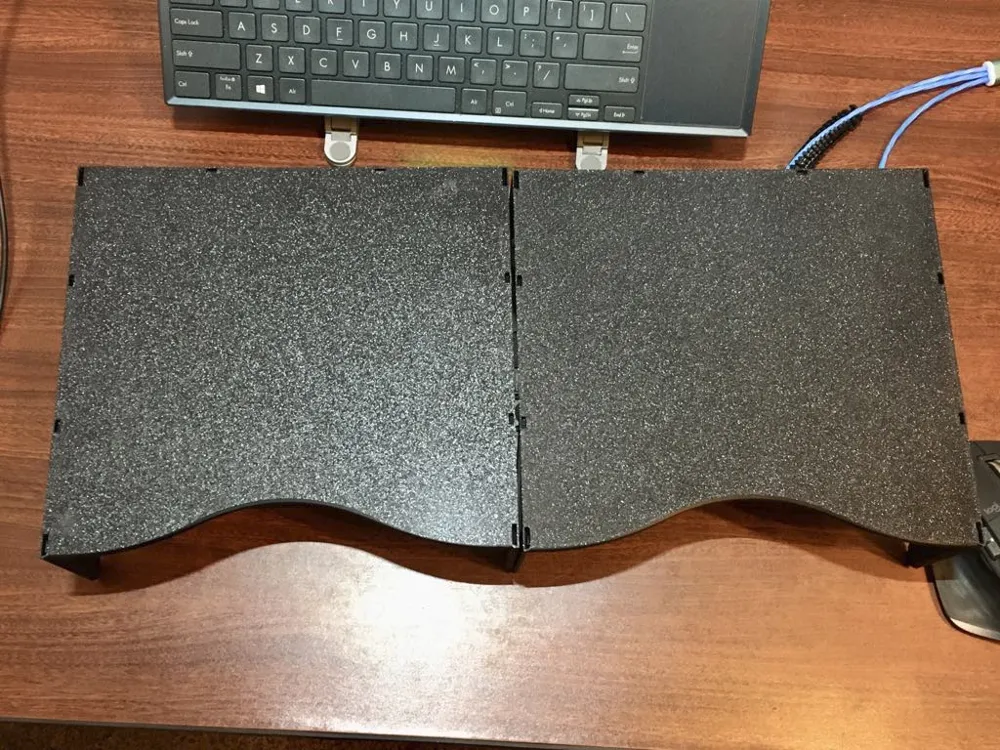
+ Snap together side by side with optional Side by Side Rails in alternate print profile
+ Base level model in alternate print profiles ( NOT OPTIONAL but only one per column needed )
+ Optional top keeper in alternate print profiles
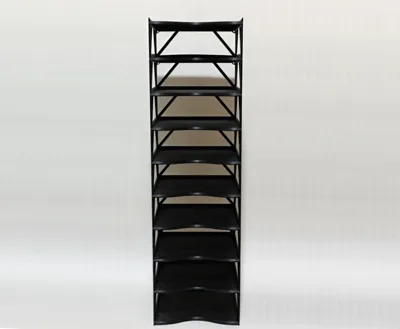
+ Can be secured to the wall with screws with washers and or double sided adhesive for very tall systems.
+ full skin shelf no slots holes or gaps for small parts to fall through if you store some loose projects.
+ Optional full rim at all levels to keep unboxed spools etc. from sliding past the edge
+ can be secured to wall with two wholes each module for stability if you are building a sky scraper
Print instructions:
Notice to Bambu A1 printers you must verify that your gantry is perfectly square to your build plate because if it is not and you stack several racks you will see that your printed rack is not square and it will lean in the direction that your machine gantry is out of square if it is not perfectly square to the build plate.
(1) make sure you dry your filament to 10% RH before printing (to many people neglect this step)
(2) make sure your build plate is washed clean and rinsed with hot water or IPA from soap detergents and finger oil.
(3) use my print profiles for best results. (there are volume modifiers to strategically place stronger walls)
(4) print the Base Level first, then print the Rack Levels and any combo of side rails & top rim you want.
The "Base Level" is the foundation for all the Rack levels. you have to have it as the first component in your stack
I prefer normal PETG because I think it will last for years longer than PLA because it is more resistant to moister and UV.
Assembly instructions:
(1) Plan your space for the number or rack levels and importantly side by side attached rack modules you need. disassembly is not easy.
(2) place your Base level on a flat firm level surface. if you make a very tall stack you don't want it to lean over.
(3) place your Rack level side rails or Adjoining-Side-by-Side-Rail on if you are using them (optional but recommended )
(4) Place only one Rack level part high so that you can attach conjoined rails for side by side rack assemblies
(5) repeat steps 2 & 3 for each Level up you go until you reach your top level
(6) install top rim on each top level Rack module if you choose to install them on top. (optional)
(7) Optionally install A1 style support foot pads unless you have TPU and can print your own.
REMEMBER to place all three rim parts before the next Level up if you are using them!!! disassembly is not easy.
clicking the levels together is one of the most satisfying parts of the assembly process, but trying to un-click them to install forgotten rim parts is not easy and with some filaments that have very poor layer adhesion like Matte PLA and some High Flow filaments, the locking parts may break. long story short… just know that this is not like a L.E.G.O. set that is meant to be taken apart a bunch of times anyway. so I recommend you plan it out and build it right the first time.
This model is designed with a very big emphasis on efficiency of material usage. I have seen people post photos of rack systems filling their walls from floor to ceiling, and when I looked at the model my jaw dropped when I realized they must have spent a small fortune in plastic to print their filament rack system! this model will save you a ton of money if you are going to do something like that. so if you are going to buy filament to launch a 1000 hour campaign of printing Filament racks please choose one of my recommended filaments so that I get a small commission one day when this model hopefully qualifies for it. and also please liberally boost this model too it really helps me make the prototypes especially these big ones that lead to awesome and useful models for you to use and enjoy.
* less than 50 grams each rack level without the optional side rails, and reducing the rear legs to one wall. (thats how I did my first 12 levels of my 6 wide rack system.)
Also please check out my other cool models that you might like by clicking on this text here !
Boost Me (for free)
If you saved a ton of time and material printing this model please boost this model with both barrels :D Thank you.
Enjoy!
Also please Check out my other super cool models here!
Boost Me (for free)
Thank you for Printing My Model, If you found it Enjoyable and you were satisfied with the results of this design please give it a boost or two! I really do appreciate it, and it helps me to make more cool stuff for you to print! come back on Monday and boost again if you really enjoy this model
Please post pictures and comments, I love the feedback on how you're using this model and enjoying it!
Enjoy!
If their are Amazon links on this page I must tell you: As an Amazon Associate, I earn commission from qualifying purchases. Thank you for using my Amazon Associate links.
License

You shall not share, sub-license, sell, rent, host, transfer, or distribute in any way the digital or 3D printed versions of this object, nor any other derivative work of this object in its digital or physical format (including - but not limited to - remixes of this object, and hosting on other digital platforms). The objects may not be used without permission in any way whatsoever in which you charge money, or collect fees.


Comment & Rating (512)