
Print Profile(3)


Description
Hello everyone!
INTRODUCTION
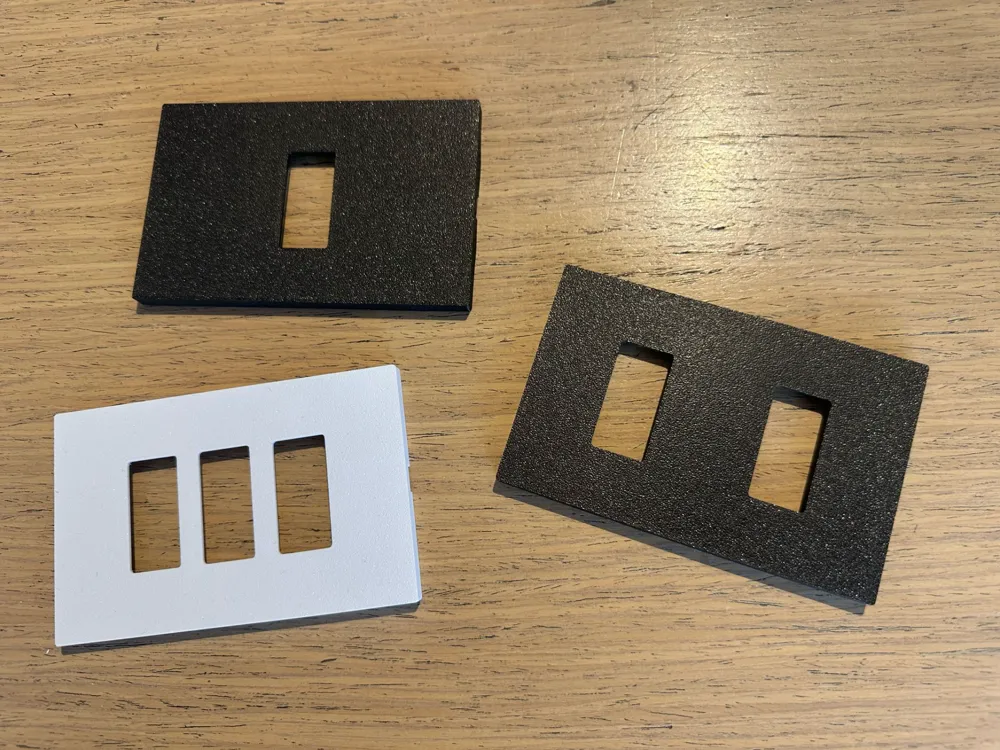
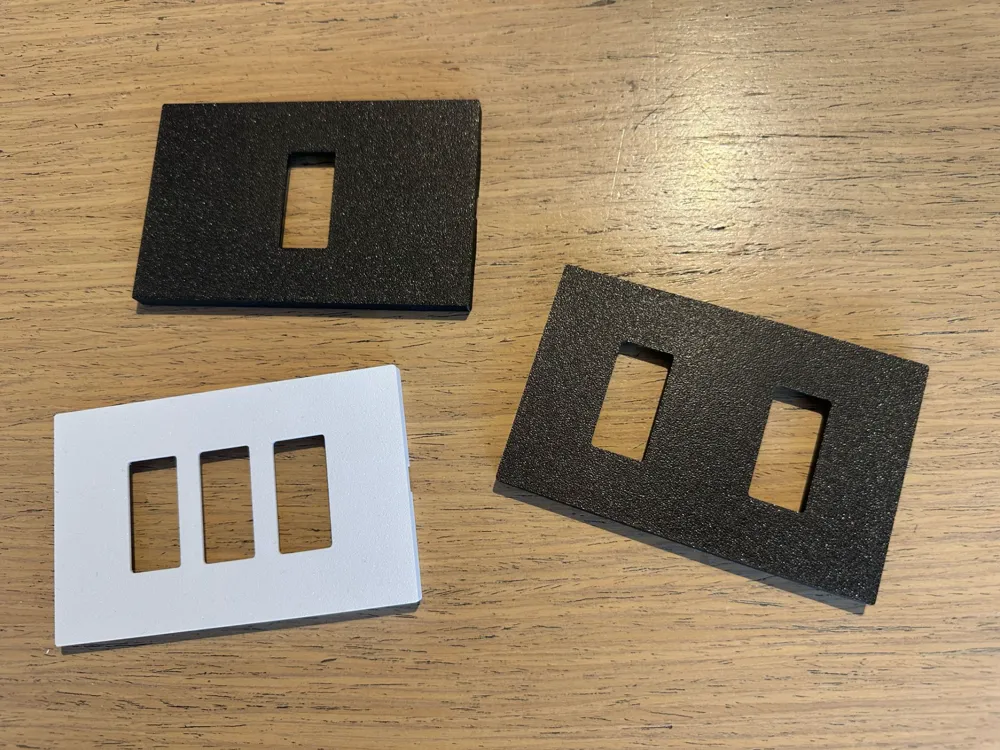
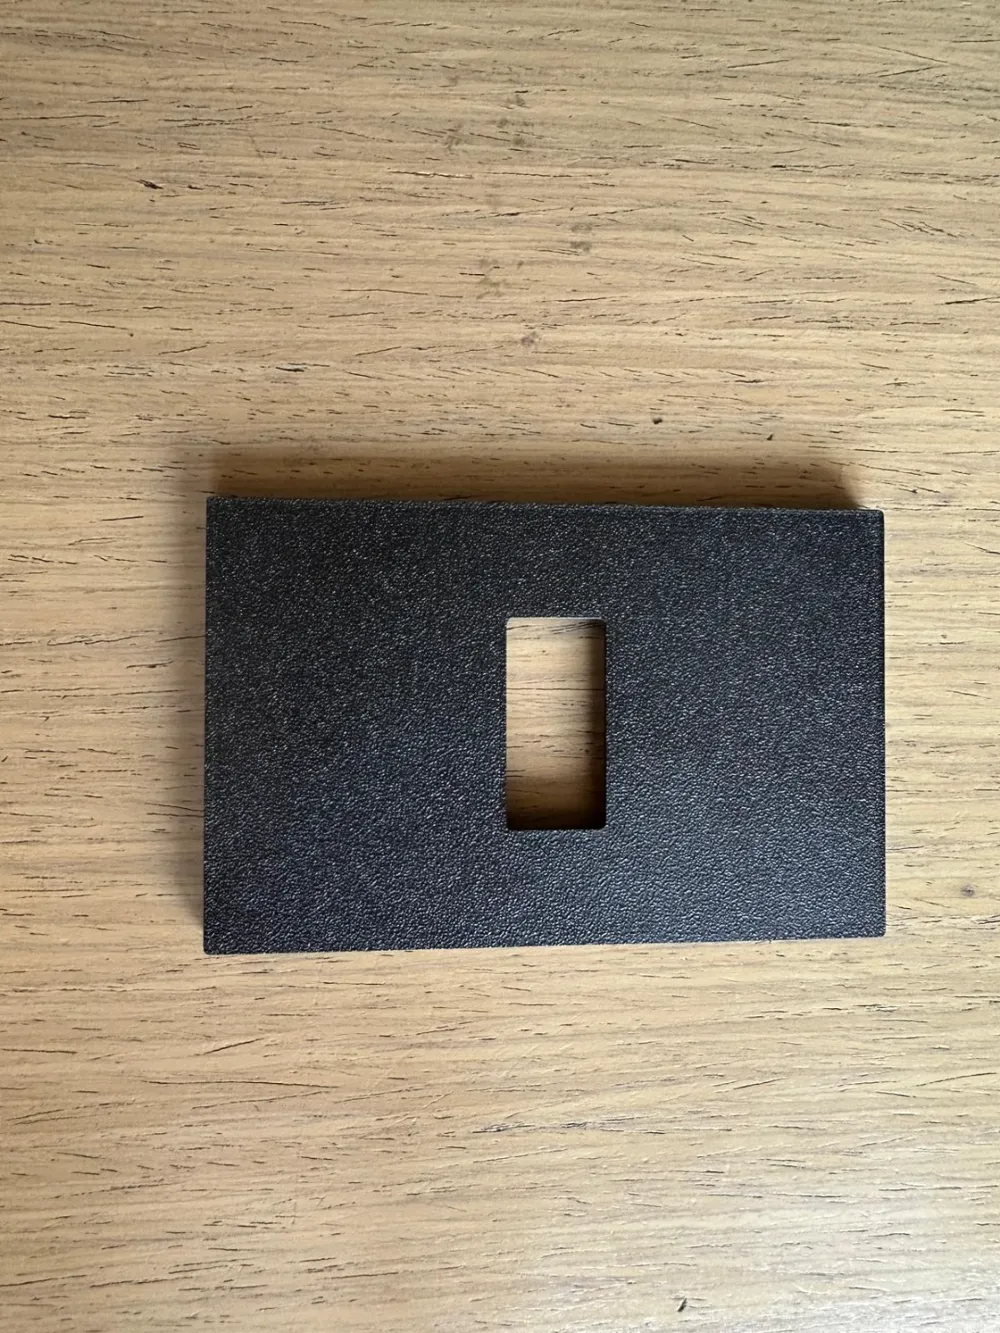
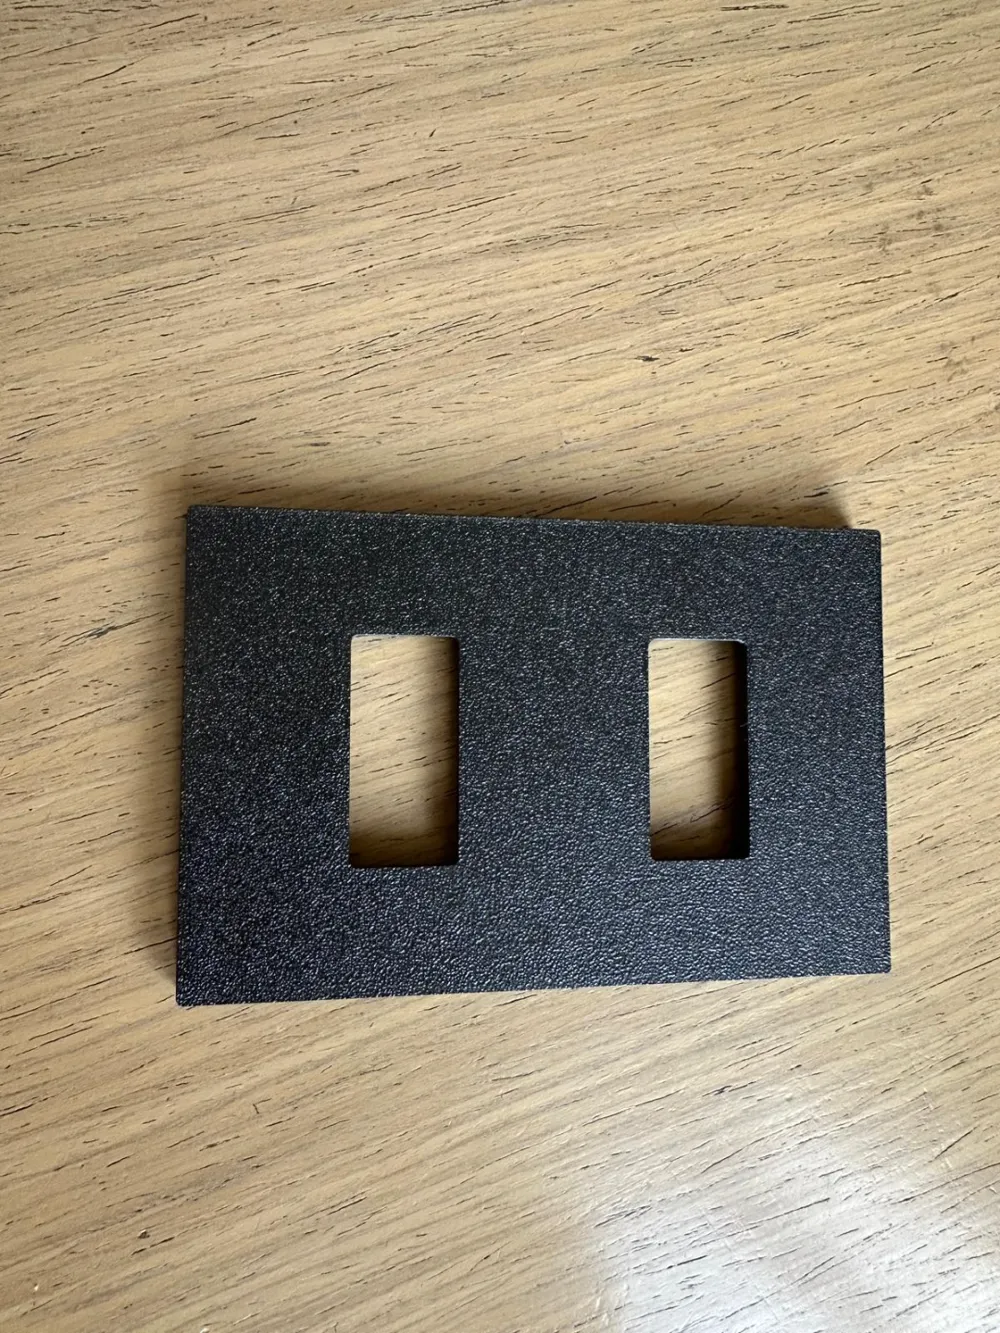
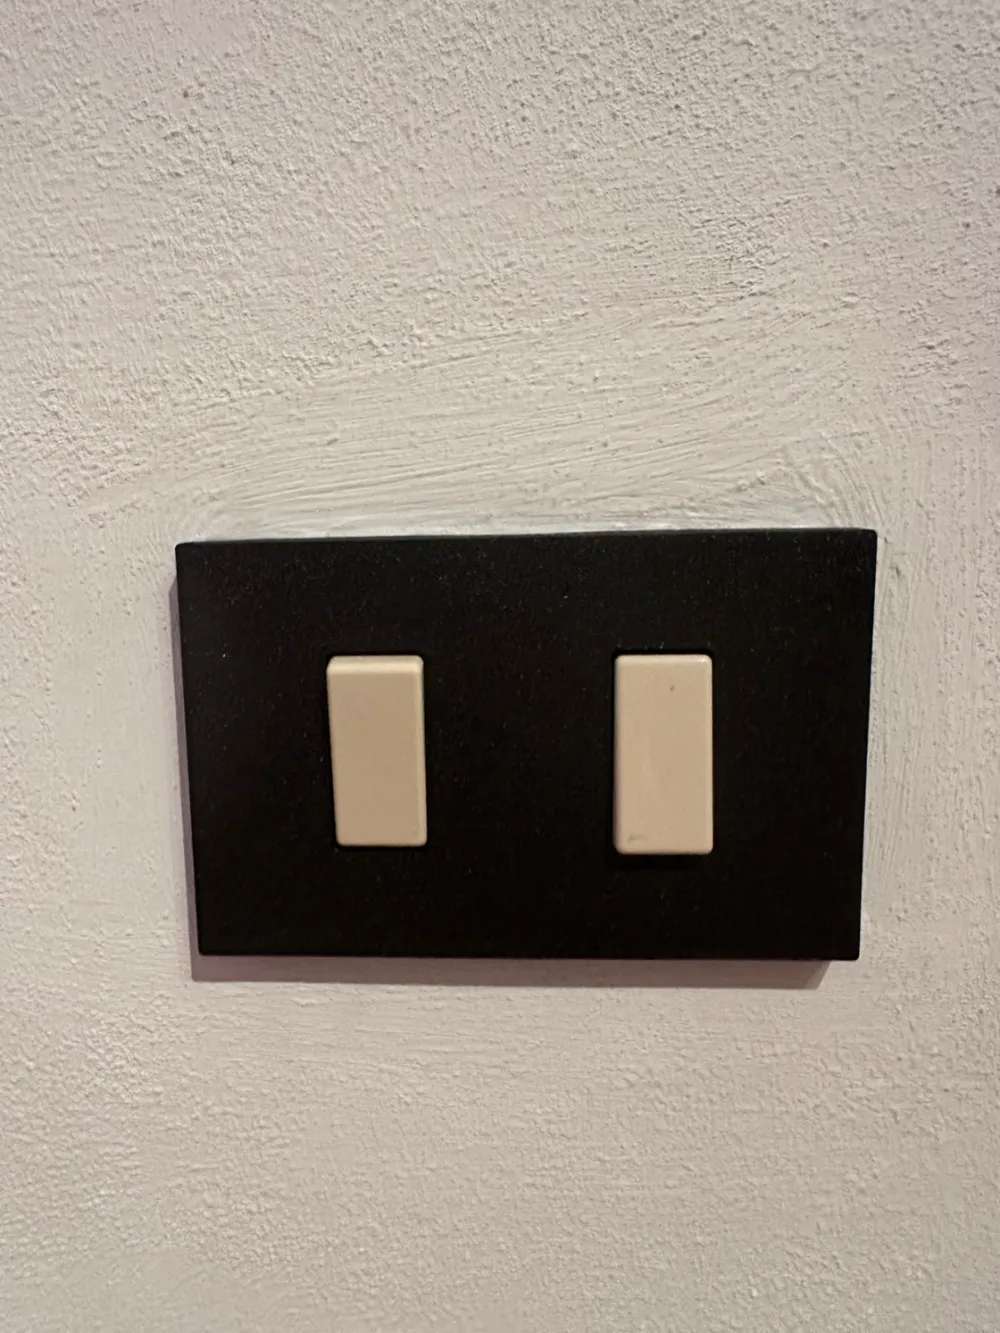
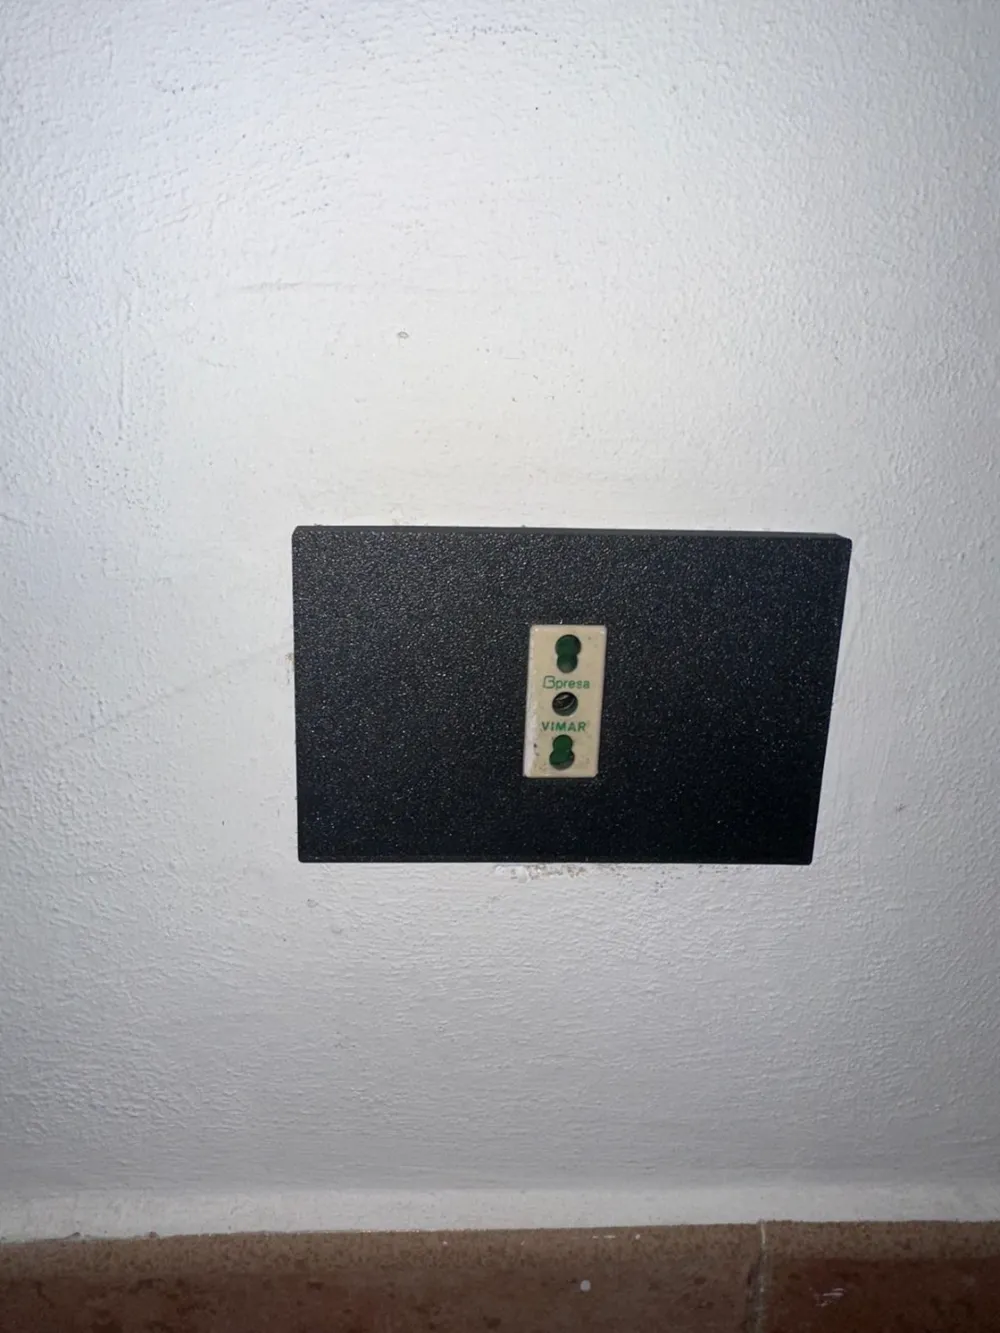
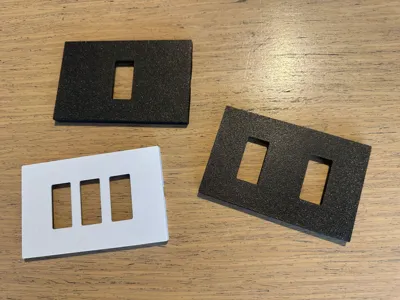
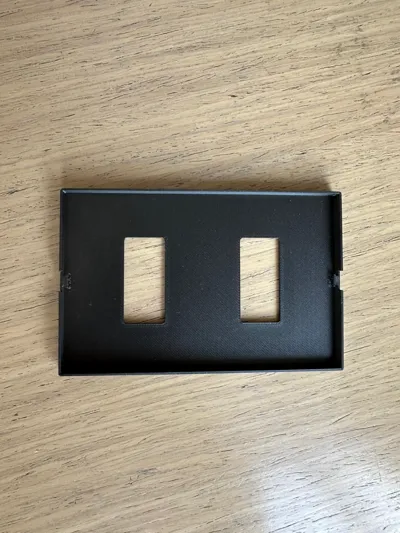
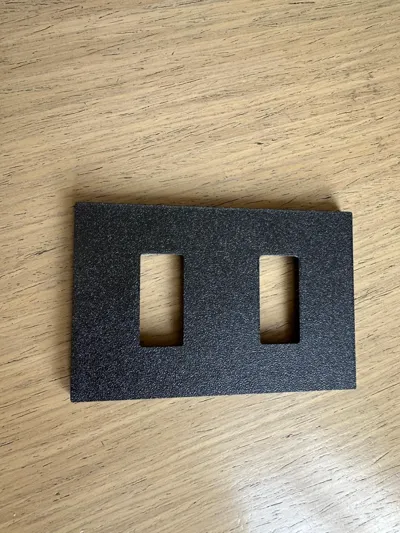
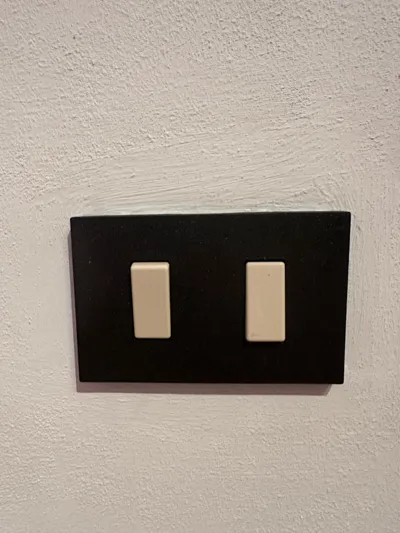
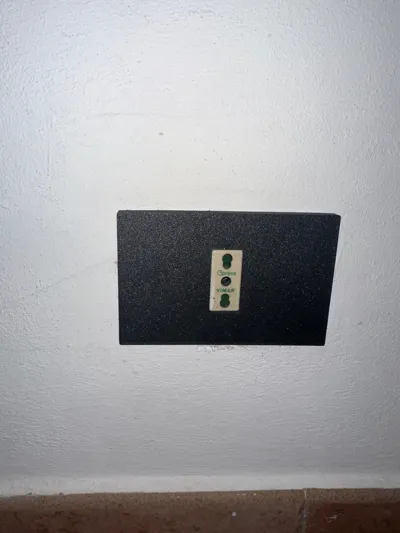
I have created these electrical plates for home sockets and switches. The model I was inspired by is that of Vimar, a little dated, but for those who find themselves in the same situation as me, you can print them to give a touch of modernity to your home. I hope you like them!
OBJECT
As I said, the object in question was created using Vimar electrical plates as a reference.
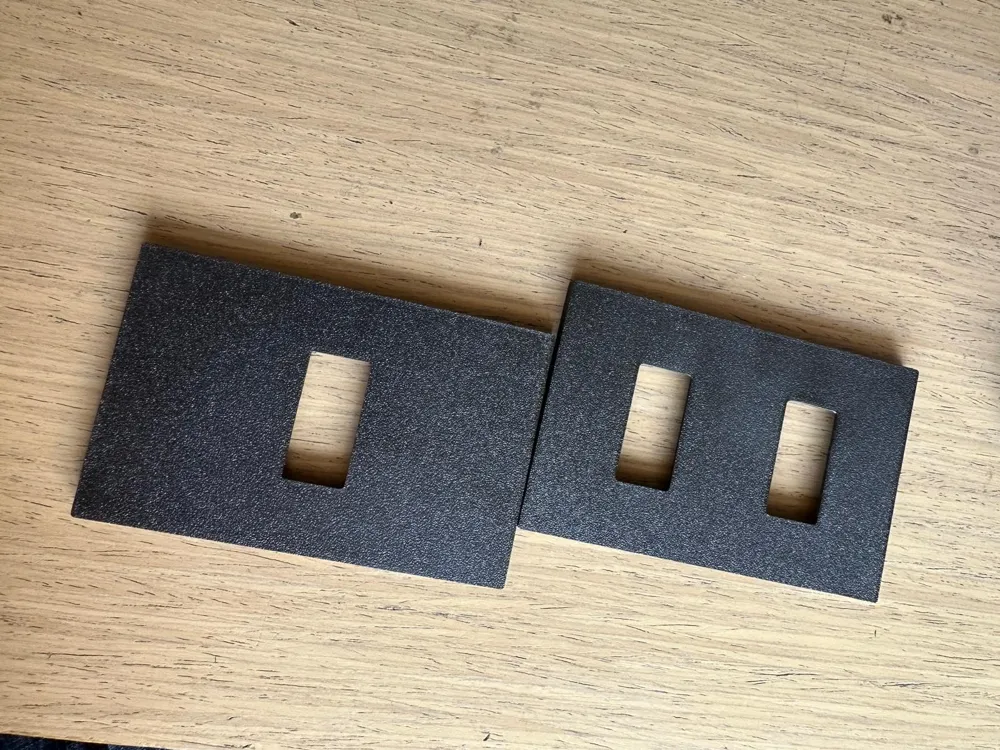
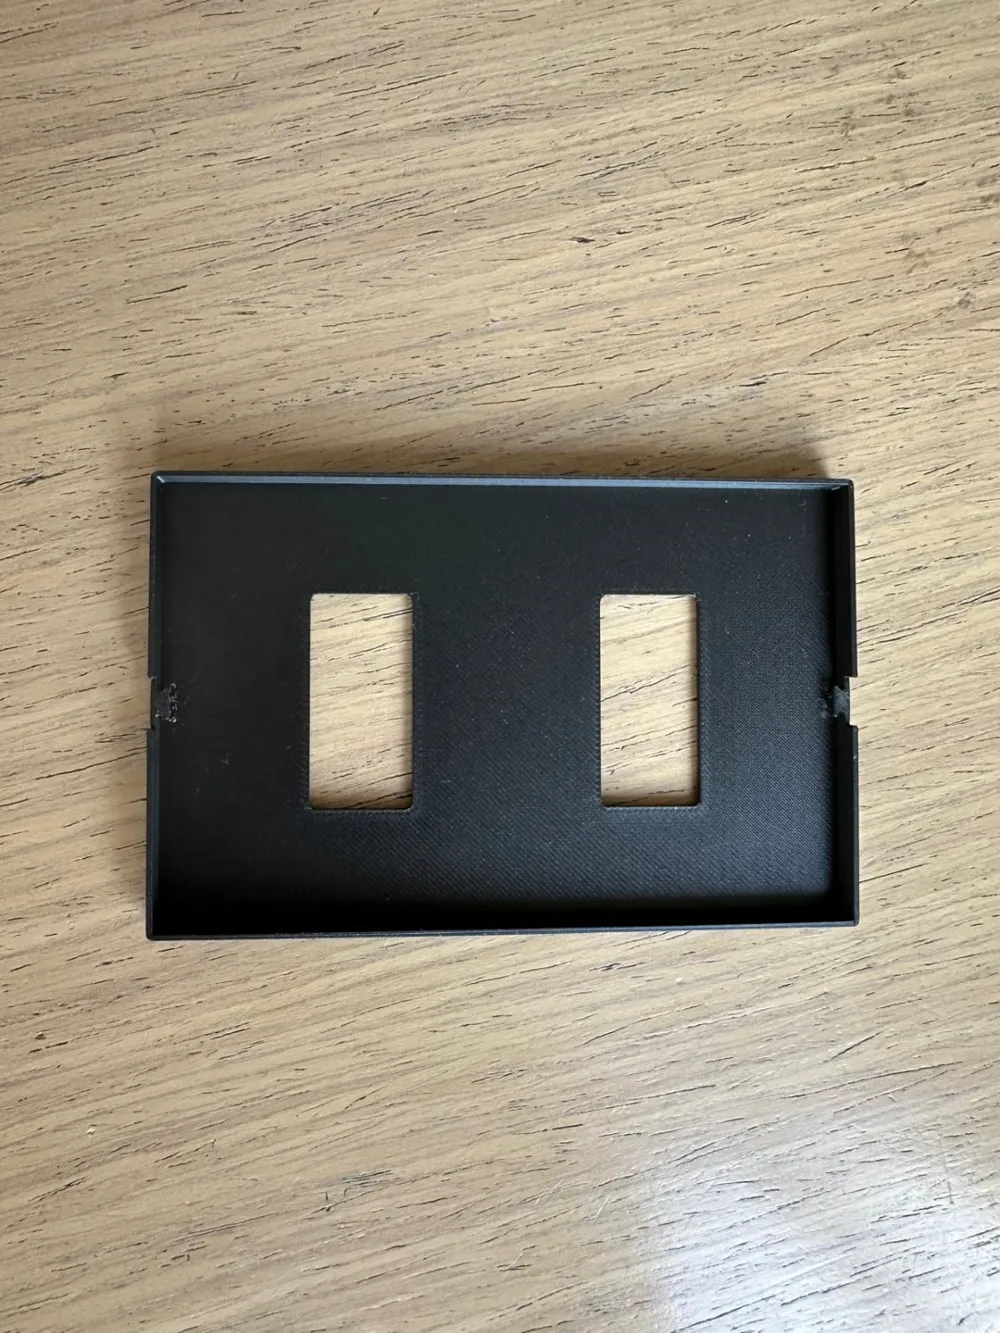
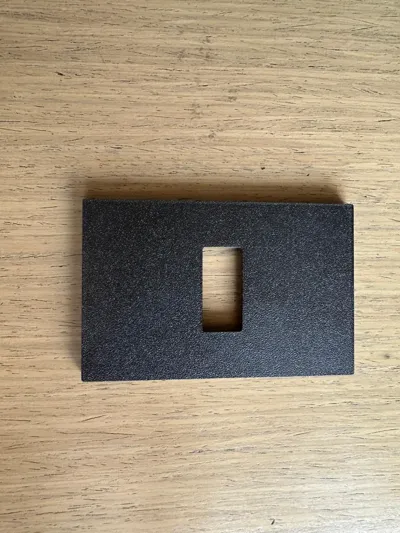
The modules are 16.8 x 34.9 mm. The plate is 119.3 x 76.3 x 6.4 mm. The size of the buttons is faithful to the original to ensure the perfect operation of the switches and sockets, preventing them from overlapping near them (see assembly photos).
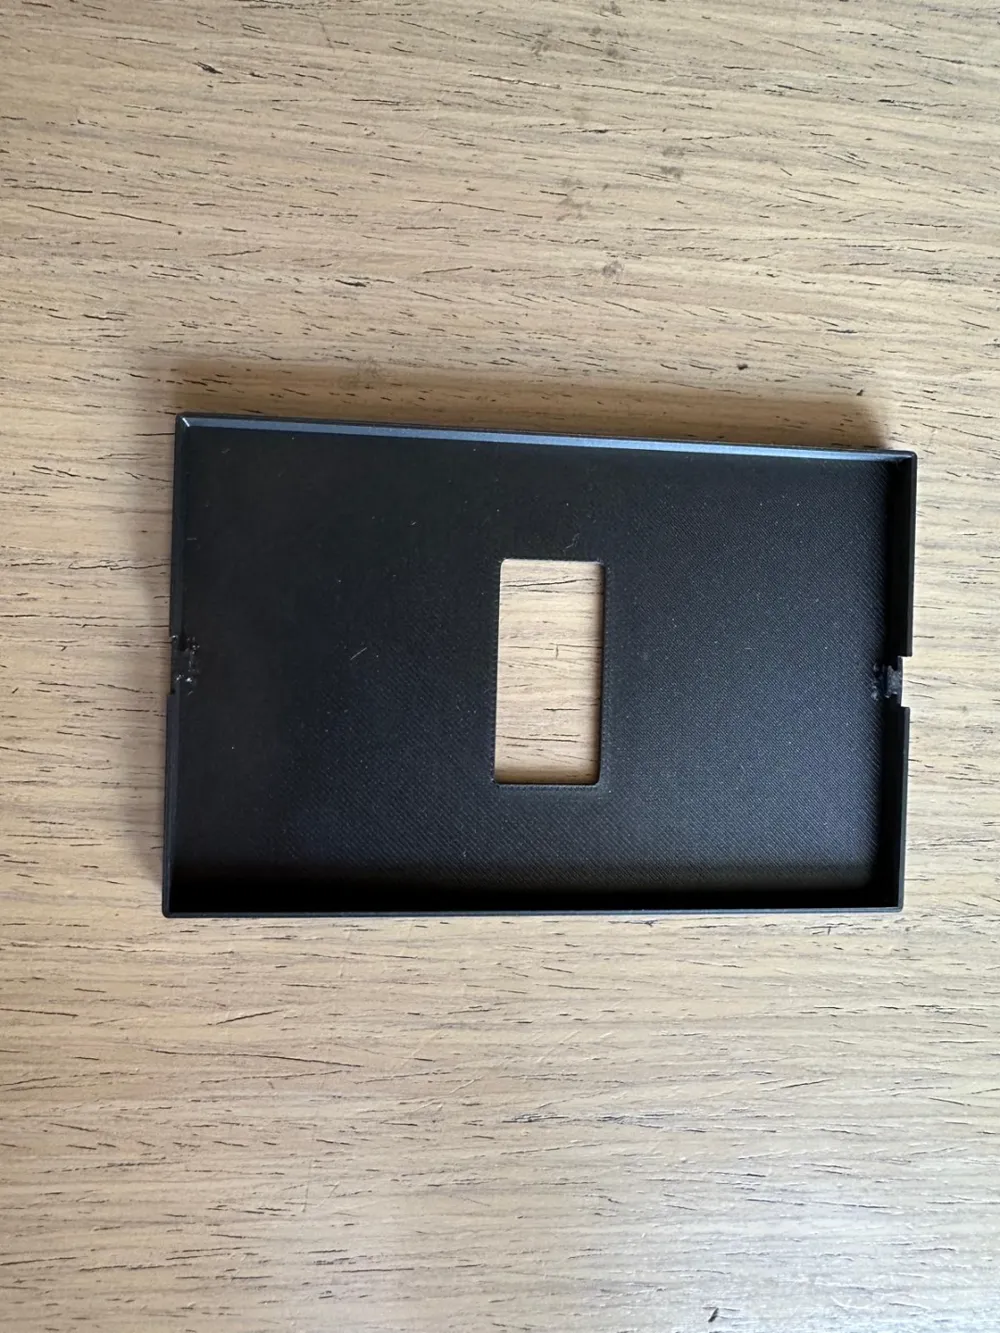
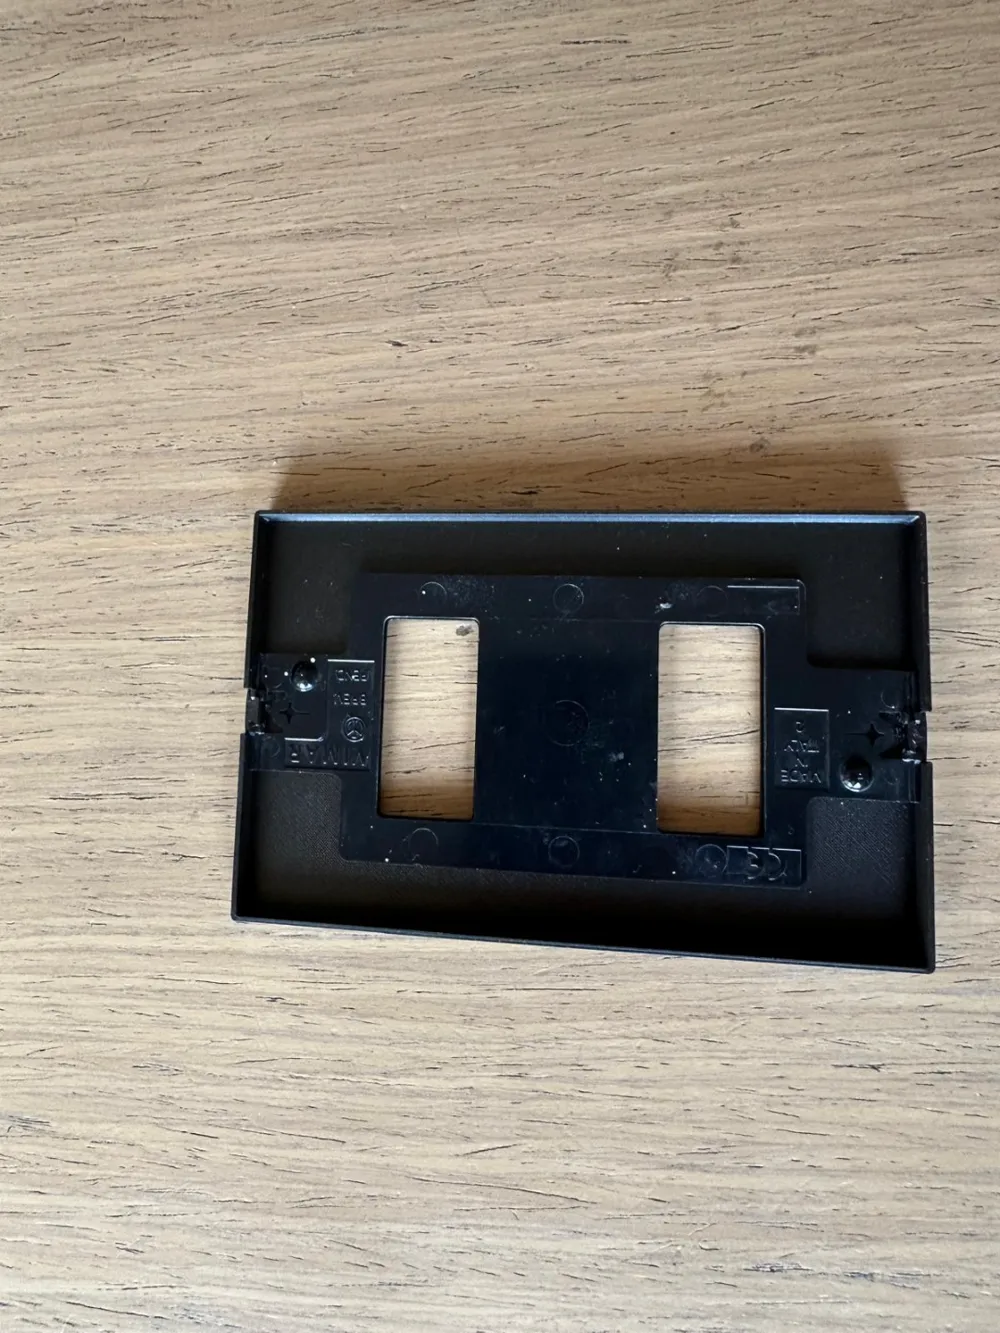
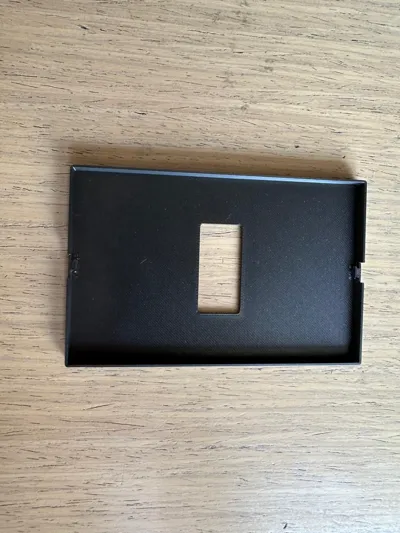
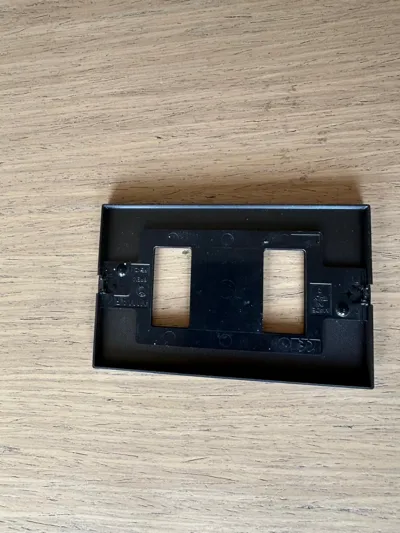
Furthermore, I have created the respective hooks for inserting the wall plate cover, a small plastic object that was inside the sockets (see photo). The hooks are similar but not identical to the originals to ensure the robustness needed to prevent them from breaking during assembly.
This piece is not necessary if you do not have it; the dimensions allow for correct insertion and a snug fit even without it, so they can be easily replaced.
NB. For assembling the wall plate cover, proceed with caution. Insert one lever first and then the other. The other will lift but not break; at that point, by pushing the lever down slightly, it will engage.
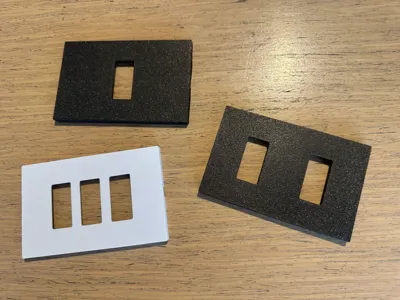
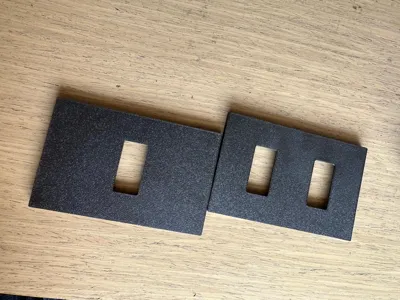
The object can be printed with 1 and 2 modules. I didn't need the 3-module ones, so I couldn't make them, but if you need them, write to me, and I will make them especially for you!
For printing, I made some modifications to the print profile, such as slightly reducing the layer height and increasing the infill to give it the right resistance.
The thicknesses are 1mm for the walls that touch the wall and 1.2 for the module housing.
Small tree supports are necessary for the overhanging fins, easy to remove with tweezers.
I leave you with the 2 profiles with their respective printing times:
- single module: 28 minutes (on a 258x258mm bed, it is possible to insert 2 with a total time of 50 minutes)
- 2 modules: 28 minutes (on a 258x258mm bed, it is possible to insert 2 with a total time of 50 minutes)
The objects in the photos were created with the Bambulab P1S using Bambulab PLA METAL Iron Gray filament. PEI plate.
NEWS!
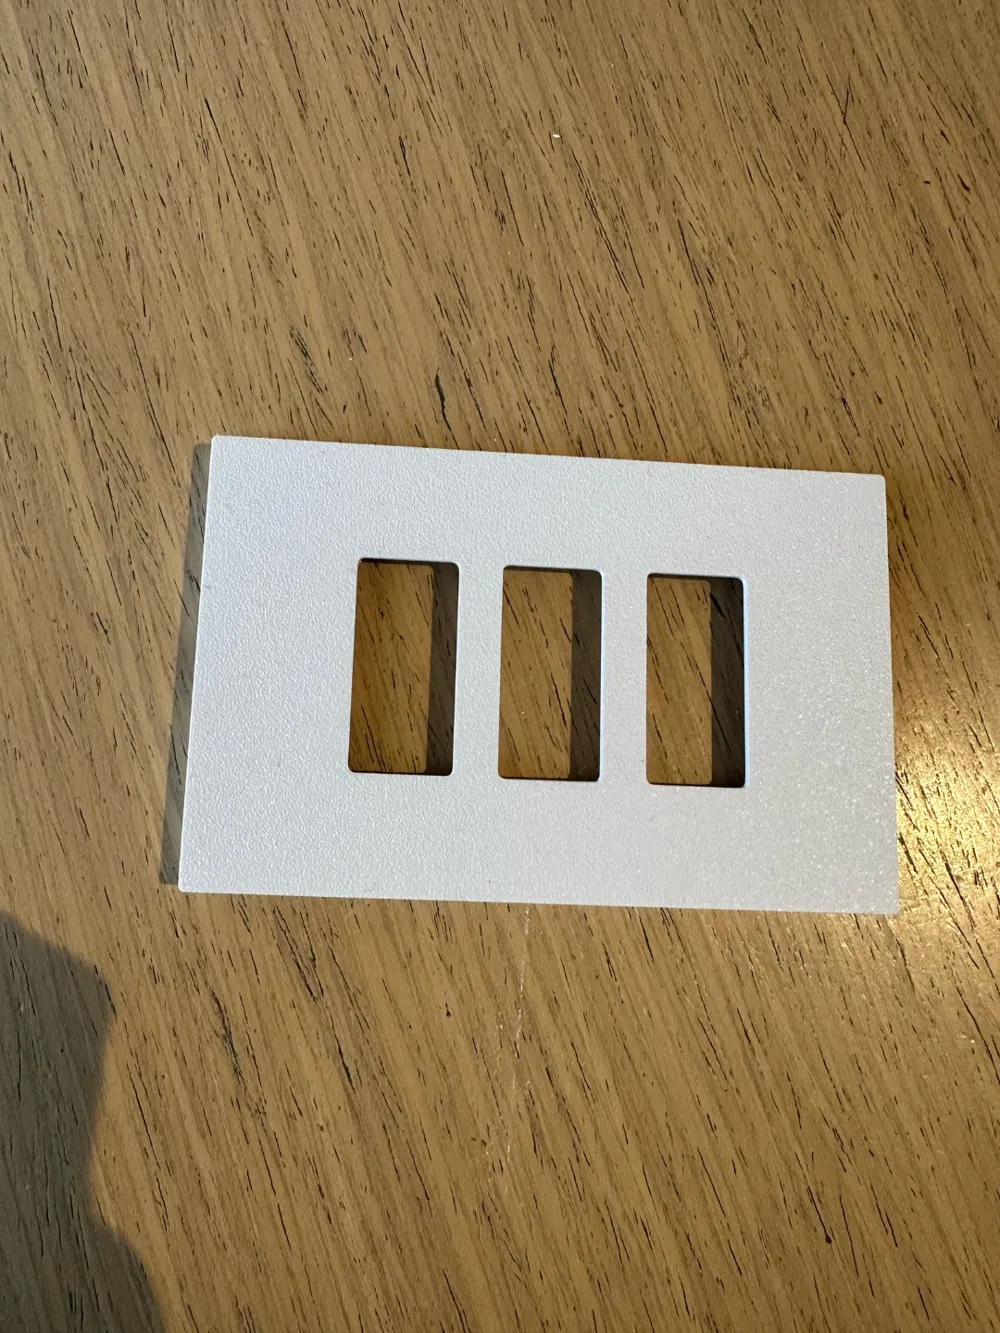
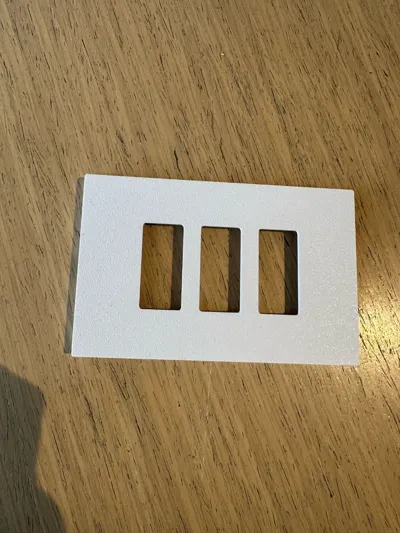
ADDED AT A USER'S REQUEST, THE 3-MODULE PLATE!
Printing time 22 minutes (on a 258x258mm bed, it is possible to insert 2 with a total time of 44 minutes)
License

You shall not share, sub-license, sell, rent, host, transfer, or distribute in any way the digital or 3D printed versions of this object, nor any other derivative work of this object in its digital or physical format (including - but not limited to - remixes of this object, and hosting on other digital platforms). The objects may not be used without permission in any way whatsoever in which you charge money, or collect fees.


Comment & Rating (44)