
Mini RC Track System

Print Profile(5)


Description
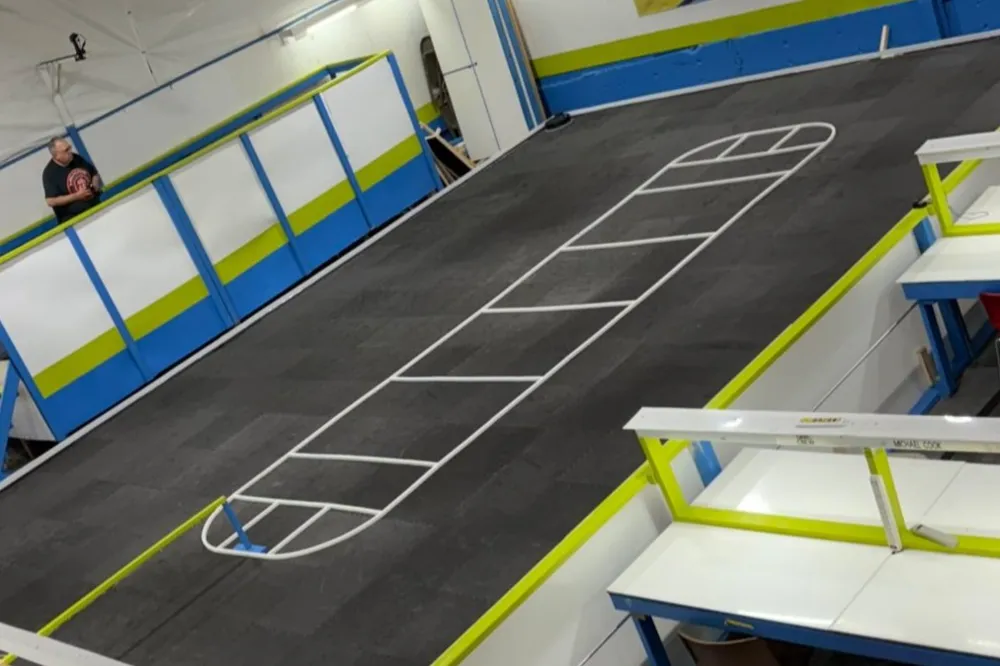
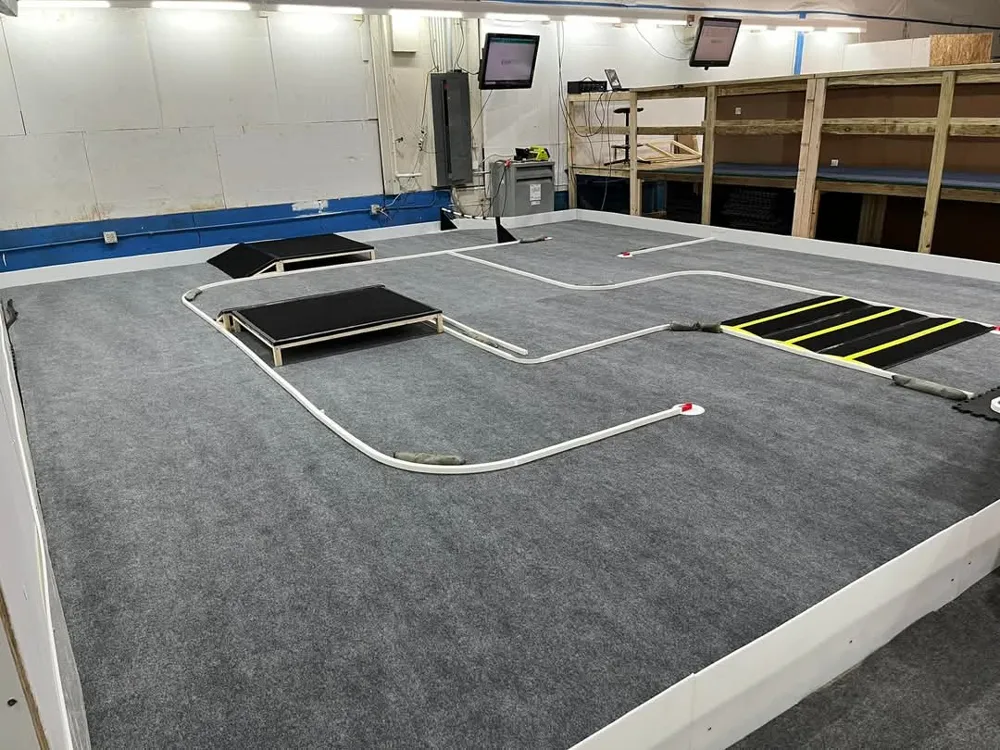
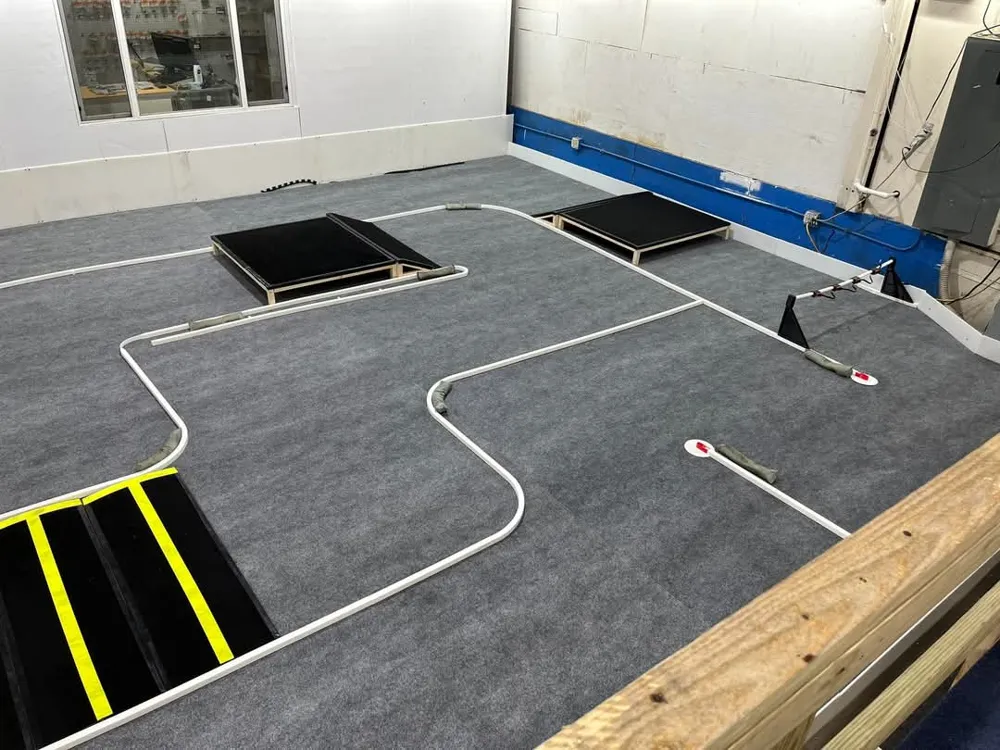
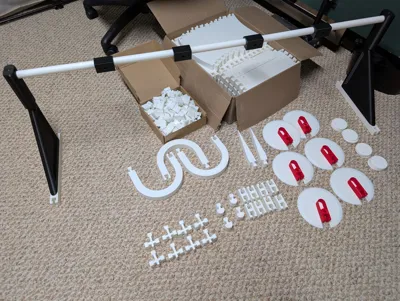
This is a compilation of parts I designed to create RC track layouts for cars like Mini-Z's, Losi Micro-B and other small scale RC cars. I also have a collection of mini RC ramps you can check out here.
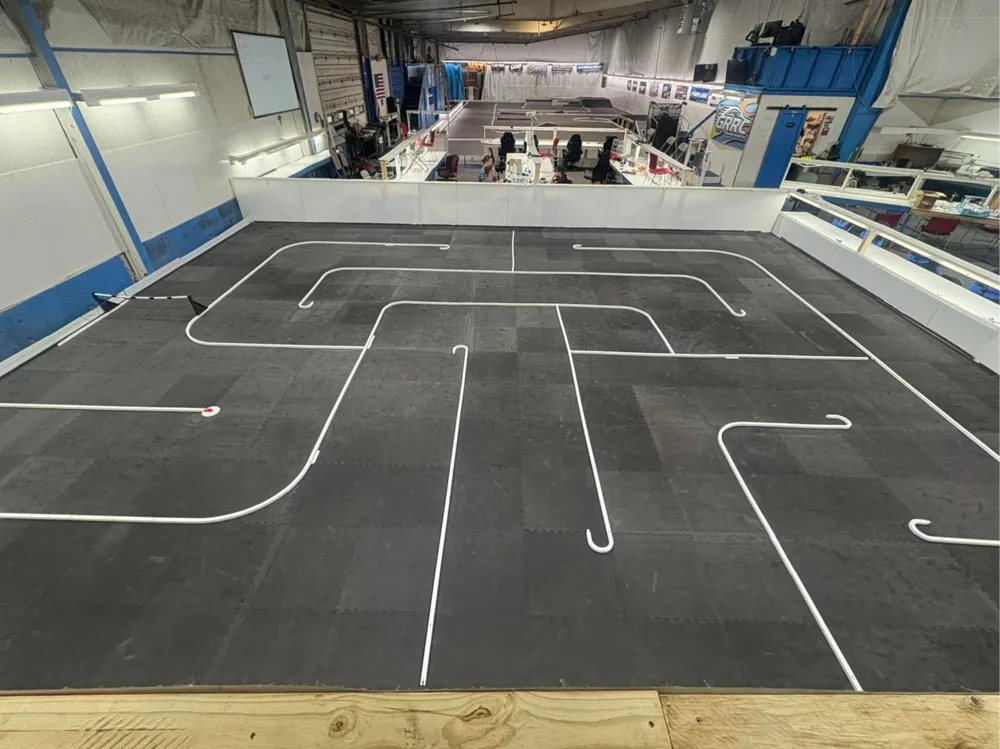
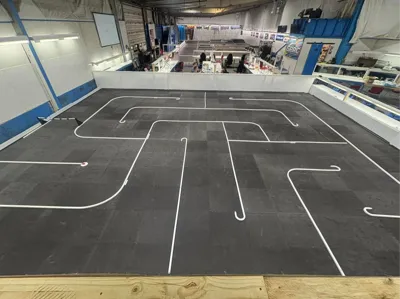
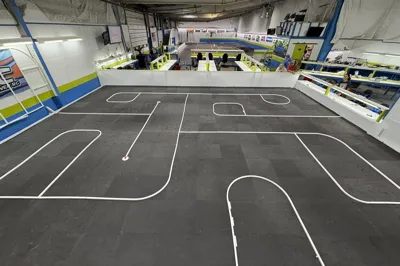
Before I get into more details, please note that this is a large project with many parts in both TPU and PLA. The track layout in the photo with the timing tower required close to 8 spools of PLA and 3 spools of TPU to create. If you have questions or something is not clear, please comment and I will try to help.
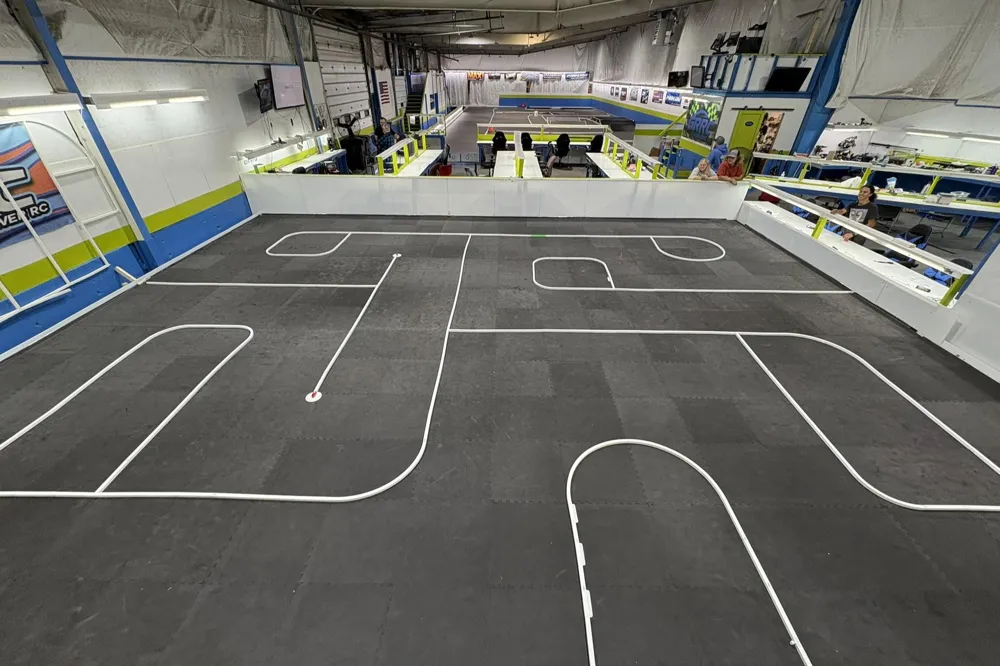
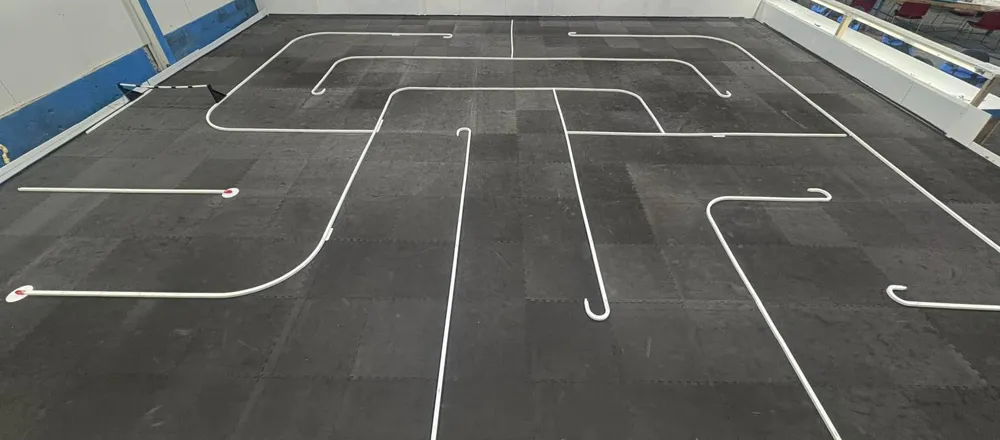
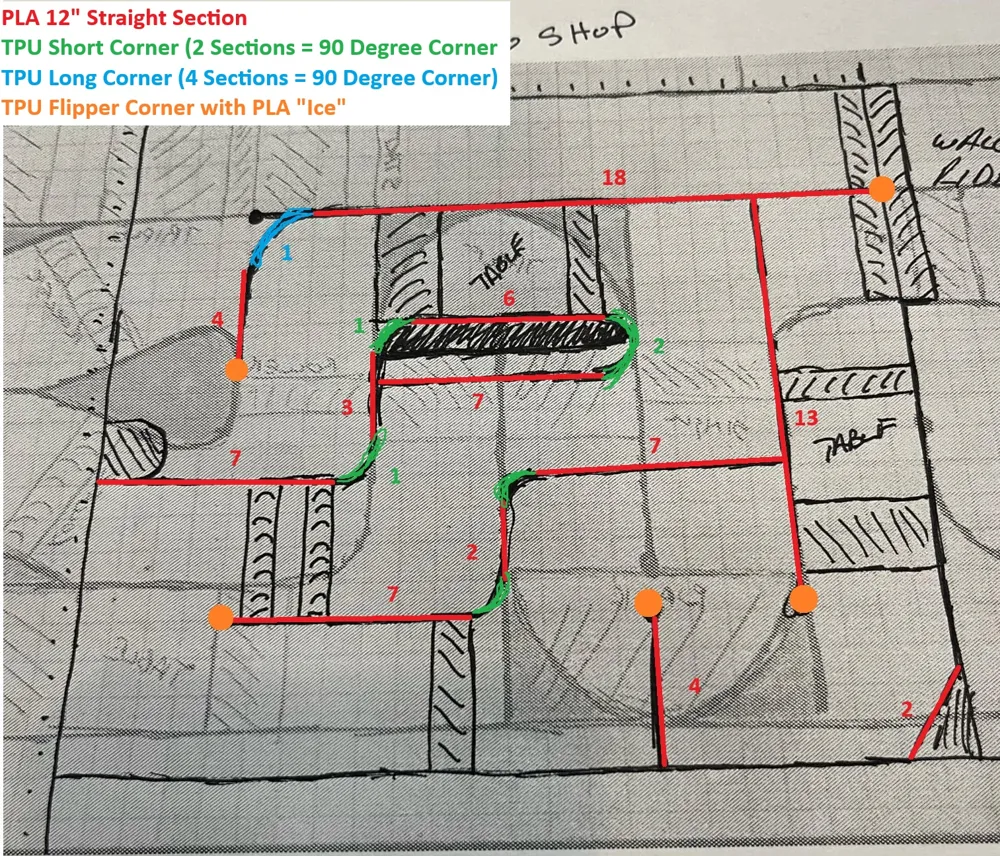
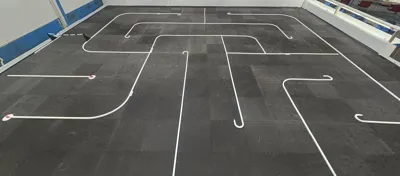
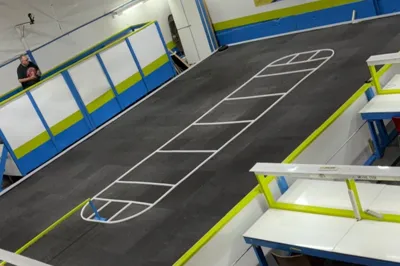
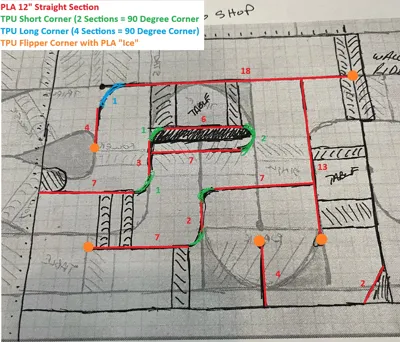
The parts are designed around 1 foot sections so you can draw a track layout on graph paper using each square as 1x1 foot to figure out how many parts you need. There is an example of that in the photos.
Recommendations:
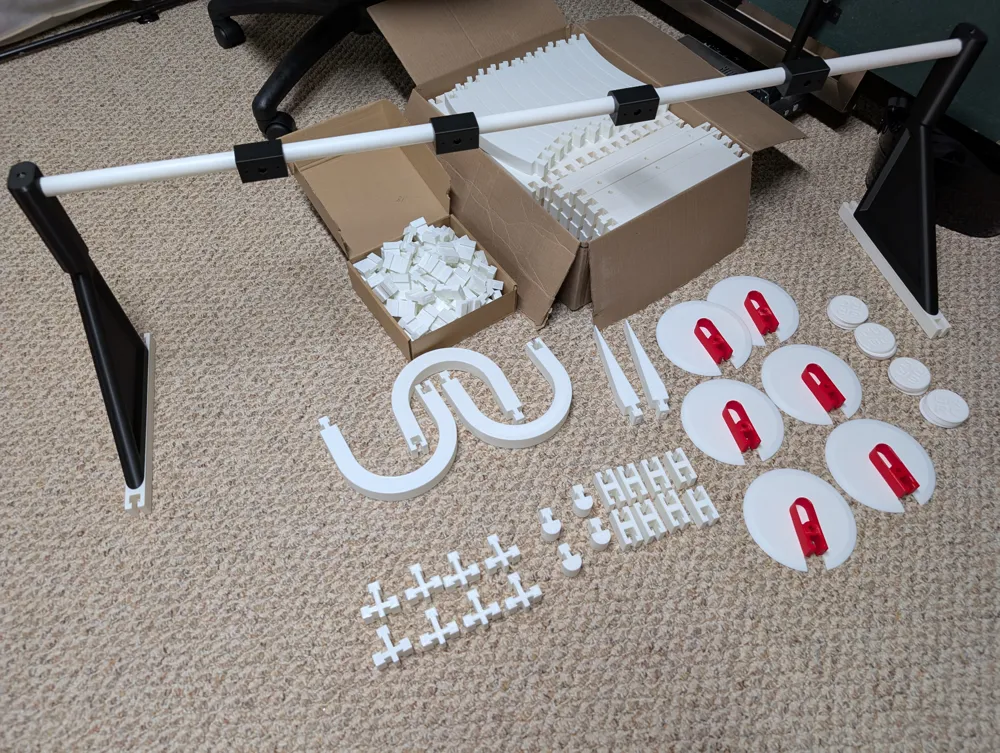
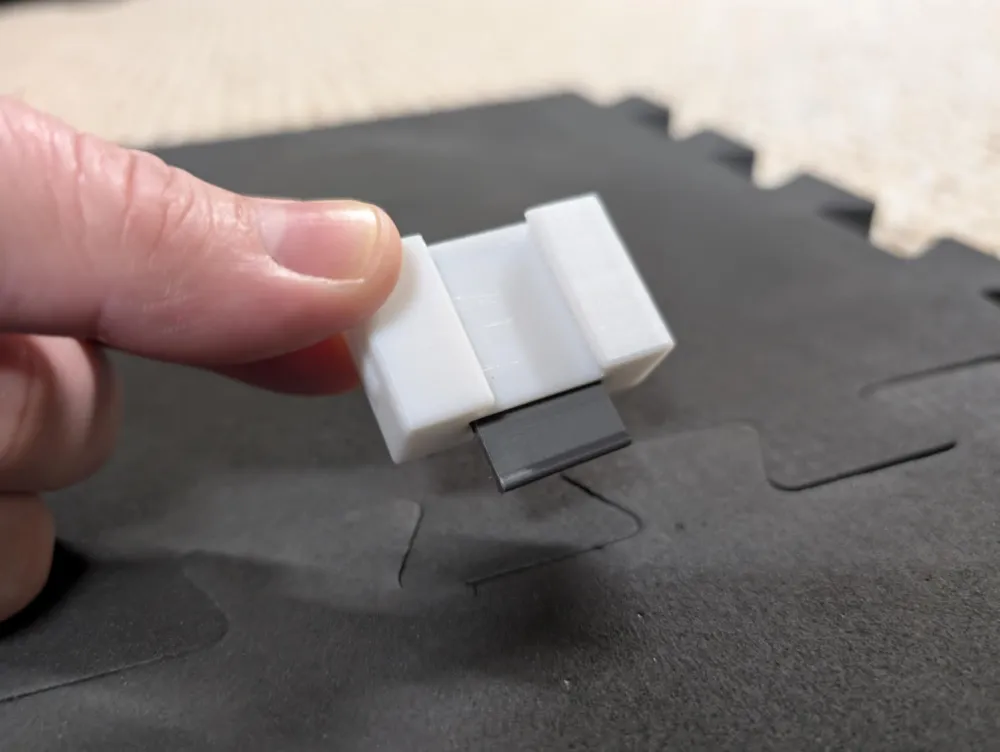
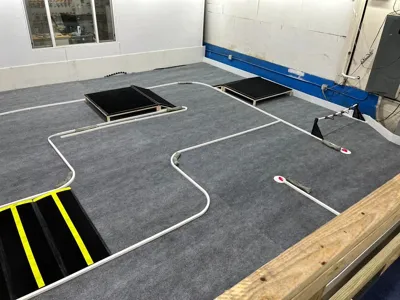
I found the best results came from printing all of the straight sections in hard material (PLA has been fine indoors). Then use the TPU “loose fit connectors” between each straight section. It works best to tie everything together as much as possible so there are "T" and cross connectors to help as needed. There are also 6" section to help things line up if needed for your layout. One version of 6" section has a tab for taping it down to the tack. We found using them at intervals all around the track really helps keep everything in place. If you are using a carpet surface Velcro under the parts works great. There is also a 12" straight section that have holes sized for M4 screws which was intended to be used with the timing tower but could be used to screw down the sections if you wanted to.
New Parts:
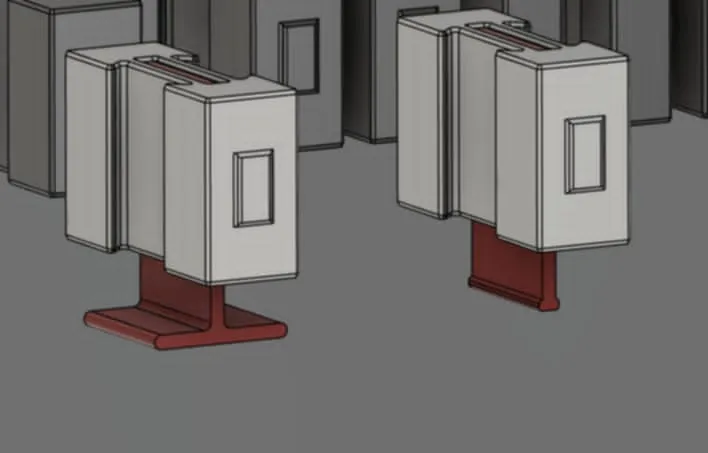
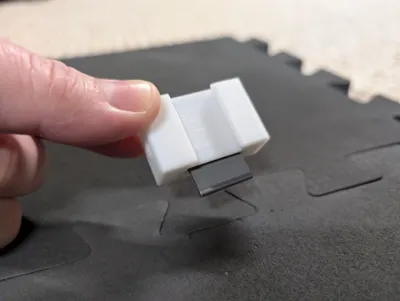
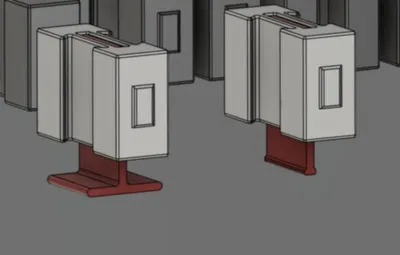
I have Added a few new parts which include connectors with a slot for a “cleat” that can be used to hold the straight sections down to the foam between the seams of the tiles. One cleat just sits in between the tile seams and the other can go under the tiles. Using this method I found that 11.75" straight section worked better to align the cleats with the seams in the foam tiles I used. There are also more corner parts that can be printed in PLA if you prefer hard corners or just want corners that can be printed easier and faster.
I used Overture high speed TPU for all the TPU parts and found that calibrating the K value was very important. TPU can be really easy to work with but If you are not comfortable with it, do some testing on small parts first. Don't forget to use some PVA glue so the parts come off the built plate when they are done.
Purchase Components:
Timing Tower
- Kyosho EasyLap Digital Timing System
- 1qty - 1/2" PVC pipe at whatever length you want you lanes to be (we used 4 foot length)
- 6qty - #10 X 3/4 " Self drilling screws (used to attach the 4 sensor mounts and tower risers on each end to the PVC pipe)
- 6qty - Initeq M4-0.7 heat set inserts (labeled "long" and measure 8mm in length)
- 6qty - 25mm M4-0.7 cap head screw (used to attach the 12" straight sections with holes to the timing tower main body)
- Round Magnet - https://a.co/d/fUulM0f (used to connect timing tower main body to riser)
Track Parts
- 20mm M4-0.7 flat head screw (one screw used to attach each flipper corner to “Ice”)
- M4-0.7 Nut (one nut used to attach each flipper corner to “Ice”)
License

You shall not share, sub-license, sell, rent, host, transfer, or distribute in any way the digital or 3D printed versions of this object, nor any other derivative work of this object in its digital or physical format (including - but not limited to - remixes of this object, and hosting on other digital platforms). The objects may not be used without permission in any way whatsoever in which you charge money, or collect fees.


Comment & Rating (29)