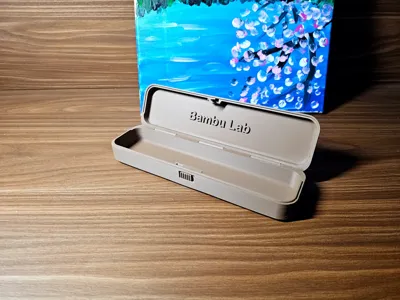
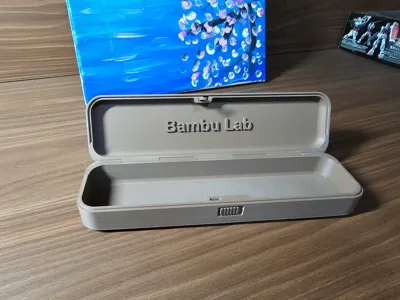
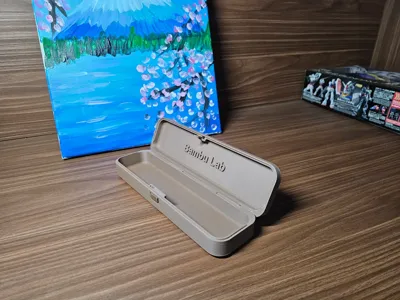
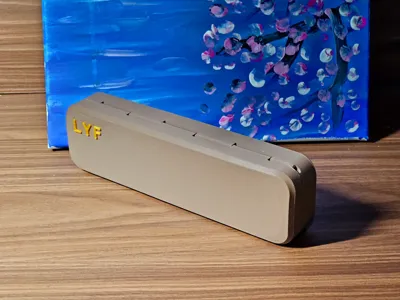
A sturdy, minimalist vintage pencil case (box) with a lid, entirely 3D printed


Print Profile(1)
Description
I initially aimed to design a stylish stationery box for my children, but encountered some challenges. Since a strikingly modern design proved difficult, I opted for a minimalist, retro aesthetic instead. This allowed me to test the hinge and latch mechanisms. A successful initial print demonstrated flawlessly functioning latches and smoothly operating hinges, perfectly achieving my design goals.
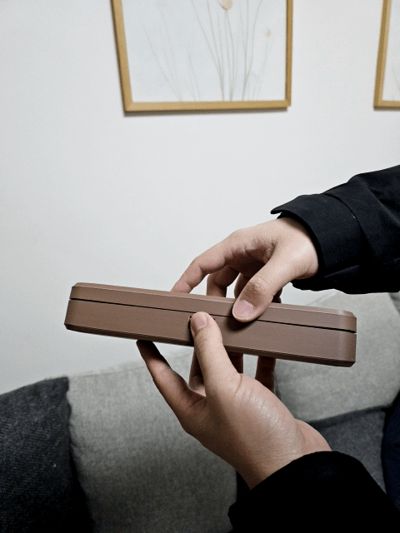
Design principles: 1. A supremely simple exterior; 2. A rounded-corner/chamfered rectangular form with minimal protrusions (although I later incorporated several raised letters within recessed channels); 3. A reliable latch mechanism resistant to accidental opening; 4. A robust casing; 5. Strong hinges—a multi-hinge design offers significantly greater strength than a single hinge. A single hinge's axis bears the shear force at only two points, whereas my multi-hinge design distributes it across six; 6. Entirely 3D printed, requiring no auxiliary parts.
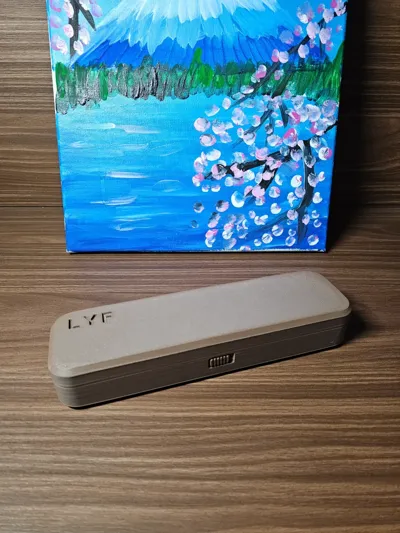
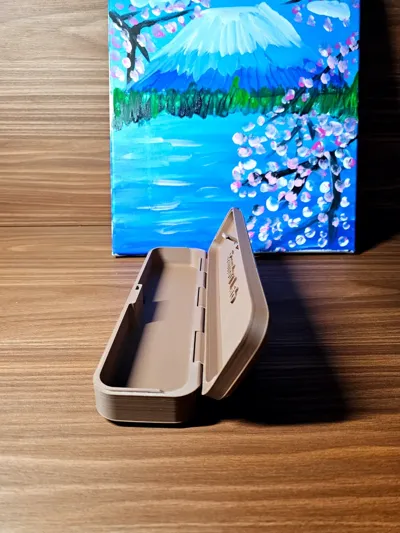
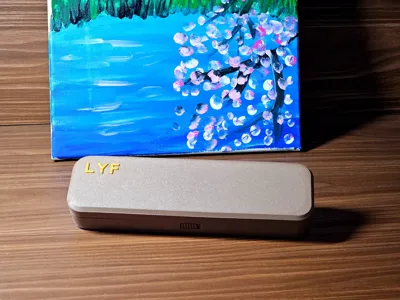
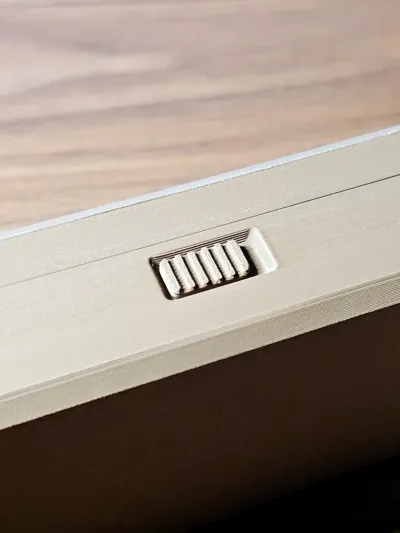
※The inscription on the inside of the lid was added using Bambu Studio and is editable. The letters on the outside of the lid were created in Bambu Studio by first printing recessed channels, then inserting the letters. These can be customized (the current model and Simple retro pencilbox.3mf have no lettering on the outside of the lid, but an editable “Bambu Lab” inscription on the inside).
※The file includes all parts for printing together; however, if bed adhesion proves problematic, consider printing the smaller components separately to prevent warping that might affect other parts.
Assembly is straightforward, as illustrated below:
1. Attach the lower body latch component (white)

※Note the orientation of the white component.
2. Attach the latch slider

※The assembled white latch component from step one should appear as shown in the magnified image.
3. Attach the upper lid latch component

※①Insert along the red arrow until fully seated, ②then slide along the green arrow until firmly locked.
4. Connect the upper and lower body components

※Three axles were printed, but only two are needed. The third can serve as an installation tool to help push the two required axles into their concealed positions.
License
You shall not share, sub-license, sell, rent, host, transfer, or distribute in any way the digital or 3D printed versions of this object, nor any other derivative work of this object in its digital or physical format (including - but not limited to - remixes of this object, and hosting on other digital platforms). The objects may not be used without permission in any way whatsoever in which you charge money, or collect fees.
Comment & Rating (17)