

Print Profile(6)






Description
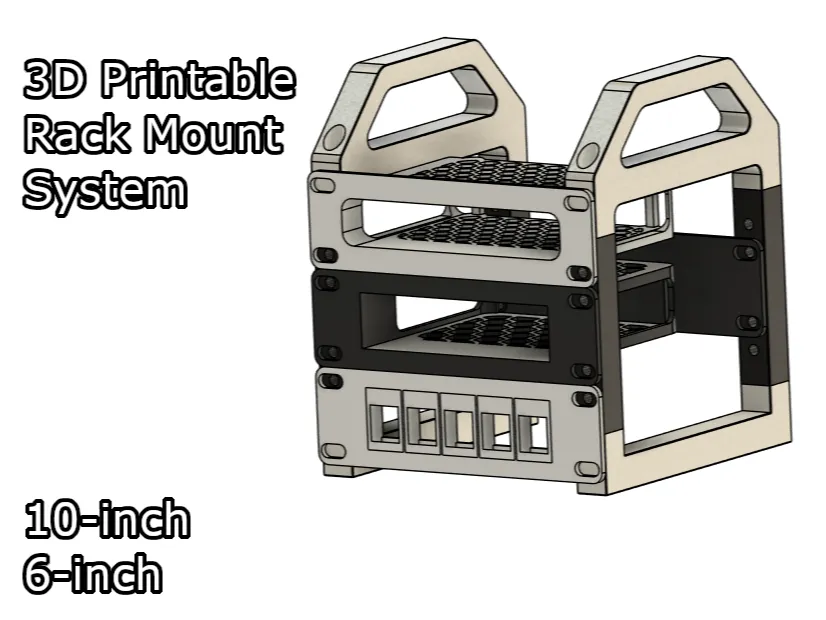
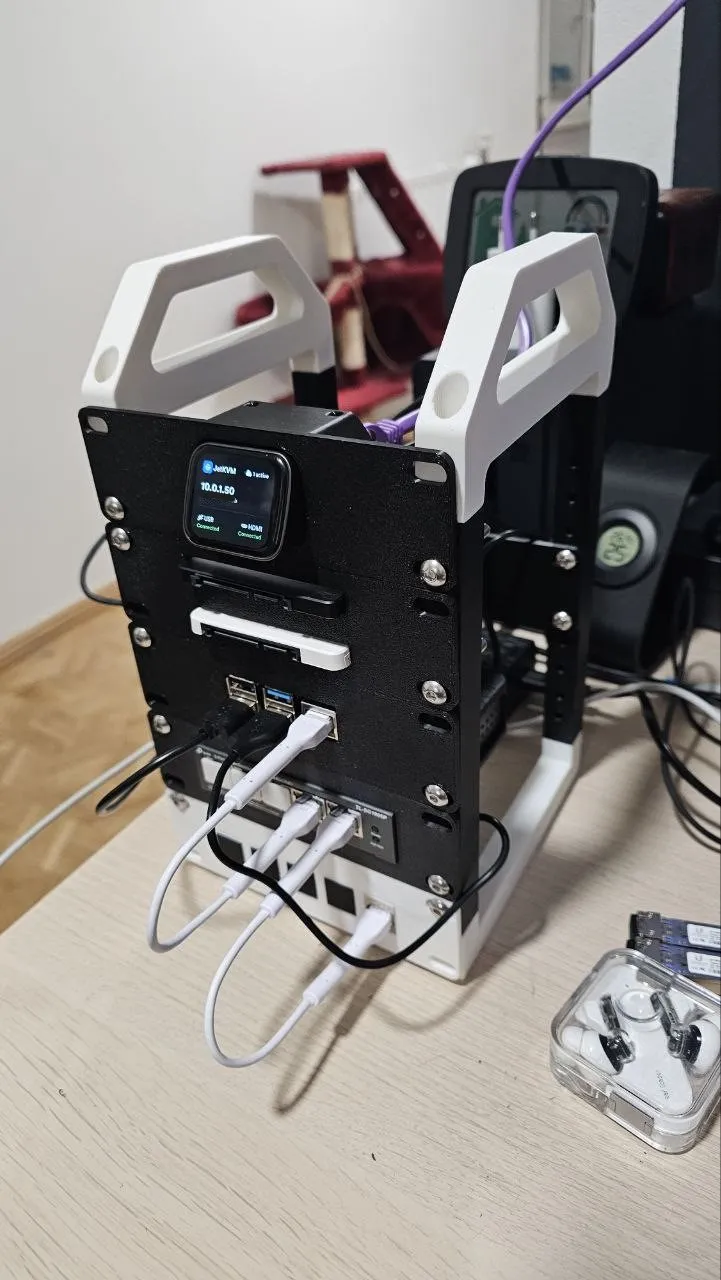
A fully 3D printable rack for your home lab! Can be configured in 10-inch and 6-inch.
To use this system, you need to print at least 4 rails in a chosen size between 2U and 7U, and 4 joints, with a chosen depth between 150mm, 200mm, 250mm.
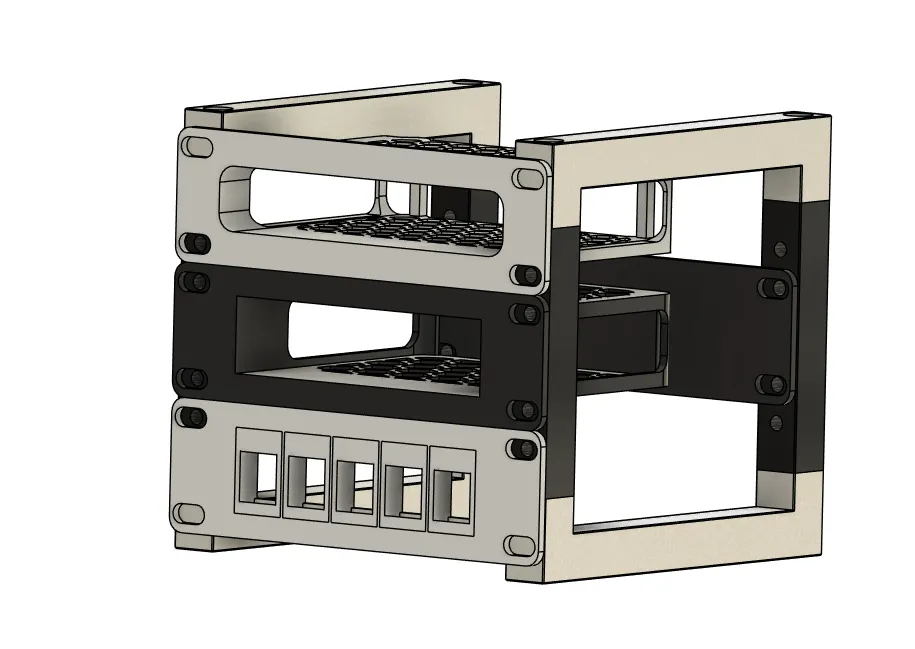
This system will accept any 10-inch or 6-inch rack mount. And you can see some options in the collections below:
Step files for the rails and joints included!
Boost Me (for free)
I make these models for free, and it takes time and material to test them out. Your boost will help me keep releasing new models! Thank you!
Membership
Want to support me further? Or sell my prints? Please consider one of my membership tiers. Thank you!
Do you like my projects? Then please consider donating a coffee ;)

Updates
- 16. Dec. 2025: I added a 12mm hole variant to the 1x joints, for larger screw heads. The files are marked as LH. More will be added later for the 2x joints.
Required parts
To assemble this system, some hardware is required.
- 8x M5 thread inserts.
- For the joints: 8x M5x20mm screws.
- For the mounts: M5 screws. Min length: 20mm.
- M5 Hex nuts for the mounts. At least 2 per mount.
Rack assembly
After you have printed your rack parts, you must use the thread inserts and screws to assemble it.
OBS.: The rail and joint sizes used in this tutorial are only for illustration purposes, you may choose a size to your liking.
Please, follow the steps below:
- Insert the 8x M5 thread inserts into your rails.
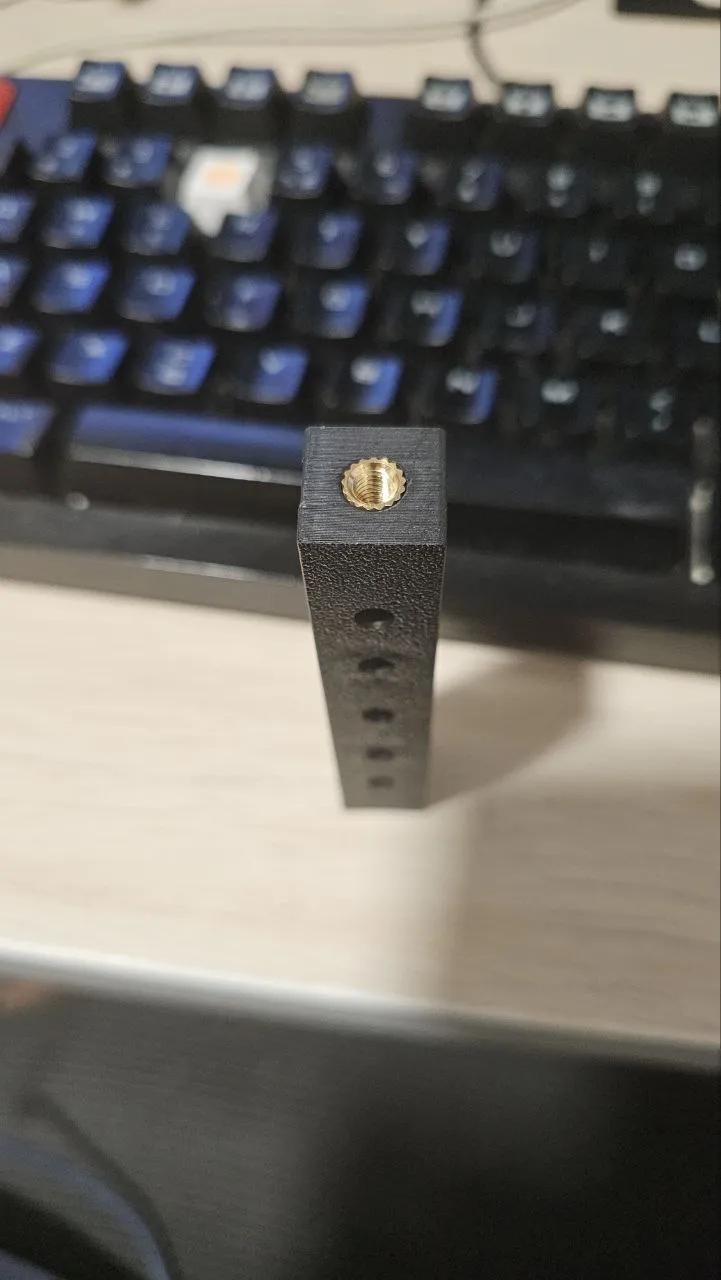
- Attach one of the joints to your rail. The hex nut part of the rail must be facing back, as in the pictures below.
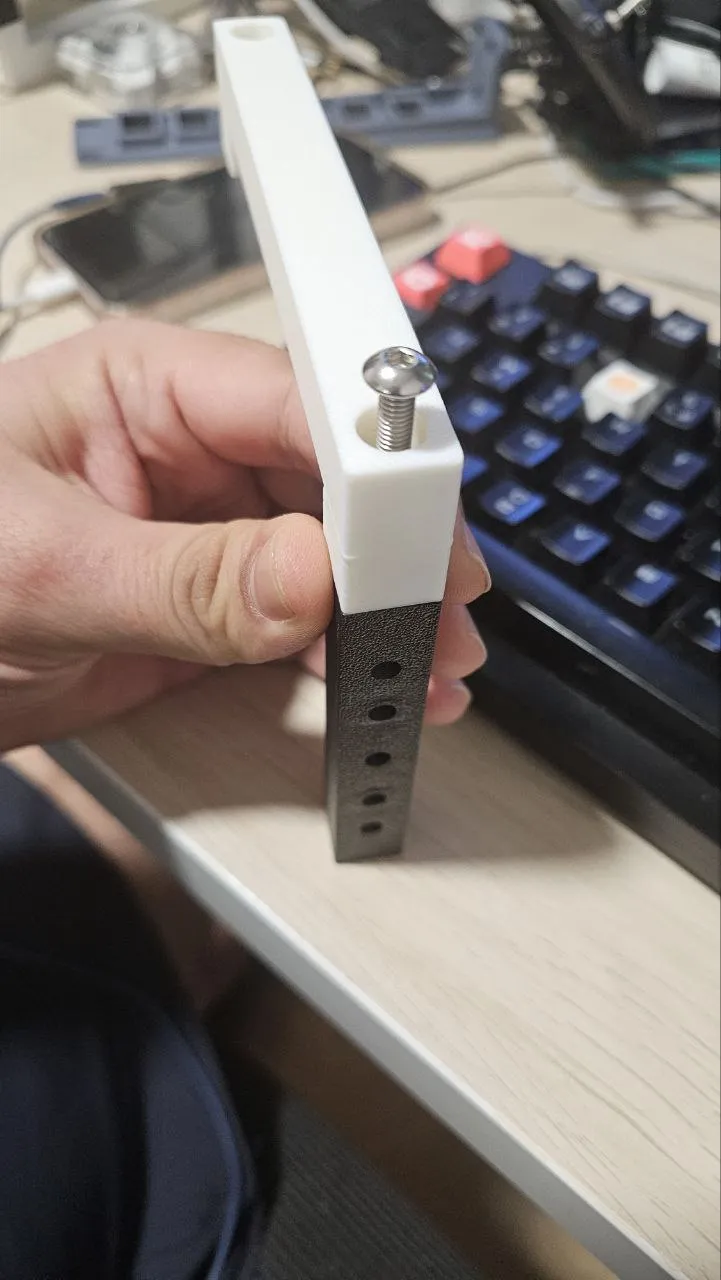
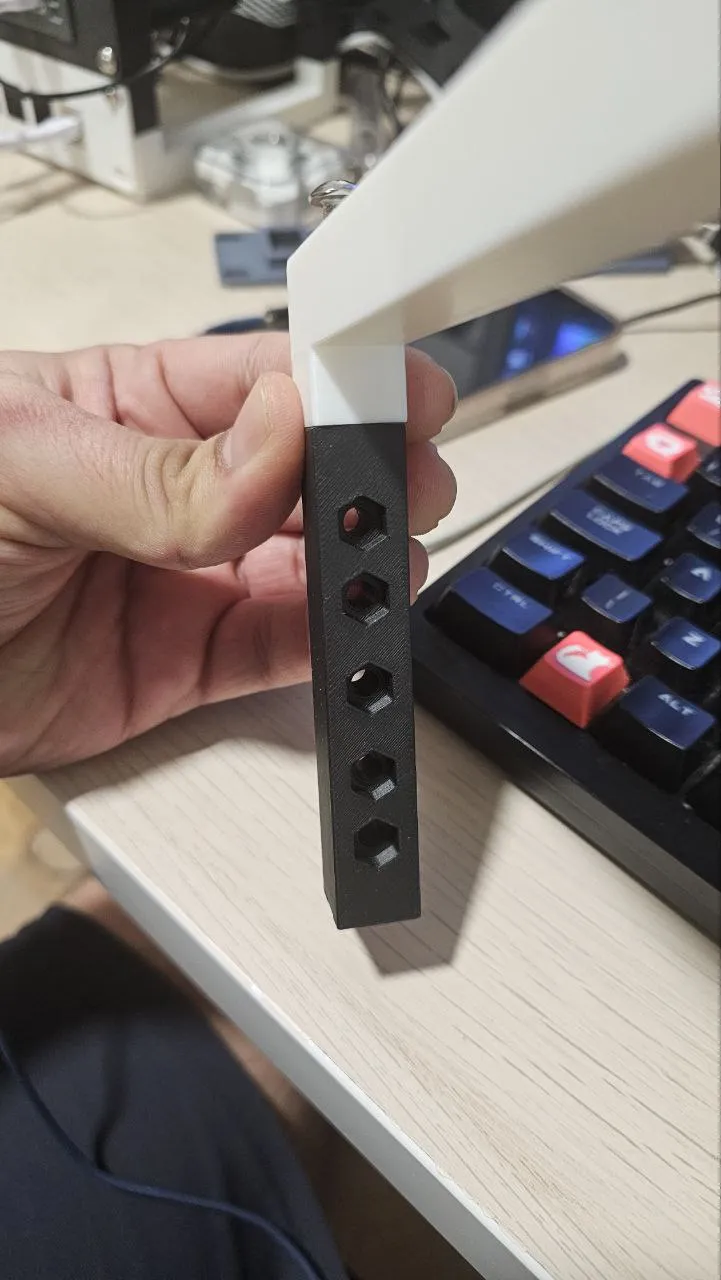
- Attach the second rail on the other side of the joint.
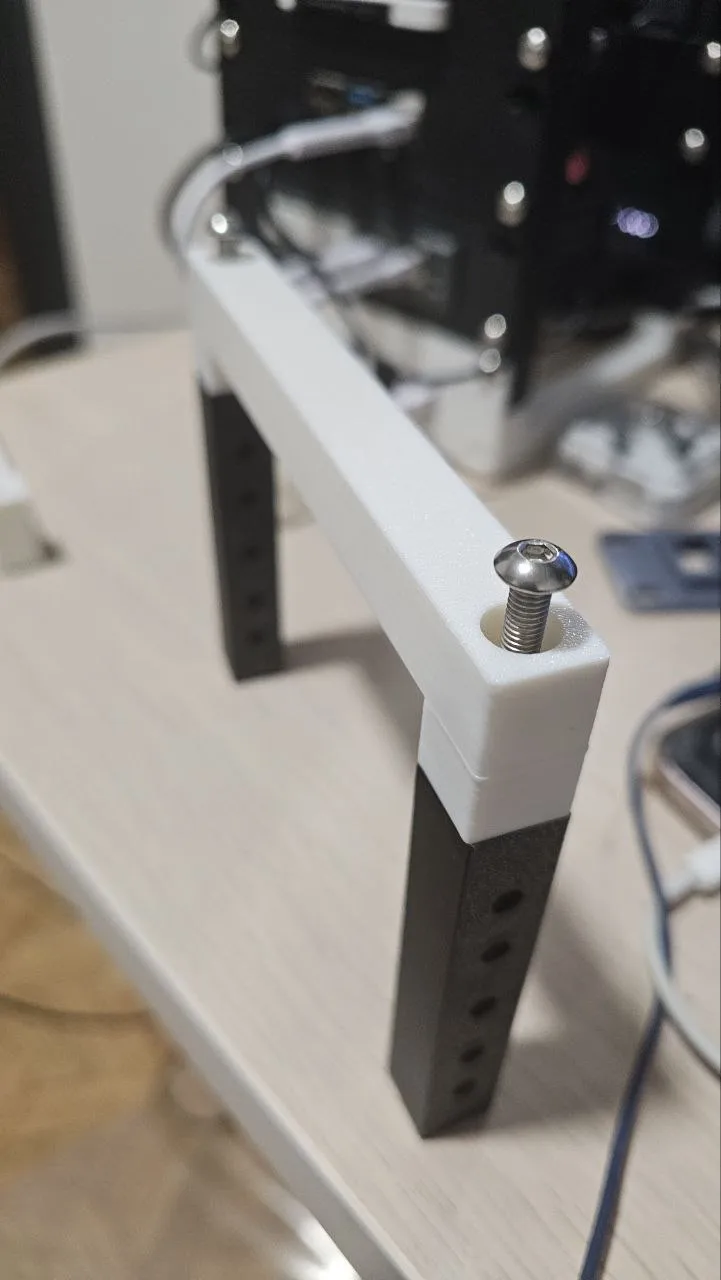
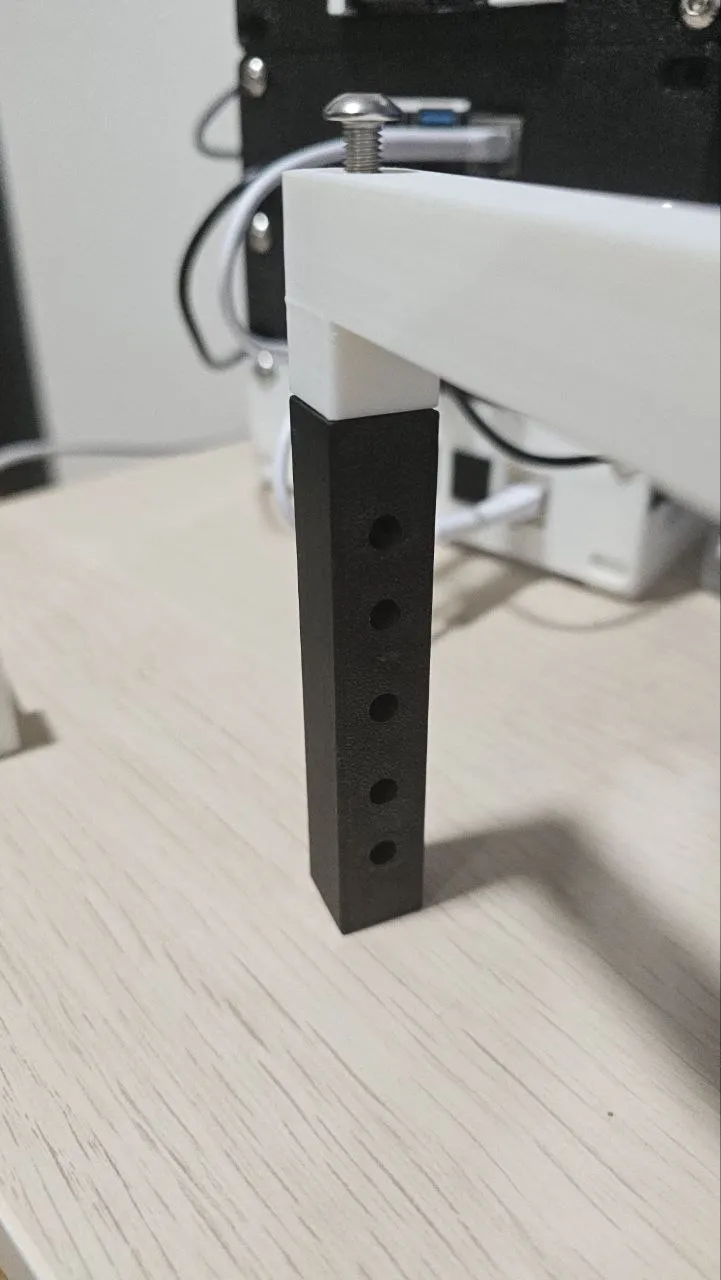
- Attach the second joint to both rails.
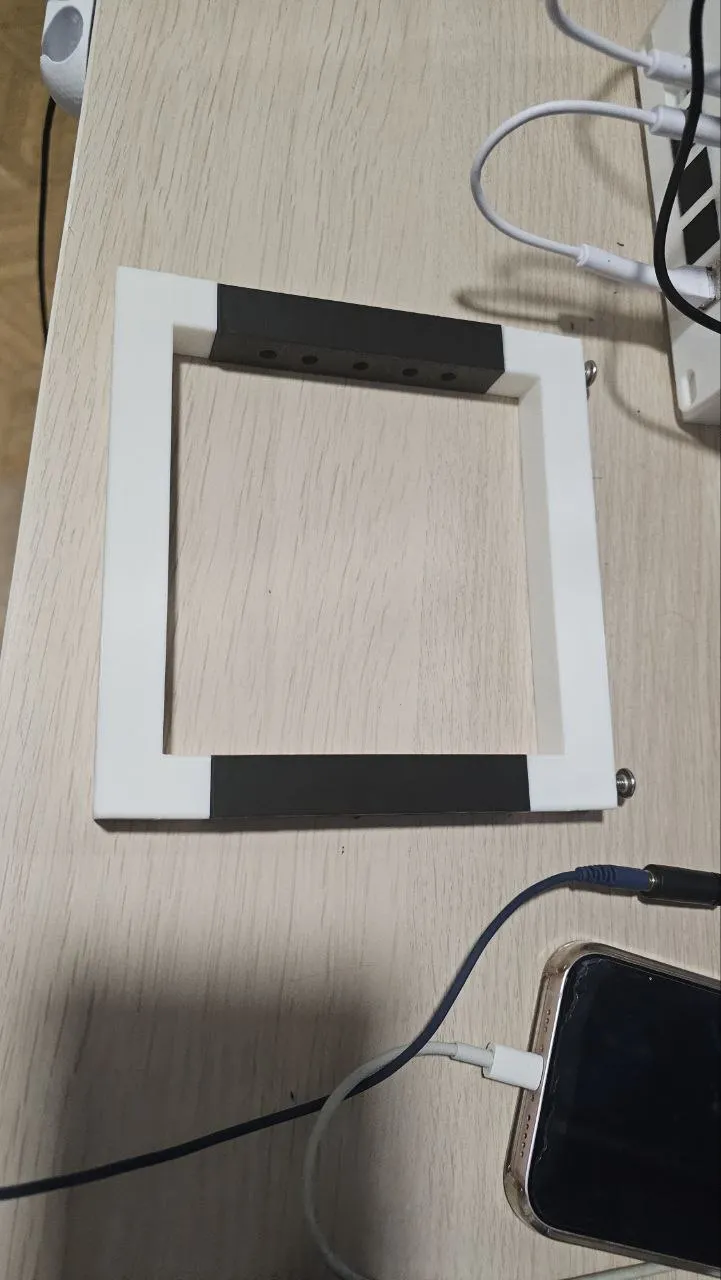
- Tighten all 4 screws. But do not over tighten them.
- Repeat the steps above to make the other side of the rack.
- Now, I recommend printing one of the blanks, either 10-inch or 6-inch, to use as a guide in the back of the rack. This will help you to get the correct size.
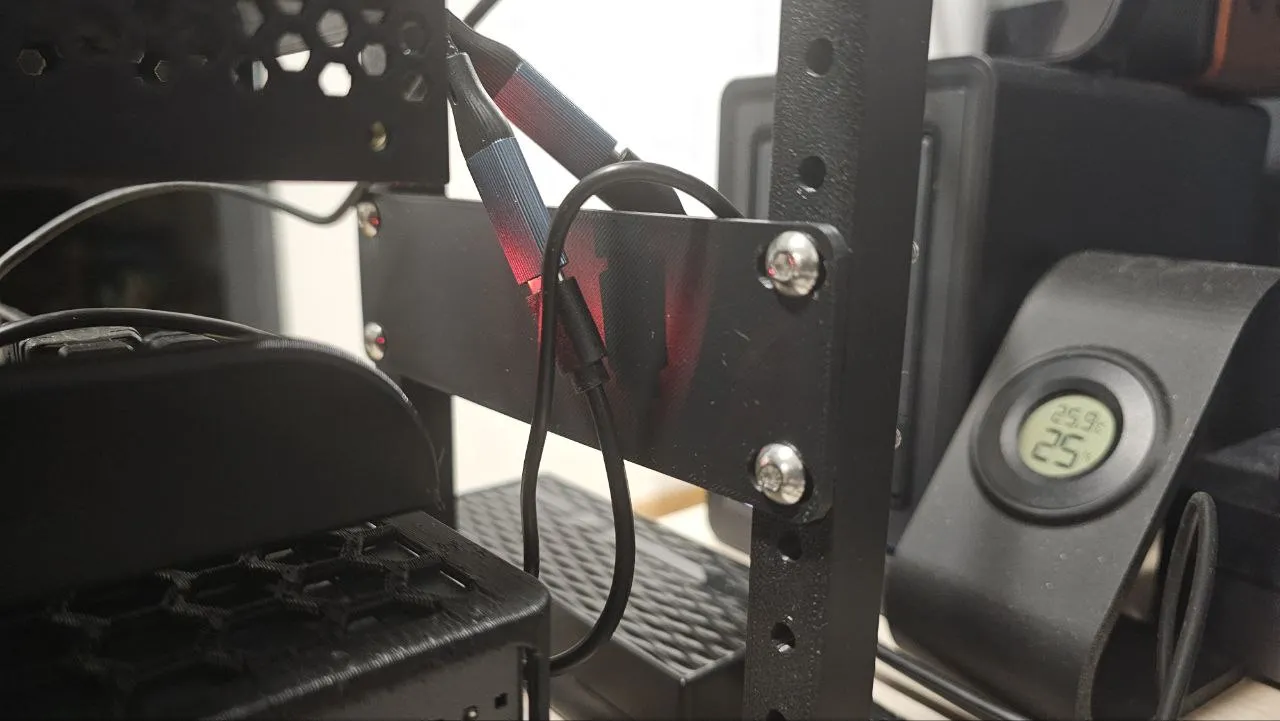
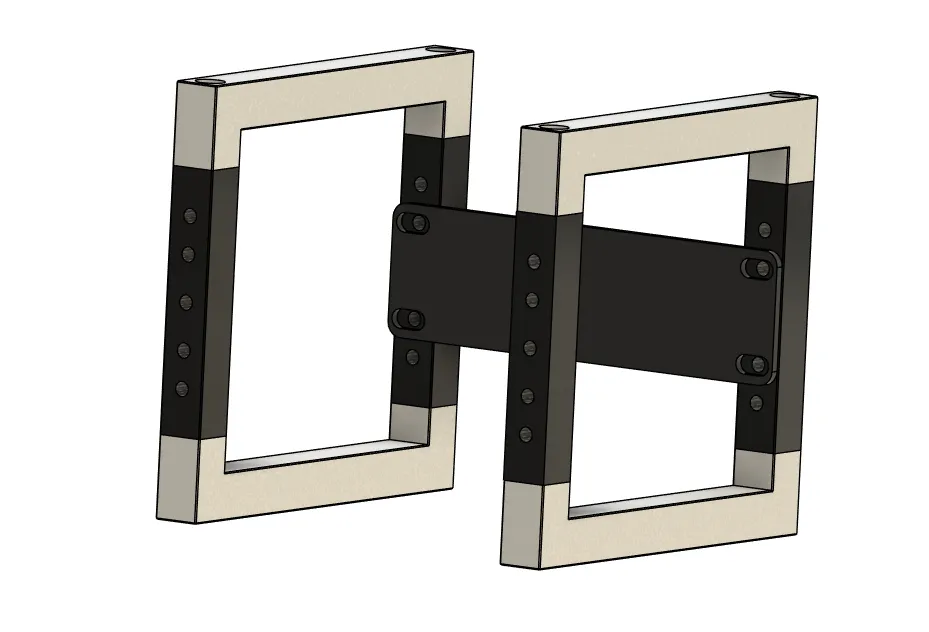
- Now you're done! Your rack is ready to install other mounts.
Print Settings
Supports:
No.
Resolution:
0.2 or 0.24
Walls/Perimeters:
At least 3.
Infill:
25% or more.
Filament:
PLA+/PETG/ABS/ASA/PC/Nylon
License



Comment & Rating (294)