
AMS Micro - nothing so small for AMS Lite


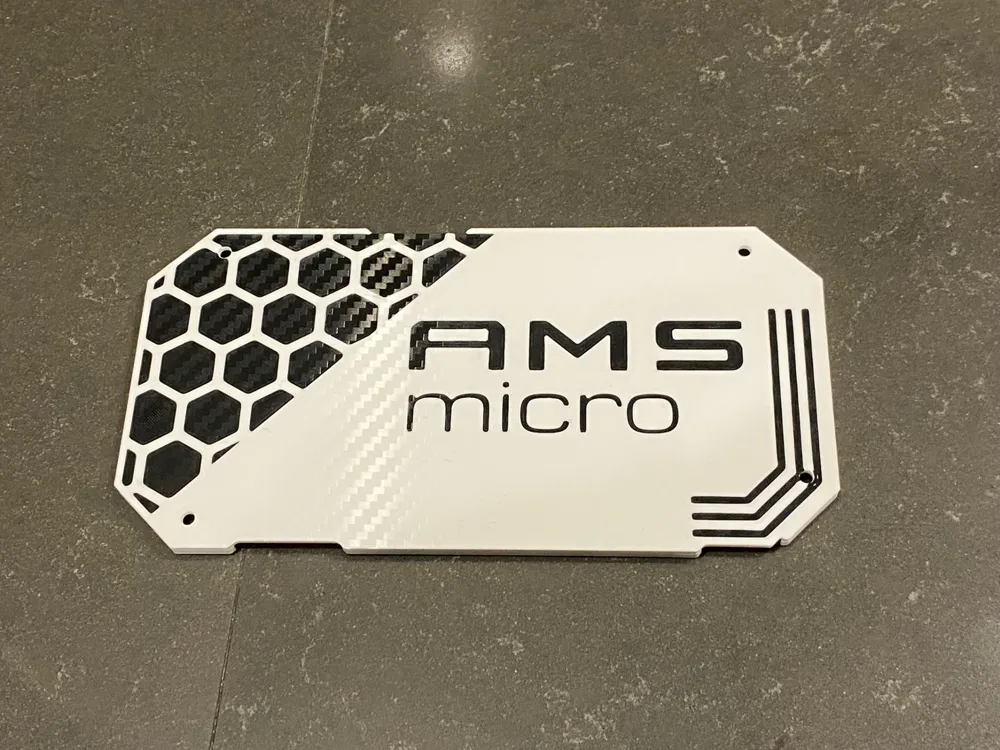


Print Profile(6)


Description
AMS Micro is the revolution for those who want to change filament automatically and protect the spools at the same time.
The whole system in a design of less than 10cm. (Please note that RFID functionality will be implemented soon with an additional module!)
1. Components
- AMS Micro Plate (installable on both right and left side)
- Plate standard
- Plate short printable on A1 Mini build plate
- AMS Micro Cover
- left mount
- right mount
- Reversed Numbers Cap you can find here
2. Filament suggestions
Although PETG can provide a more resistant structure, PLA has worked well in my experience.
3. Non-3D printed parts
- Screwdriver
- 3x M3x20 screws (wallmount fixation plate)
- 2x BT2x5 B0017 screws (available from AMS Lite)
- 4x screws (to lock the cover)
- 4x PTFE tubes (optional)
4. Assembly Guide
- Step 1: Disassemble the main body of the AMS Lite. For instructions, see this BambuLab Wiki article.
- Step 2: Place the AMS motherboard inside the plate and secure it with the 3 screws.
- Step 3: Install the AMS Micro on the wall and secure it with the screws.
- Step 4: Install the left/right power supply units, making sure to properly route the ribbon cables inside.
- Step 5: Secure each power supply unit with the two screws provided.
- Step 6: Secure the two ribbon cables to the board connectors.
- Step 7: Close the snap-on cover.
- Done! Enjoy your new setup!
5. If you are interested, why I made it
The original AMS Lite does not offer any protection for the filaments.
Too bulky if placed next to the printer. I don't even consider the Bambu Lab top mount, dangerous and full of unnecessary vibrations.
I don't like solutions with accessories fixed to the printer's structure, in the long run they create vibrations and the mechanics loosen.
I found very interesting solutions around but something truly miniaturized was missing that could be inserted directly into the printer's box, without being fixed to it.
Boost Me (for free)
I hope you enjoyed the project, if so leave me a BOOOST!!!
License

You may create derivative works based on this object, provided that all such derivative works are published exclusively on the MakerWorld platform and include proper attribution to the original creator. You may not share, upload, host, distribute, or publish this object—or any derivative work of this object—on any other digital platform, marketplace, or distribution channel. Commercial use of this object and any derivative works is strictly prohibited. This includes, but is not limited to, selling, renting, sublicensing, or using the object in any context in which you receive monetary compensation or other financial benefits.


Comment & Rating (968)