
Active Energy battery holder
Print Profile(1)

Description
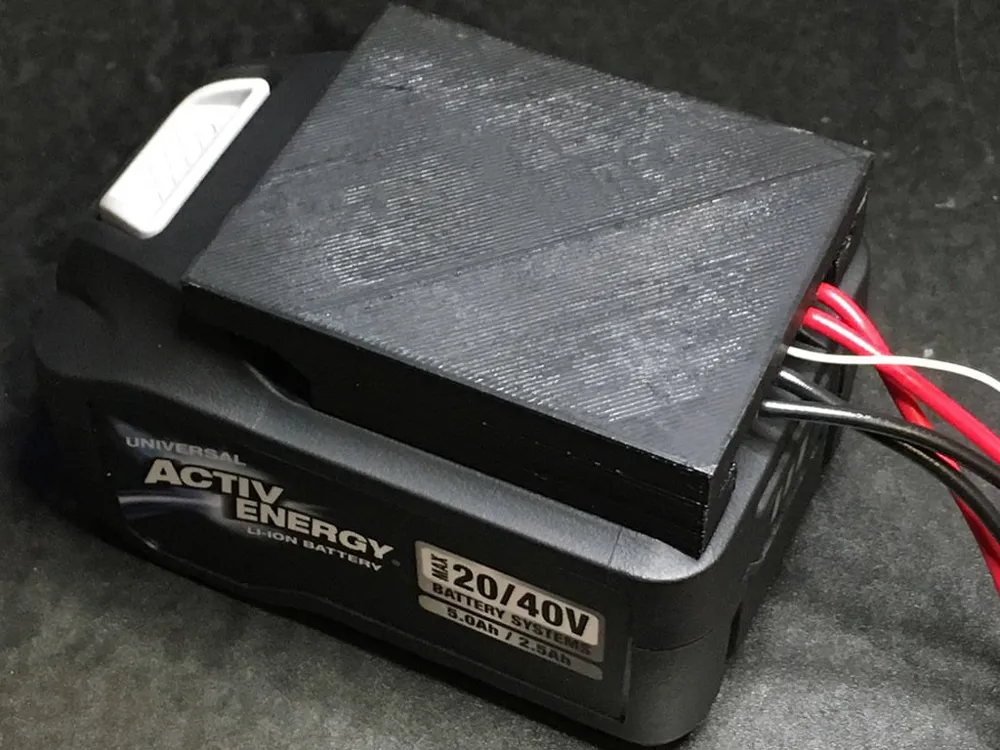
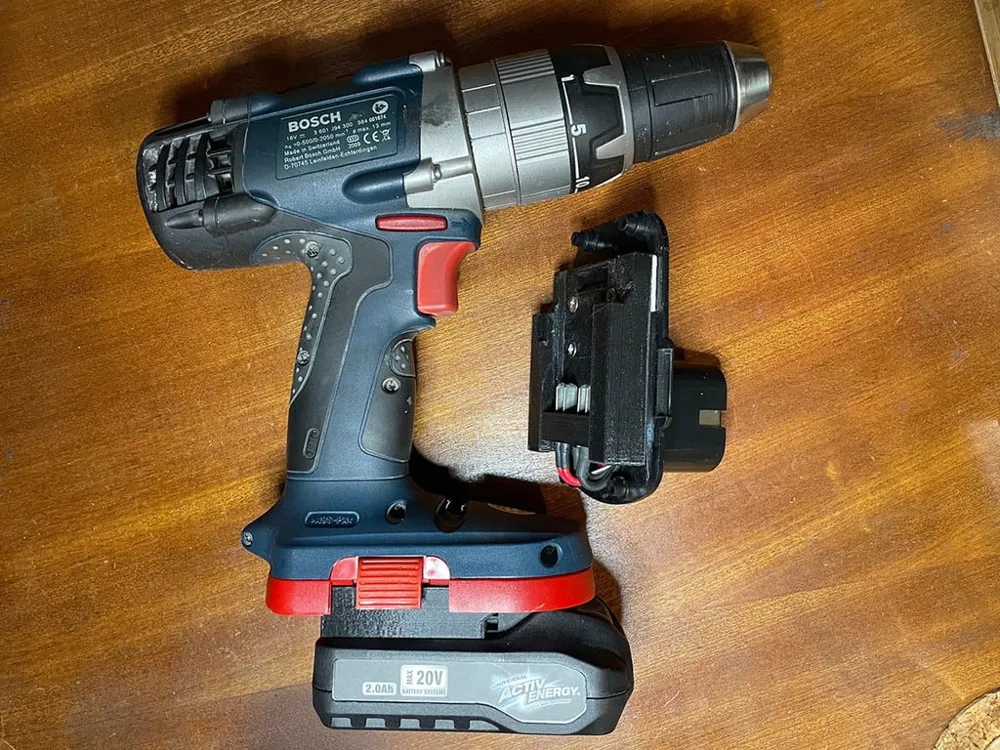
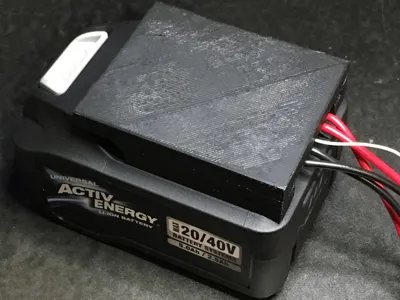
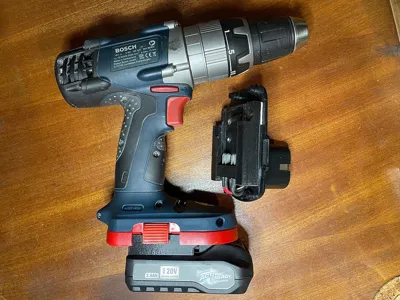
This is a battery connector or adapter to work with the “Active energy” 20V or 20V/40V power tool batteries as sold by Aldi in the UK and probably various other retailers in other countries.
I use them both for converting older 18V power tools from NiCD or NiMh to Lithium batteries, and for powering various robotic and other electronics projects.
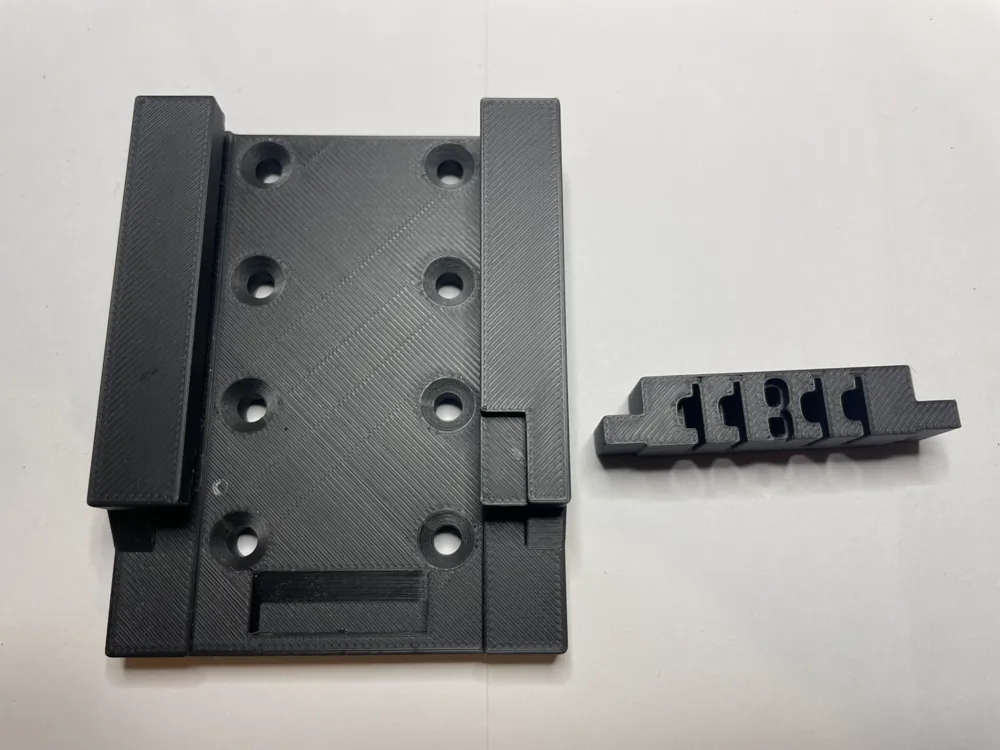
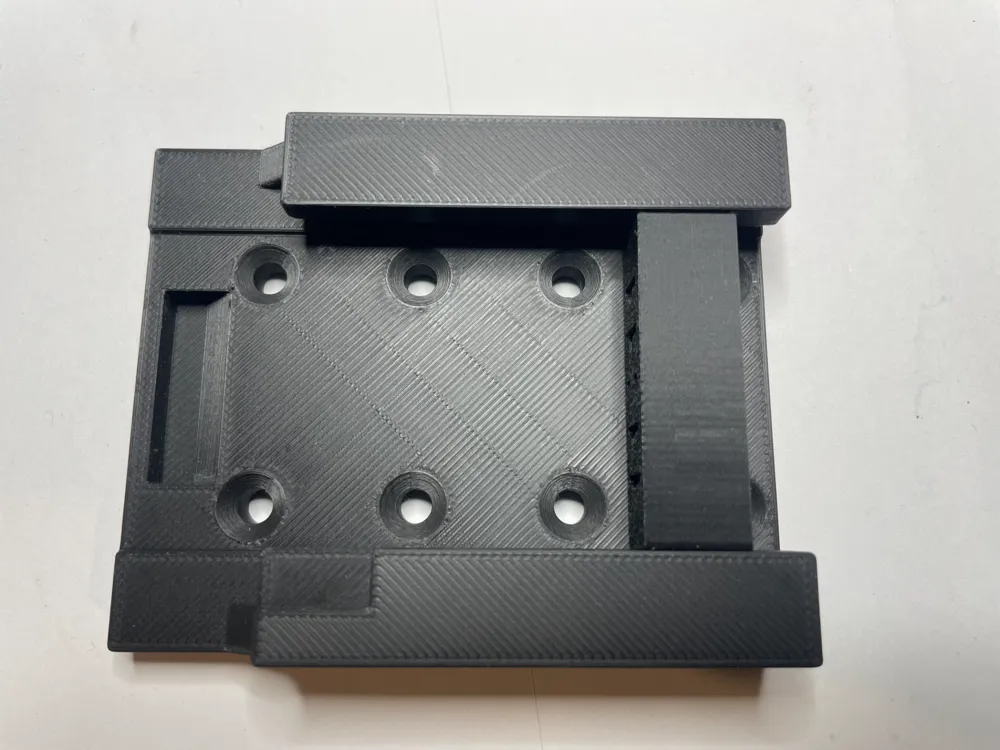
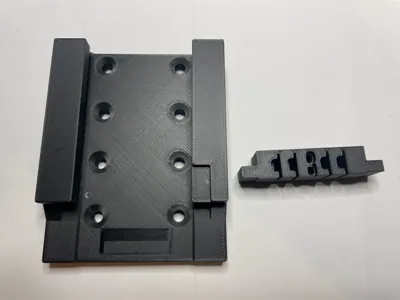
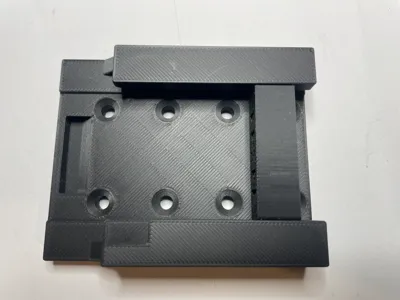
Assembly: As set on the build plate, they have tree support enabled which will mainly appear in the side slots of the adapter body. That cleans out quite easily by prying with a small screwdriver. Try the body on a battery before assembling further to be certain there are no support traces left that will prevent it fitting correctly. It should slide on and latch quite easily.
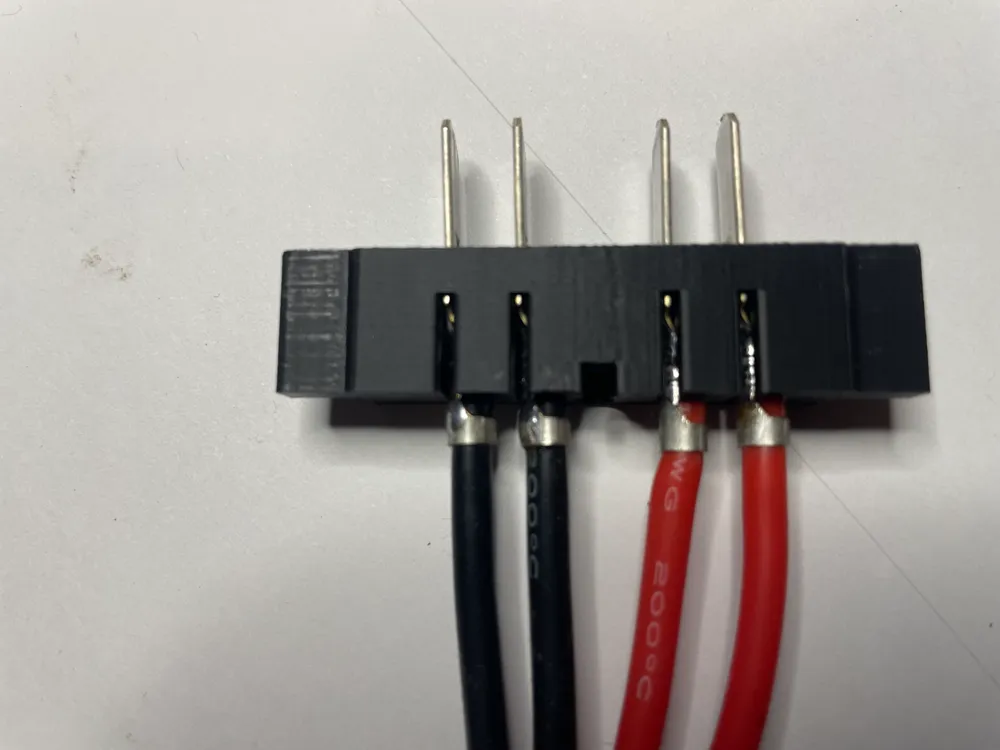
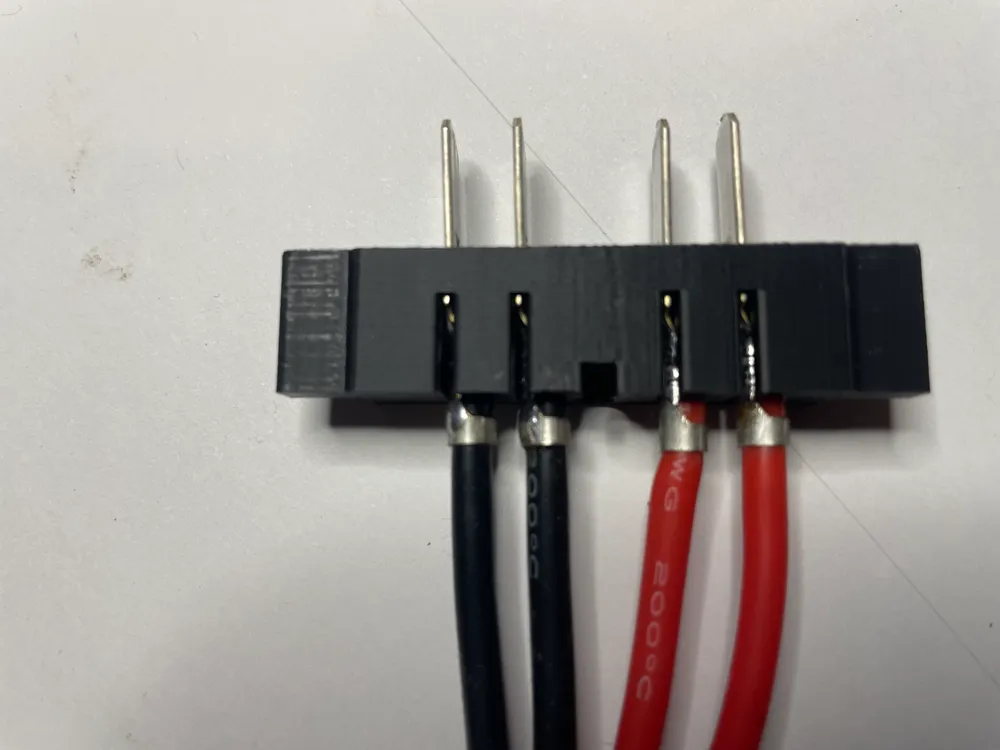
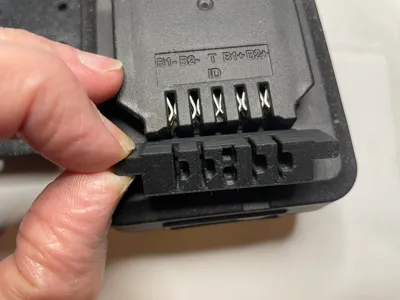
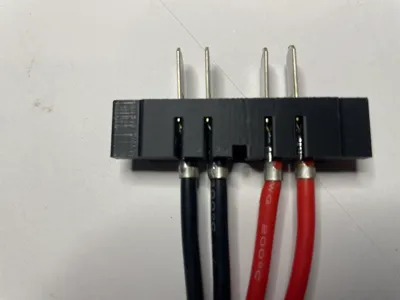
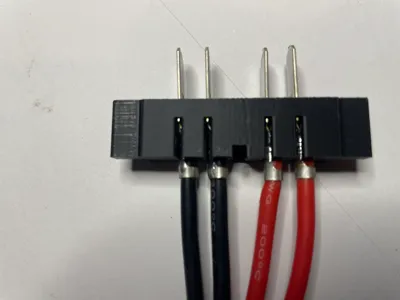
The electrical connection uses four blade style crimp pins. These are TE Connectivity 42241-2 or RS Components 245-1731. Crimp and solder those to suitably heavy flexible cable. I use a silicone test lead cable that's around 3.5mm diameter over the insulation.
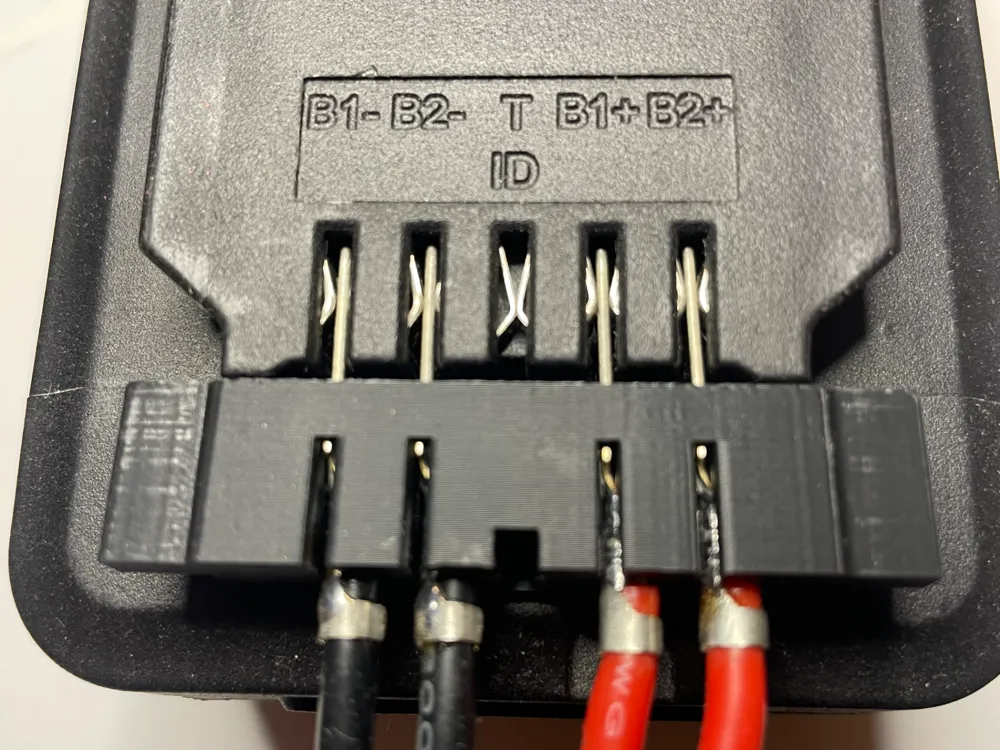
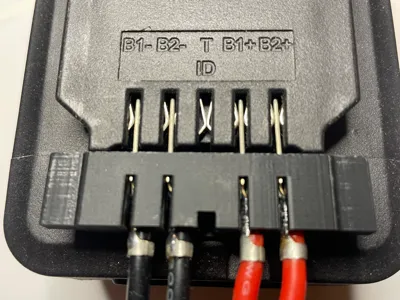
Fit those in the large slots in the connector block. See the photos for their positioning. The will be a very tight fit - I push them part way through then pull from the other side with small pliers. They should click in when fully seated, and the small protruding tag at the edge be all the bay in to the visible slot.
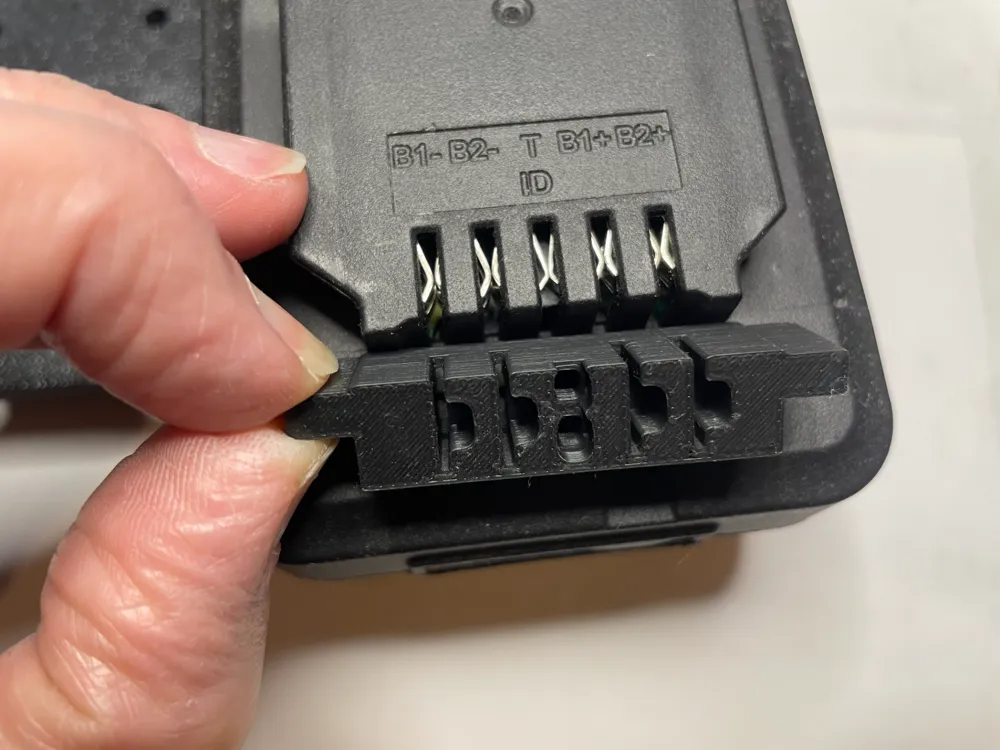
If you wish to use the signal terminals, those need TE Connectivity 173600-1 crimp pins. One is for the thermistor in the pack, the other just a resistor which I believe allows the pack type and capacity to be checked.
Final assembly: Fit the body toe the battery & hold it against [away from] the latch, but do not release it. Push the connector section fully in to the back of the body - it should recess in around 7mm. Nudge the body towards the latch end of the battery by around a half to one millimetre, then unlatch and remove the whole unit. The connector should be parallel to the end of the body - if not, re-fit and try again.
The connector assembly should fit the battery and go just slightly beyond where the latch clicks in to place, and release easily when unalatched. Once you are happy with fit, add a drop or two of superglue at the back outer edges of the connector part, and (if it's a slow flowing glue) hold the assembly vertically, wire up, for a minute or two for the glue to penetrate the edges around the connector.
Use accelerator spray to cure any excess glue and prevent it from flowing where it should no be.
Use: for 20V output, use both reds as positive and both blacks as negative. Either the 20V or 20/40V batteries can be used.
For 40V output, connect the inner two power wires together and connect the outer two to the load. That connects the two independent 20V sections in a 40V pack in series, with B1- being the negative to the load, B1+ linked to B2-, and B2+ being the +40V load output.
Be very careful to use overcurrent protection and avoid shorting or overloading the batteries - they can supply high currents and without a correct fuse, even quite heavy wires could get red hot in case of a short circuit!
And, only charge the batteries using the matching 20/40V charger sold be the battery seller!
License

You shall not share, sub-license, sell, rent, host, transfer, or distribute in any way the digital or 3D printed versions of this object, nor any other derivative work of this object in its digital or physical format (including - but not limited to - remixes of this object, and hosting on other digital platforms). The objects may not be used without permission in any way whatsoever in which you charge money, or collect fees.


Comment & Rating (0)