
Magnetic Fidget Toy (ASMR)
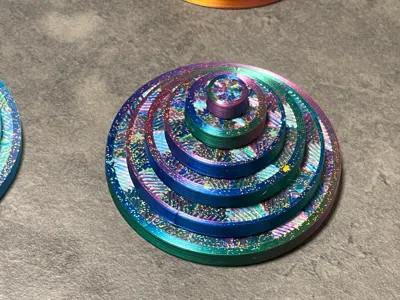
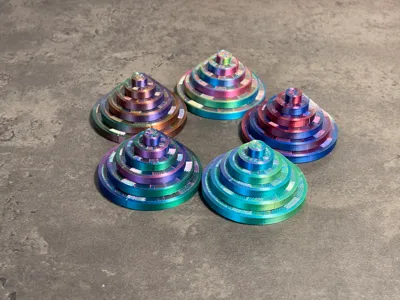
Print Profile(6)


Bill of Materials



Description
Engineering + Art = Magic primetowerdesigns.com | ||
 Beginner's Guide |  The Next Dimension |  How It's Made |
Important: The ClackStack is designed for teens and adults. It contains small magnetic disks, so please keep it away from children who may put objects in their mouths. I’m not including this model in my membership (sales) program to ensure it isn’t treated as a children’s toy.

The ClackStack
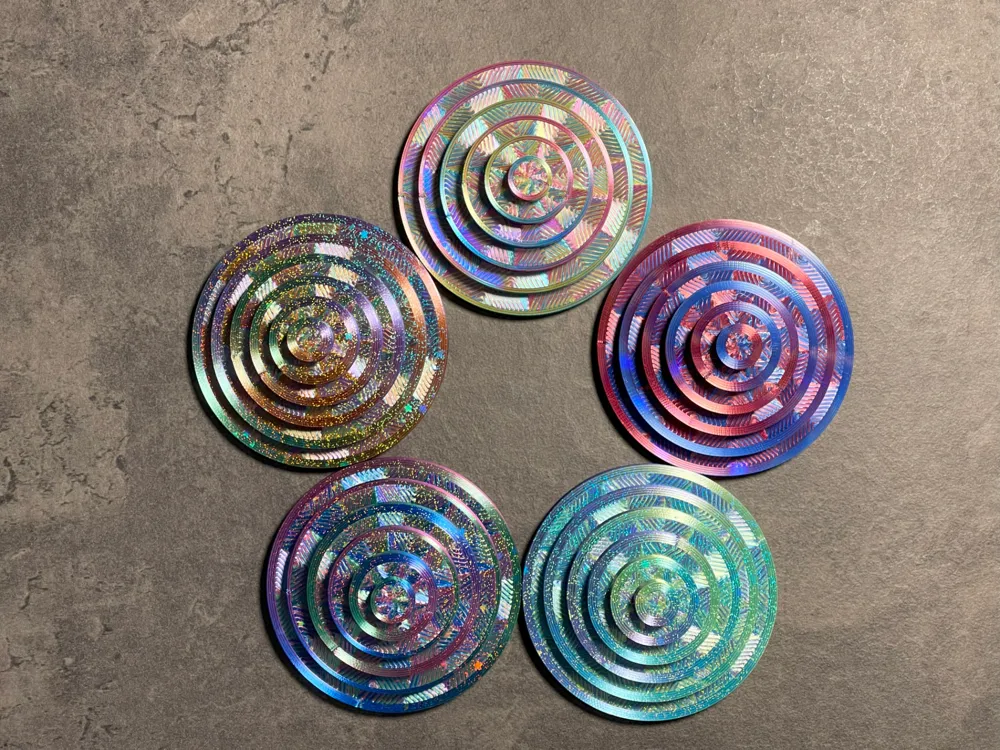
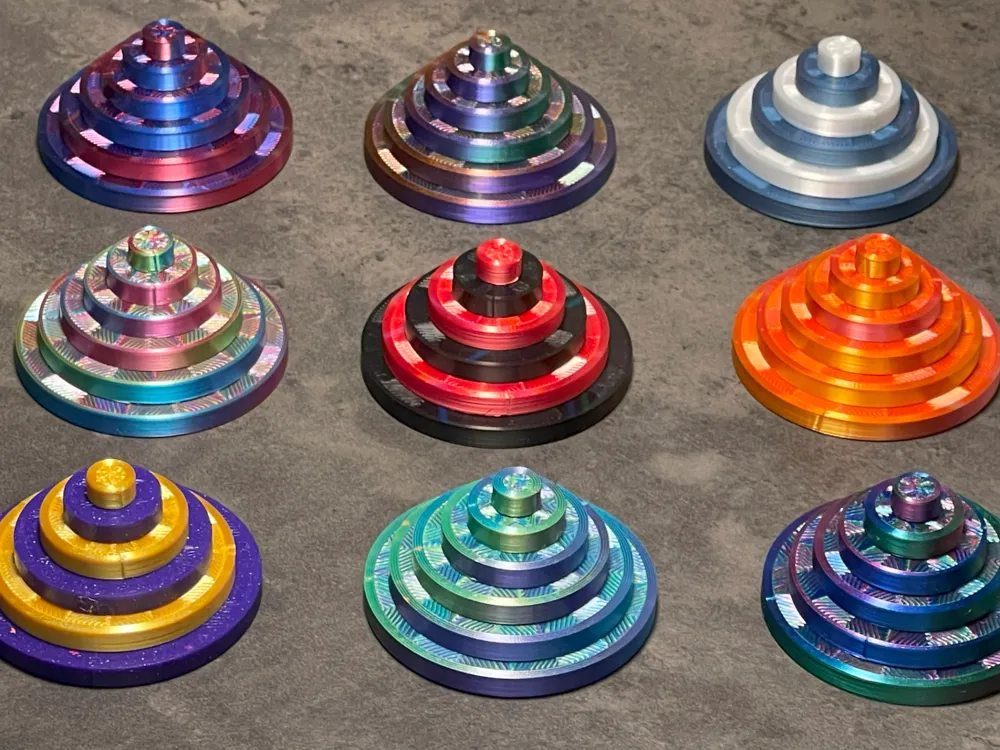
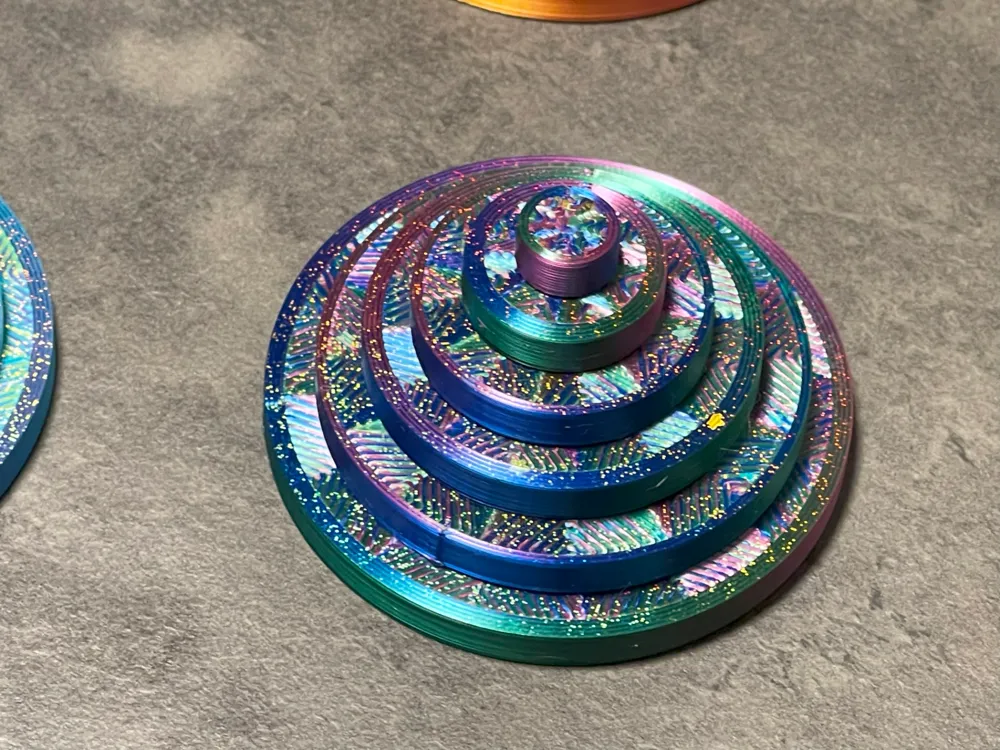
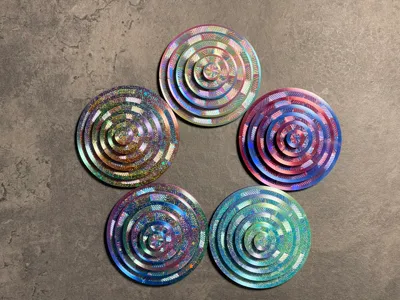
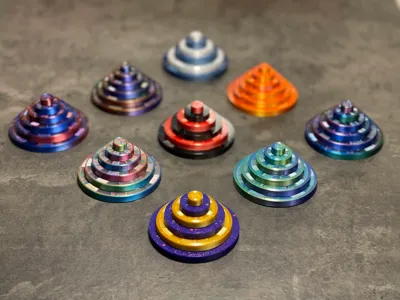
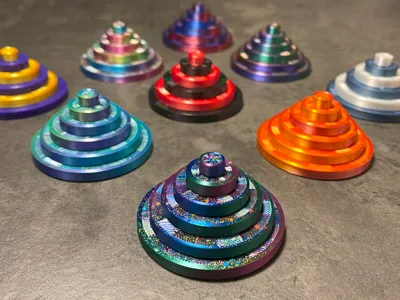
Clack it, stack it, spin it, slide it, mix it up, and most importantly, have fun with it! You will no doubt discover new ways to play around with this versatile pocket-sized magnetic toy (not a kid's toy). The ClackStack’s signature characteristic, its satisfying CLACK, makes this ASMR-inducing fidget surprisingly delightful!
Also available: ClackStack Hearts
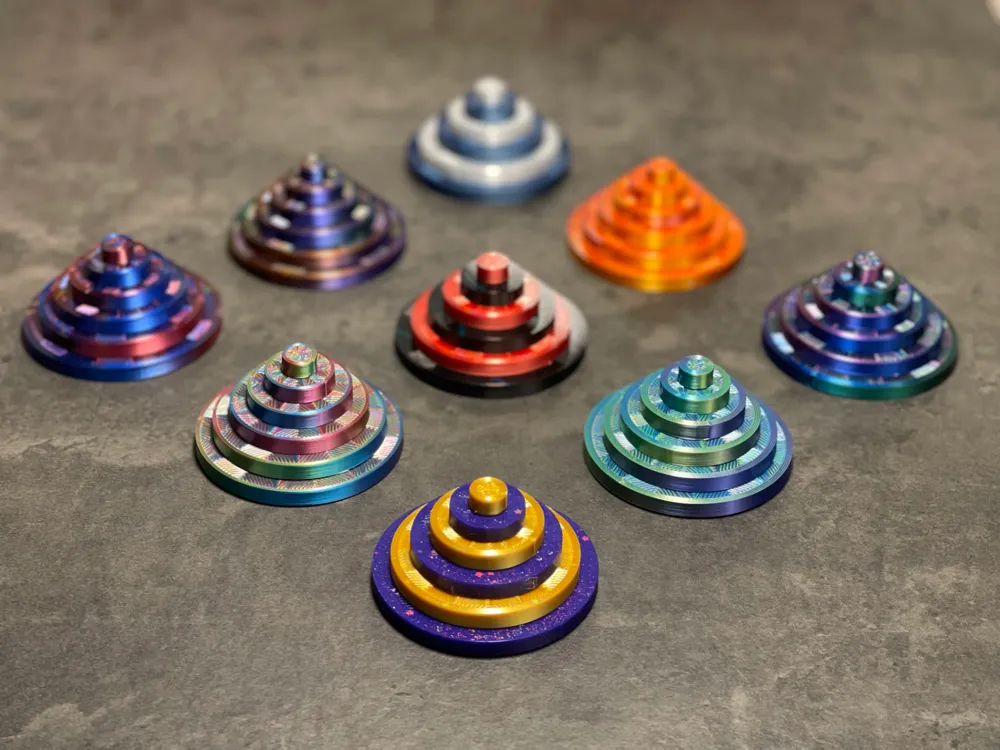
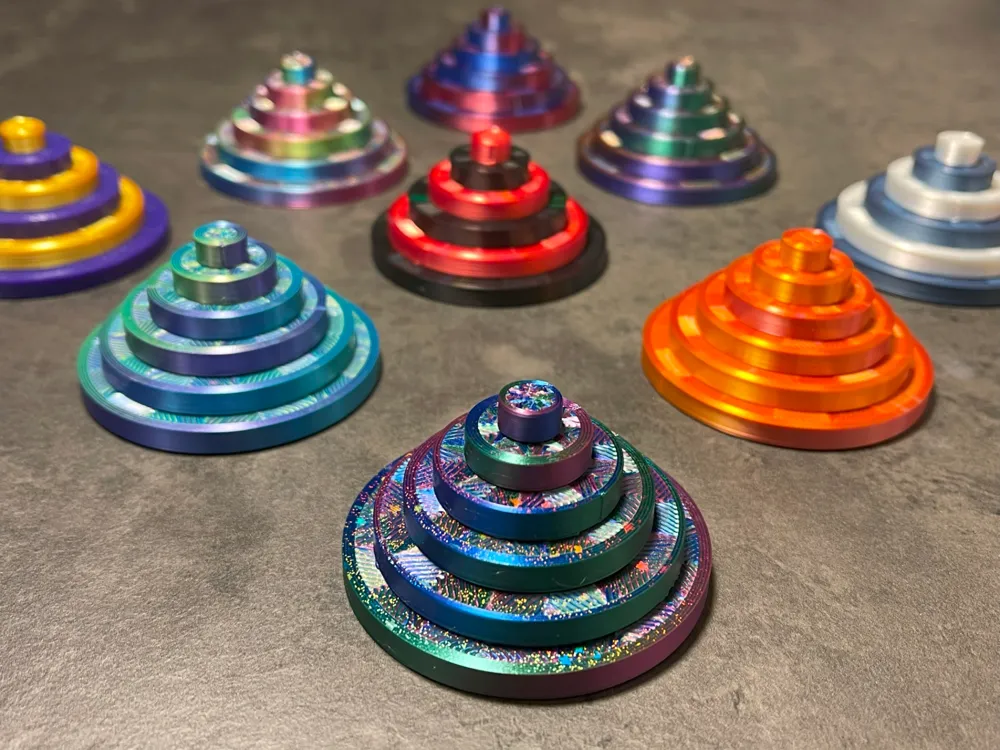
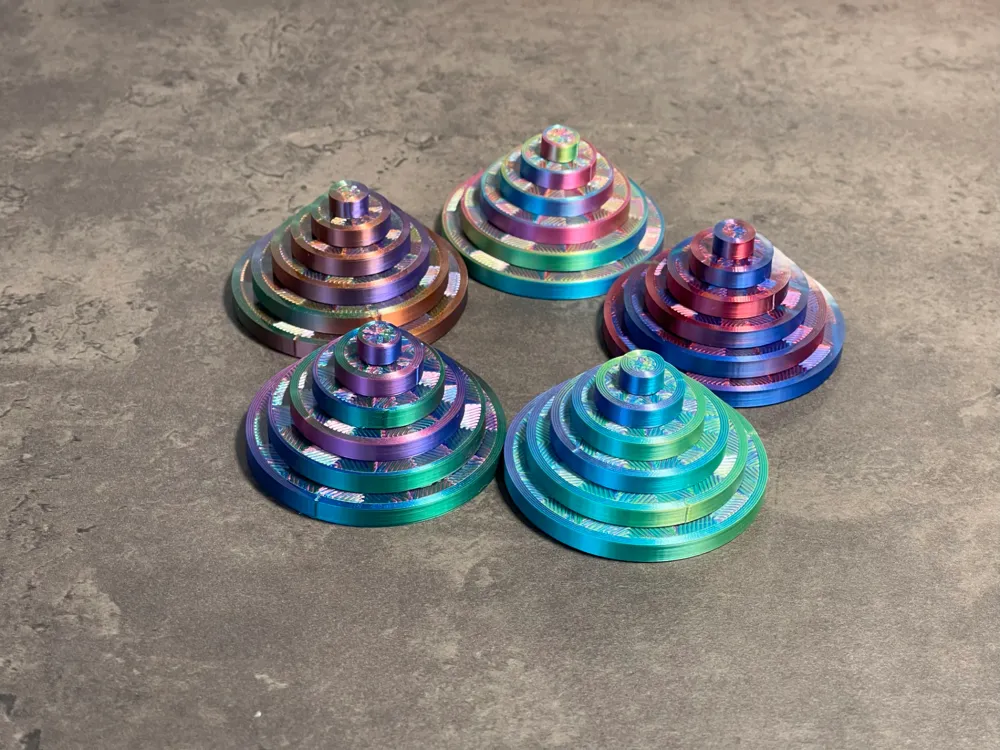
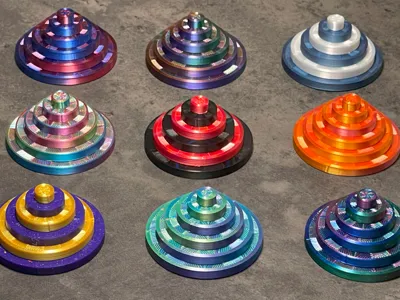
It Comes in Colors!
Original Apple commercial: https://www.youtube.com/watch?v=lcBpXYI1r3Q
Boost Me (for free)
Each Boost fuels more free designs - THANK YOU!
The Unlikely Road to Here
I know, the world doesn’t need yet another fidget! And I’d never planned to make one – illusions are my thing, and I didn’t want to release a fidget unless it was sufficiently mysterious and complex.
Well, that went right out the window! The ClackStack is literally one of the simplest designs I could ever create. Here’s how it came to be…
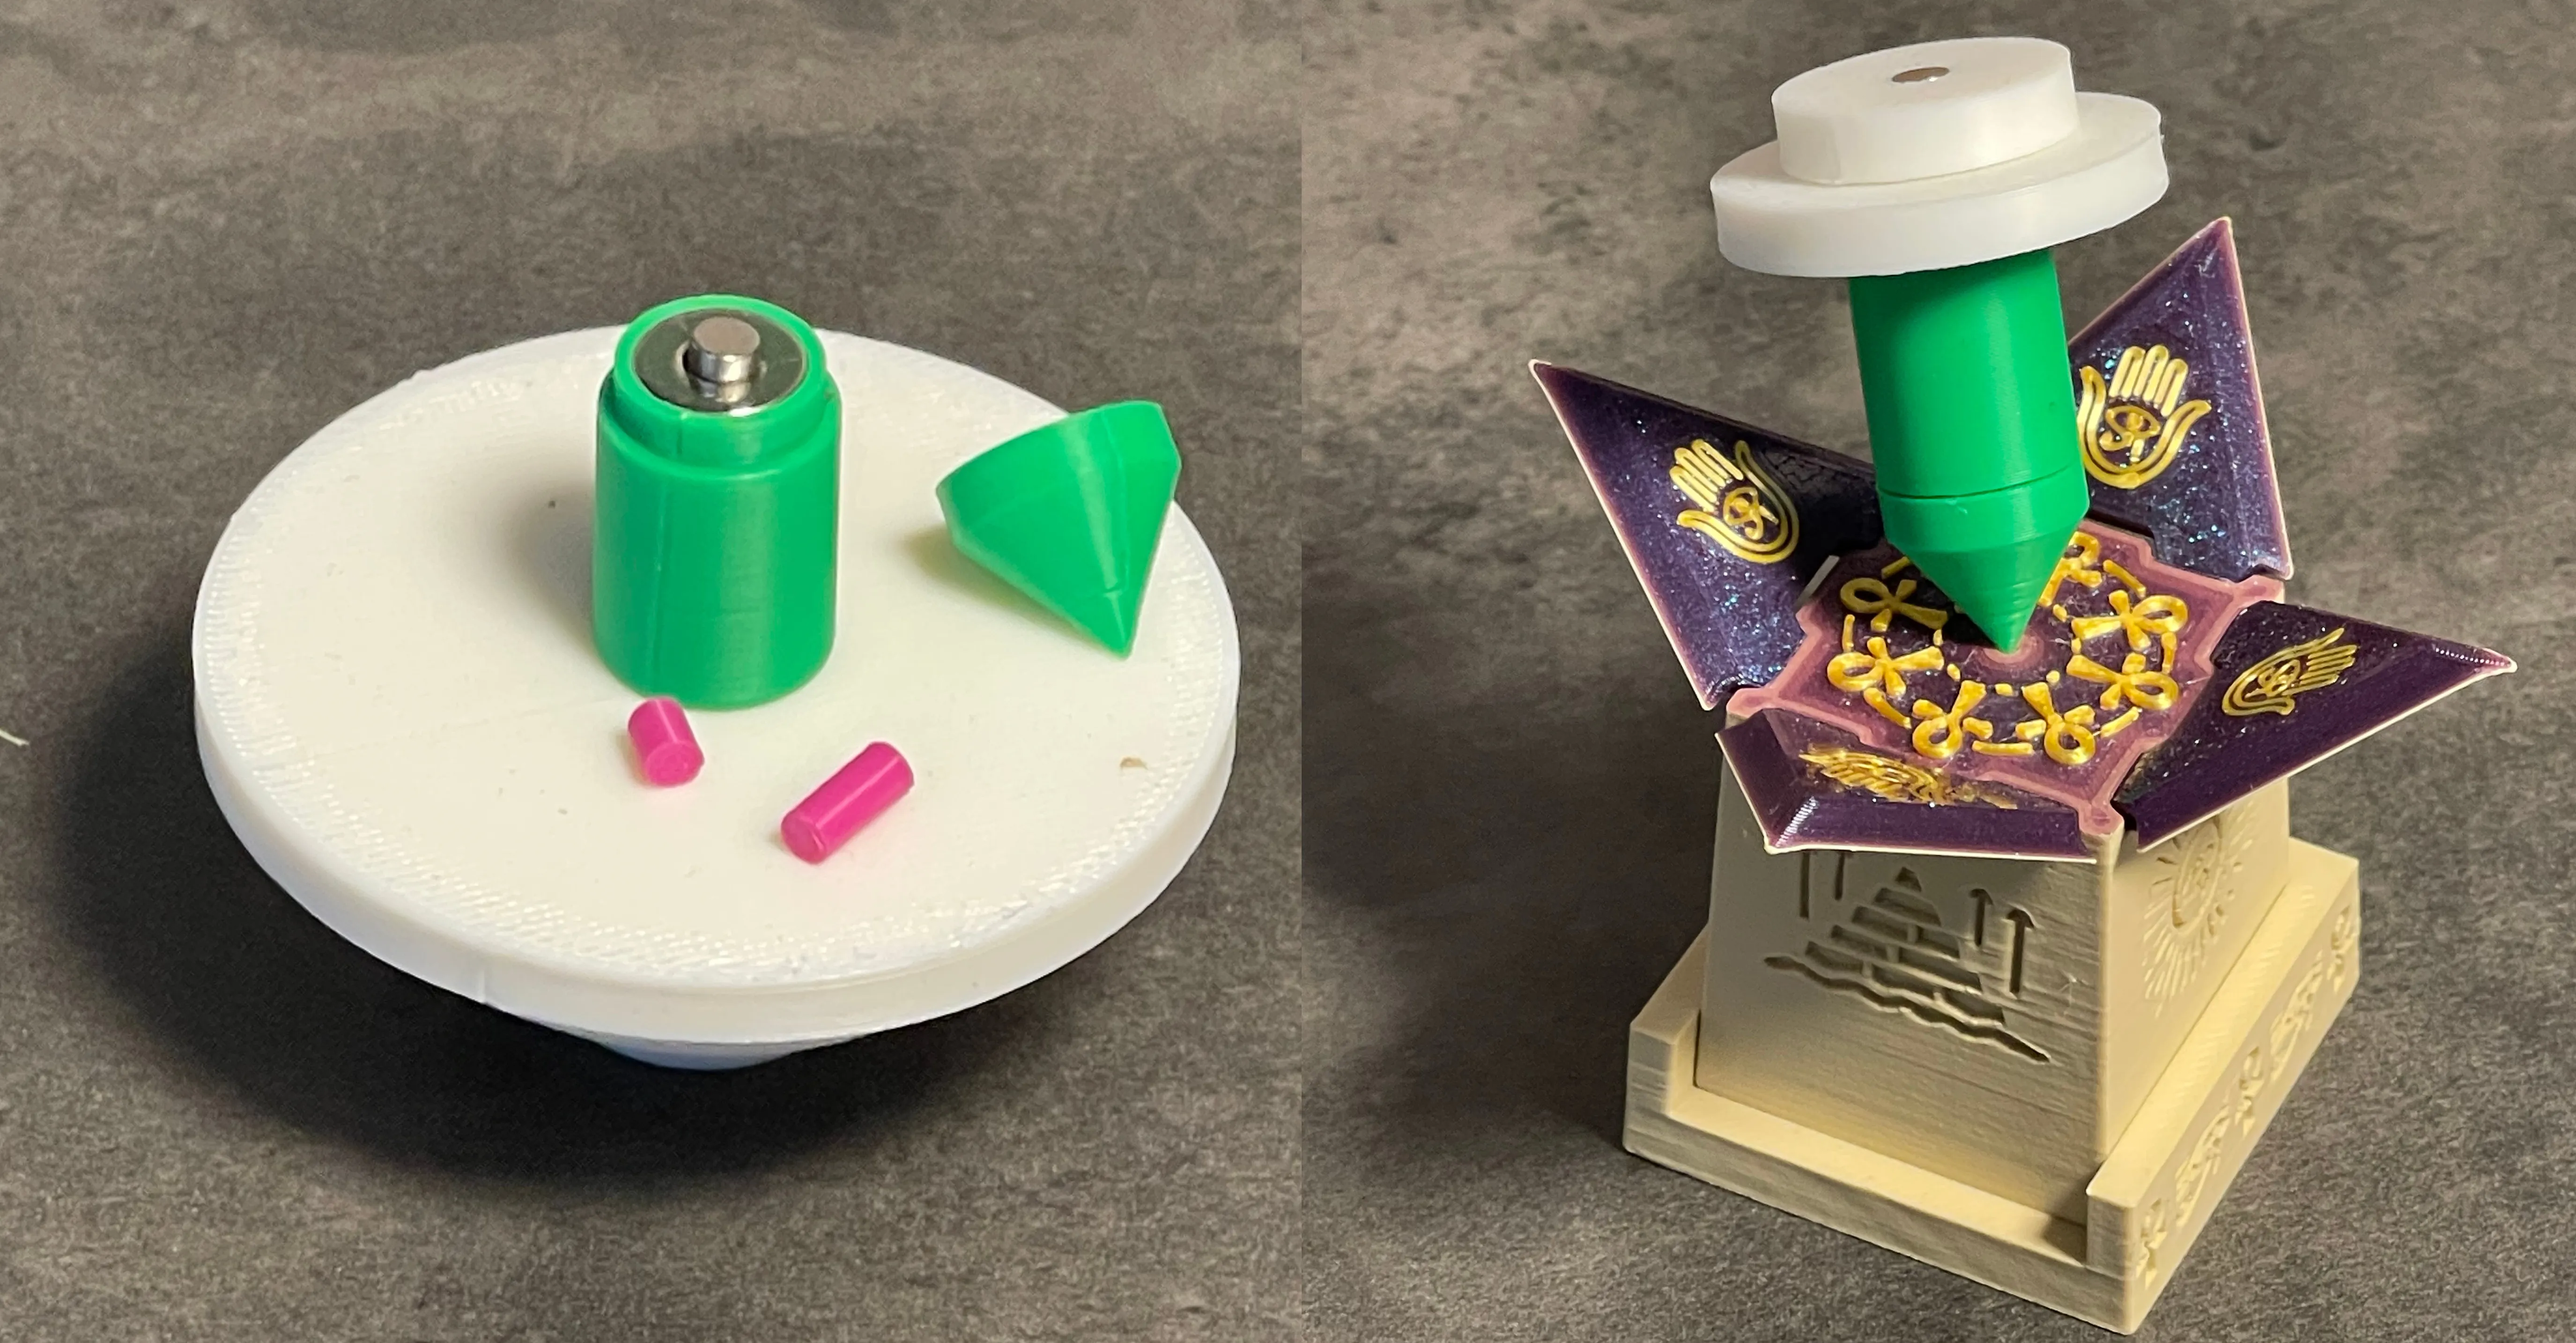
After the Enigma Tower took 3rd place in Bambu’s physics contest, I set out to go bigger – to create a model to balance an even larger inverted pendulum. Following a tip from a Reddit user about ring magnets, I obtained some but soon realized that I didn’t want to go through the same tedious trial-and-error calibration process I had used for my first model. So, I designed a magnetic calibration device to let me quickly try out different magnet positions with various weight stacks.
As it turns out, my family couldn’t keep their hands off the stackable magnetic weights! Eventually I started playing around with these discs too, enjoying their intensely satisfying CLACK as well as the versatile ways they kept my hands occupied. That’s when I realized I might have a pretty neat fidget on my hands, no pun intended.
Magnet Requirements & Tips
You’ll just need twelve (12) round 2 mm thick neodymium magnets. The ones I used have a 4 mm diameter, but I’m providing print profiles for a few different sizes.
If you have magnets with a diameter that doesn’t match an existing profile, just enlarge the holes (they’re editable objects in Bambu Studio) to match the diameter size + roughly 0.35 mm for clearance. Make sure to NOT auto-scale the holes’ height.
Strength
Magnet strength varies considerably across manufacturers. These fidgets work perfectly with the magnets sold by MakerWorld, but they barely held together when I used cheap generics that I already had. I’m sure other generics work fine, but I don’t have any experience/advice about which ones. FWIW, the cheap generics I had are only about 1.65 mm thick (despite being sold as 2 mm thick), whereas my MakerWorld magnets are about 1.91 mm thick – maybe that will help you determine if your generics are better than mine.
Safety Warnings
- Keep neodymium magnets away from pets and young children. Swallowing two of them can clamp them together inside the digestive tract, leading to severe injury or death if not surgically removed.
- As an additional precaution, you may add a small amount of superglue to the magnet cavities for extra security. The magnets are held in place by thin printed walls (0.4 mm on each side), which is typical for magnetic prints, but a bit of glue can make them more tamper-resistant.
- Regardless, if a child is too young to know not to swallow magnets, they shouldn’t be playing with any magnetic print.
Printing Guidelines
Magnet Insertion Tool
If you don’t have one, you might want to first print a magnet insertion tool like this one. It’s not strictly necessary for this model, but it does help you maintain consistent polarity for each disc of the fidget (yes, the discs have a top since the side facing the build plate tends to look best). Of course, there are plenty of ways to do that without such a tool.
Build Plate
For a premium look and a smoother glide, print on a glossy build plate (e.g., Bambu’s 3D effect plates – get the preassembled plate and not the sticker sheet). A regular smooth plate is okay but results in a more matte finish, so don’t expect the pictures’ shiny look. Even more so with a textured plate.
If using a glossy plate, bump up the bed temperature to improve adhesion. I used 65 degrees for the initial layer and 60 for subsequent layers.
Print Profiles
Pick a profile which matches your magnet size. See the Magnets section for details about that.
Most of my examples were printed in dual or tri-color PLA silk on a single plate. For the others, I printed them in alternating PLA silk colors (using two plates) to achieve a fun look. While it’s easy to move the discs onto other plates in Bambu Studio, I created separate single and dual plate print profiles so that you don’t have to remember to add a pause for inserting the magnets. If you spread the model onto additional plates, you’ll have to add the pause yourself.
Print Settings
Feel free to play around with the settings, but I advise keeping the infill percent relatively high to maximize the CLACK sound. Plus, the heft makes it feel more premium.
Wipe Tower
To avoid imperfections appearing on the fidget on or near the pause layer, I added a simple “wipe tower” to each plate as a makeshift prime tower. After unpausing, the nozzle isn’t primed, which can lead to blobs or gaps. The wipe tower ensures these imperfections don’t end up on your fidget discs. If you split the fidget across more plates, I recommend copy/pasting this wipe tower to those plates.
Warning: If you edit the plate layout, ensure the wipe tower prints first (last object in the list, positioned lower-right). If not, imperfections may appear on the fidget. It will print first if you don’t touch anything, but otherwise you should verify in the Preview tab.
Inserting the Magnets
After the print pauses, insert two (2) magnets into each hole. Be consistent with the direction so that each disc has the same polarity. Because the top of each disc tends to look best, you’ll want them all oriented the same way in the stack.
Please refer to “Safety Warnings” for precautions on neodymium magnets. If needed, reinforce them with a drop of superglue. Wipe any excess glue and wait a few minutes before unpausing. I didn’t use glue and everything appears secure to me, but use your own judgement – you are liable for what you print.
Gently push the magnets all the way down with a non-magnetic tool (such as a pencil). Verify that the magnets don’t protrude above the print surface before unpausing.
 Enter the Next Dimension |
Boost Me (for free)
Boosts, follows and honest reviews all help me keep releasing free designs. THANK YOU!
License

You shall not share, sub-license, sell, rent, host, transfer, or distribute in any way the digital or 3D printed versions of this object, nor any other derivative work of this object in its digital or physical format (including - but not limited to - remixes of this object, and hosting on other digital platforms). The objects may not be used without permission in any way whatsoever in which you charge money, or collect fees.


Comment & Rating (93)