
Print Profile(3)


Description
31/1/24 : 3mm and 4mm hole versions added, by request. The rest of the hook is the same size as the original. Note that for a 3mm cord you may need to select the 4mm hole version to allow for clearance.
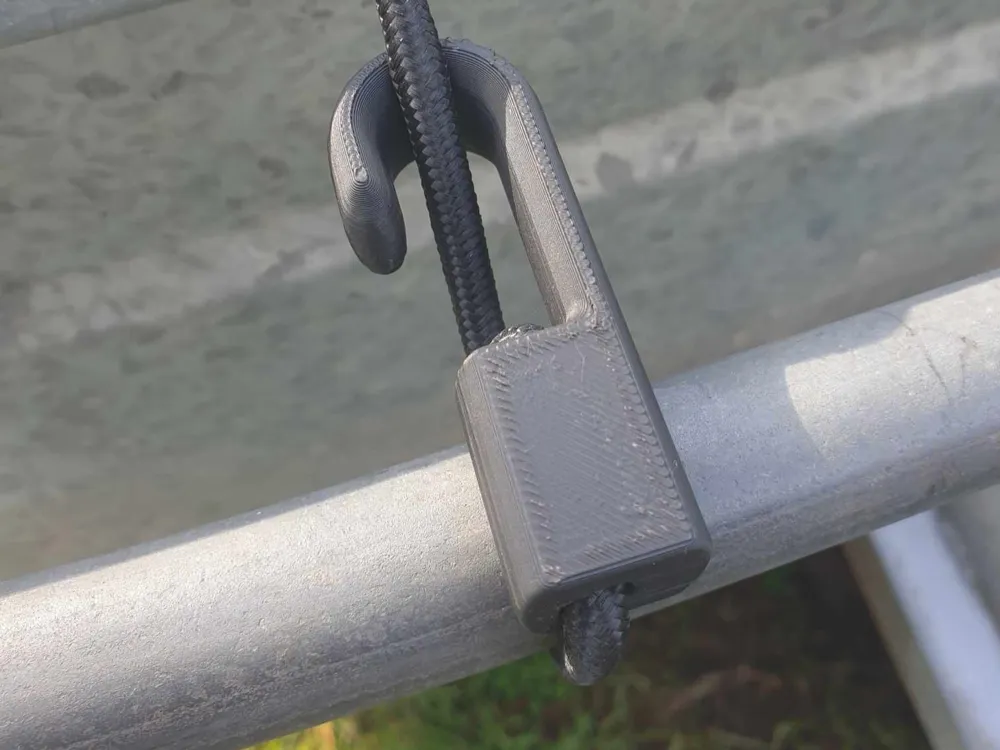
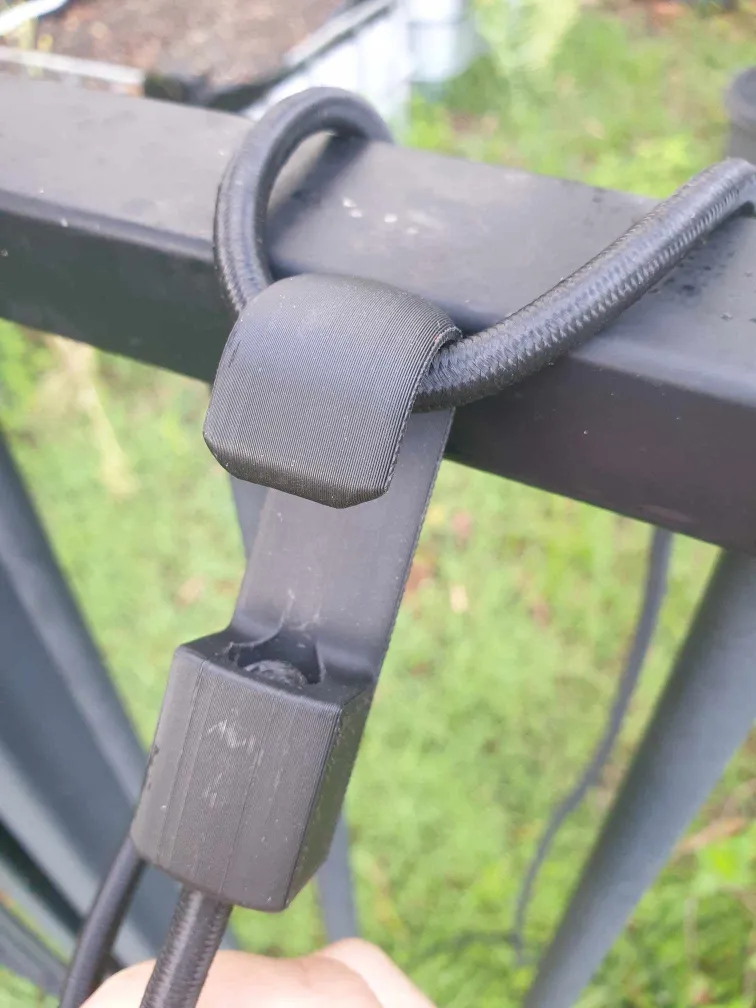
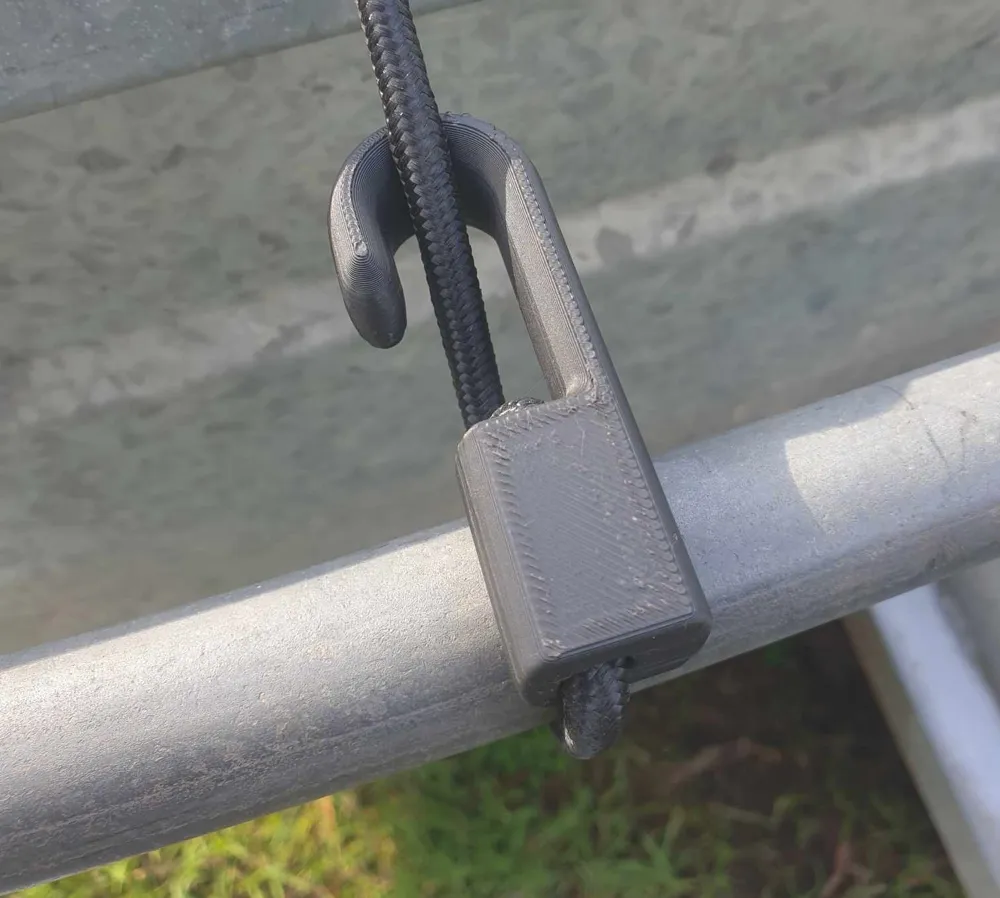
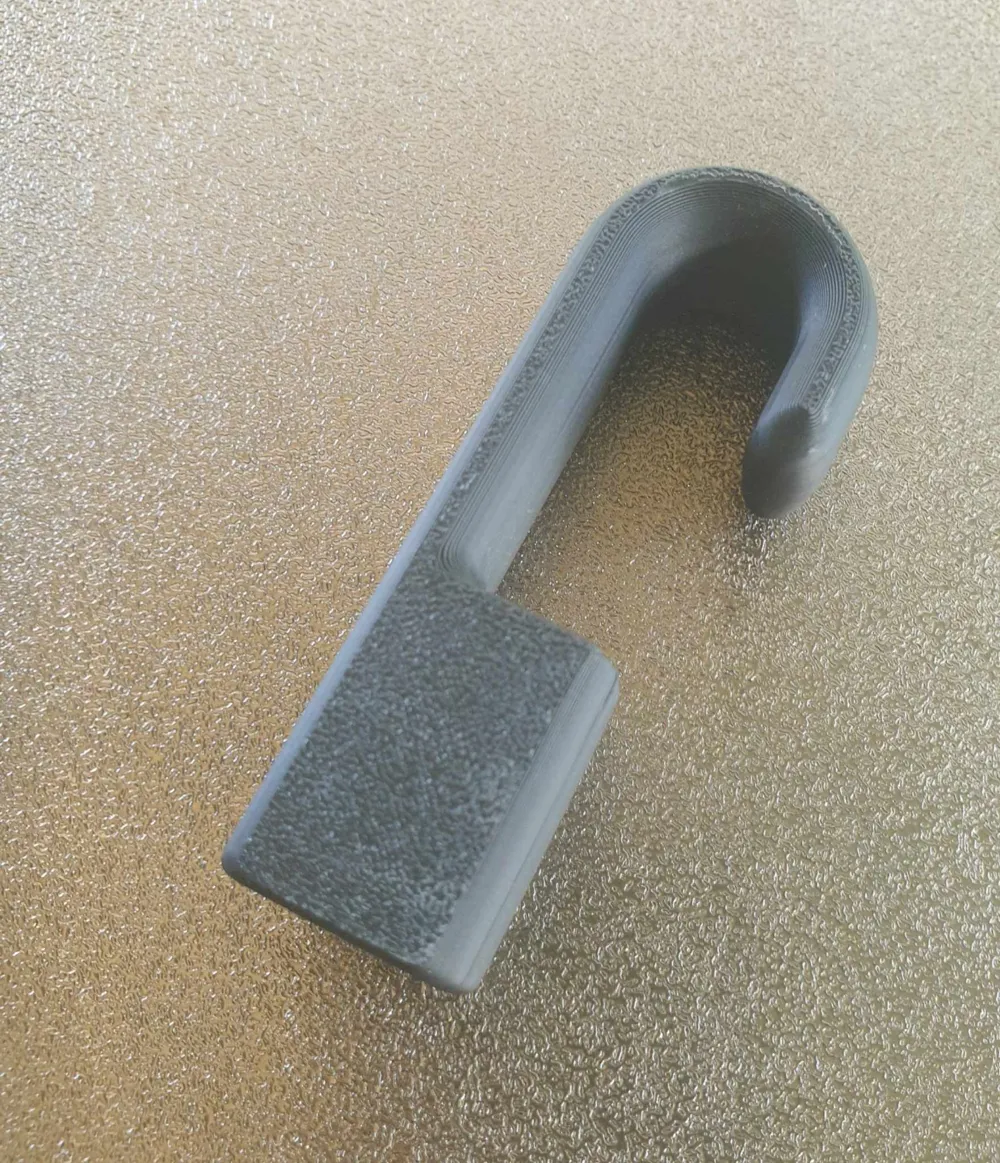
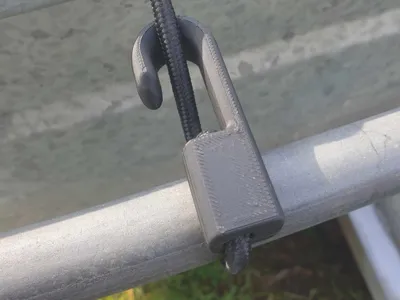
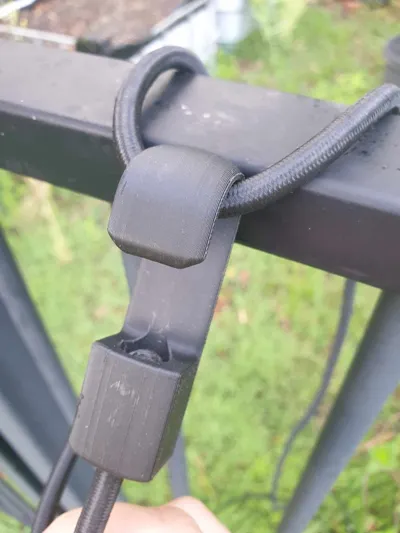
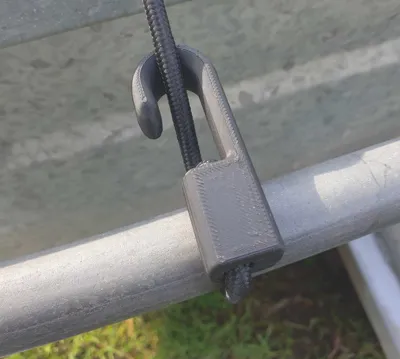
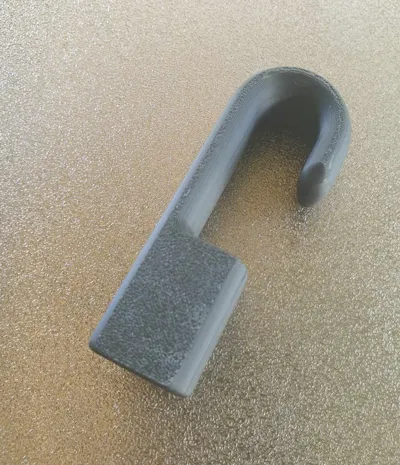
Partner needed to create some Bungee Hooks and thought the file may be of use to others.
Print in PETG for strength. Layer height 0.2mm, 6 walls, 80% infill.
"To construct the cords, I used 6mm shock cord, from Clark Rubber here in Australia. It is available by the metre in various places including Marine stores.
I used netting rings and pliers such as these to secure the shock cord (These are fairly inexpensive and allow you to
make many bungee cords cheaply). Hog rings are similar and may do the job, but I have not used them.
https://www.australwire.com.au/ring-fastening?pgid=lbcu4dp8-f294344c-e752-4f3d-8331-82b888f59c18
Please note that while I have had no failures or issues making up bungee
cords using this method, due care should be taken and and always use in a safe manner. All regular warnings regarding bungee cords apply.
No supports needed. Please keep current orientation to maintain strength, and to minimise print time.
Documentation (1)
License



Comment & Rating (33)