
Digital Bank Vault
Print Profile(1)

Bill of Materials




- Micro:bit V2 x 1: https://www.keyestudio.com/products/new-arrive-official-micro-bit-v22-development-board-for-bbc-mirco-bit-diy-projects-python-programming-for-stem-education
- Sensor Shield V2 Keyestudio x 1: https://www.keyestudio.com/products/keyestudio-micro-bit-sensor-shield-v2-black-and-eco-friendly
- Potentiometer Module Keyestudio x 1: https://www.keyestudio.com/products/-397
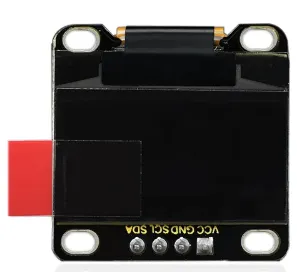
- 0.96'' OLED Module Keyestudio x 1: https://www.keyestudio.com/products/keyestudio-096-oled-module-128x64-blue-lcd-led-display-module-iic-serial-for-arduino
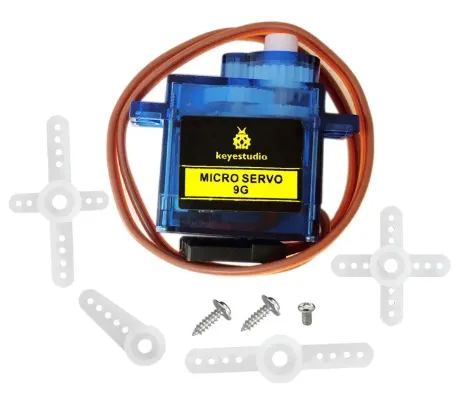
- Micro Servo 9G Keyestudio x 1: https://www.keyestudio.com/products/keyestudio-9g-mini-sg90-90-degrees-servo-motor-blue-with-ph254-connector-for-arduino-robot-car1pcs
- Micro USB cable and charger x 1: NO FAST CHARGER !
- Dupont Breadboard 28AWG x 1:
Description
Boost Me (for free)
Thank you so much for your boost! Your downloads and boosts allow me to keep offering my models for free. Your support means a lot to me and helps me create even more. 🙏
Membership
Commercial use for only $3/month !
The Project
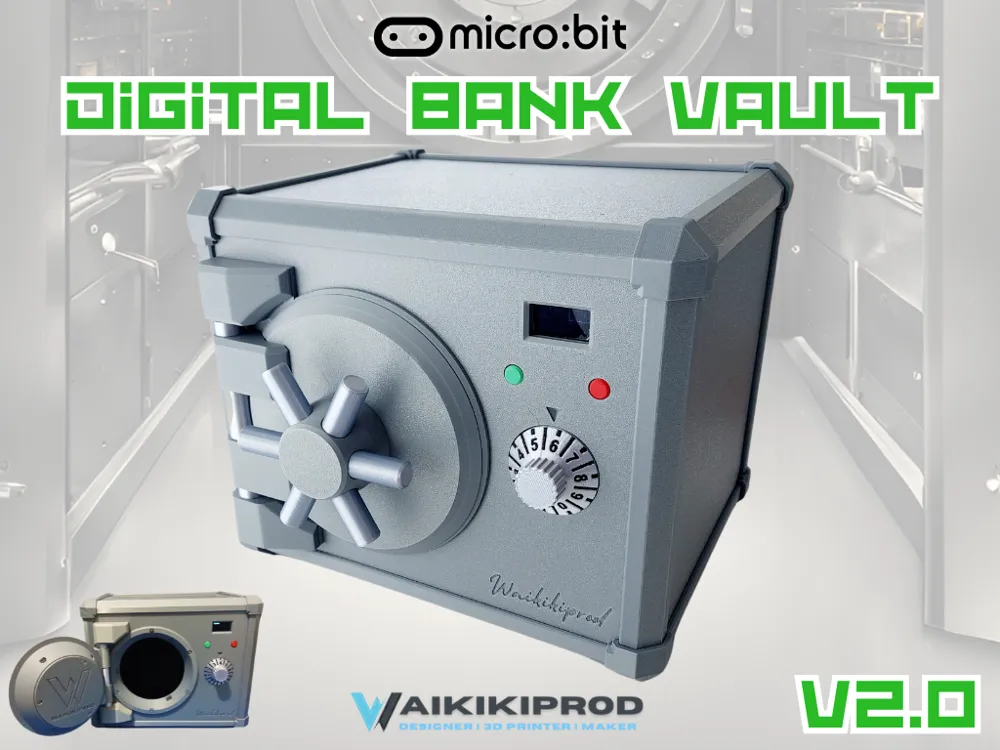
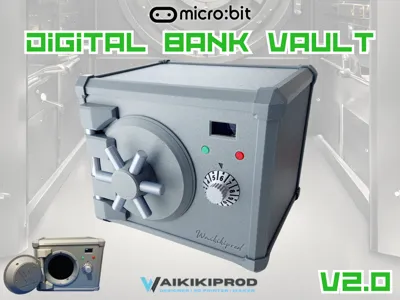
I designed this project some time ago and I am publishing it for the Makerworld Vault contest.
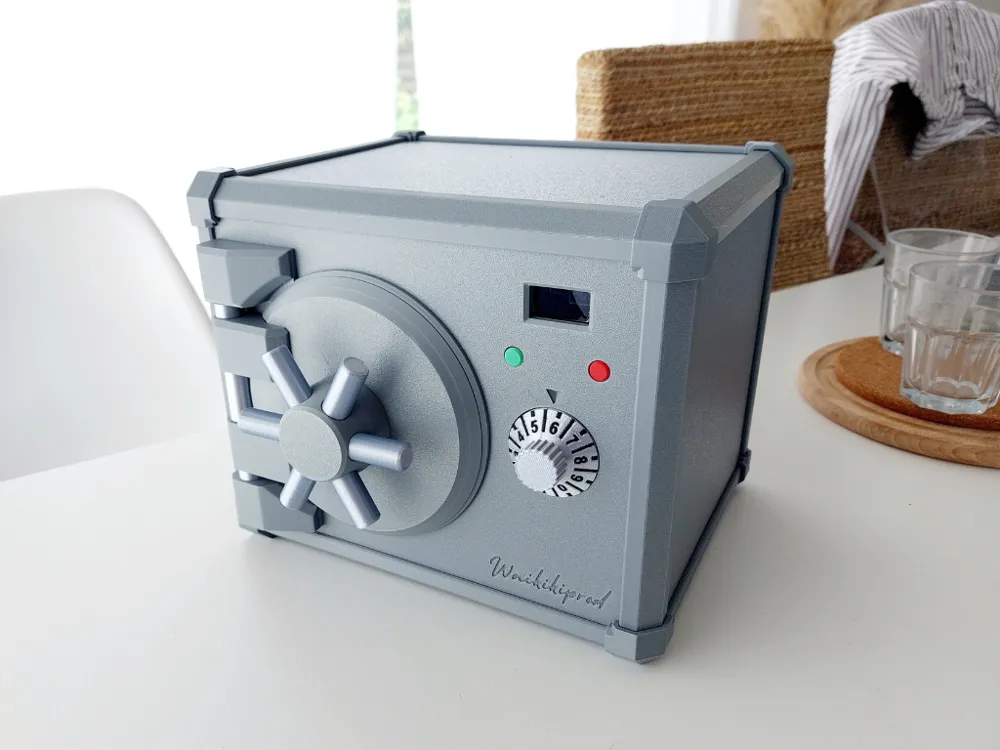
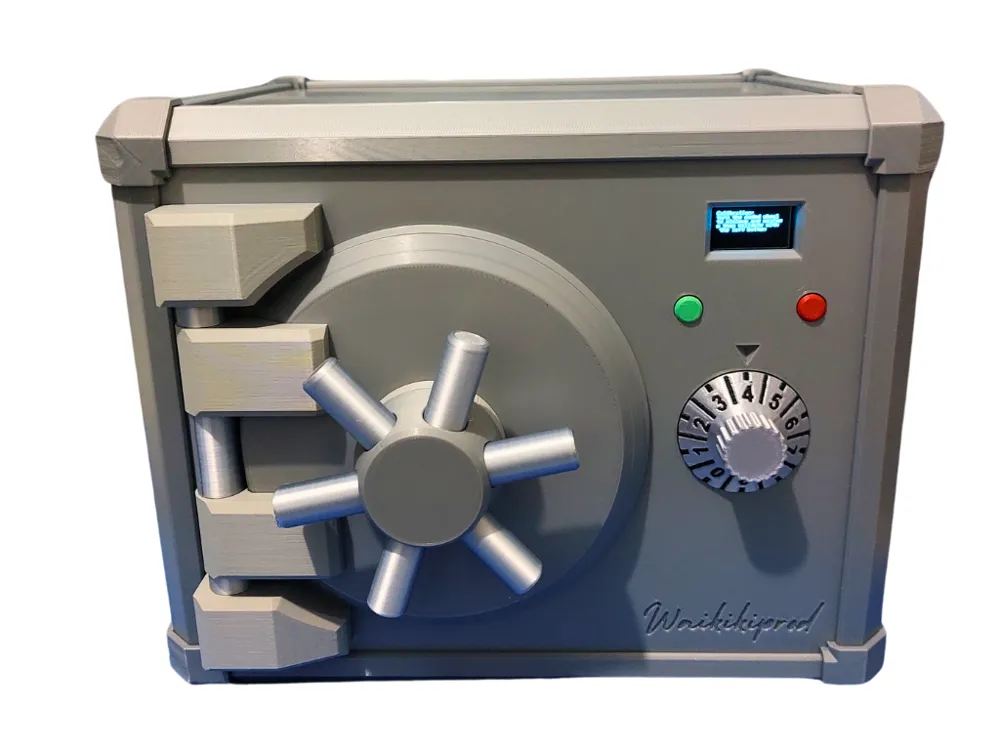
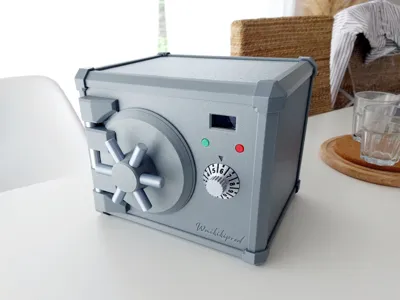
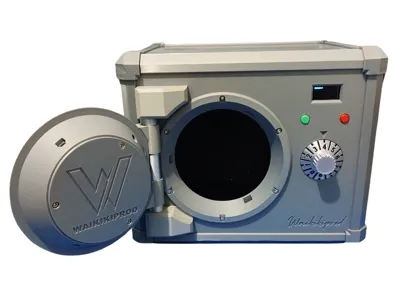
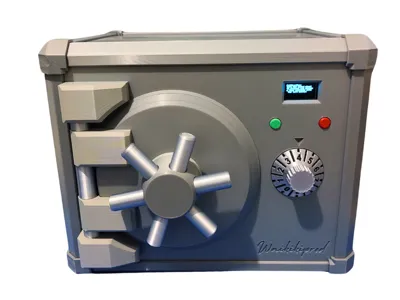
The concept is to imitate a slightly retro style with coding using a notched wheel.
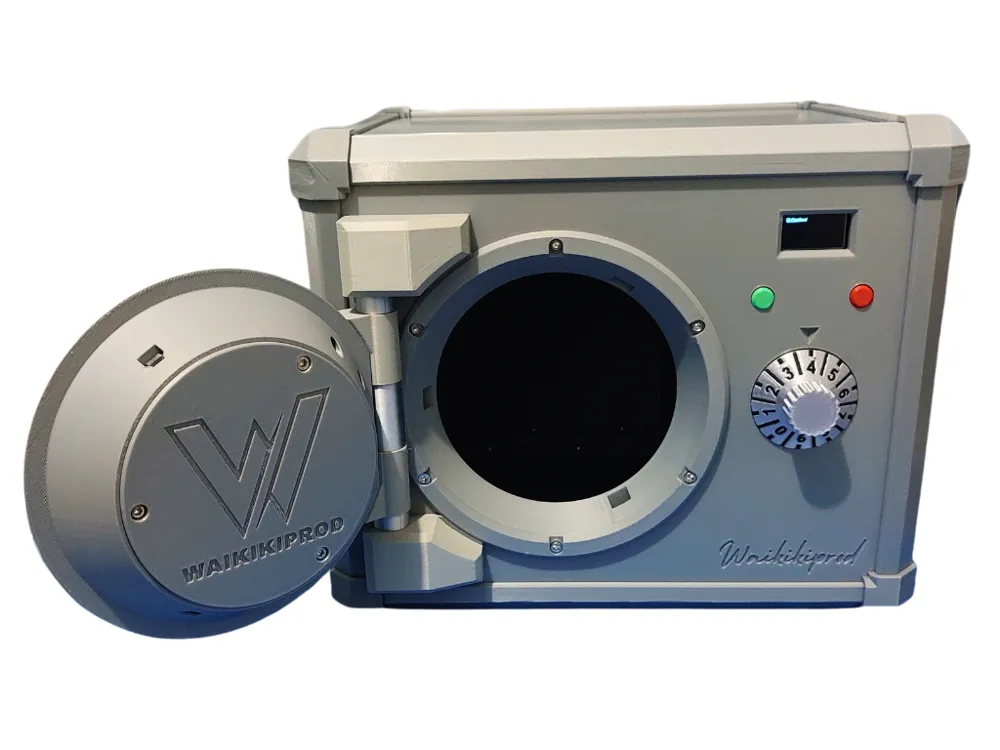
A green button allows you to validate your entry and a red button allows you to cancel.
This is version 2.0, it will be improved over time.
ThisVault is assembled without any visible screws, everything is mounted inside and once locked it is impossible to open it. So make sure that your wiring and assembly is solid and does not move, otherwise you will have to destroy part of the trunk to access it...^^
The assembly involves a lot of screws. It is possible to remove many of them when assembling the structure but the rigidity of the vault will be less good.
I remind you that this project is under exclusive makerworld license, so it cannot be copied, remixed. HOWEVER I plan to put the coding system and the front of the safe under a license allowing remixing so that users who want to use it with other systems (here micro:bit) can improve it. But the rest of the safe will remain protected by the exclusive license.
If you want to earn MW points with your remix, you will have to post your work in the printing profiles of this project and I will promote it on this page.
Here are my suggestions for improvements:
- provide a trapdoor to store the power cable and its charger
- Insert new modules for more security: NFC module etc ...
- insert lighting
- insert a backup system
- reduce the number of screws while ensuring the same strength
- etc ...
Necessary material
FOR V2.0 :
For the Micro:bit part I used this discovery micro:bit kit from keyestudio that I had at my disposal but these parts can also be ordered independently :
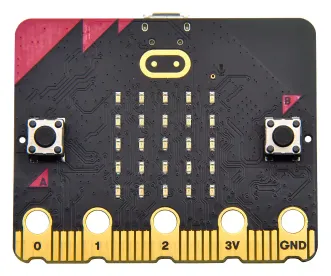 | 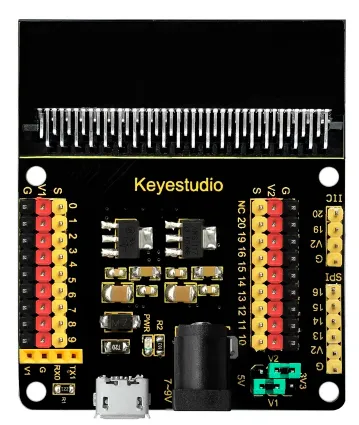 | 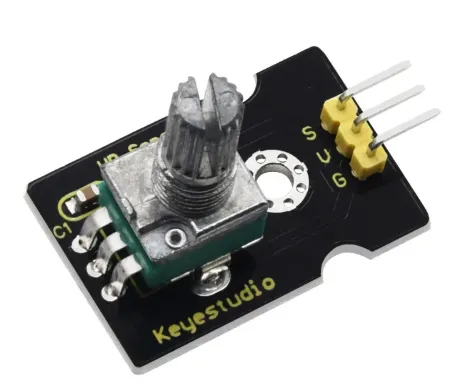 | 
| 
| Dupont Breadboard 28AWG 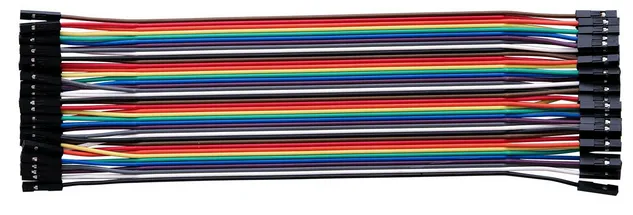 | Micro USB cable and charger NO FAST CHARGER ! 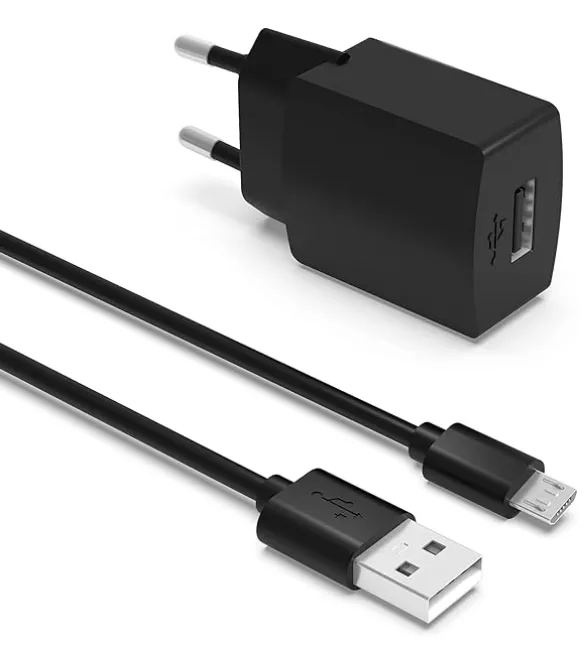 |
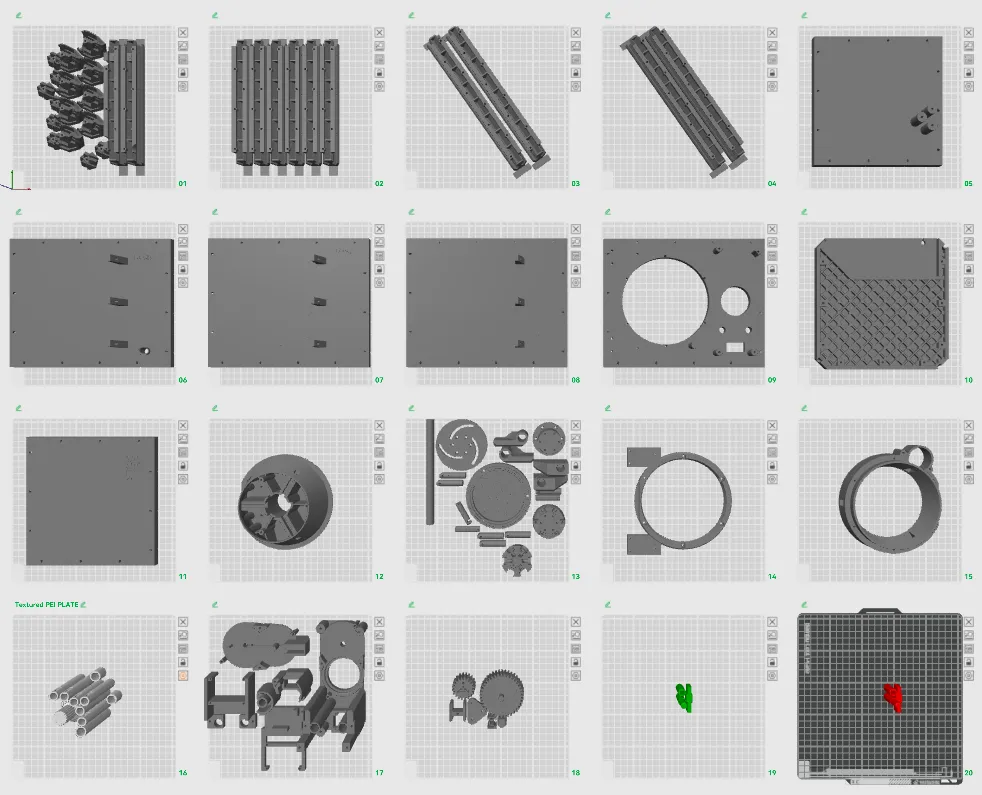
3D printing of parts
No need AMS
Printing this vault will require the entire surface of your bed, so it is very important to make sure your bed is clean and very well adjusted!
Advices :
Every time I print, I wash my bed with dishwashing liquid to thoroughly degrease it.
For better adhesion and a better visual rendering, I use the cool plate with a regular layer of 3D lack spray and I reduce my first layer filling speed to 50mm/s.
Then simply clean the surface of the part in contact with the bed with isopropyl alcohol to obtain a nice smooth surface
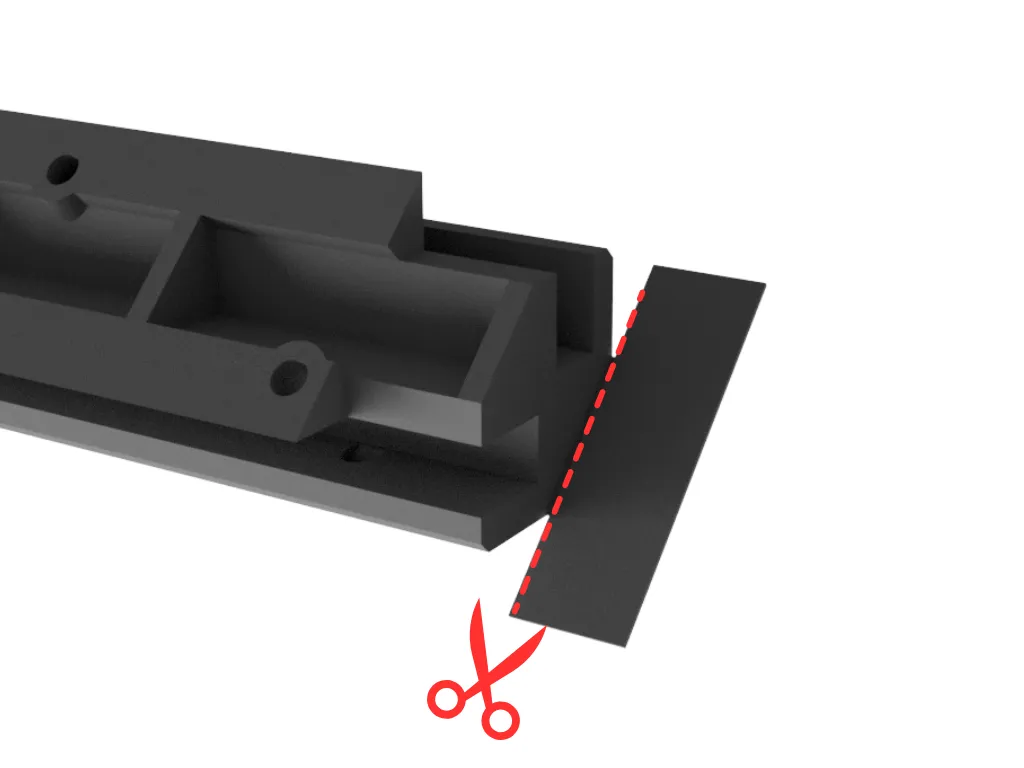
I added extensions to some parts to prevent them from coming off the bed during printing. These extensions are to be cut with cutting pliers before assembly.
Programming the micro:bit (makecode.microbit.org)
Be careful:
- depending on the power supply you use (5V on the sensor shield or 3V on the Microbit), the values given by the potentiometer will not be the same. This is why I integrated a program for recalibrating the values of the coded wheel. Here the programs are done with the 5V power supply from the sensor shield.
- Do not power your microbit with a 5V power supply as this could damage it. Only use your computer's USB port to power it when programming it. Switch to 5V power supply only for the sensor shield for vault operation.
To test, modify, adapt the values of your components or your programs, I am attaching these small programs to you
FOR V2.0 : Program link on make code
| Change code | 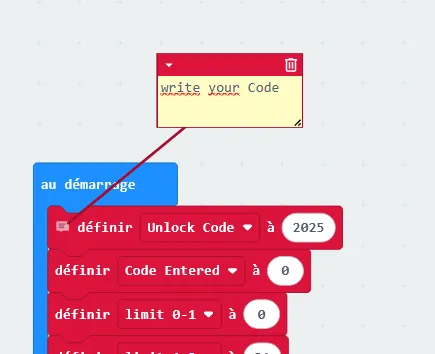 |
Assembly instructions
FOR V2.0 : Find the assembly instructions here or at the bottom of this page
Discover My Best 3D Models
 |  |  |
 |  |  |
You can support me by subscribing to my Patreon or using my Bambu Lab affiliate link for your purchases





Discover my other models


Documentation (1)
License

You shall not share, sub-license, sell, rent, host, transfer, or distribute in any way the digital or 3D printed versions of this object, nor any other derivative work of this object in its digital or physical format (including - but not limited to - remixes of this object, and hosting on other digital platforms). The objects may not be used without permission in any way whatsoever in which you charge money, or collect fees.


Comment & Rating (7)