
x1c p1s ams riser

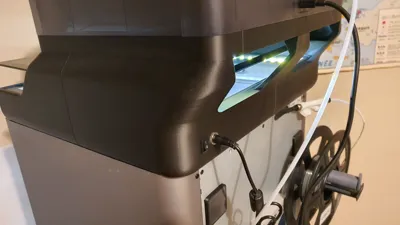
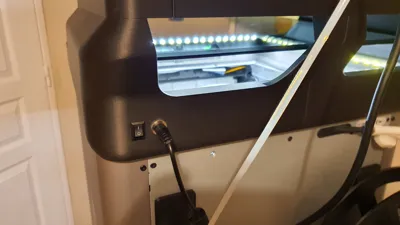
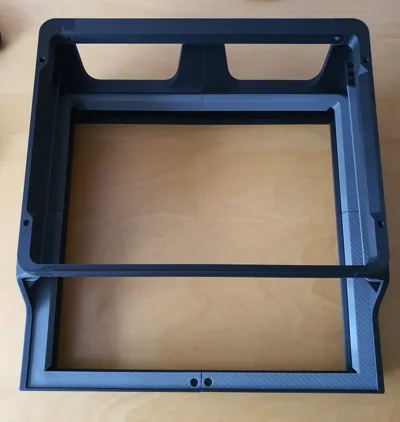
Print Profile(2)


Bill of Materials
- countersunk head screw M3x8mm x 18:
Description
Feel free to leave a comment and a photo if you have printed this AMS riser
Thank you for your support
------------------------------------------
**Updates:**
**October 27, 2025:** Version 2 of this AMS riser is available with useful improvements and modifications
Here is the link: https://makerworld.com/fr/models/1930536-x1c-p1s-ams-riser-version-2
**July 25, 2025:** This riser model is now compatible with the **AMS 2 pro**
The AMS version 1 support parts are located on print plates 3 and 4 of the print profile
If you wish to print the AMS 2 pro support, you should not print the AMS version 1 support parts
Instead, you should print those for the AMS 2 pro
Here is the link to the corresponding files:
AMS 2 pro Support: https://makerworld.com/fr/models/1639780
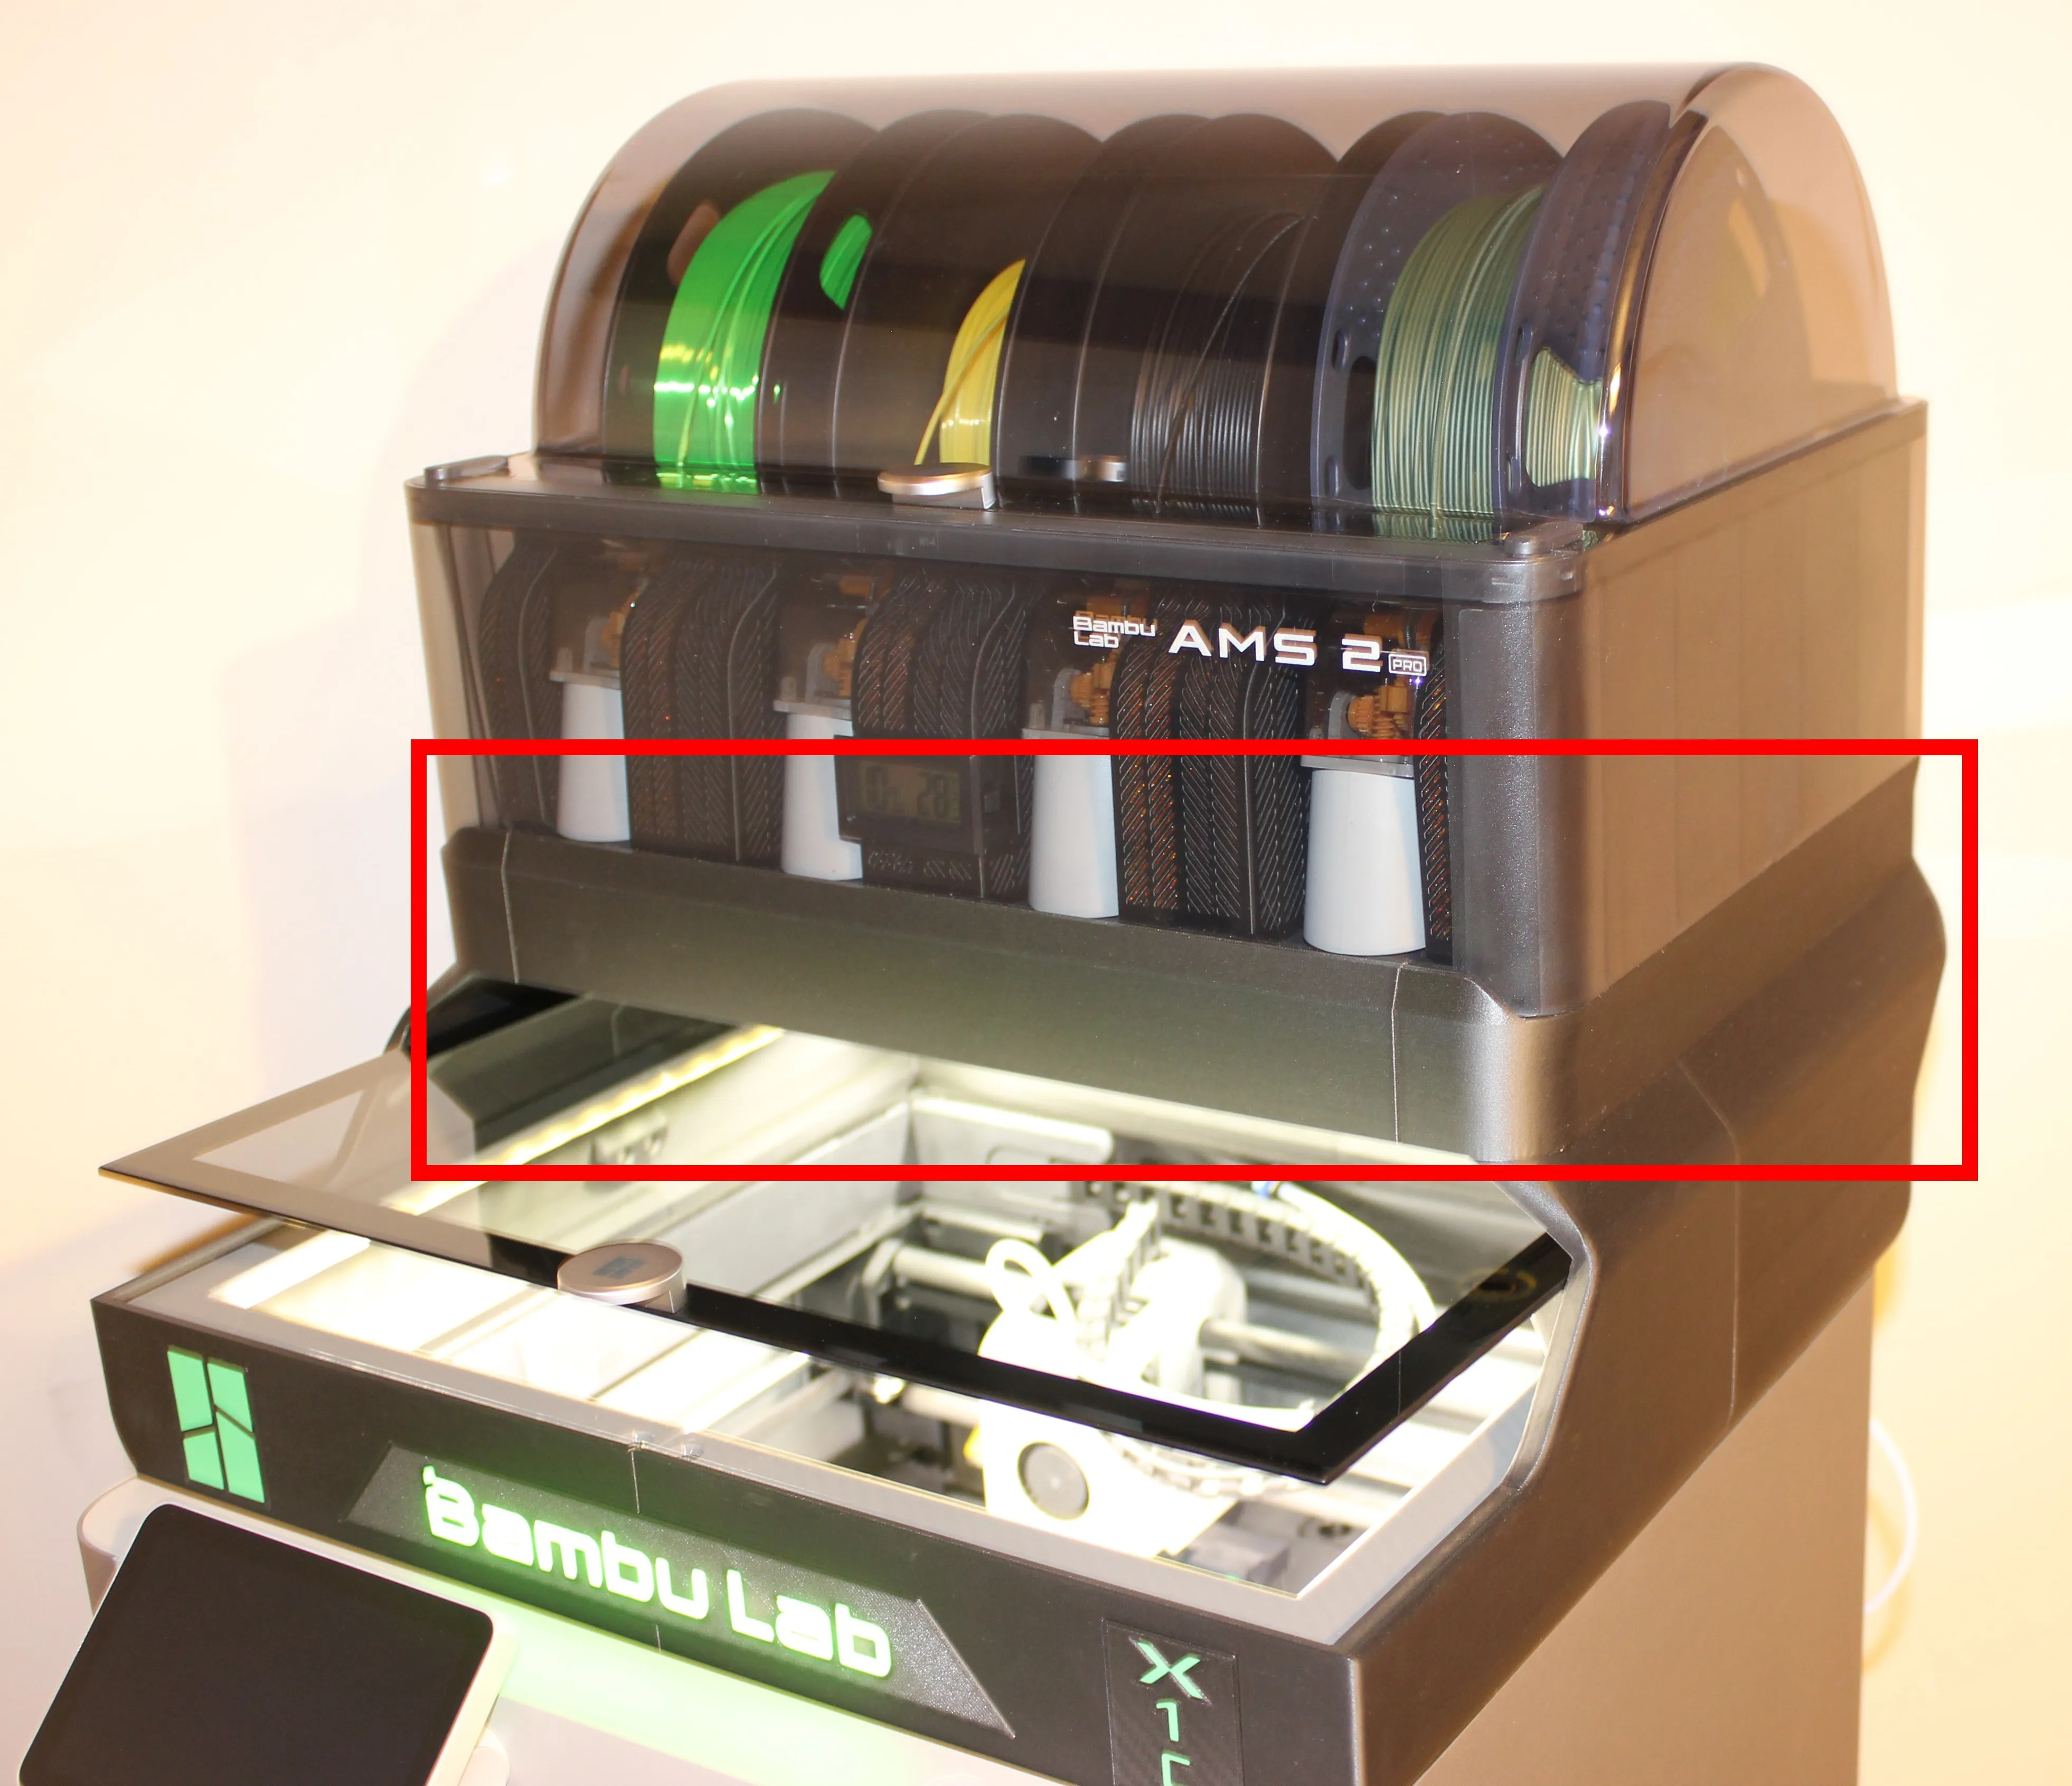
**April 05, 2025:** You now have the option to add a three-print-plate holder to this AMS riser model
MakerWorld link: https://makerworld.com/fr/models/1287951
For assembly, simply disassemble the already printed AMS support, replace it with the plate holder, then place the AMS support back on top of the plate holder
**February 7, 2025:** Added P1S logo. You will find the P1S logo in the downloadable STL files. It will then be sufficient to place it on the print plate in replacement of the X1C logo
------------------------------------------
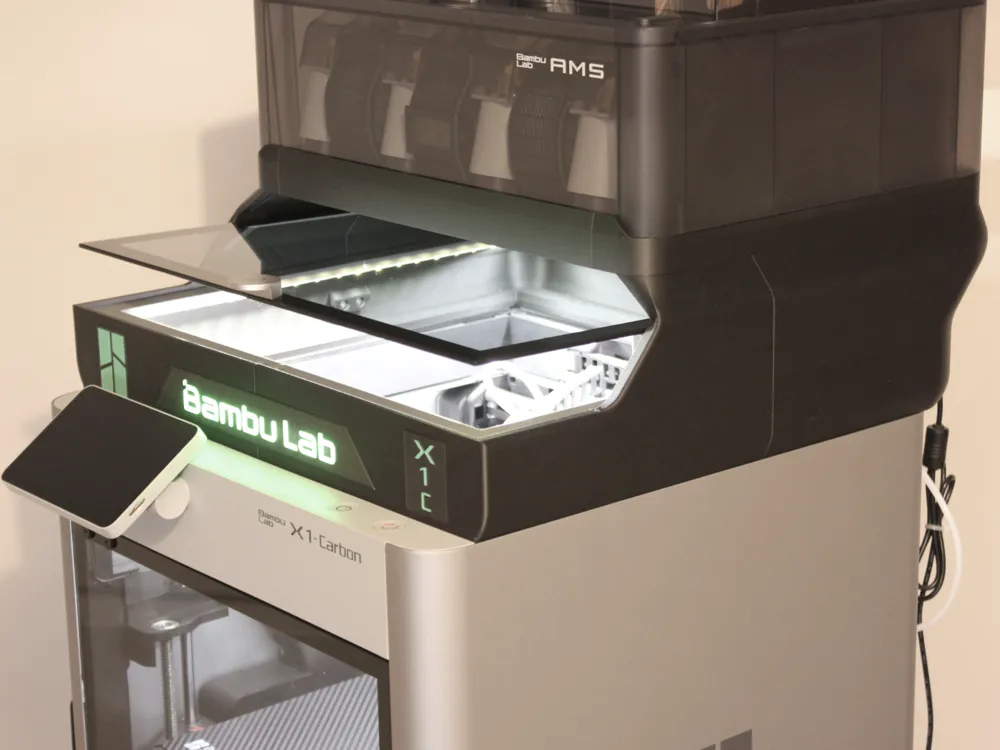
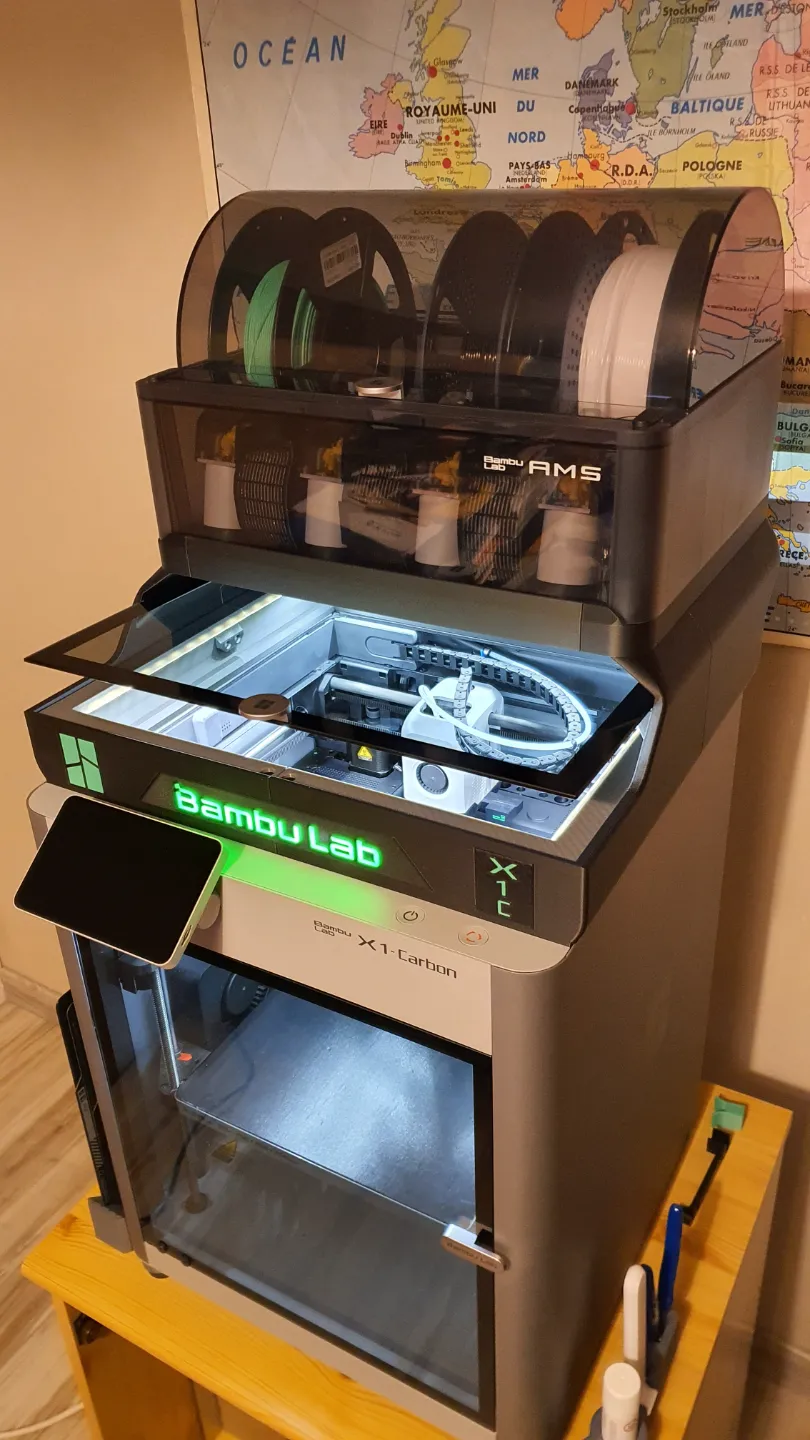
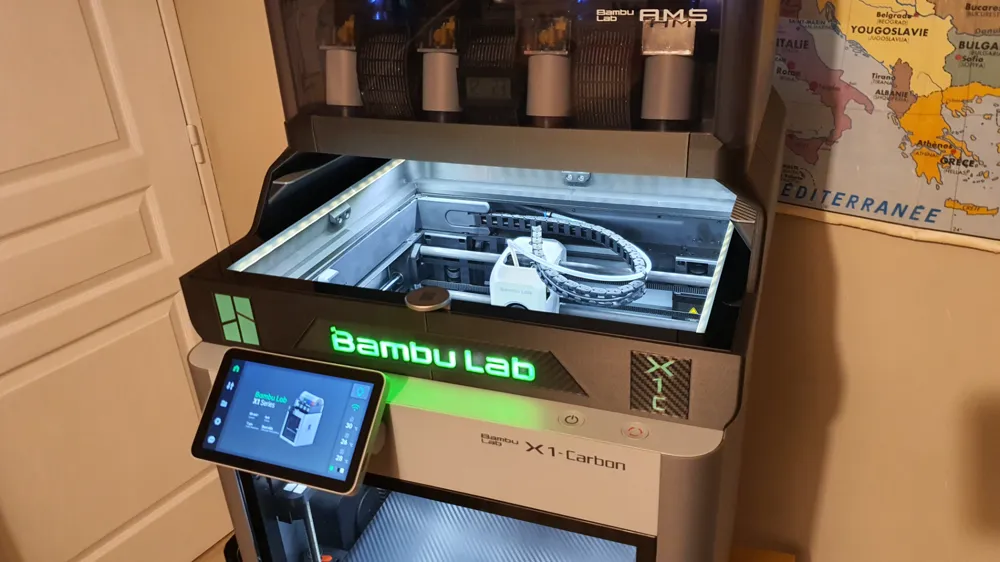
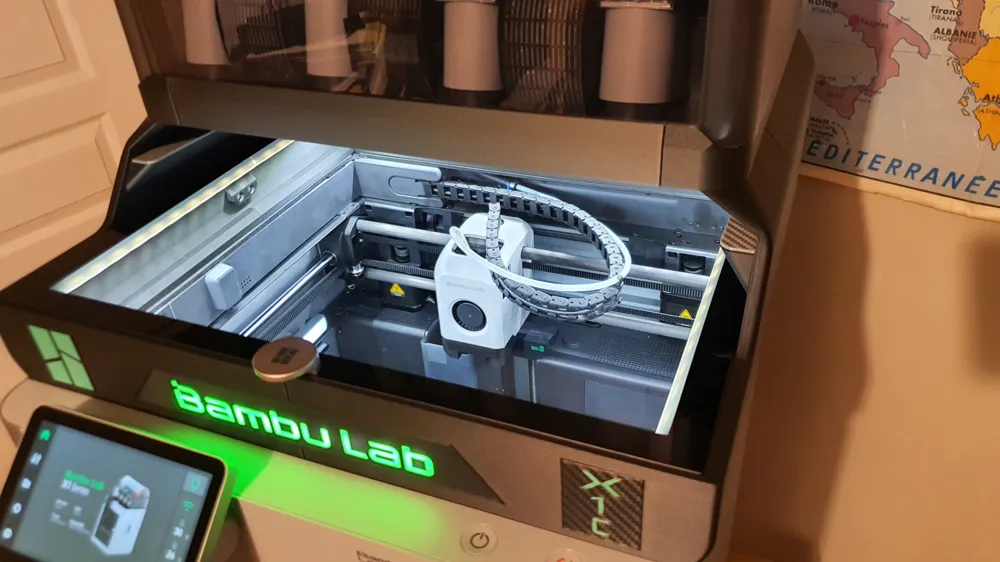
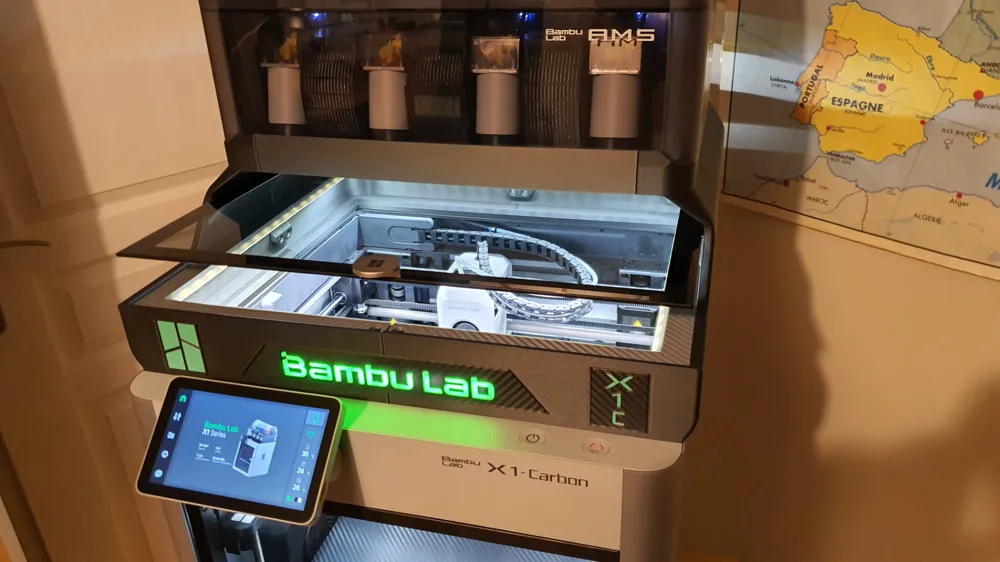
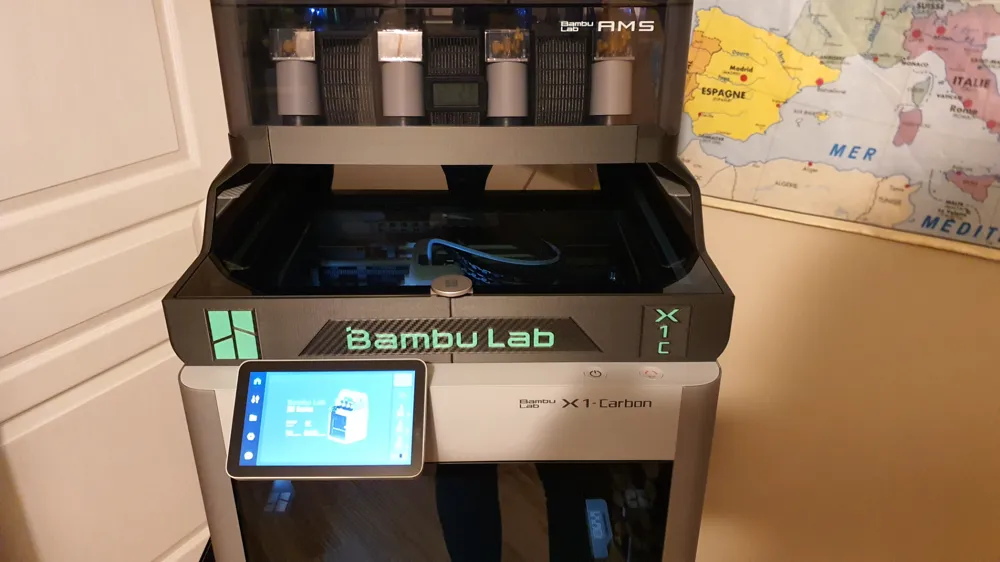
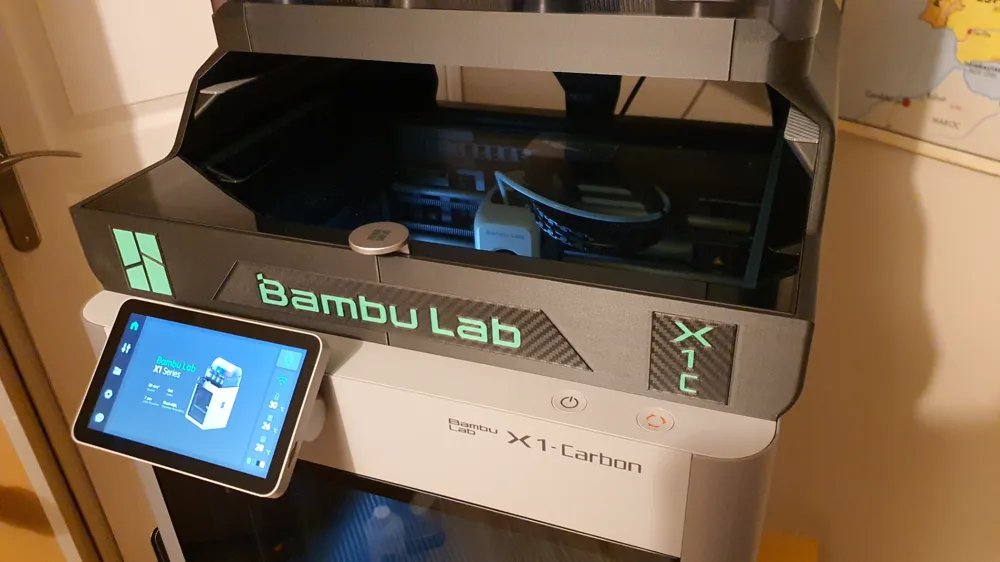
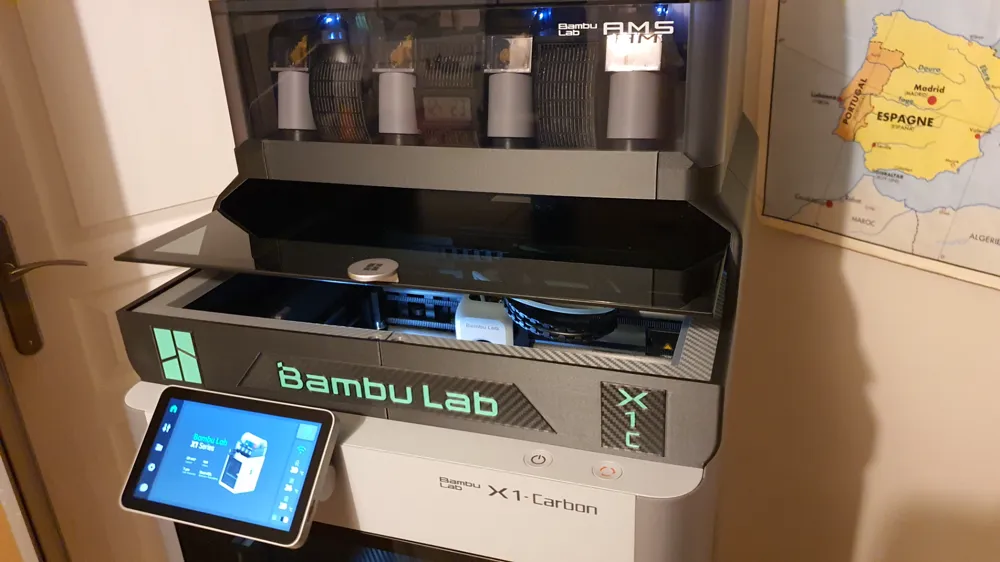
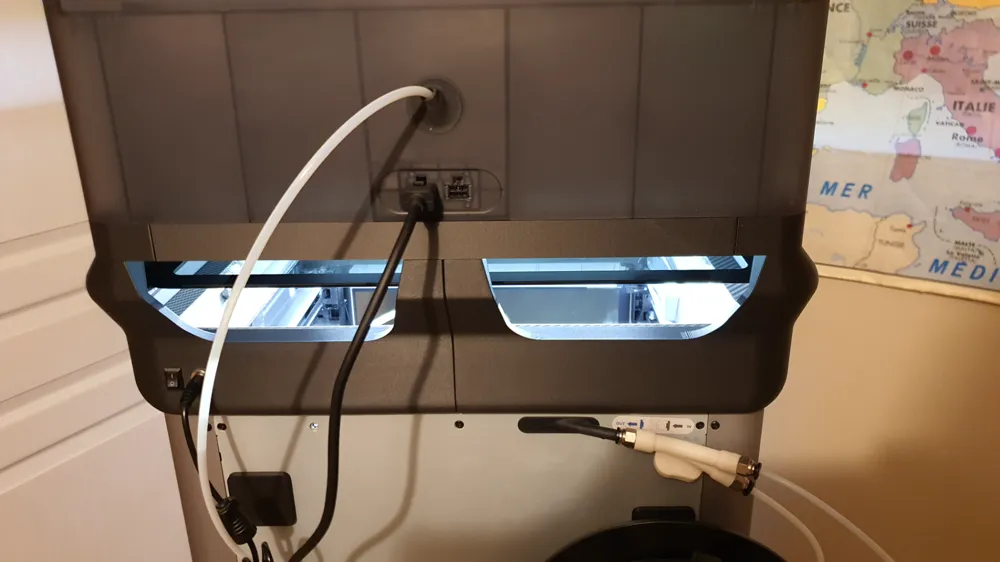
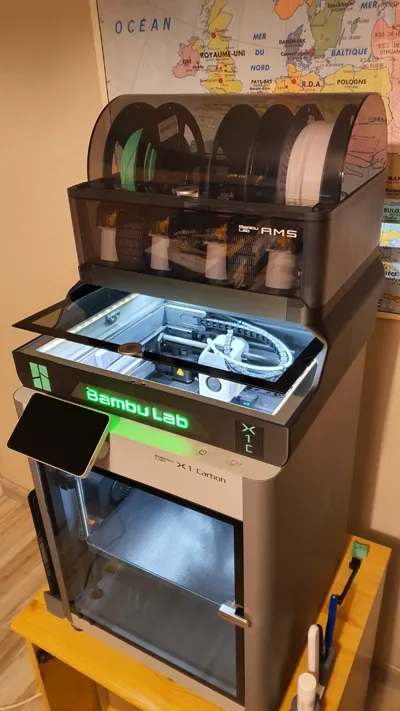
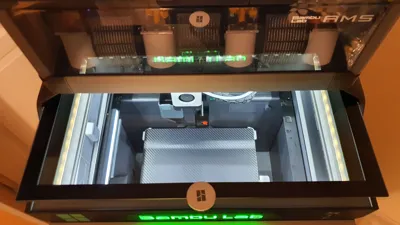
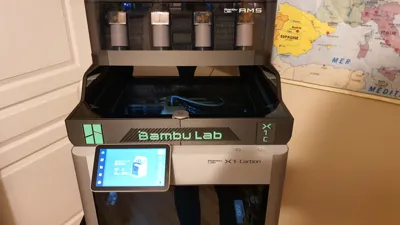
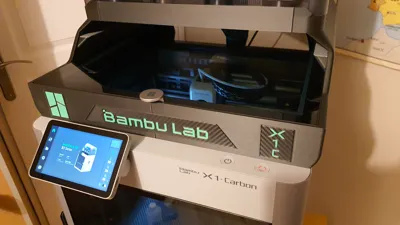
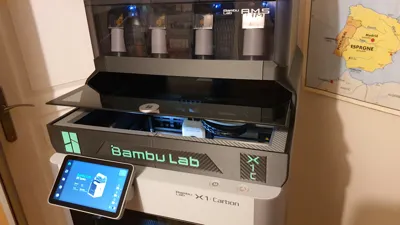
Here is a LED Riser that will simplify your life
This riser model offers several advantages:
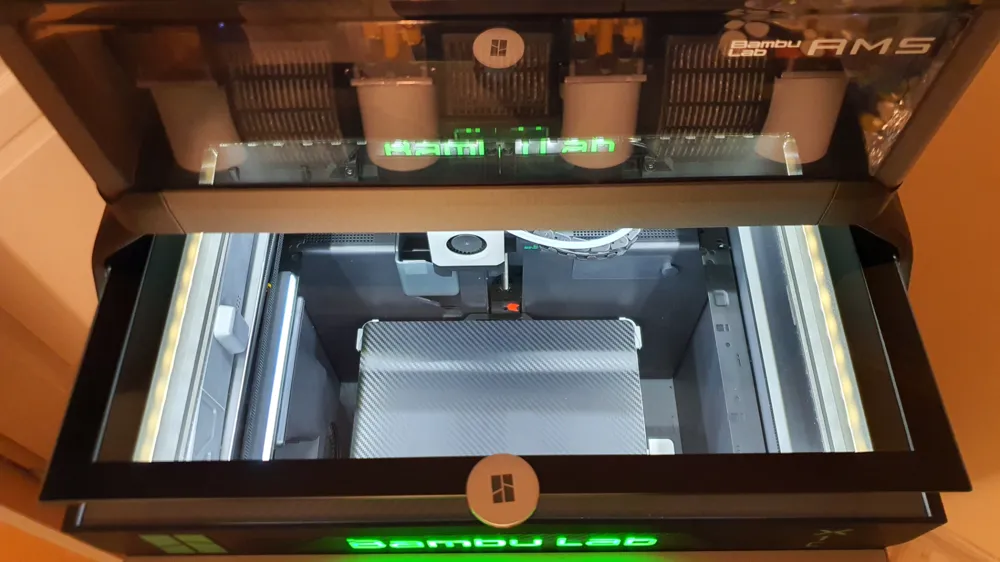
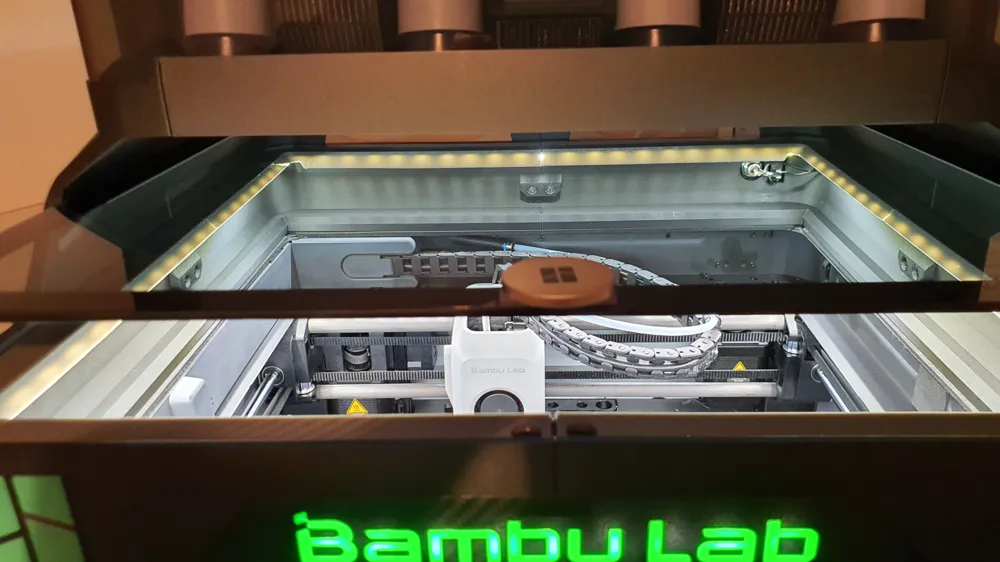
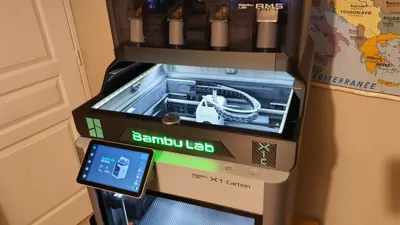
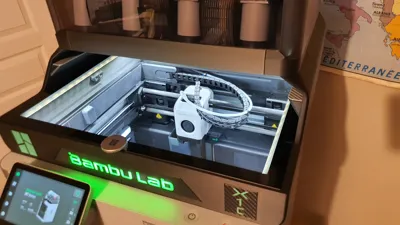
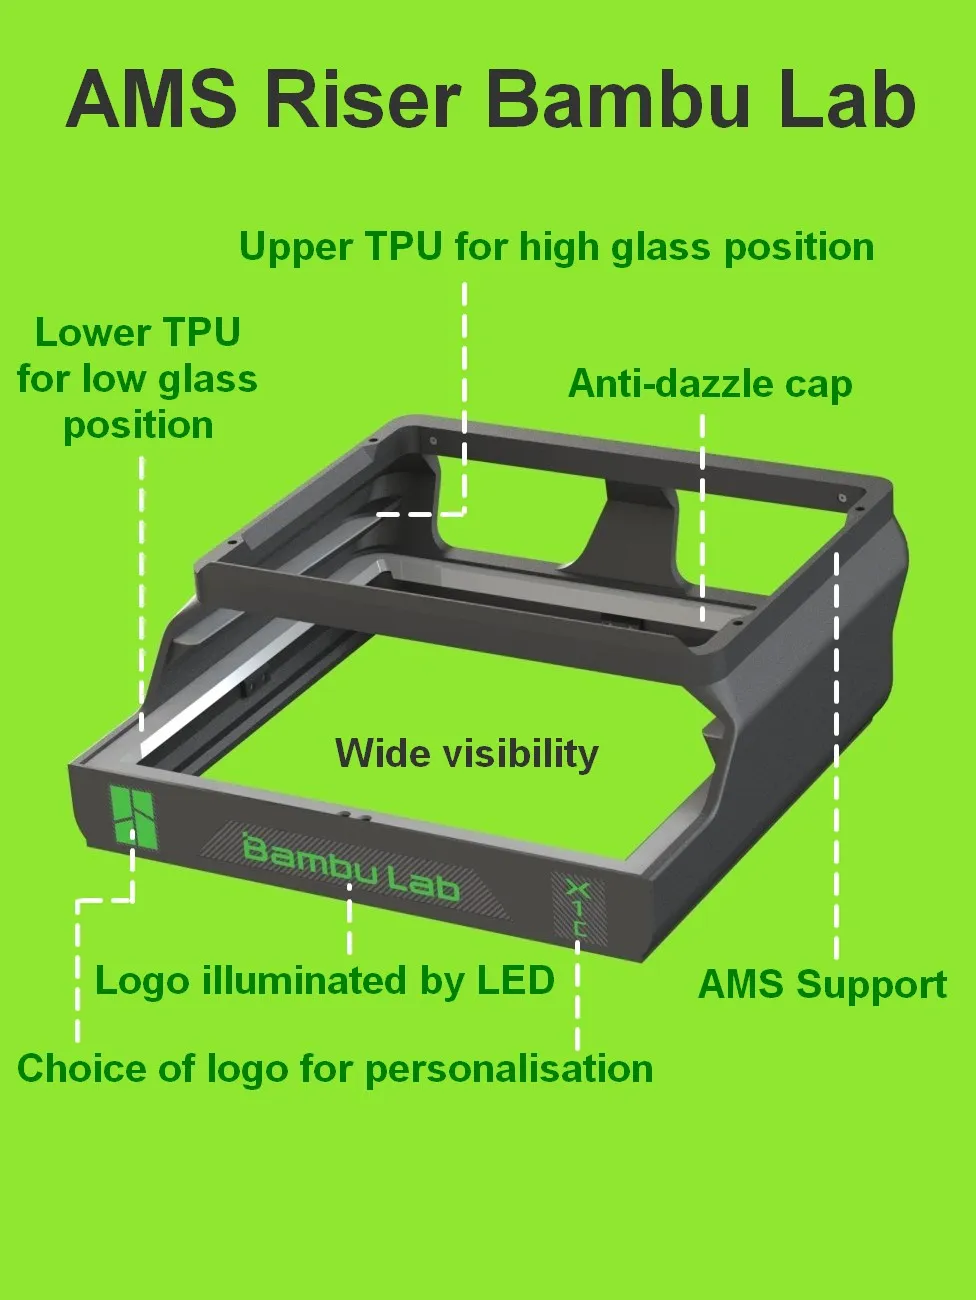
- Access to the work area, once the glass is removed, is easy without having to disassemble the AMS
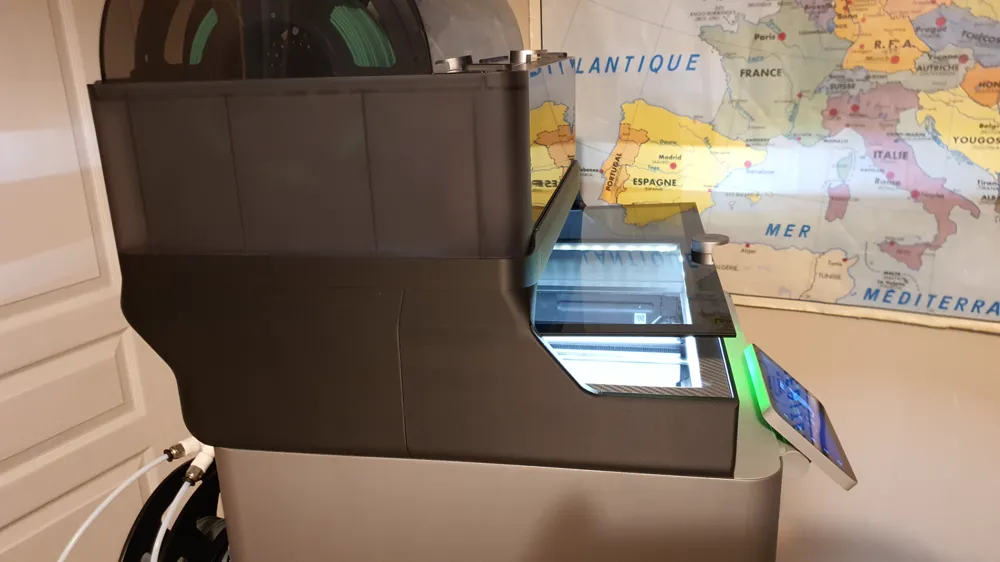
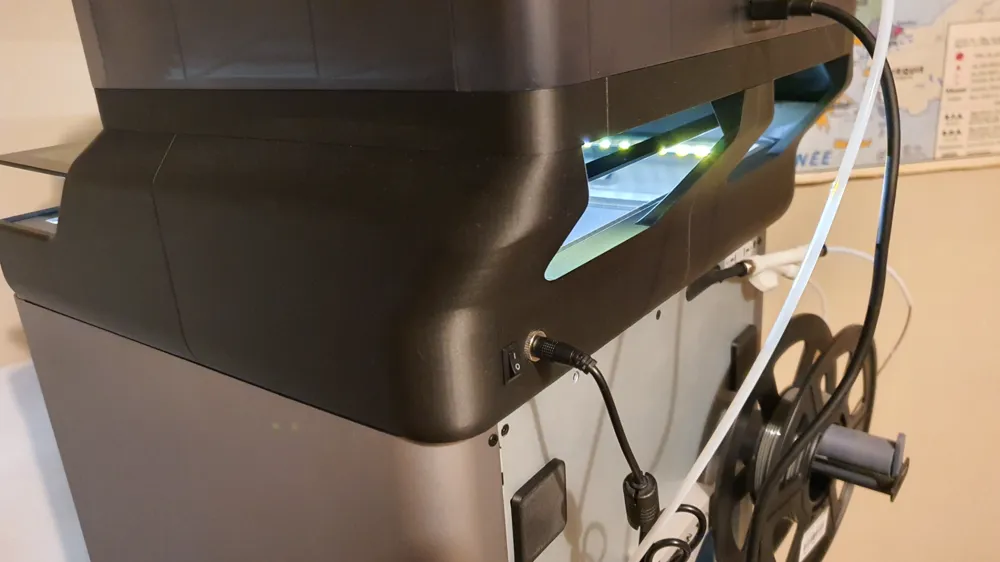
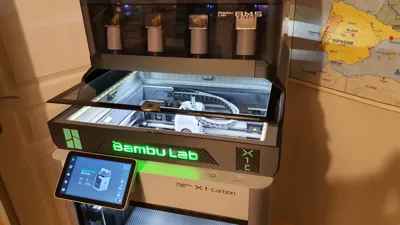
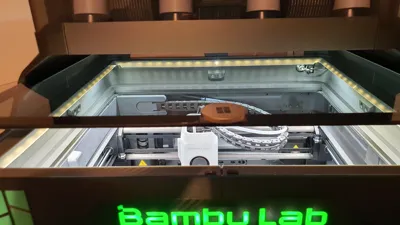
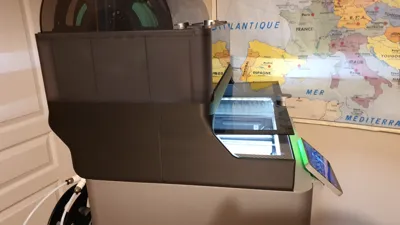
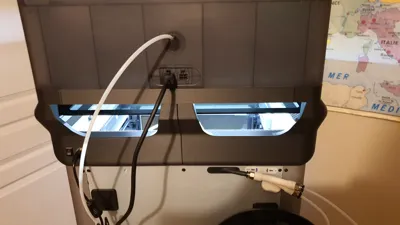
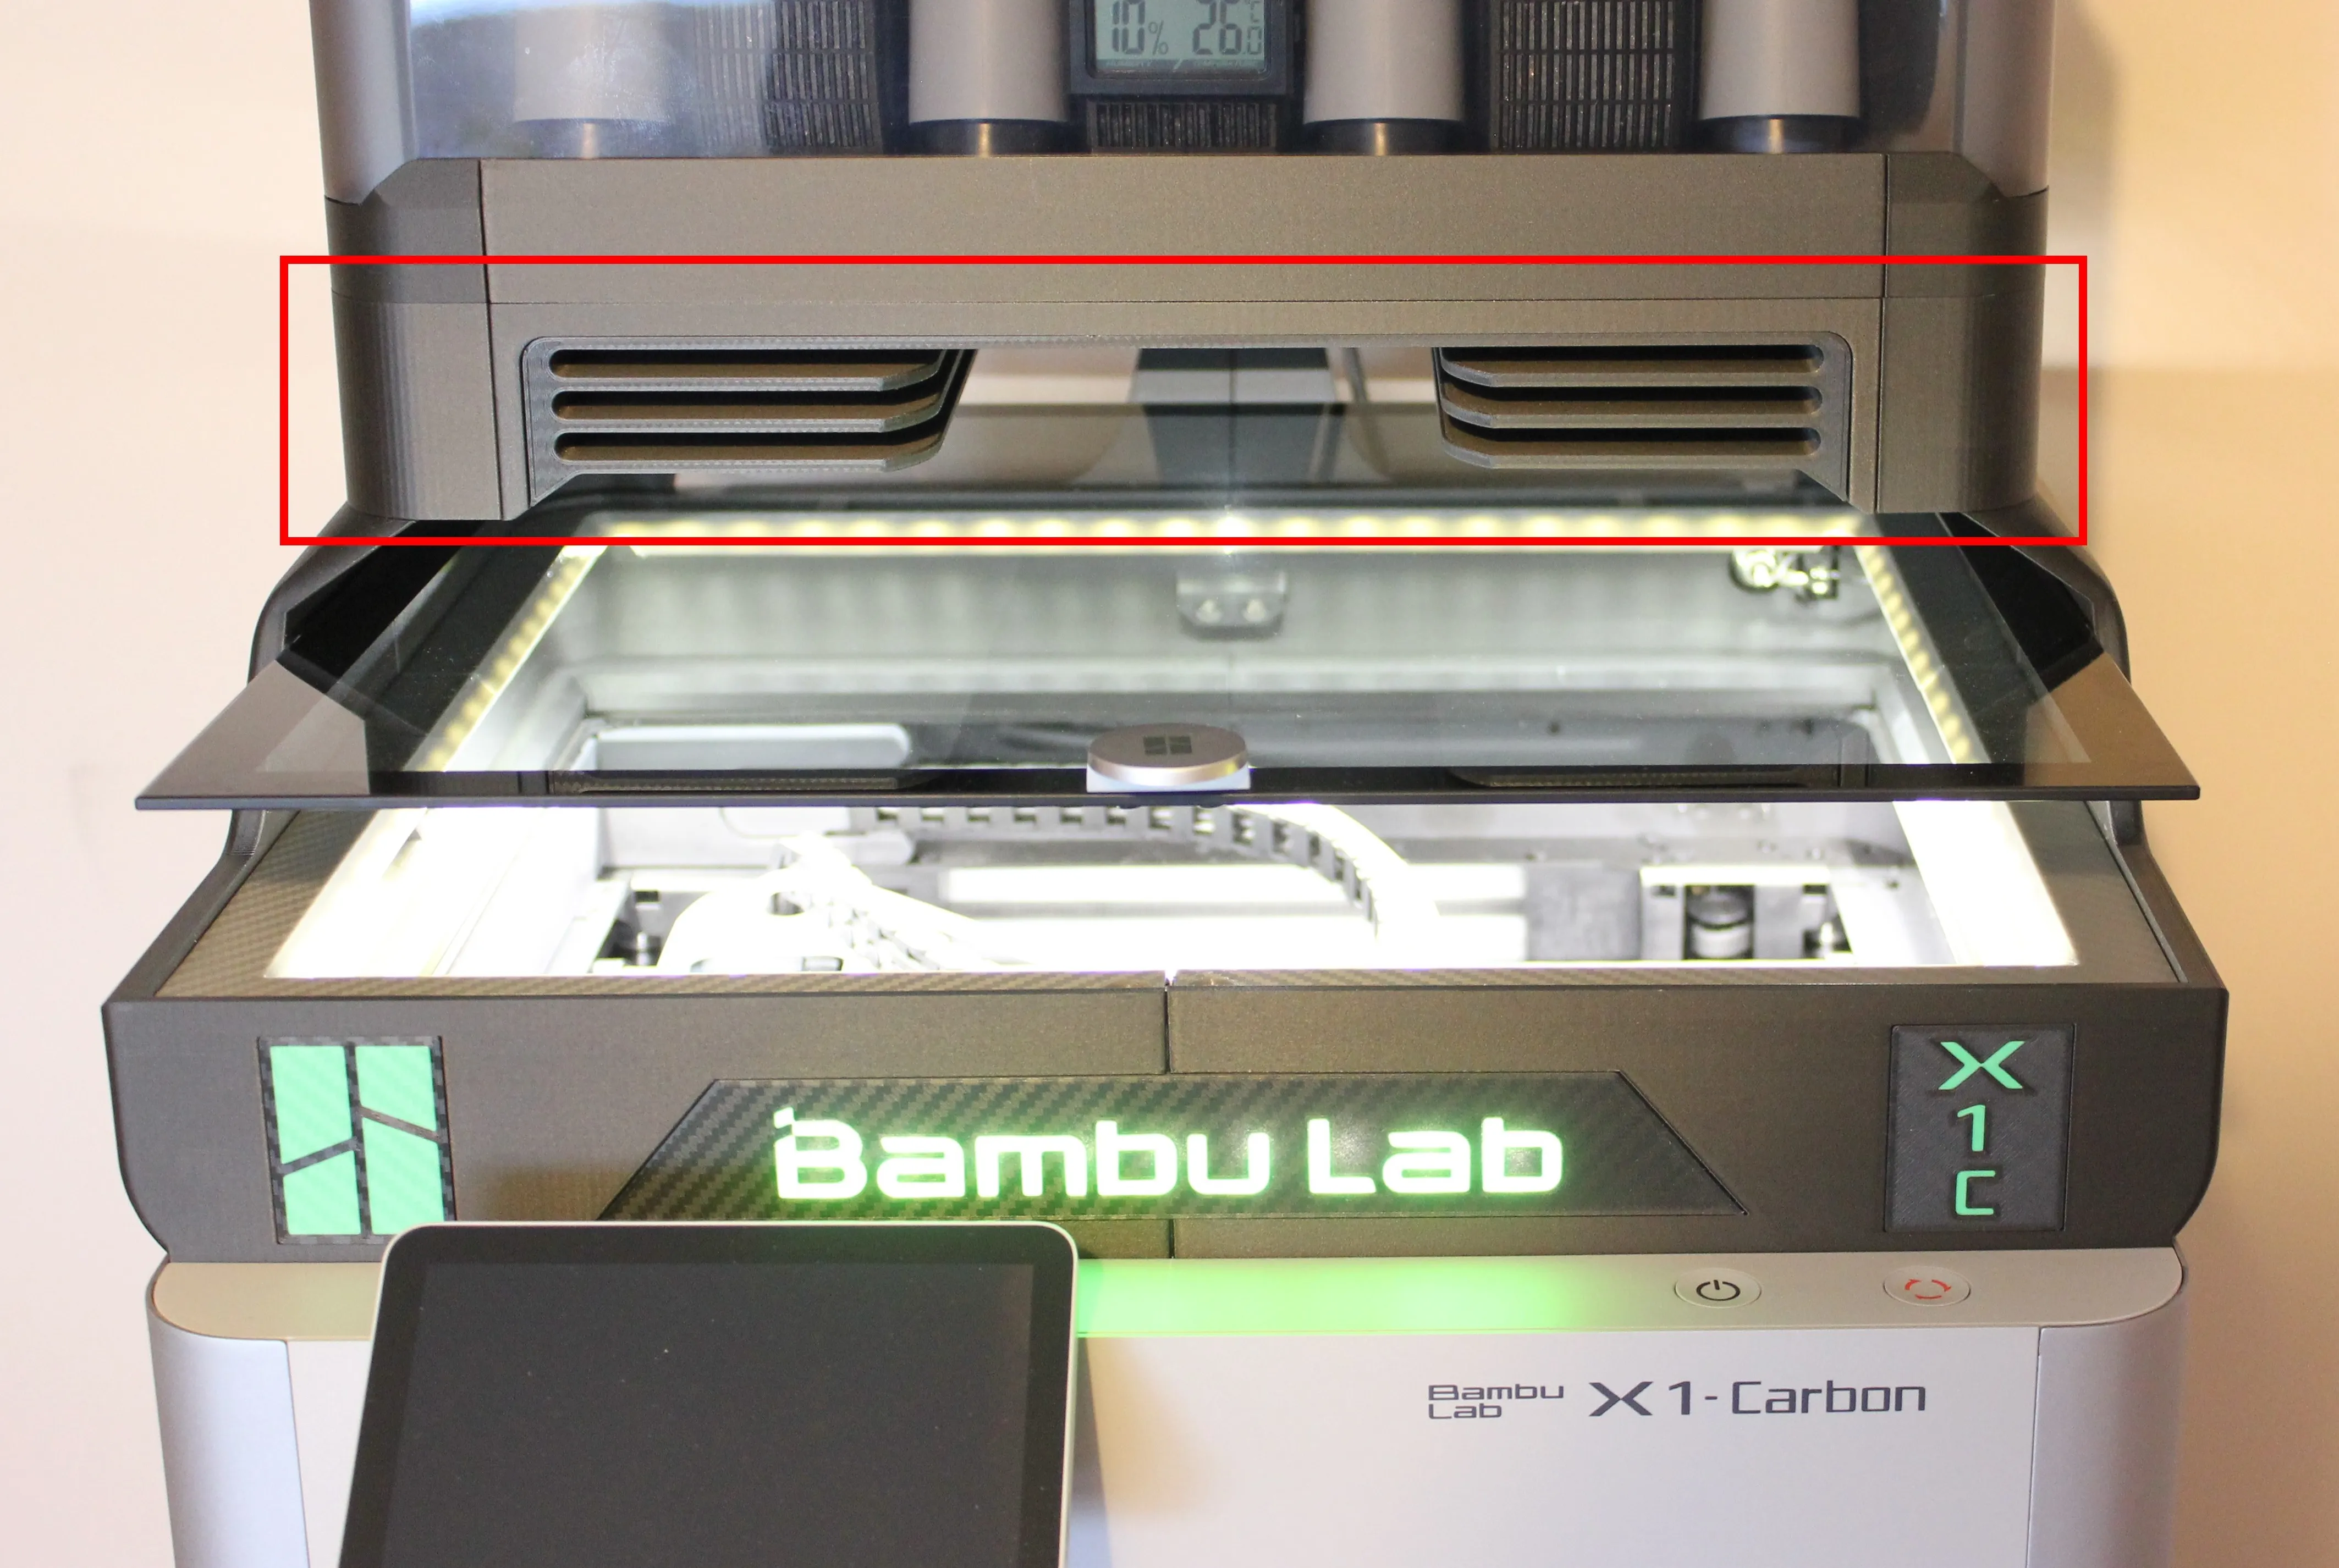
- The elevated glass is tilted to prevent it from falling and positioned to offer maximum visibility of the printed part. This position also allows hot air to escape from the front and back, thus preventing clogging, for example during PLA prints
- The AMS is offset to also allow good visibility of the printed part
- The upper TPU strips allow the glass to slide smoothly in the high position
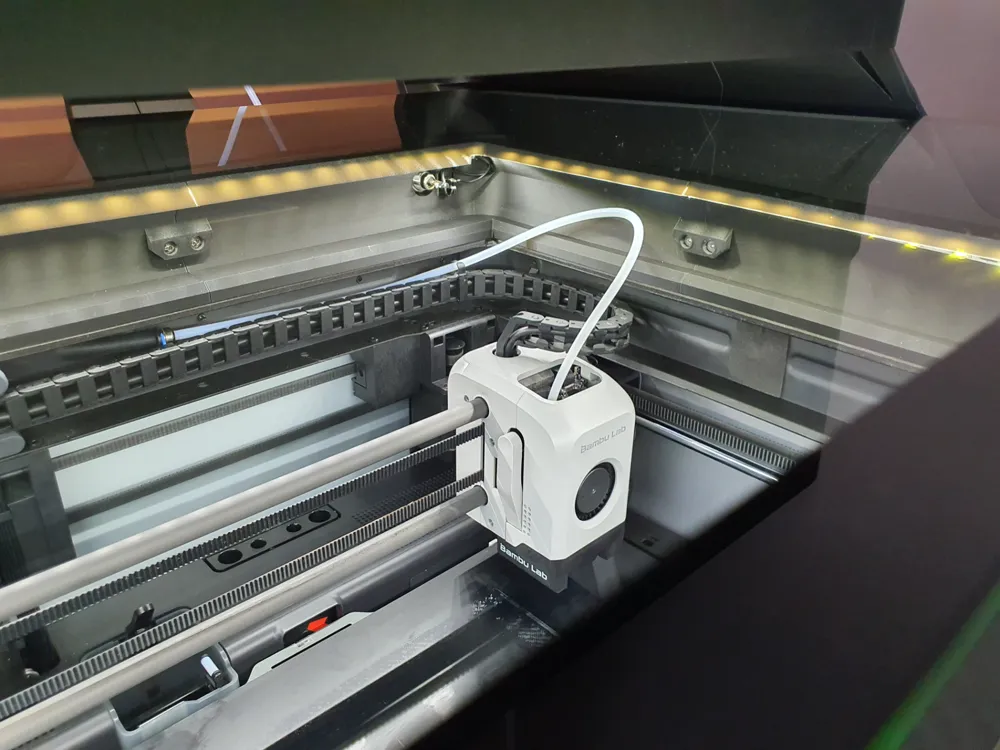
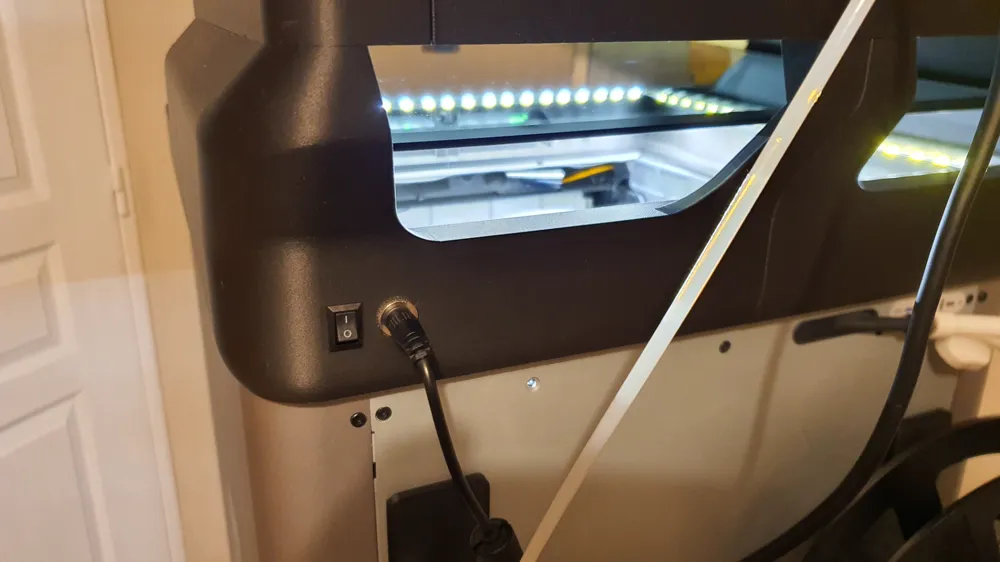
- The lower TPU strips do the same for the low position, but also have a visor to avoid being dazzled by the LEDs when observing the printed part
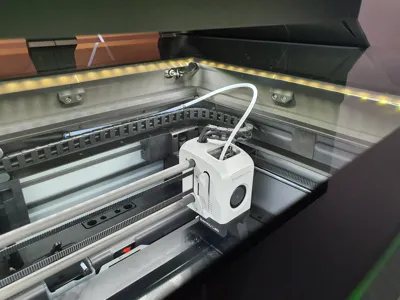
- The LEDs are raised so as not to obstruct the movement of the PTFE tube, thus avoiding the need for additional attachments. I had indeed tested PTFE guides to be fixed on the print head and PTFE clamps for the chain. But I found that the PTFE tube was constrained, which in my opinion will eventually cause premature wear of the PTFE tube or the chain
- A power supply and a switch equip this model for greater practicality
- You can customize your AMS support with logos compatible with your Bambu Lab printer
Finally, I tried to refine the design of this support
Assembly information:
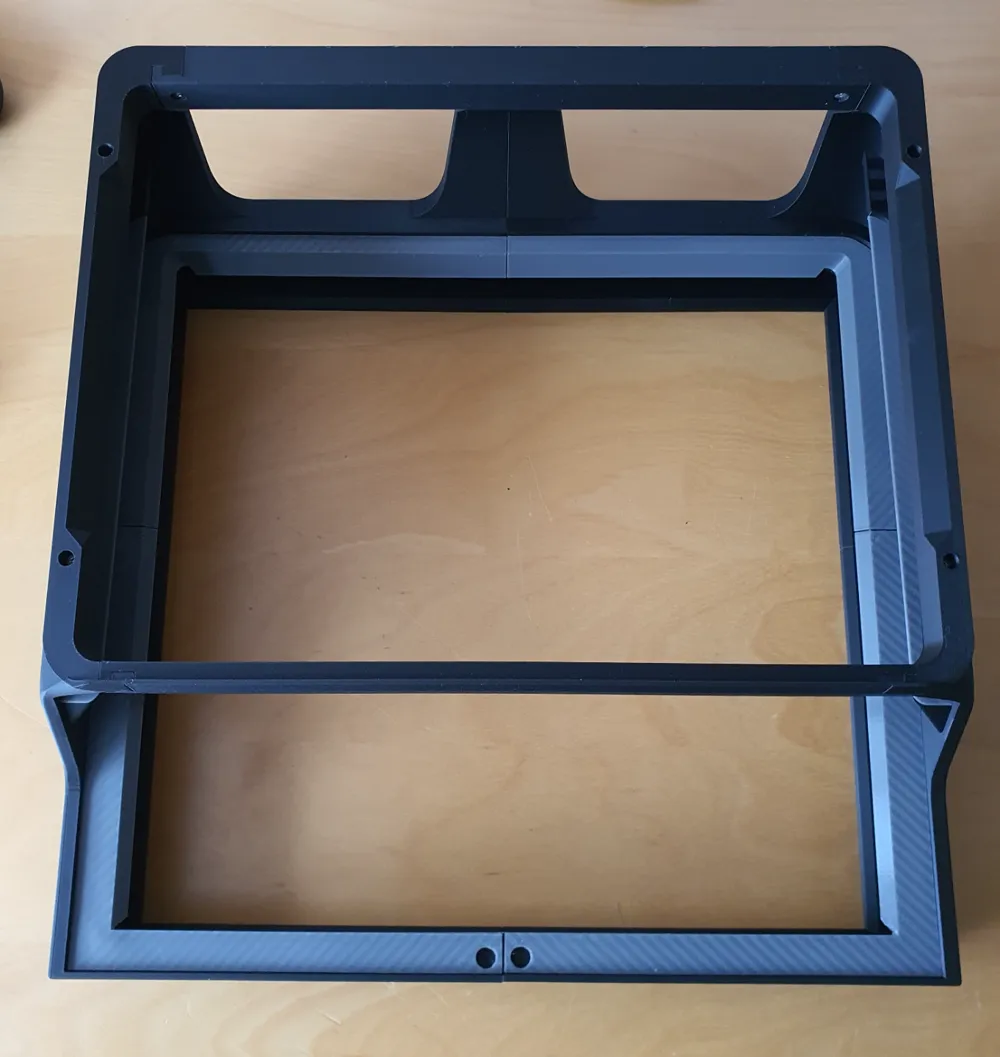
Before assembling the different parts of the AMS support, you must install each TPU strip
Press on the edges of the lower TPU strips to insert them into their grooves
Be careful not to press too hard to avoid breakage
Slide the upper TPU strips into their grooves to position them correctly
For fixing the elements, use 18 M3 countersunk screws of 8 mm
Option:
Print plate holder: https://makerworld.com/fr/models/1287951
Boost Me (for free)
Boost to support me :)
Link to the 10x15 mm switch: https://fr.aliexpress.com/item/32987717201.html?pm=a2g0o.order_list.order_list_main.107.7ab75e5b1mpcCF&gatewayAdapt=glo2fra
https://www.amazon.fr/VEXUNGA-Interrupteur-Positions-Commutateur-Appareils/dp/B0CSJTHZHR
Link to the 12V power supply: https://www.amazon.fr/dp/B0B9BFTY3T?psc=1&ref=ppx_yo2ov_dt_b_product_details
Link to the 12V female connector: https://www.amazon.fr/Femelle-Ampères-Connecteur-Alimentation-Souder/dp/B083M339K8/ref=sr_1_27
**Other possible improvement for your machine:** https://makerworld.com/fr/models/1313644
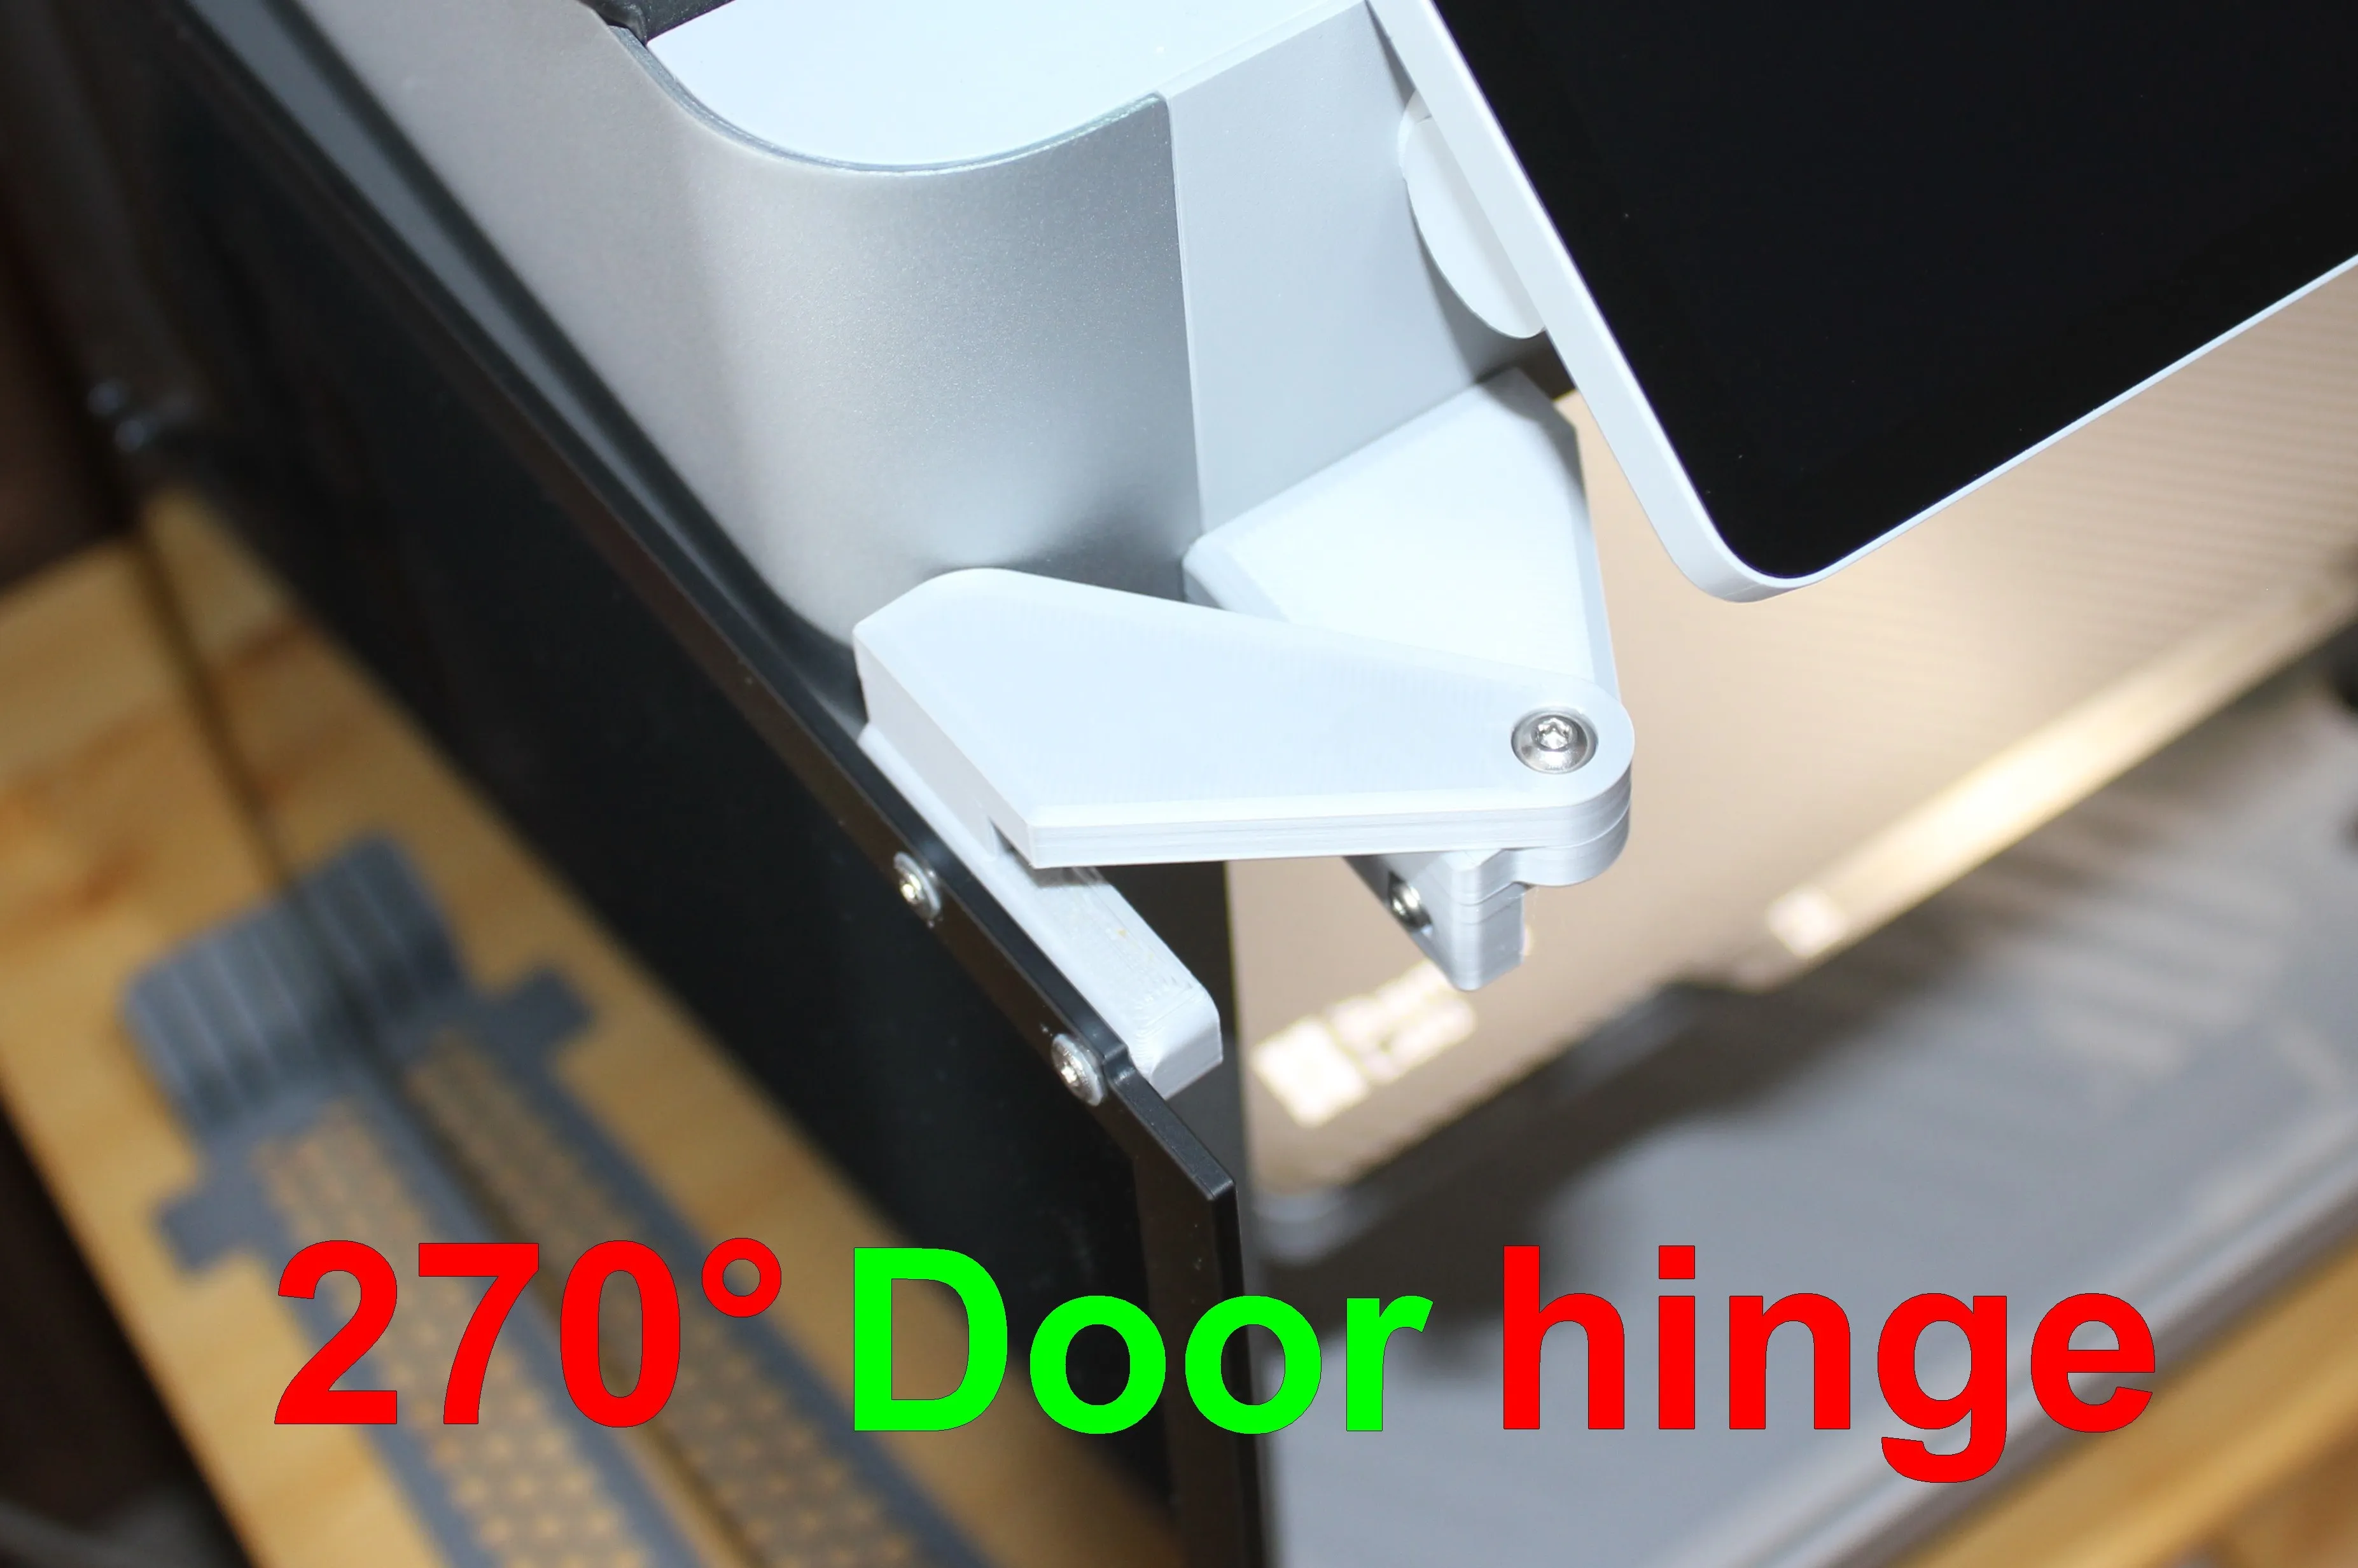
License

You shall not share, sub-license, sell, rent, host, transfer, or distribute in any way the digital or 3D printed versions of this object, nor any other derivative work of this object in its digital or physical format (including - but not limited to - remixes of this object, and hosting on other digital platforms). The objects may not be used without permission in any way whatsoever in which you charge money, or collect fees.


Comment & Rating (361)