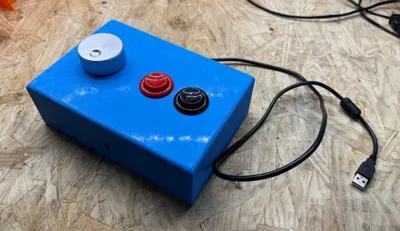
GRS USB Button Hole Spinner Controller


Print Profile(1)

Bill of Materials


- GRS_Button_Hole_Spinner x 1: https://thunderstickstudio.com/products/usb-spinner
Description
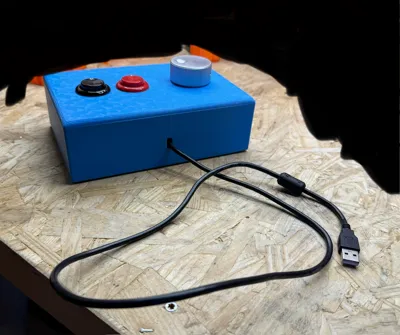
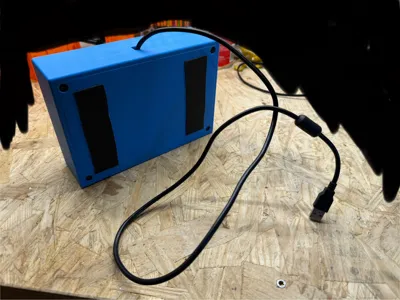
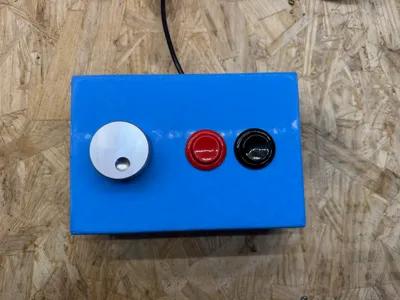
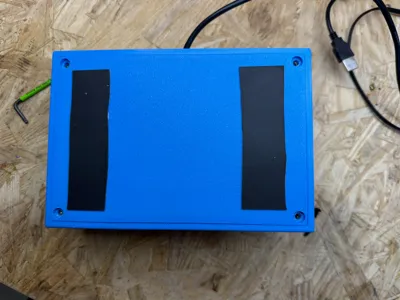
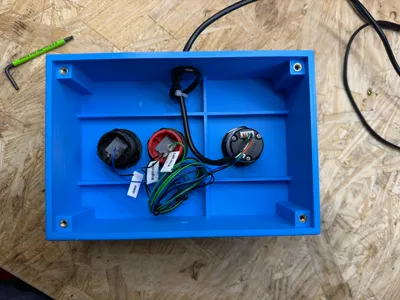
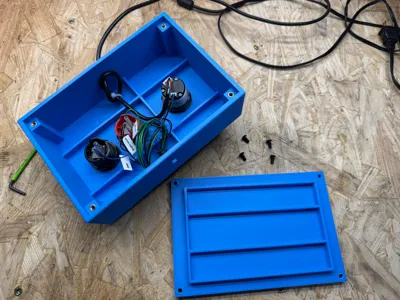
I purchased a GRS Buttonhole spinner from GRS Thundersticks and wanted a larger controller than I'd seen others make online. I created this on OnShape (non-commercial) and uploaded here. The model I made is left / right hand ambiguous. It prints with a an outlet hole on both the front and back for the USB cord to thread through. The spinner and button holes are aligned in the center of the controller so you can print and use this left or right-handed without making any adjustments. Also, the raised sections on the bottom panel are for gluing in weights (e.g., hot gluing in some pennies) if you want to add more weight to the controller.
Here's the OnShape link to the public file if you would like to copy it and modify it: https://cad.onshape.com/documents/a1e5b1b294345f14322389e5/w/306257acbd7490dfec4253e0/e/add24eb38e59b380457ca6f1?renderMode=0&uiState=678d406e174af2356da2d2ca
Hardware used:
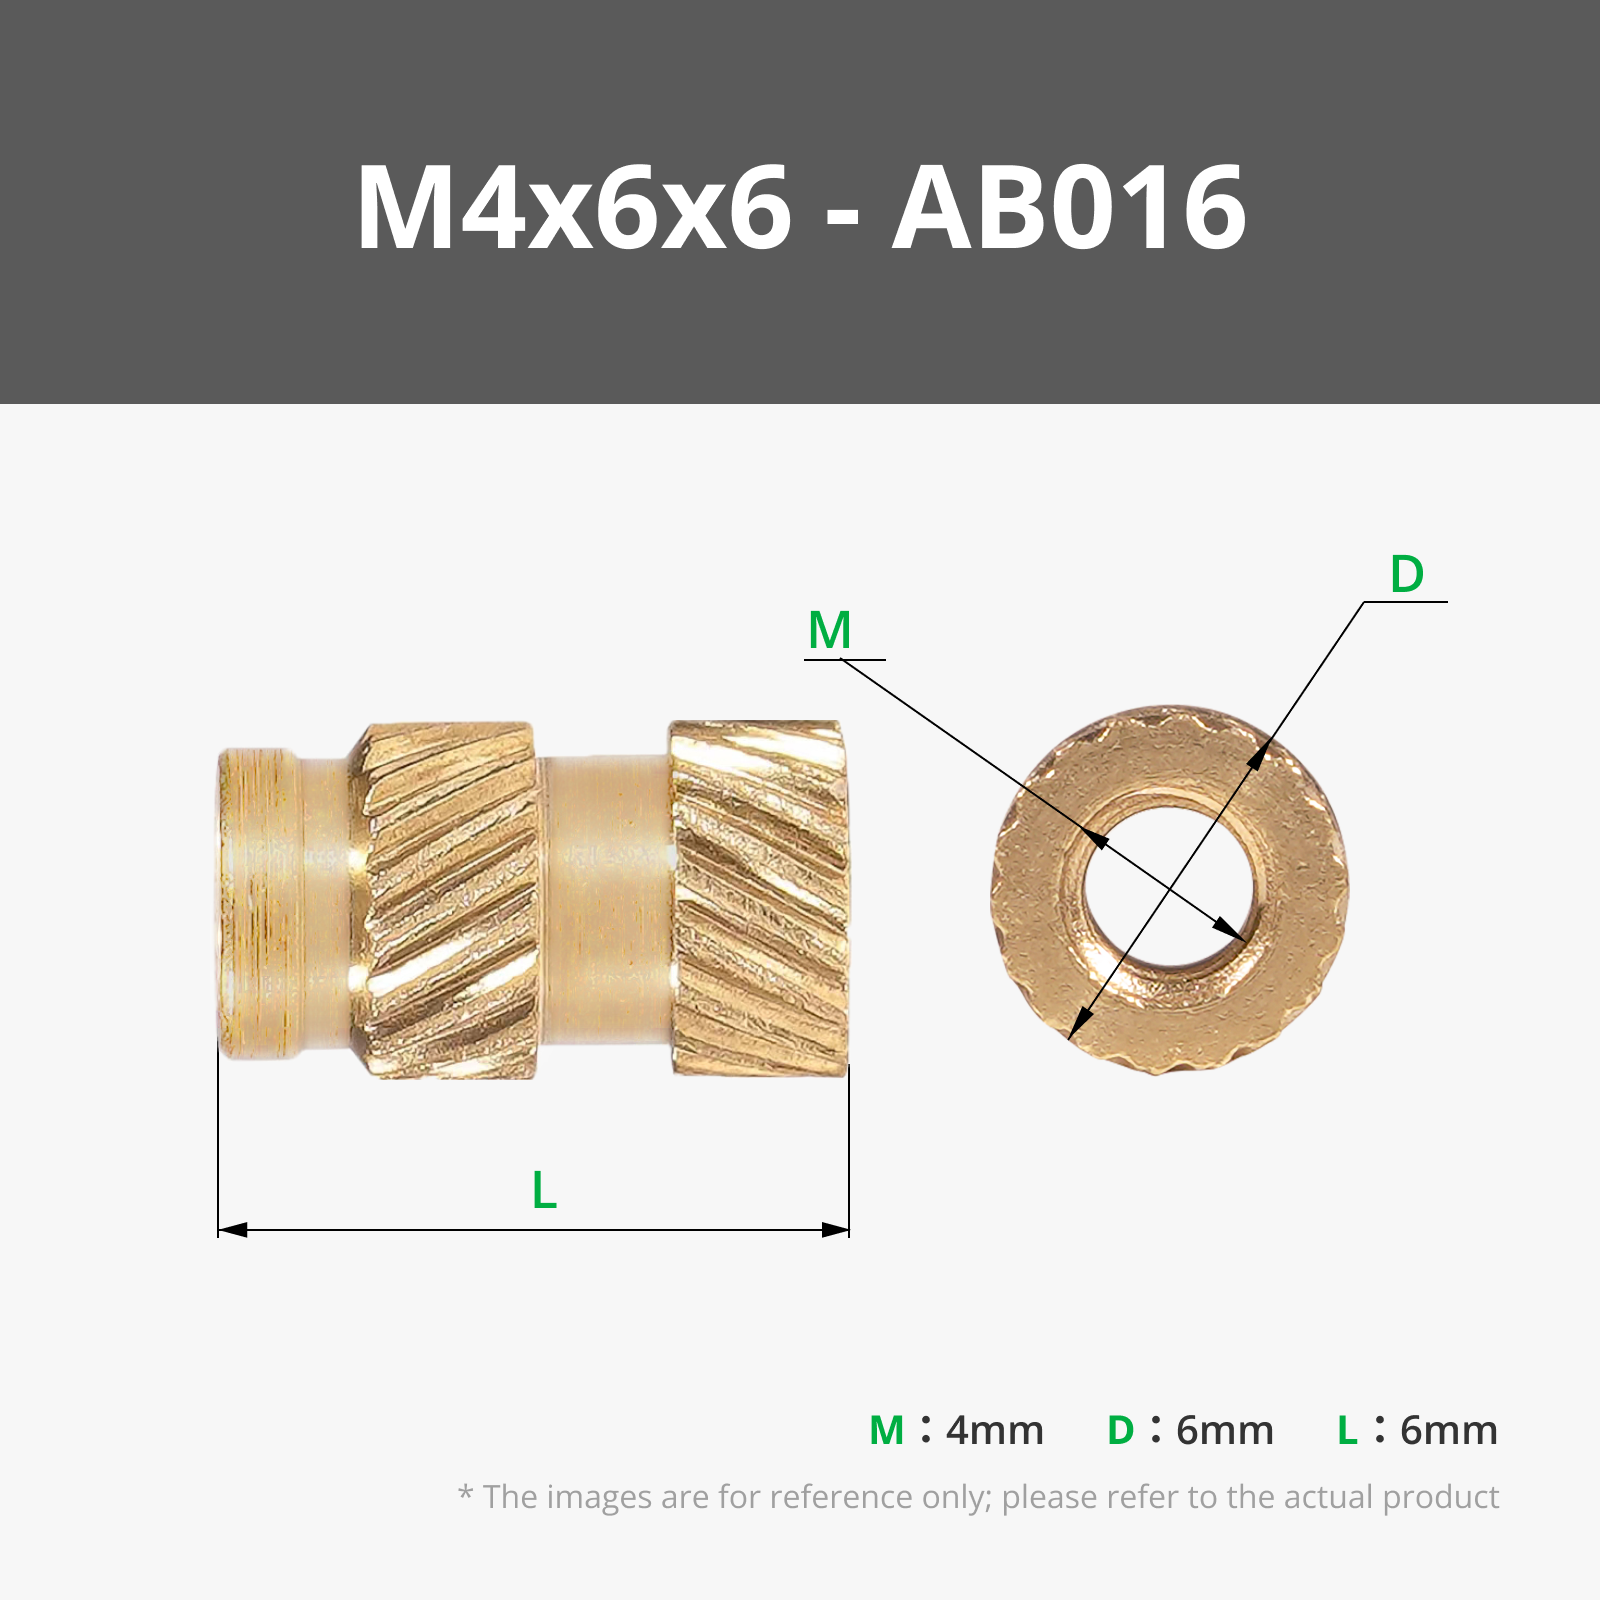
- 4x - M4 x 4 x 6 mm Female Threaded Brass Knurled Nut Insert. Purchased in this kit: https://a.co/d/j061GlZ
- 4x - M4 x 8 mm Screws. Purchased in this kit: https://a.co/d/dwERVuX
- Non Slip Self Adhesive Silicone 4x40 inch. Purchased here: https://a.co/d/0tL3MLX
I added what I believe are the same/similar hardware in the hardware list attached to this upload. The brass insert in the hardware list is 2mm longer than the 4mm insert I noted above; however, I made sure that the model could accommodate it. So, you could use instead of the M4 x 4 x 6mm (inner diameter x length x outer diameter) insert if you wanted instead.
Enjoy!
Comment & Rating (0)