
Polariscope / Polarimeter
Print Profile(1)

Bill of Materials

- PolarizingFilm_80mmx80mm x 1: https://www.amazon.com/gp/product/B004X3XFHU
Description
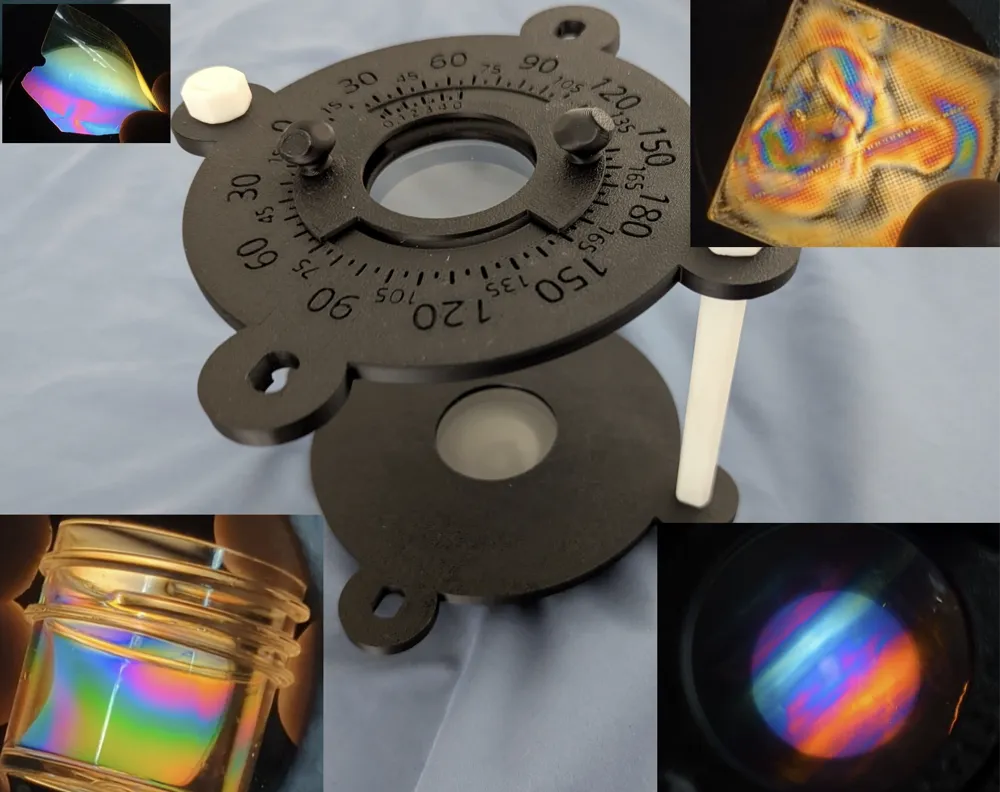
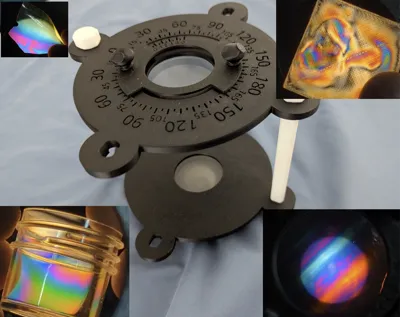
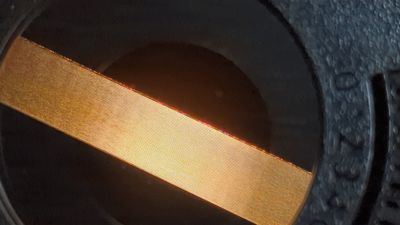

An easy-to-assemble polarimeter, which lets you observe the effects of optically active materials (like sugar water) and birefringence (like in clear plastics). The outer dial has markings in 5 degree increments, and the vernier scale on the inner dial can be used to get down to 0.5 degree resolution.
Some experiments you can do with this:
- Start with the dial at 0 degrees and observe how the brightness of the light changes as the dial is turned. Try measuring (or estimating) the brightness at evenly spaced angles to try and figure out the relationship. The true value is dictated by Malus' law, which says it is proportional to cos^2(θ), where θ is the readout of the dial.
- Set the light to Red. Adjust the dial to 90 degrees so all of the light is blocked. Place a glass of an optically active substance (like sugar water) in the polarimeter and observe that some light is visible again. Adjust the dial until all the light is blocked again: this difference is the angle by which the substance rotated the plane of polarization.
- Now switch the light to Green. Observe how some light is visible again and requires moving the dial further in the same direction in order to once again block it all. Now switch the light to Blue and observe the same. This is because the optical activity depends on the wavelength of the light (optical rotary dispersion).


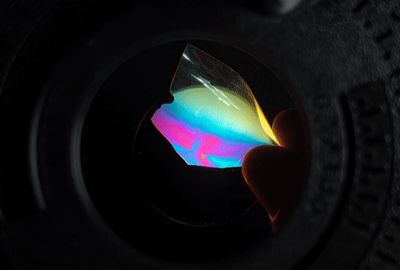
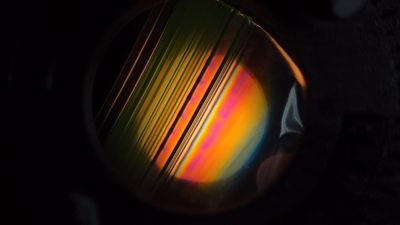
- Using White light, place pretty much any clear plastic object in the polarimeter. Interesting patterns should show up due to stress-induced birefringence. Try bending or stretching the material to observe photoelasticity, especially if there doesn't seem to be much stress frozen into it.
Other interesting things to look at:
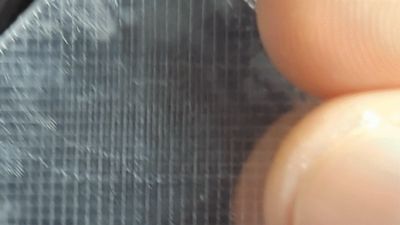

- Clear or translucent Plastic bags
- Especially resealable (ziploc) bags
- clear PETG
- “glass-like” print profiles like Just say no to poop's https://makerworld.com/en/models/725342, especially after some sanding/polishing

- Stretch a strip printed in vase made (like those from https://www.printables.com/@SmoothDragon/collections/1152625).
- Tape
- Clear, molded plastic parts (food containers, parts trays, jewel cases, etc)
These things need to be clear or transparent, as any scattered light will not maintain the polarization and will drown out the interesting effects. Occasionally wiping off the polarizing sheets to keep them of dust is important for the same reason.
Uses RGBW puck lights (B-KC007) as the light source, and two 80mmx80mm sheets of polarizing film (like https://www.amazon.com/gp/product/B004X3XFHU). Make sure to take off the protective film.
All the pieces snap together and assembly should hopefully be straightforward. When connecting the top and bottom, turn the dial to 90 degrees, and the light will become dark when it's in the correct orientation.
The last two plates on the print profile are optional – they provide shorter rods, M10 threaded rods (sturdier than the snap-in ones), and couplers for the snap rods. With the threaded rods, two is sufficient (as seen in the cover photos) to keep it sturdy, and this also gives a wider gap so you can put bigger objects in. The M10 threaded rods should work with any standard M10 nuts – the ones in the profile are from Jerryie's public domain upload https://makerworld.com/en/models/70851.
License


Comment & Rating (10)