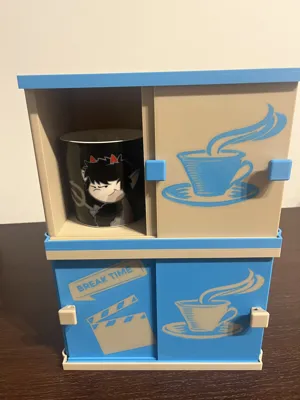
Mobile mug


Print Profile(1)

Description
ANDREALEBEGINNING
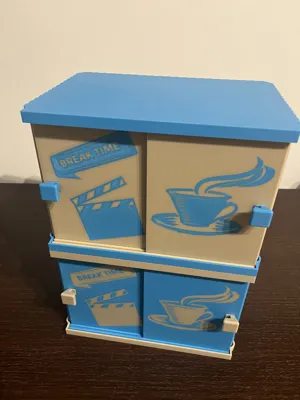
Office/workshop cabinet to safely store your mugs, awaiting the best moment of your workday
THE COFFEE BREAK
Project made entirely with Fusion 360, don't be intimidated by the 9 print plates, I preferred to divide all objects to keep everything tidier, avoiding possible misunderstandings
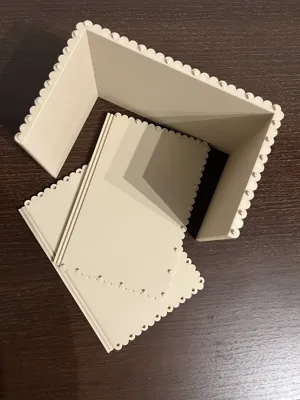
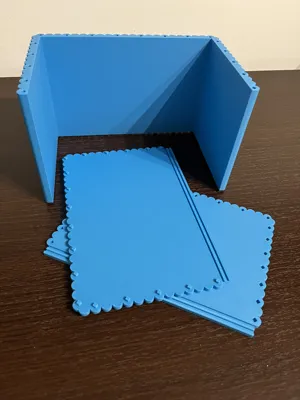
Cabinet body :
The cabinet body has been divided into three plates to optimize printing times and avoid unnecessary filament waste
Regarding assembly, don't worry, I included connectors during slicing so everything will fit perfectly, being precise, you won't even need to use glue or suitable tools for this purpose
Middle base :
The middle base has been divided into 2 plates, in this case too I added connectors, so the assembly will be the same as the body
In my case, the middle base was necessary to stack the two bodies, if you only want one, it will not be necessary to print it
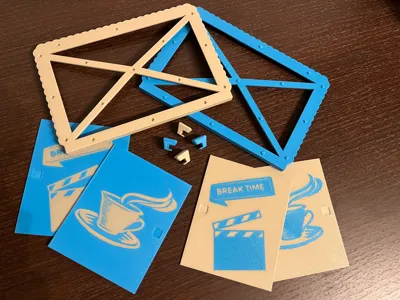
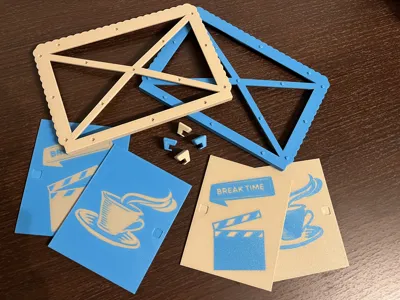
Left door Right door :
Regarding the doors, in addition to inserting ornamental details, I also designed a recess to accommodate the knobs in the correct position
Base :
On one plate you will find a base designed to support the cabinet body and to prevent the doors from coming out of the cabinet body, the same file can be used as a top part for the same purpose, it differs from the middle base because the parts of the middle base have been lightened with extruded triangular cuts
Knobs :
On one plate you will find two knobs, there isn't much to explain for this part of the project, in this case, however, unlike everything else, it is necessary to use glue to keep the knobs in place in the recess made on the doors
ATTENTION !!!
The knobs have extruded cuts to accommodate the opposite door
The knob you install on the left door must have the recess facing towards the inside of the cabinet
The knob you install on the right door must have the recess facing towards the inside of the cabinet
Both knobs were designed this way to recover as much space as possible in the opening of the sliding door
I believe I have explained everything thoroughly, write if you have any questions. Thank you
Comment with your doubts, constructive criticism, or simply to compliment
and if you deem it appropriate, boost the model to help us
THANK YOU
Happy Printing !
License
You shall not share, sub-license, sell, rent, host, transfer, or distribute in any way the digital or 3D printed versions of this object, nor any other derivative work of this object in its digital or physical format (including - but not limited to - remixes of this object, and hosting on other digital platforms). The objects may not be used without permission in any way whatsoever in which you charge money, or collect fees.
Comment & Rating (0)