Search models, users, collections, and posts
21CNCStudio
@21CNCStudio
575
6.3 k
13.4 k
2.7 k
Social Media Links
Bio
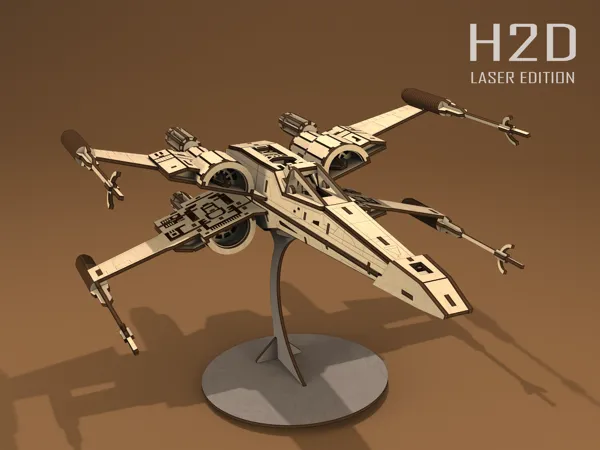
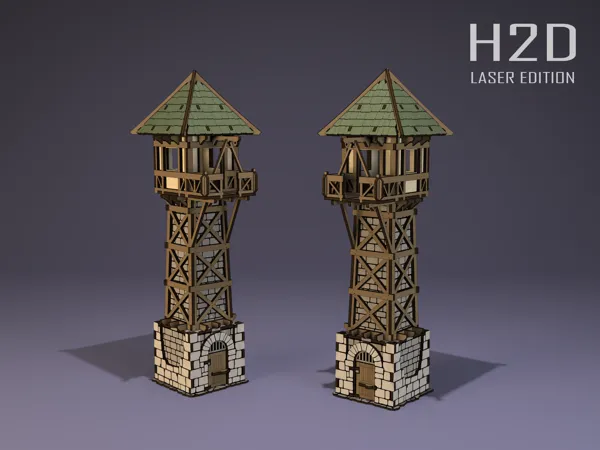
Hi, I'm Volodymyr Papush, founder of 21CNCStudio. I specialize in designing highly detailed, laser-cut models for hobbyists and makers. My designs combine precision engineering with artistic flair, making them both enjoyable to assemble and stunning to display. Here on MakerWorld, you’ll find a collection of my exclusive models, optimized specifically for the Bambu Lab H2D and other laser cutter. I'm passionate about sci-fi themes, vehicles, architecture, and creating unique, engaging projects that inspire creativity. Let's build something incredible together!
Achievements

MakerWorld Guardian
Active more than 20 days out of last 30 days UTC time

Contest Winner
Won 3 model contest awards.

Featured Creator
5 models are featured by MakerWorld.

Popular Creator
More than 1,000 followers.
Recent Article
DFRobot Gravity SFA40 Readings
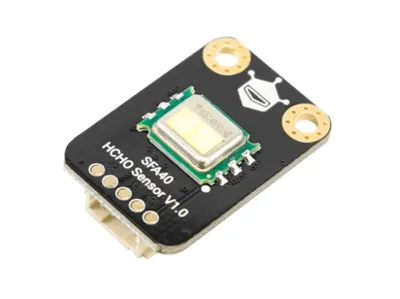
DFRobot Gravity SFA40 ReadingsI have already received several reports about possibly incorrect SFA40 readings, so I want to collect all information in one place and understand how widespread the issue is.We need to determine how many users are seeing consistently elevated HCHO readings. I may release a special diagnostic firmware version that will show additional data:  - whether the HCHO reading is ready or still warming up; - the internal SFA40 measurement status; - basic communication health information; - the sensor module identifier, if available; - the temperature and humidity measured near the SFA40; - the direct HCHO value before it is shown in the UI. Diagnostic beta firmwareA beta firmware build with the SFA40 diagnostic page is available here: DFRobot Gravity SFA40: elevated HCHO readings and diagnostic reports  With this data, we will be able to contact DFRobot/Sensirion with specific evidence. If the issue is confirmed to be related to a module or batch, we can raise it properly with supporting data.As I have already replied in private messages, the current driver implementation follows the standard algorithm from the Sensirion datasheet. At this point, I do not see a conversion error or a clear deviation from the documentation in the firmware. The manufacturer’s specified SFA40 accuracy is ±20 ppb or ±20%. It is also important to note that during the first up to 10 minutes after startup, readings may be unstable, but after warmup they should settle.If you are experiencing this issue, please leave a comment here and include:what stable HCHO readings you see after 15-30 minutes of operation;what filament did you use to print the enclosure;whether you tried placing the device near fresh air / an open window for 30 minutes;whether you tried running Aura without the enclosure, to rule out plastic/glue/enclosure materials as the source;whether you compared the readings with another device or another Aura unit in the same room, if possible.This will help determine whether the issue is caused by the environment, the enclosure, a specific sensor batch, cable/power, or firmware.
Project Aura AQ — Community Q&A Hub 🛠️
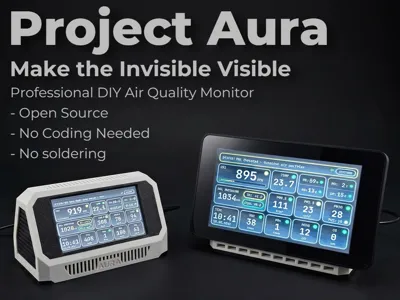
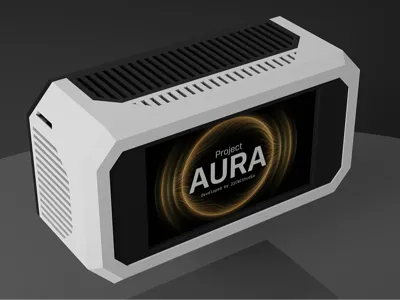
Project Aura AQ — Community Q&A Hub 🛠️Before you DM me — check here first. 😄This post is your go-to place for questions, issues, and feedback about Project Aura AQ. Assembly, firmware, Home Assistant integration, sensors — anything goes. The idea is simple: if you ran into a problem, someone else probably did too. Ask here, and the answer helps everyone.I'll be reading every comment and updating this post with the most common questions and solutions directly — so it becomes a living FAQ over time.  📺 New here? Start with the video. I just released a full overview of Project Aura — features, UI, sensors, fan control, and answers to the most frequently asked questions. Watch it before posting — there's a good chance your question is already answered there.    💬 How to ask a good questionPlease start your comment with a category tag — it helps others find relevant answers quickly:[Assembly] — enclosure, wiring, connectors, pin swap  [Firmware] — flashing, web installer, settings, bugs  [HA/MQTT] — Home Assistant, MQTT discovery, dashboard  [Sensors] — SEN66, SFA30, CO, pressure, RTCAlso include your firmware version when reporting a bug or issue. It saves a lot of back-and-forth.  📦 GitHub — stay updatedYou'll need a GitHub account to keep your Aura up to date — here's why.I had limited time and a limited number of testers during development. Once all of you start running your Auras, new bugs will inevitably surface that I couldn't catch on my own. I'll fix them and publish new releases regularly. Each release will include a ready-to-flash .bin file for OTA update over Wi-Fi — no cables, no IDE. I cover the update process in the video and it'll be in the assembly guide too.To get notified when a new release drops: go to the GitHub project page, click Watch → Custom → Releases. That's it — you'll only get an email when there's something new, no inbox spam.Takes 2 minutes. Worth it.You can also download the GitHub mobile app — and yes, Aura can be flashed directly from your phone too. 📱👉 GitHub: https://github.com/21cncstudio/project_aura  📌 FAQ (Will be updated as common questions come in) 📧 Assembly Instructions: You should have received an email with a link to the assembly instructions ZIP file. As a backup, I've also uploaded it to the model files — click "Download STL/CAD Files" and you'll find the instructions archive there! 📧 STEP files: These STEP files can only be accessed through the crowdfunding project page. Pls go access to the crowdfunding project page: Fulfillment - click "Checkout Rewards". 🆕 SFA40 Formaldehyde Sensor Now Supported!I've added support for the DFRobot SFA40 — the successor to the SFA30!  ⚠️ Pin swap reminder: One connector requires swapping the power pins before assembly. If you skip this step, you may damage your sensors. This is covered in detail in the assembly guide — please read it carefully before connecting anything. 🔄 Back Cover Options: In the original enclosure print files, you'll find 4 different back cover variants. The difference is which optional sensors they accommodate (CO sensor and/or DAC module). Choose the back cover that matches the sensors you're using.  Questions, feedback, ideas — drop them below. 👇
Wall-Mount Enclosure Reveal & CO Sensor Update
Wall-Mount Enclosure Reveal & CO Sensor UpdateHey everyone! 👋  Quick reminder: Please leave all your questions and comments right here under this update! It's the only way I can reliably find and answer them. 🙏  📦 Wall-Mount Enclosure — What Do You Think?So... how did it turn out? I think it looks pretty decent!Despite the compact size, I managed to fit all the sensors inside — including the CO sensor and space for a future DAC module (for controlling ventilation fans or even smart lighting).Not bad for something that hangs on the wall, right? 😄 For the upcoming stretch goal enclosures, I'm going to add some visual flair. I think you're going to like what I have in mind. 😏  🧪 CO Sensor Update: DFRobot SEN0466After testing several options, I went with the DFRobot SEN0466 carbon monoxide sensor.It's been integrated into Aura's system and running for 3 days straight now. So far, so good! ✅ By the way, I've updated the standard desktop enclosure design so you won't have to reprint the whole thing if you decide to add a CO sensor or DAC module later.Just swap out the back cover — that's it!  But... there's one annoying thing.The cable situation. 🤦♂️I can't find a Gravity to STEMMA QT cable (JST-PH to JST-SH) shorter than 200mm anywhere. Actually, they basically don't exist except for this one option.Your options:Use the included cable and solder a STEMMA QT connector — takes 5 minutes, pretty straightforwardHunt for a compatible cable — good luck, you'll need itWhy I'm annoyed about the 200mm cable:Longer I2C cables add capacitance and can cause signal integrity issues. Ideally, you'd add pull-up resistors for stability... but let's be honest, nobody is going to do that. 😅I've done everything I can in firmware to compensate, but occasionally (like once every 1-2 hours) there's a tiny touchscreen hiccup. We're talking 0.1% chance you'd even notice — but it drives me crazy because I want everything to work perfectly.(Yes, I have a problem. I know.) 🤓 The Bigger Picture:There aren't really any other good CO sensor options that integrate this cleanly. The SEN0466 isn't cheap (~$60-70), but when we're talking about carbon monoxide detection, I don't think saving $20-30 is worth it.  I'll give the final "go ahead and buy this sensor" confirmation in the next update once I'm 100% confident — but right now it's looking like our best (and only) realistic choice.  Stay tuned for the next update!Questions about the wall-mount or CO sensor? Drop them below! 💬