Mini Lantern


Print Profile(3)


Description
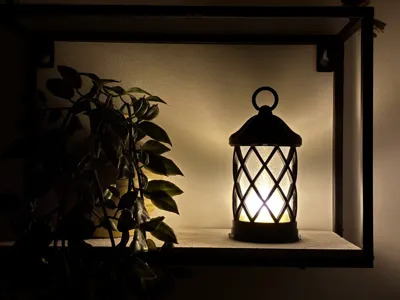
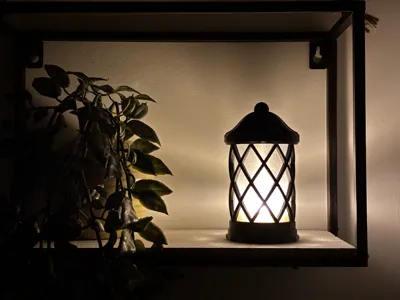
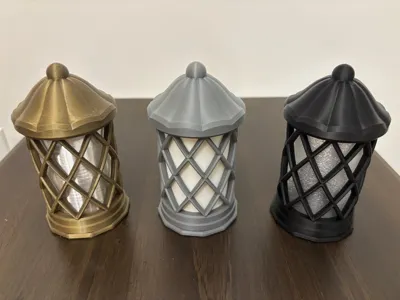
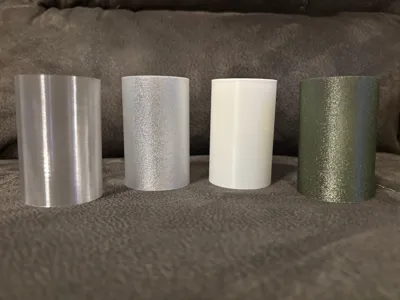
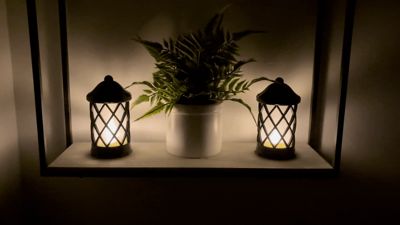
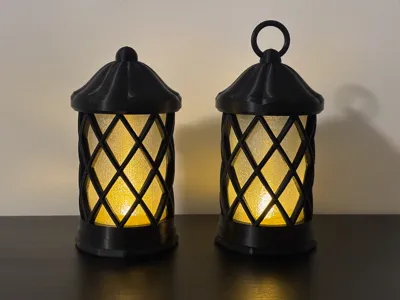
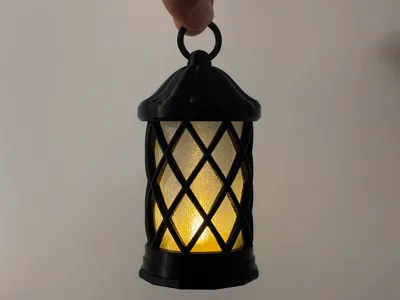
This is a cute little tea light lantern to add some accent lighting to any part of your home. Get a different look by using clear, white or colored translucent filaments. Printing it with the fuzzy skin setting gives the globe a cool textured pattern. There is one with a regular top as well as one with a hole that you can insert an ornament hook into or the included split ring. No additional supplies or glue needed for assembly.
Do not use real candles with this model, only battery powered tea lights.
Printing tips
The inside of the top is slopped about as far as you can go without the filament sagging on the overhangs. I haven't been having any issues on the 3 printers I tested it on, but I lowered the overhang speeds in the 3mf file just to be safe.
Make sure you print the globe in spiral vase mode. The settings I have in the 3mf file work well. There are two different ones, smooth and fuzzy skin.
Because of the design, you'll want to use a filament with good layer adhesion. If you use a cheaper matte or silk filament, just be gentile with it since those types of filaments in my experience tend to be weaker than regular PLA and PETG.
- I added the STL files as well. To print the globe, you will need to use the spiral vase mode since the file is a solid cylinder. These are the settings that I used.


Assembly instructions
Print out the parts for your lantern. There is a top, middle, bottom and the “glass” globe.

Slide the globe into place with the open end on the bottom.

Carefully line up the top with the threaded posts and screw it into place. Stop when you start to feel some resistance.

Set your led tea light on the base and screw it onto the middle section.

And that's it!

If you'd like to support my creative efforts, feel free to leave a donation here:
https://buymeacoffee.com/jbcustomdesigns
If you are interested in a commercial license for this model or any of my others, please visit my Patreon page.
https://www.patreon.com/c/JBCustomDesigns
Membership
Interested in selling these models? Sign up for the commercial license.
License
You shall not share, sub-license, sell, rent, host, transfer, or distribute in any way the digital or 3D printed versions of this object, nor any other derivative work of this object in its digital or physical format (including - but not limited to - remixes of this object, and hosting on other digital platforms). The objects may not be used without permission in any way whatsoever in which you charge money, or collect fees.
Comment & Rating (73)