Search models, users, collections, and posts


Bio
Designer obsessed with functional prints that make life easier, cleaner, and faster. I focus on tools, holsters, mounts, organizers, and problem-solving designs that earn their space on your wall or your workbench.
I mix 3D printing with electronics, home automation, sensors, and the occasional over-engineered experiment. If it streamlines a process or reduces chaos, I’m probably prototyping it.
Always optimizing. Always organizing. Always iterating.
Achievements
MakerWorld Guardian
This badge has expired
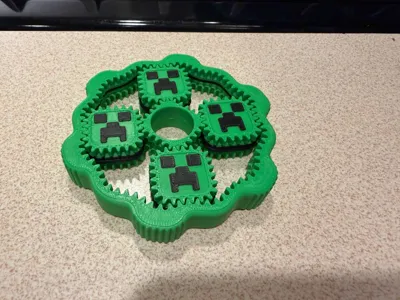
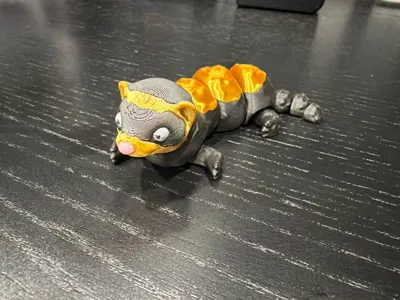
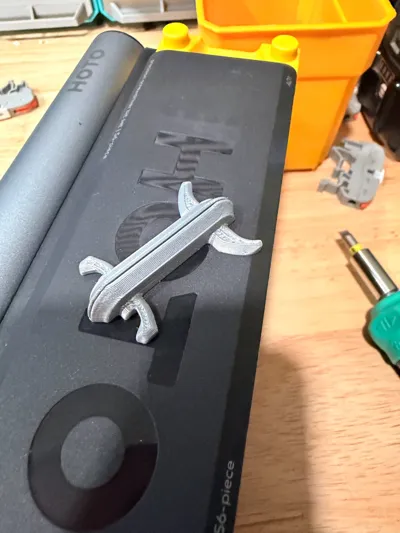
fun fidget my kids will live. thanks for sharing!
Share
0
0
0
very cool print. we did a calibration prior to printing to make sure we got the best result.
thanks for sharing!
Share
0
0
0
Share
0
0
0
New version of my Milwaukee M12 Installation Driver holster — now designed for the IKEA SKÅDIS pegboard. Quick-draw bay for the driver plus three top pegs for all the multi-head attachments. Same refined geometry as the wall and Multi-Board versions, just adapted for SKÅDIS. More mounting variants coming soon.
IKEA Skadis - M12 Installation Driver Mount
4
23
Share
0
0
0
this just surfaced the other day, the kids are always using it for some game! printed great, no problems and it’s pretty durable. we have had it around for a while and it still survives! lol
thanks for sharing!
Share
0
0
0
We have tried several versions of this and they always end up breaking after a few weeks. My kids are pretty rough generally and the space is small so accidents happen. These have been in use for about a month and are hanging in there very well, no breaks yet!
Share
0
0
0
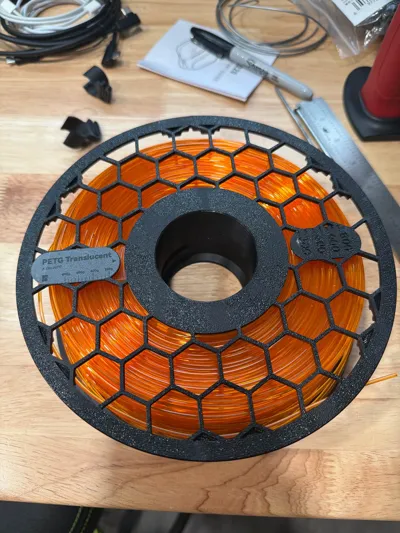
I live the built in filament clips. I have tried may spools and I really like this one. it doesn’t use a lot of filament and is sturdy. The clips that click the two spools together could be a bit tighter. with may of the other spools you don’t really need the lock. I found the hard way you need the lock with this one.
Share
0
0
0
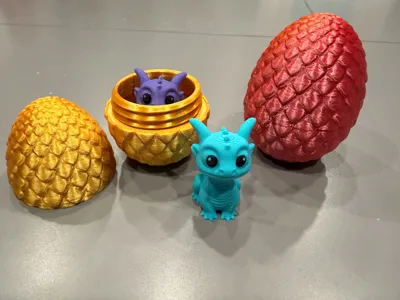
Fun print that my kids love. we used them for party favors for their birthday!
Share
0
0
0
it’s minimal filament and an easy print. very cool design. my kids love it! thanks for sharing!


Share
0
0
0
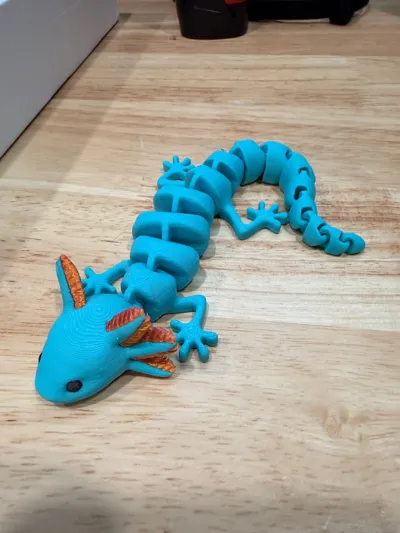
Really like the design. I love that the one is designed to stand up. I did have bed adhesion problems for the one with the short tail, I had to use a brim on that one (maybe I had a dirty spot on the plate, who knows…).

Share
0
0
0
Love the design and my kids live it. Bed adhesion is good.
Share
0
0
0
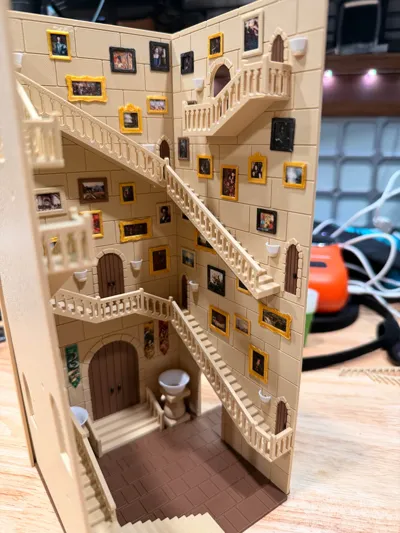
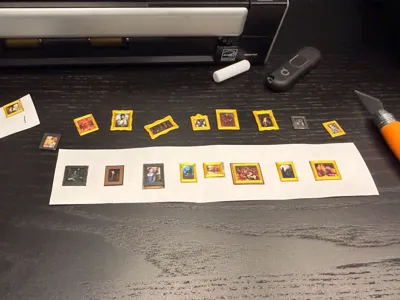
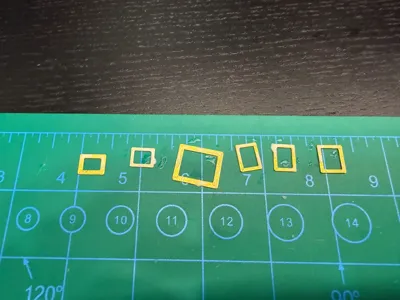
The detail is amazing. If you can print with a .2 nozzle you should. I really like the detail as to how the print and the photo layout match to make it easy to line up.
Someone here gave some amazing advice to glue the frames to the photo and then cut them out. This is 100% the way to go! thank you!

Share
0
0
0
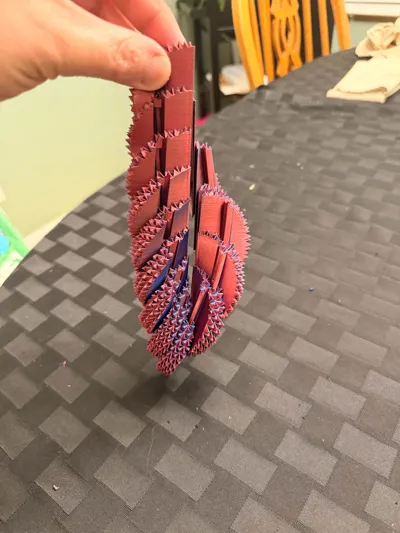
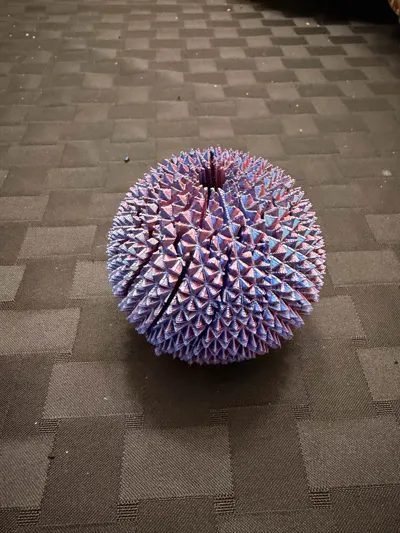
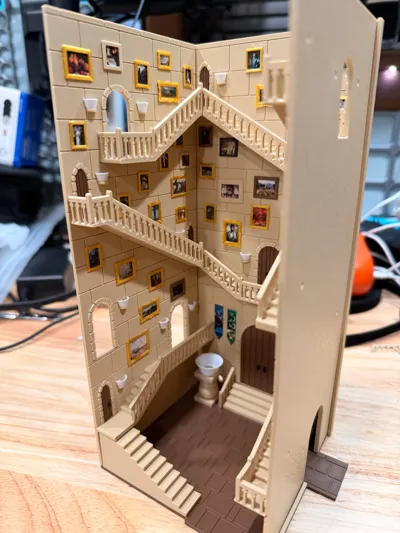
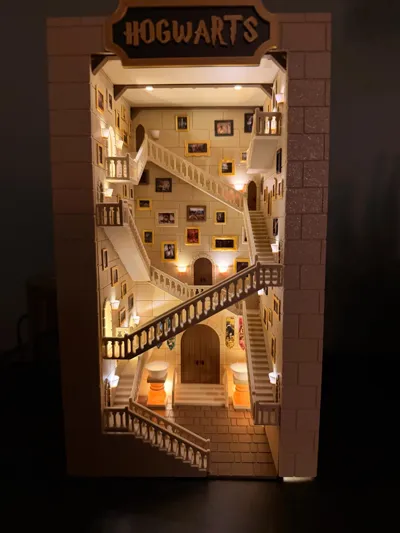
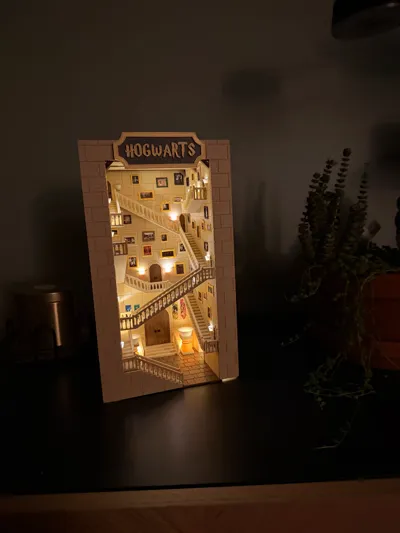
There is so much complexity to this design I can’t express how impressed I am with the print and quality of the design. For someone who is not very good at models I had my doubts going into it. the instructions were great and the pieces were different enough that it made it very intuitive! Thanks for sharing!


Share
0
0
0
it did the trick but I had a lot of warping on the left side at the edges of the bed on the x1c. I tried a few adjustments and was able to get it to level out. profile needs a bit of tweaking. thanks for sharing!
Share
0
0
0
My kids love it! Thank you for sharing! The print is super clean no adjustments needed.

Share
0
0
0
I like the designs, they are very nice. The way the support is constructed is great and the granular nature of the layering is also amazing. The only issue I had was breaking them while getting them plugged into the bag. We printed a total of 15 and 8 ended up on the bag. It's a little frustrating but I will tell you I am confident they will never fall off the bag! lol
If you are printing the daisy I found that getting them on the bag while they are hot will net you the best result, otherwise you will lose a few peddles. I have to larger ones Orange and Blue and Red and Blue and the stem kept breaking when I would install them. I had to shave the nub down a bit. Printing the nub in TPU would probably work the best. I have an H2C, I don't know why I didn't try that but that would probably save a lot of heart ache!
Either way thank you for the designs!


Share
0
0
0
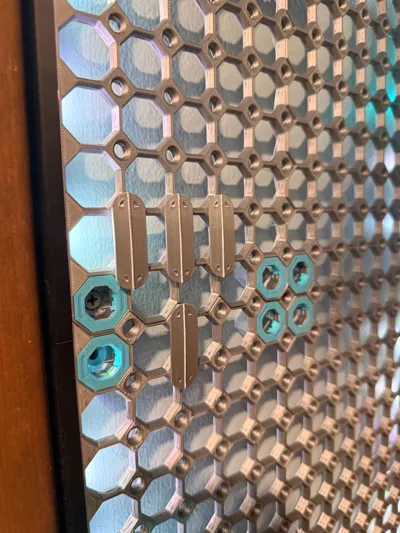
This is a filament label clip designed to snap onto ½” conduit. The inner diameter of the clamp is 17 mm so it fits tight, and the 1 mm slip gap is perfect for cardboard.
Most of the options I found were too rigid or over-engineered. I burn through filament pretty quickly, and I don’t always have the same colors - or even the same materials - on hand. I also don’t want to waste time digging through spools just to find what I need.
Filament Label Conduit Clip
0
1
Share
0
0
0
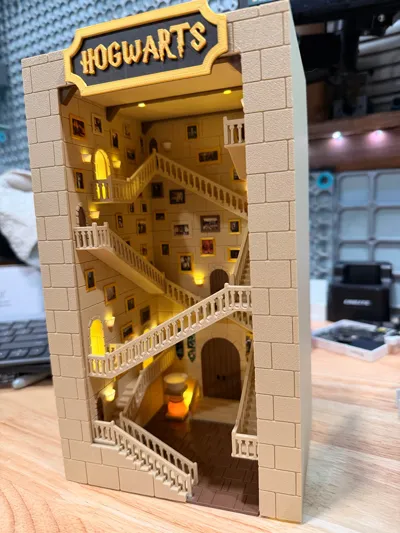
This design is so impressive. It was a bit of work to get it together but without question worth the effort! Thank you for putting the time in and sharing with the community!


Share
0
1
0
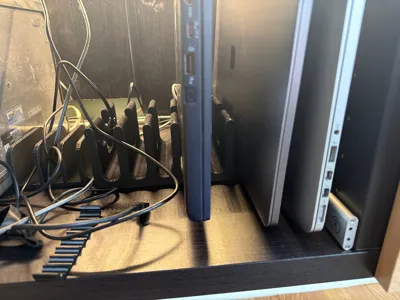
Awesome mount! I love that it keeps the all together but still allows you to pull them individually! great design. initially I was trying to find something that worked with the clips but this solution is better based on how they are used. I also used pegs to make mounting a bit firmer. Thank you for the effort!

Share
0
0
0
Great mount. I went with the hooks to mount to the board. You can hear the suction (no pun intended) as you put the vacuum into the holder. Now I need to figure out a way to store the tips!


Share
0
0
0