
Combination Square


Print Profile(2)


Description
Combination Square (also known as a Combo or Sliding Square)
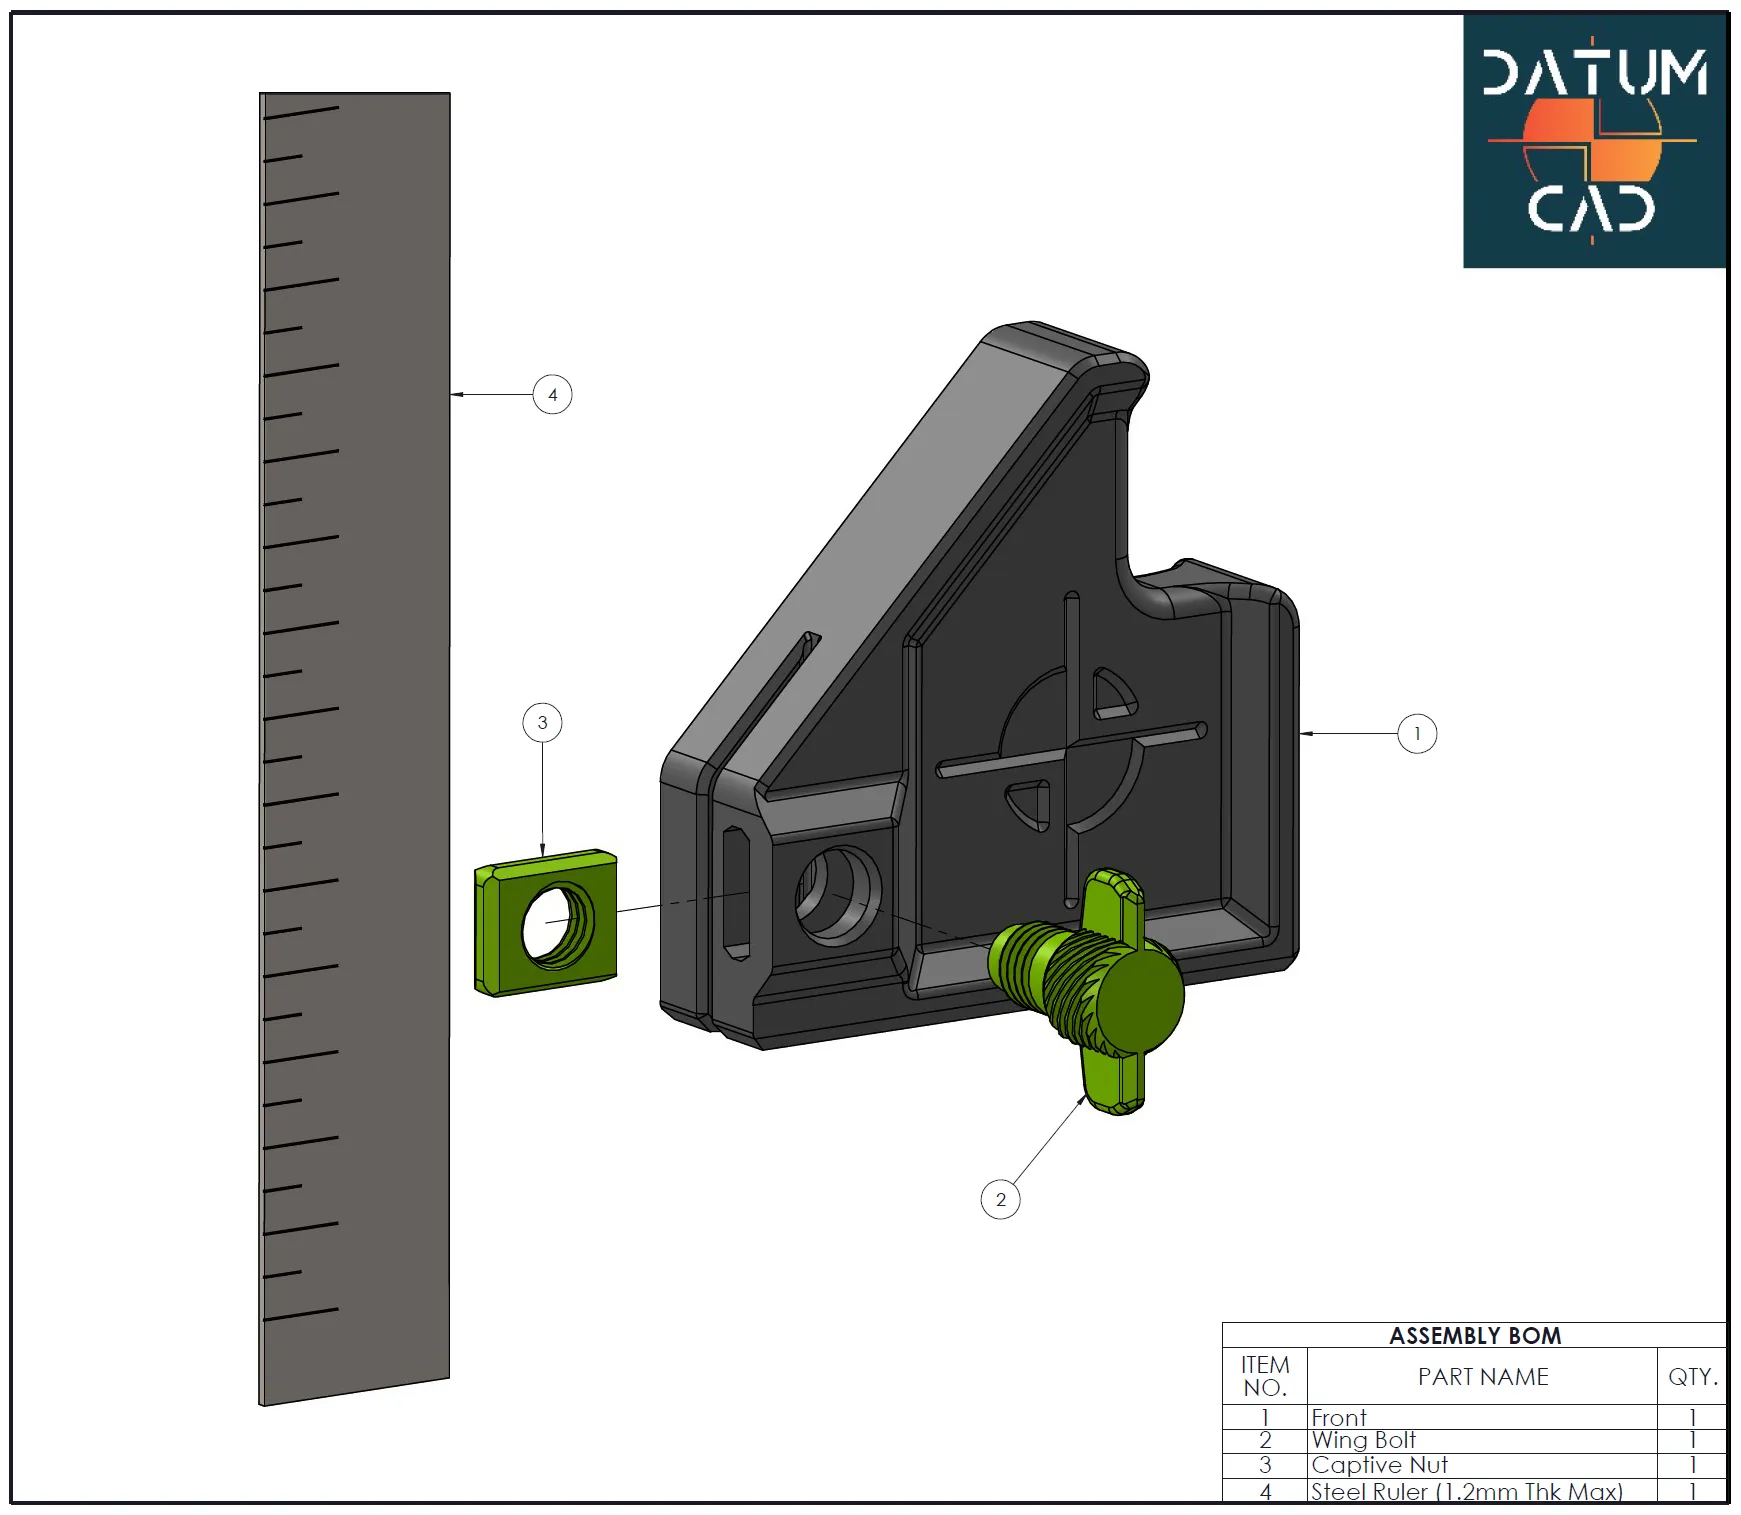
It can be quickly attached to ANY steel rule up to a max. thickness of 1.2mm.
This is an extremely versatile measuring & marking tool with many uses, but the main ones are shown in the images here.
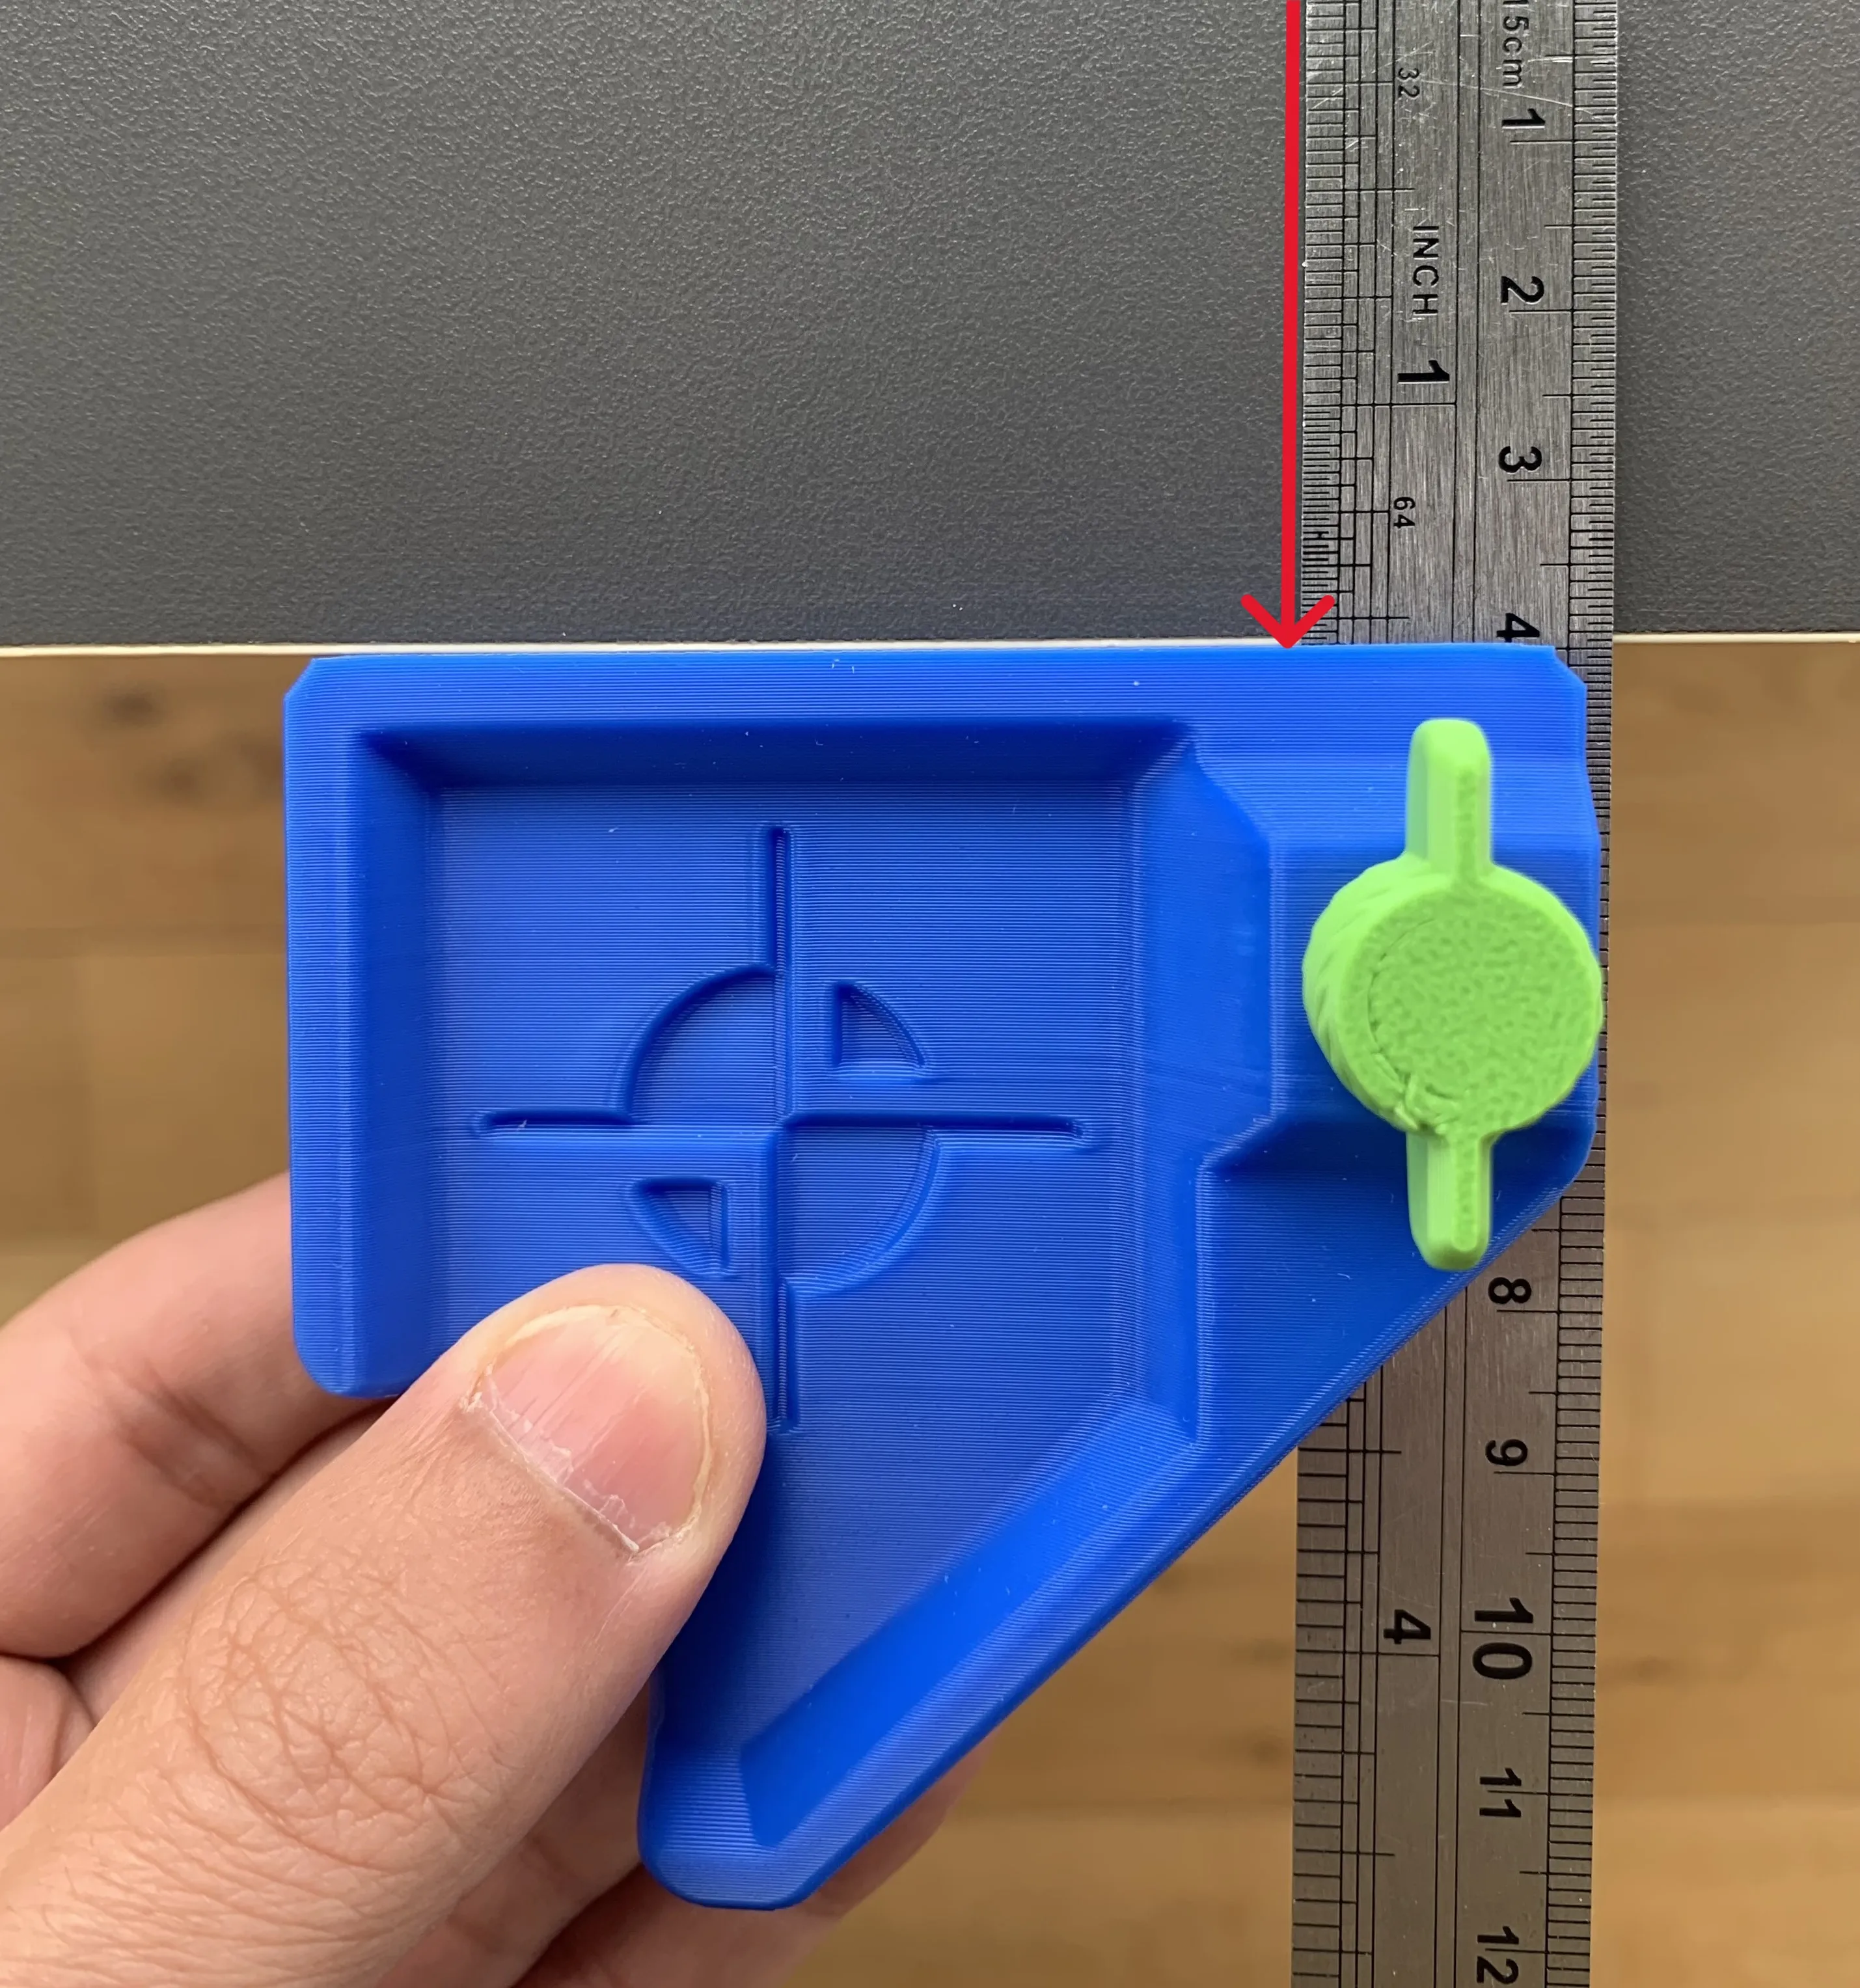
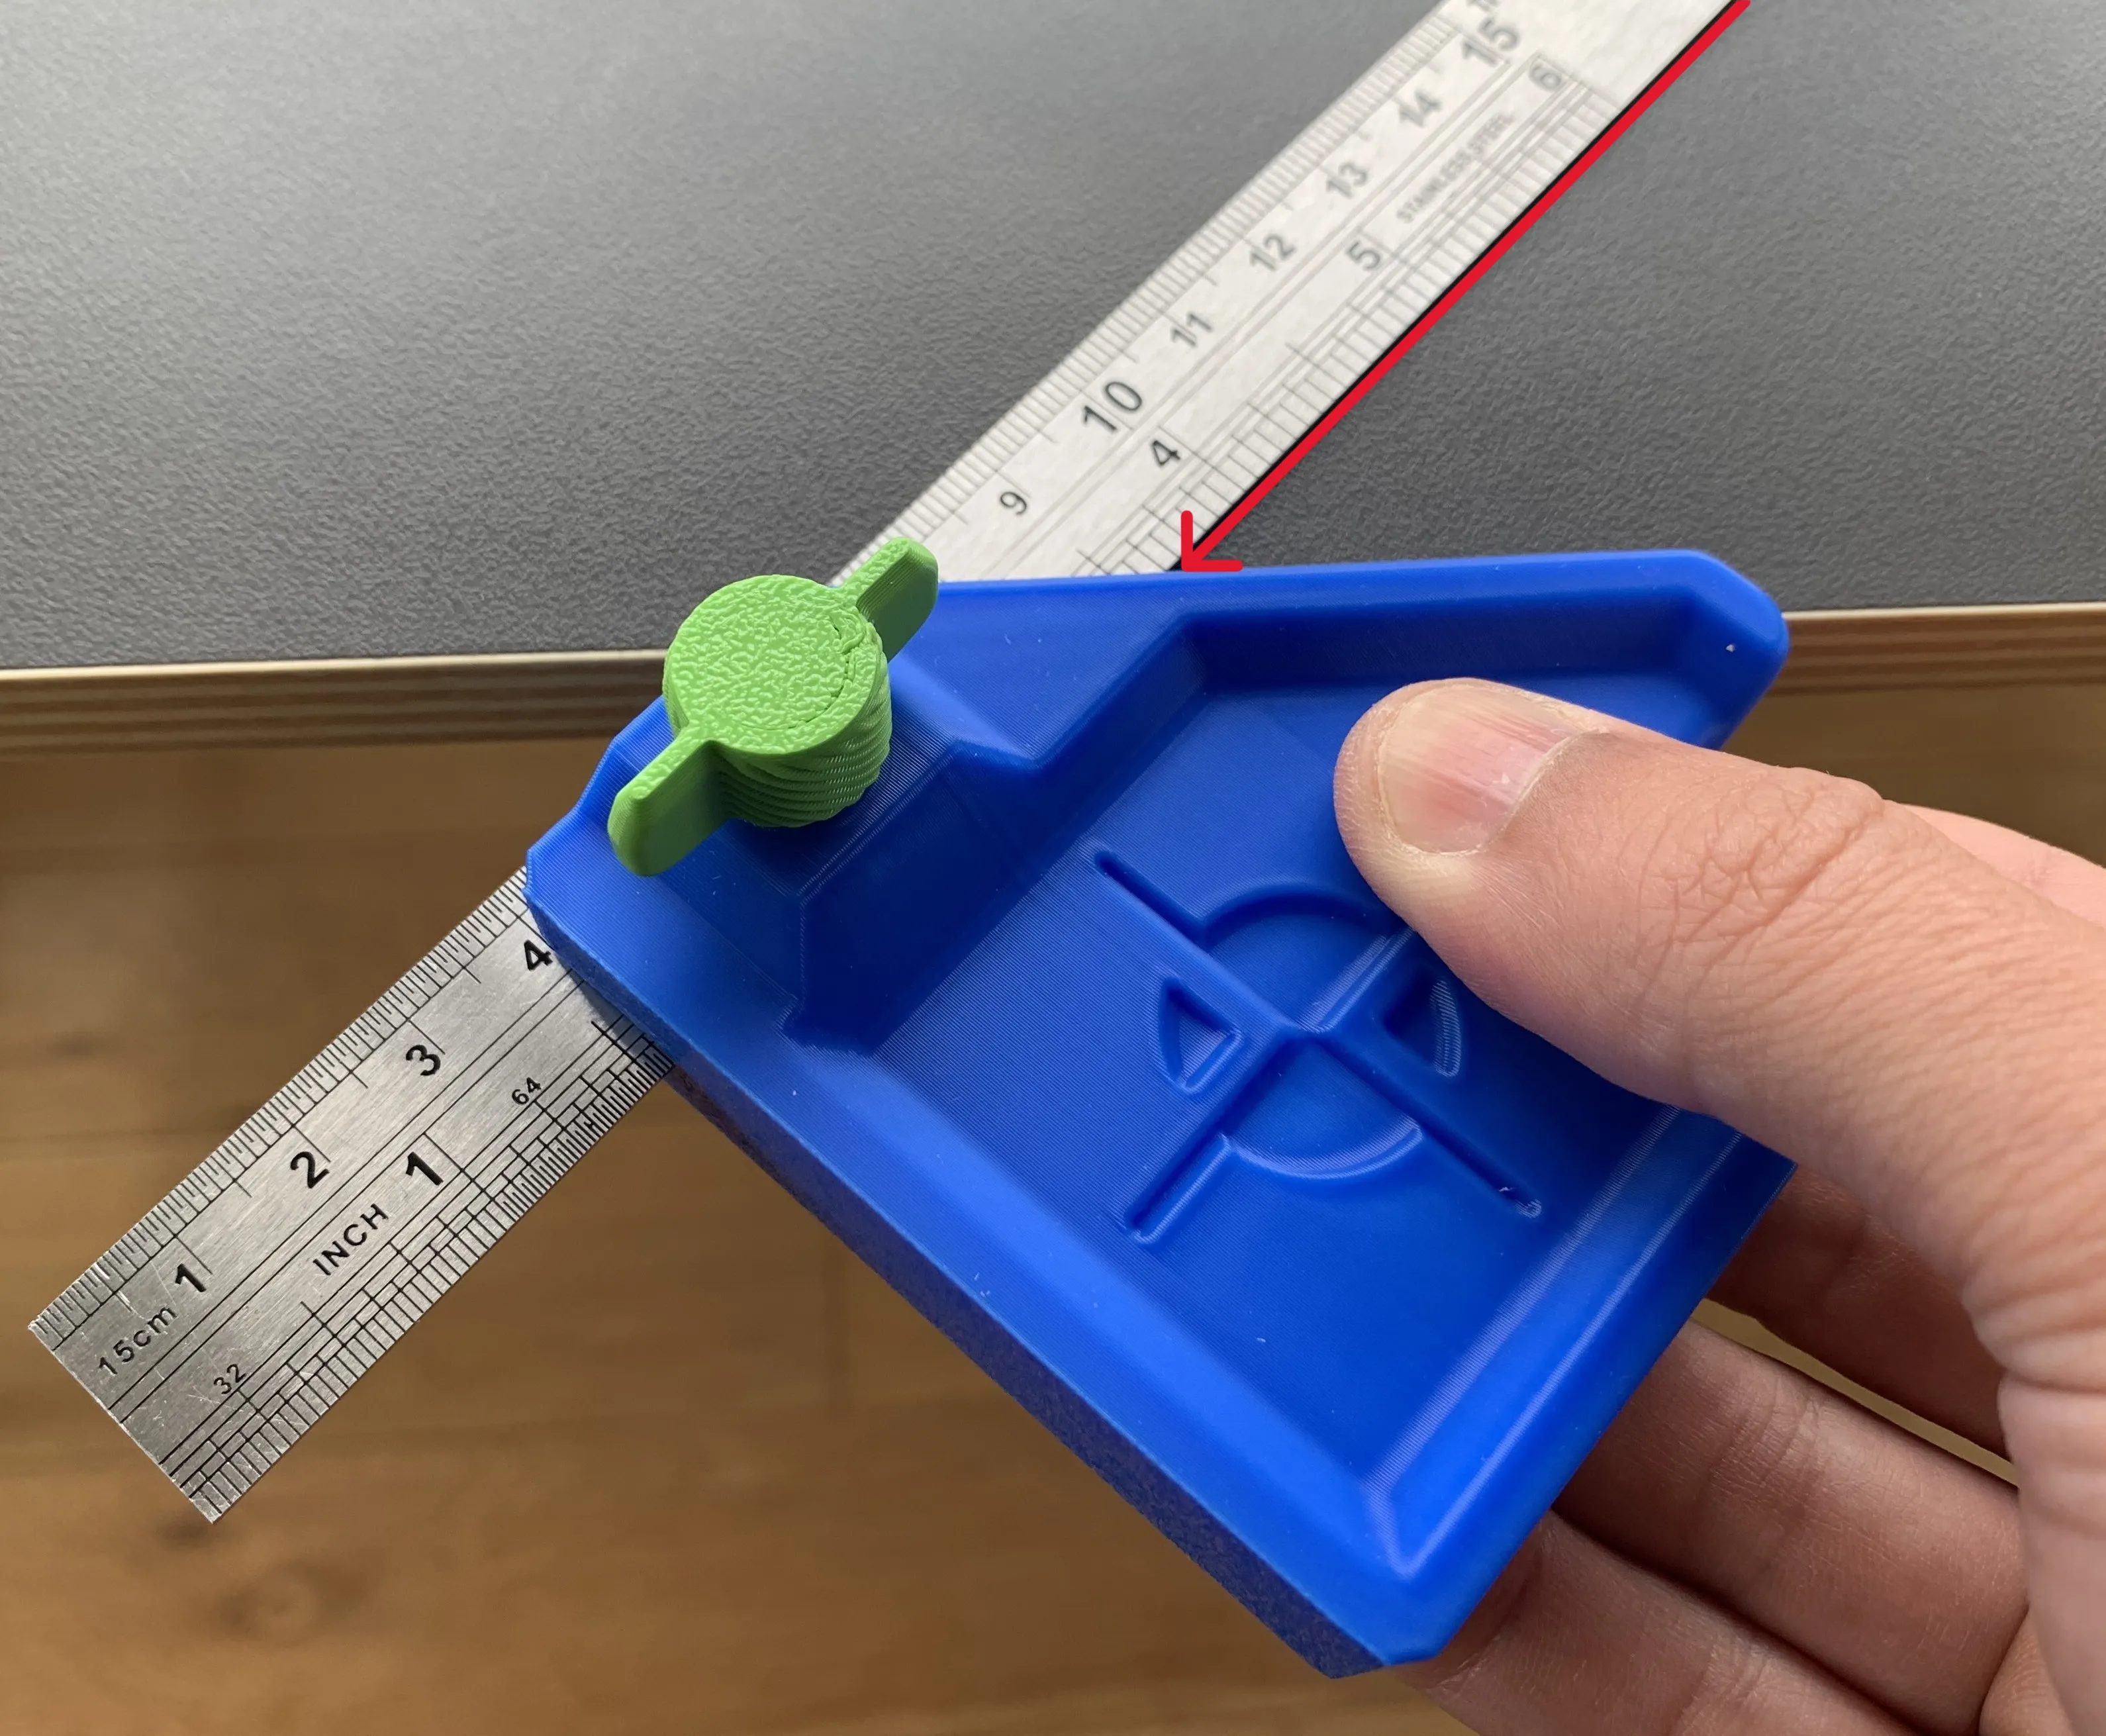
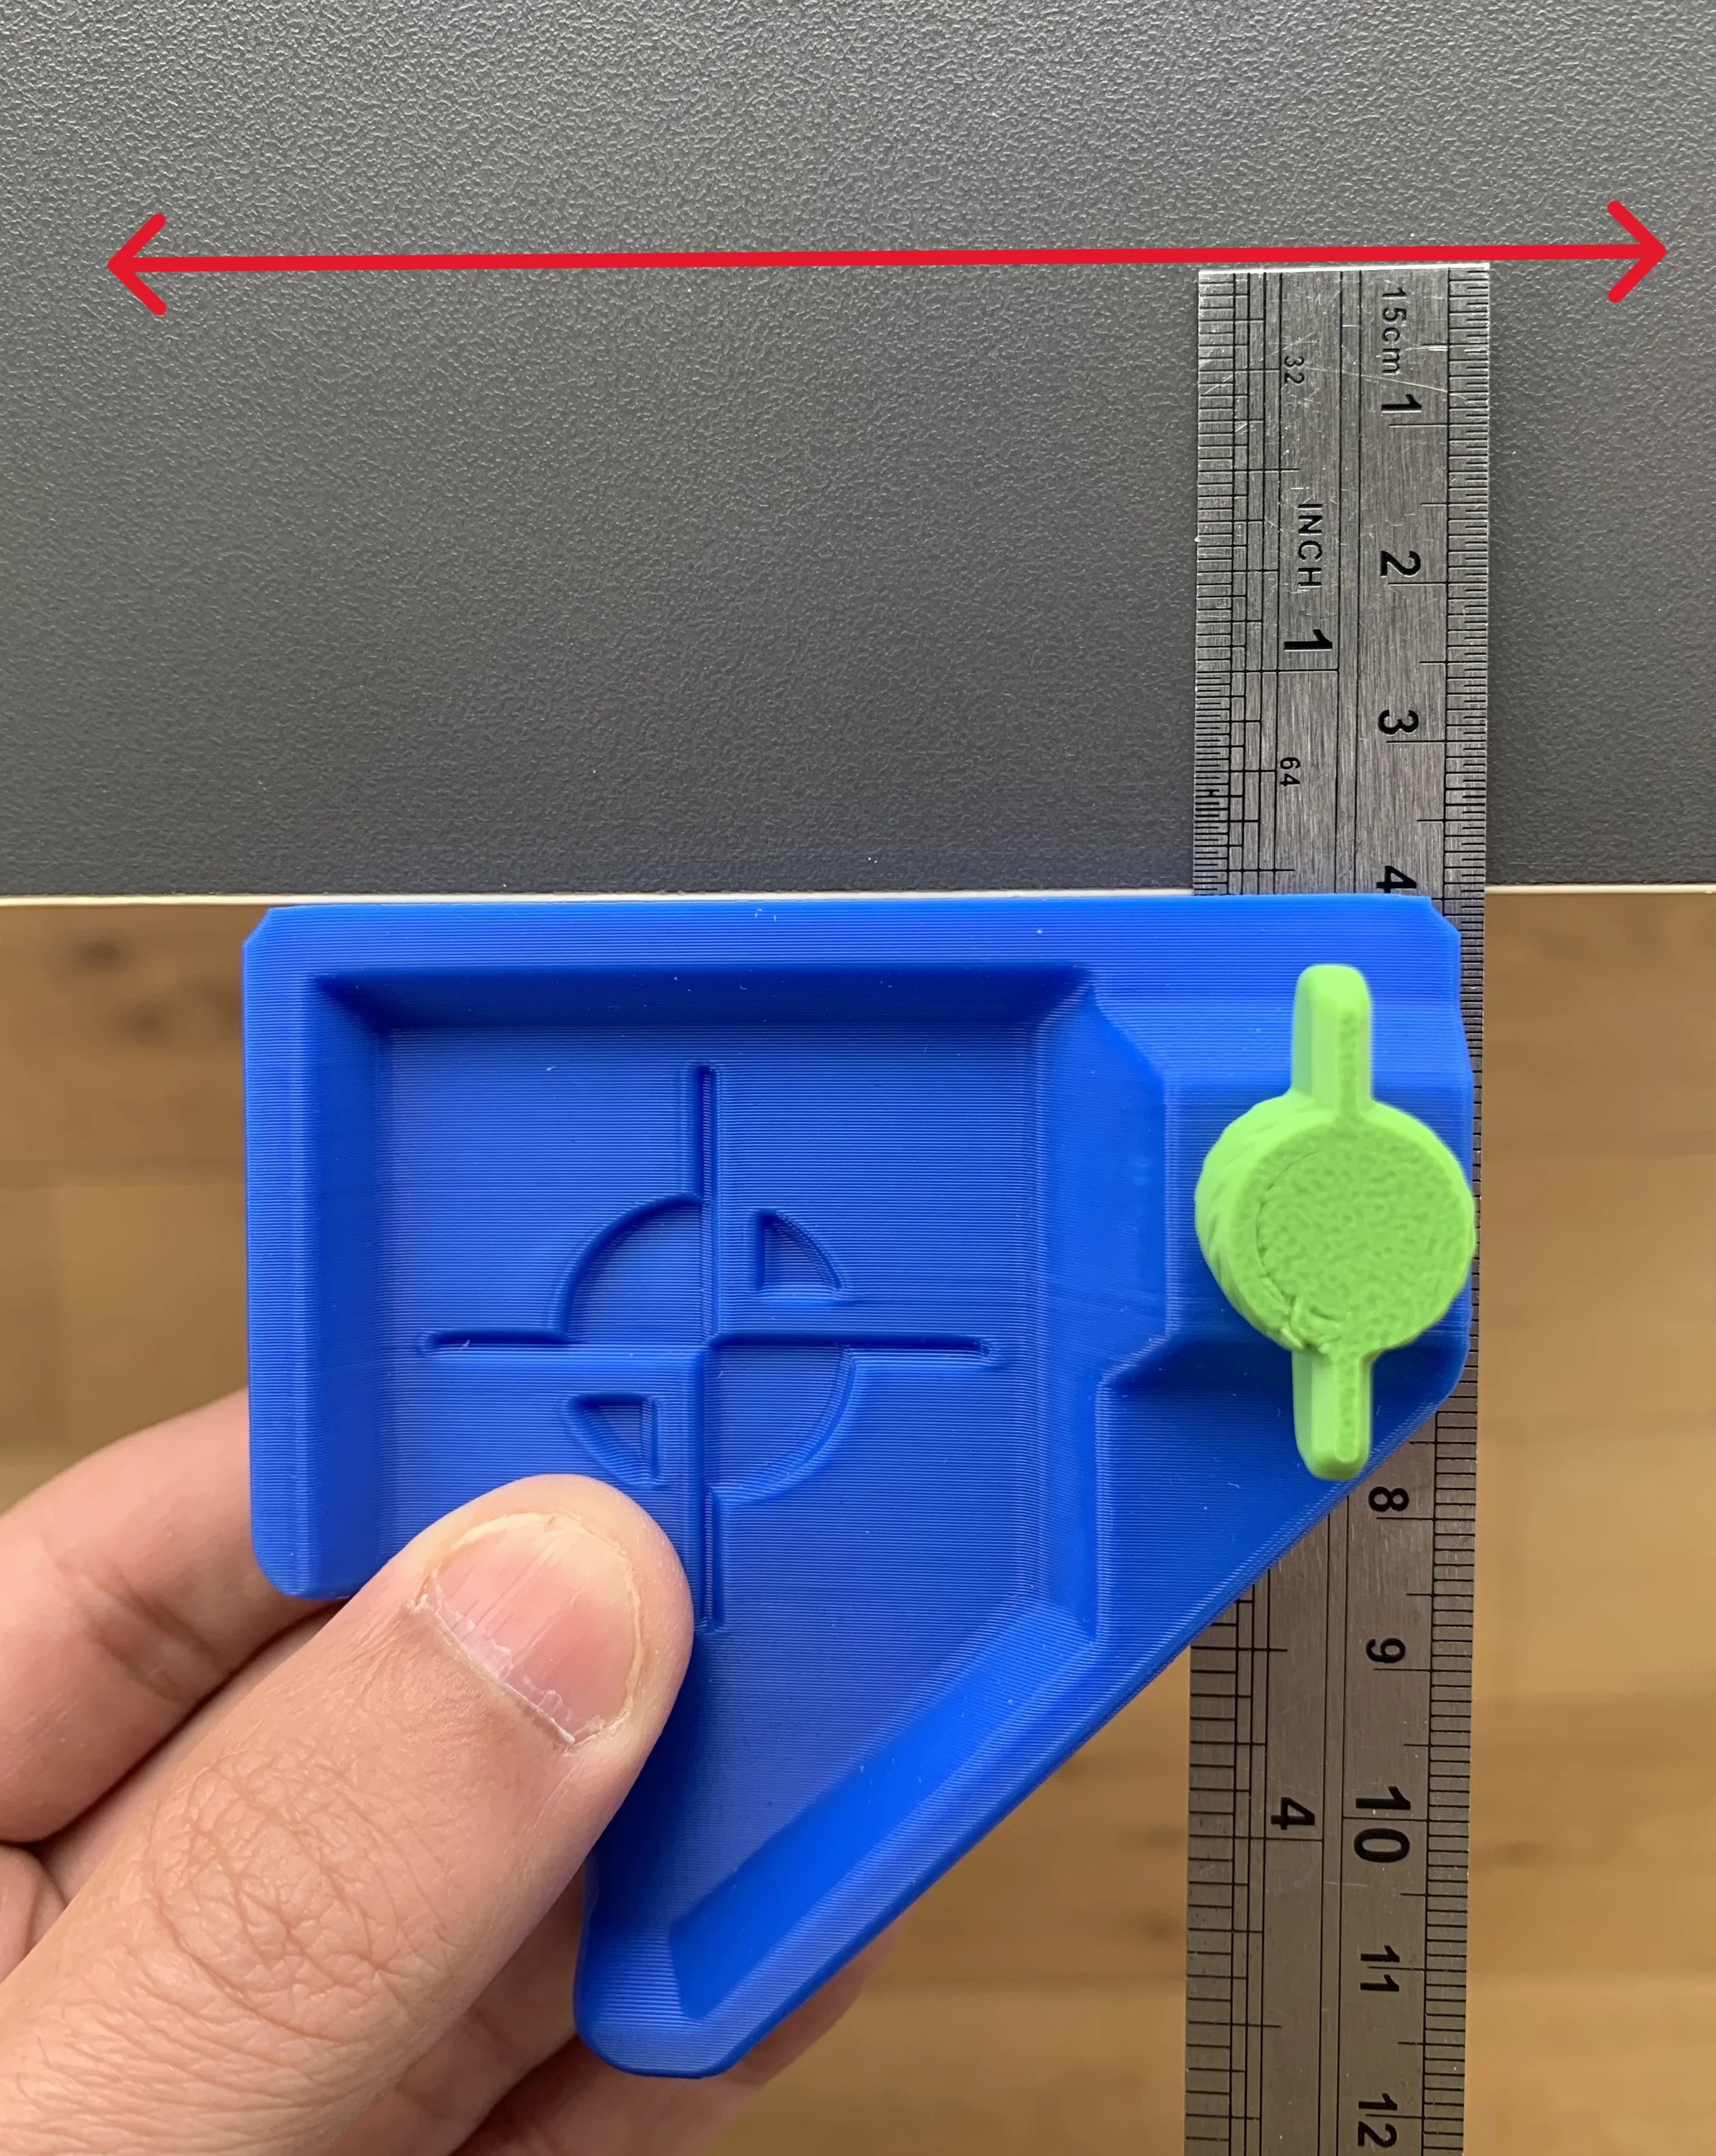
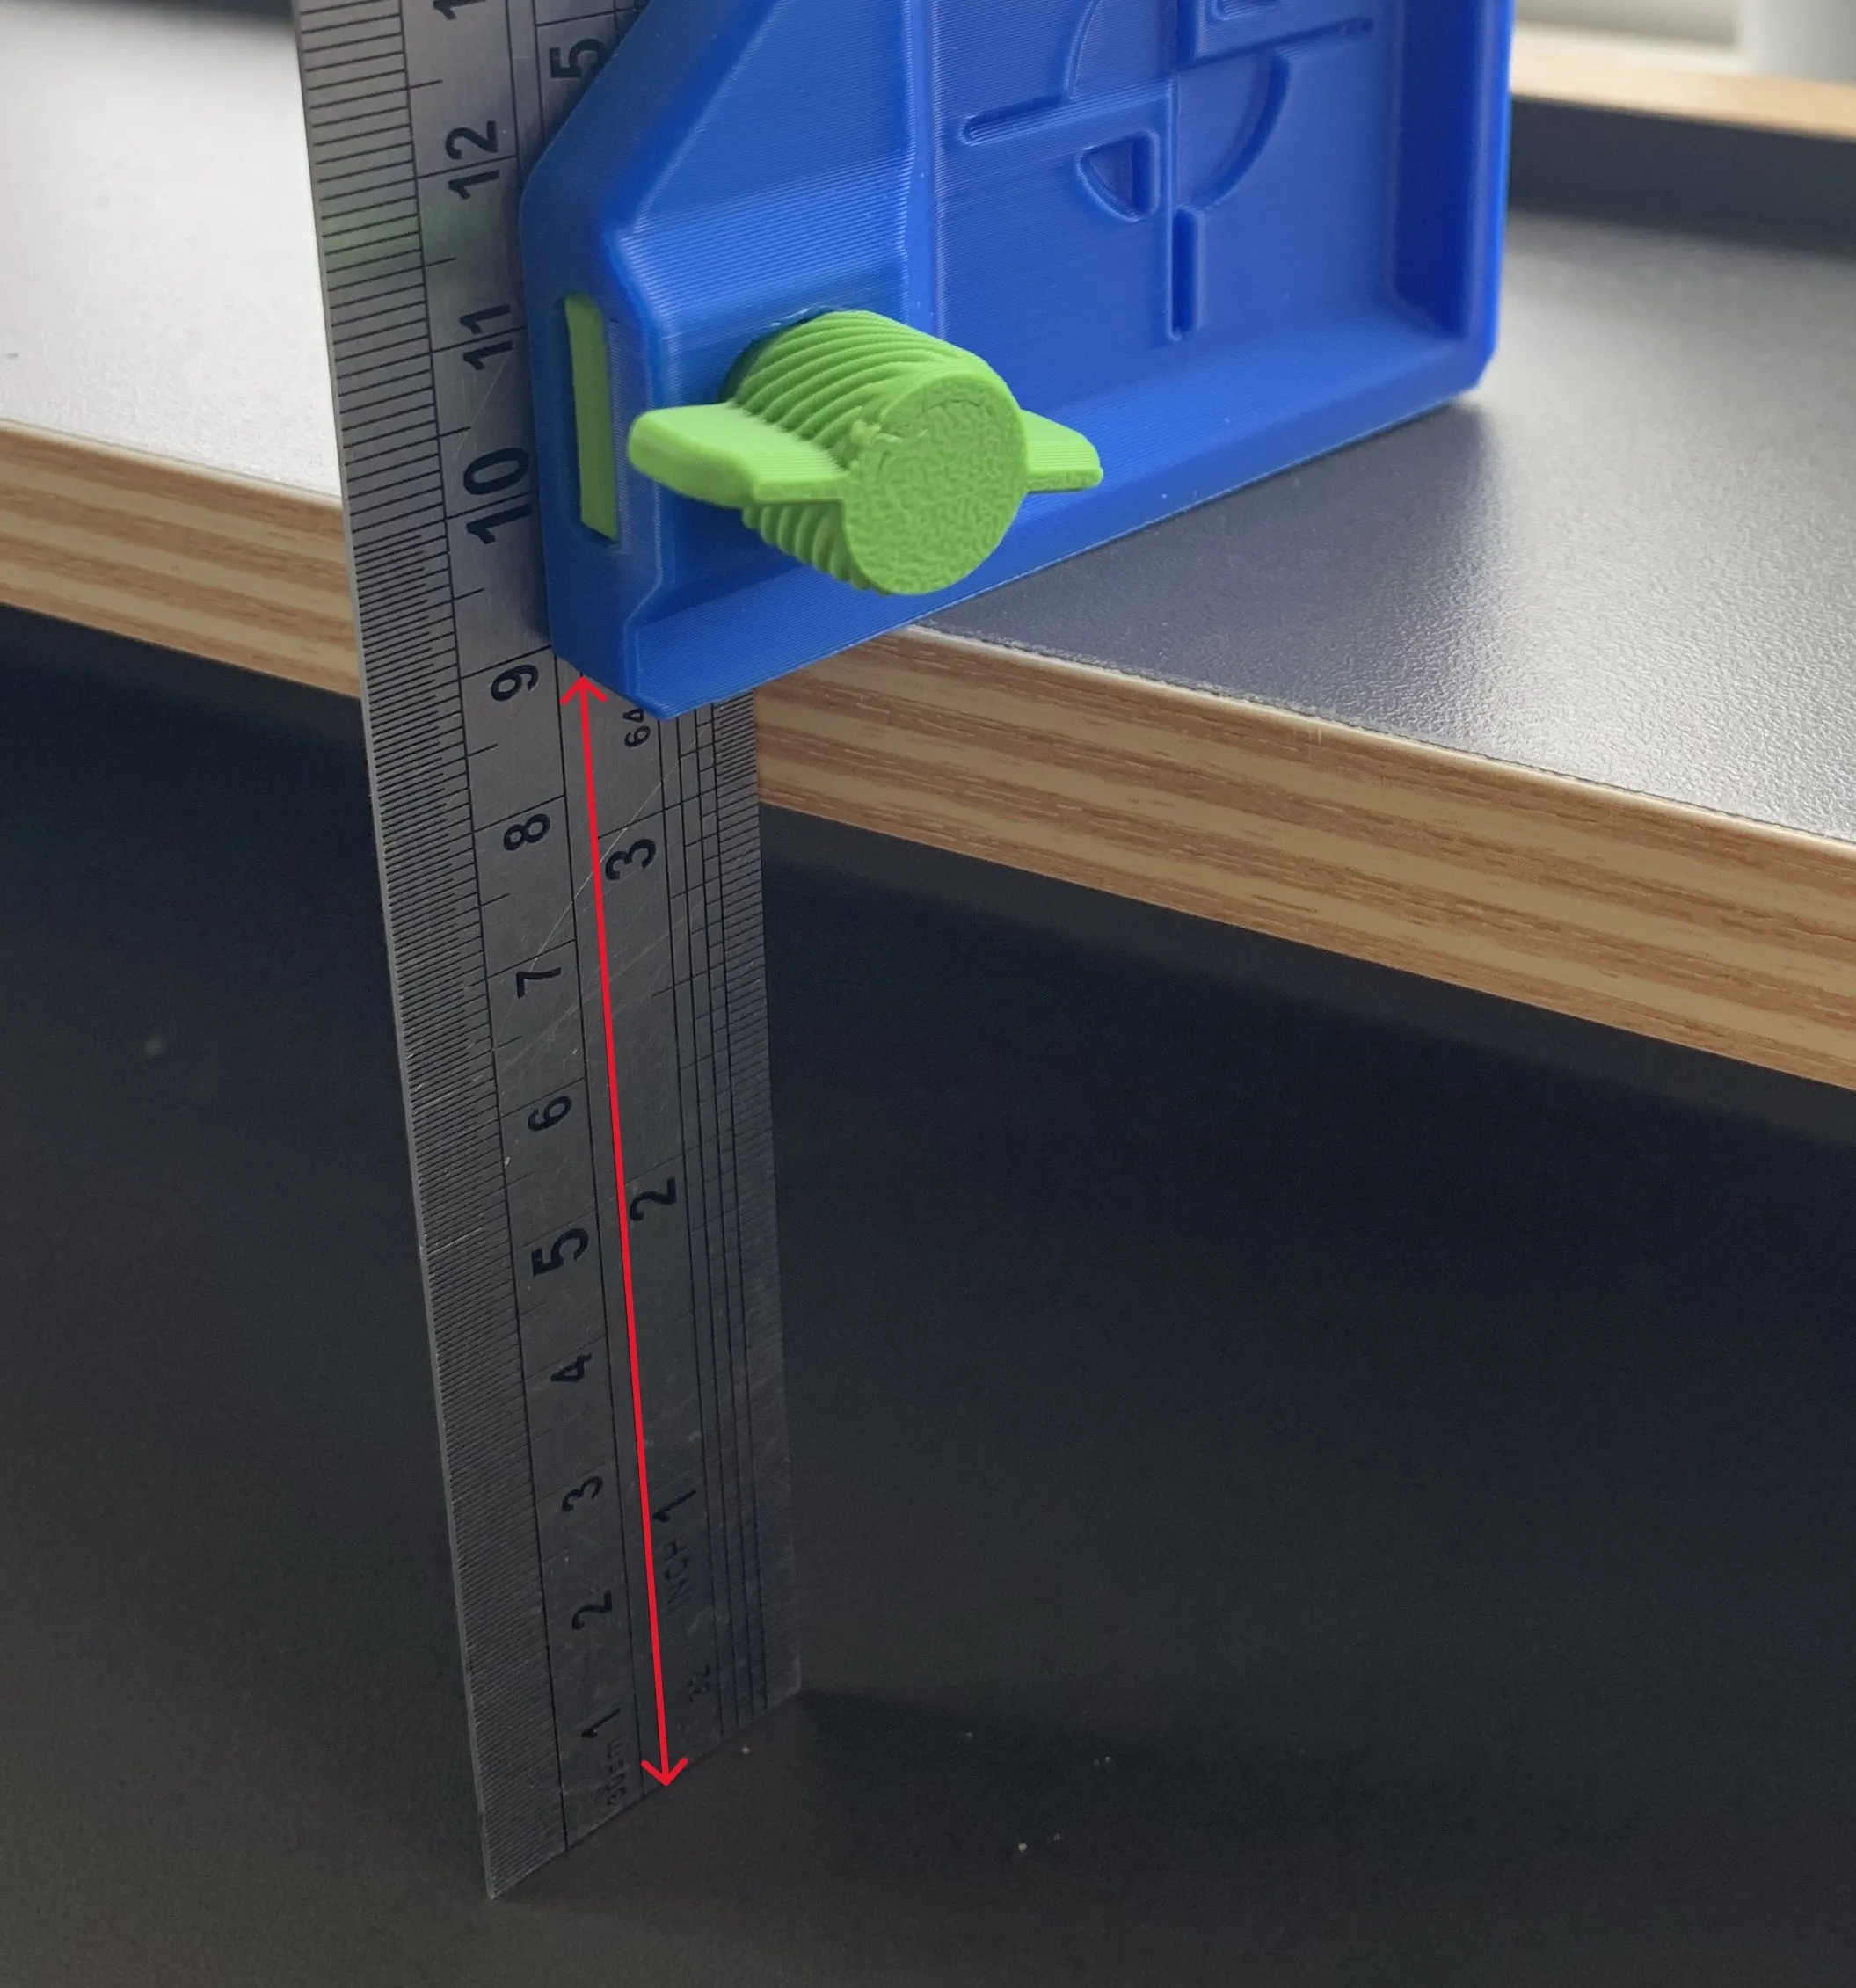
I particularly wanted this design to be:
- fully 3D printable
- versatile enough to accommodate existing steel rules, and so avoiding a printed rule component (which could never match in terms of resolution & accuracy).
- Robust! and so able to stand to a workshop environment
- Hold a steel rule securely with easy to operate clamping mechanism.
This model is the result & I am really pleased with how it turned out. Super pleasant feeling in the hand in terms of tactility (but also its weight), accommodates all my steel rules, and its solid as a rock!
Zero support required, and as mentioned, no need for metal fasteners as the wing bolt & captive nuts are printed too. Everything is printed with 4 to 5 walls for strength and so are more than up to the job.
Assembly: Simply insert the captive nut in the slot on the main tool body. This should seat all the way to the back of the slot and align concentrically with the bolt hole. Then just pass the wing bolt into the hole and screw into the nut. See exploded assembly BOM.
Insert Steel Rule of your choice & use: The rule can be set into the tool at any location along its length. Just make sure the inserted edge is seated fully back in the slot to ensure it is held square to the tool……. and then tighten the wing nut to clamp in place. You may need to cinch the wing nut down a little to get a 100% secure fit, but that's fine, this is printed strong!
I hope this increases measuring / marking bliss for you like it has me!
Boost Me (for free)
I love designing for 3D printing, please take a look at all my other models which are all free (and will always continue to be)… if you value any of the downloads enough & are able to support me, then please consider buying me a coffee to keep me going! www.buymeacoffee.com/DatumCAD and be sure to BOOST this model if you like it! Thank you.
Boost Me (for free)
I love designing for 3D printing, please take a look at all my other models which are all free (and will always continue to be)… if you value any of the downloads enough & are able to support me, then please consider buying me a coffee to keep me going! www.buymeacoffee.com/DatumCAD and be sure to BOOST this model if you like it! Thank you.
Documentation (1)

License

You shall not share, sub-license, sell, rent, host, transfer, or distribute in any way the digital or 3D printed versions of this object, nor any other derivative work of this object in its digital or physical format (including - but not limited to - remixes of this object, and hosting on other digital platforms). The objects may not be used without permission in any way whatsoever in which you charge money, or collect fees.


Comment & Rating (121)