ARC-170


Print Profile(1)
Description
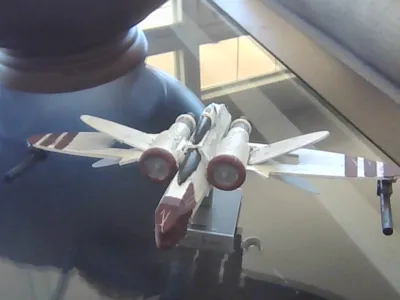
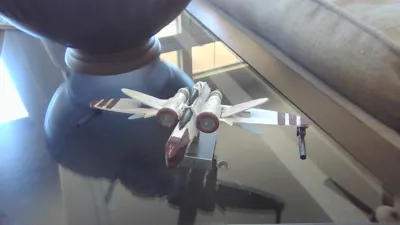
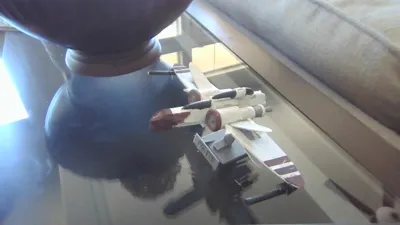
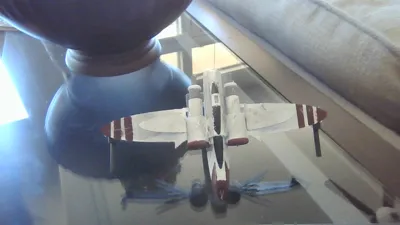
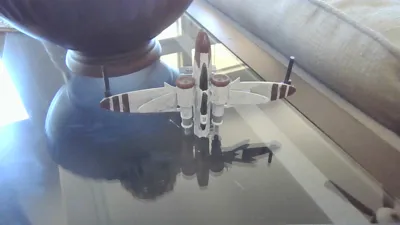
The ARC‑170 starfighter is the Republic Navy’s heavy‑hitting long‑range assault craft, built for deep‑space patrols and frontline dogfighting during the Clone Wars. With its distinctive s‑foil wings, reinforced fuselage, and triple‑crew layout, it was designed to punch through Separatist lines and survive engagements that would shred lighter fighters. Its forward‑firing laser cannons, wing‑mounted heavy cannons, and rear‑facing tail gun gave it 360‑degree combat coverage, while its hyperdrive and astromech socket allowed it to operate far beyond carrier support. In the lore, it’s considered the spiritual ancestor of the Rebel Alliance’s later X‑wing—bulkier, more rugged, and built for the brutal industrial warfare of the late Republic.
On the battlefield, ARC‑170s were flown by elite clone pilots and saw action in nearly every major campaign of the war. They spearheaded the Republic’s assault on Coruscant during the opening of Revenge of the Sith, escorting Jedi starfighters through swarms of droid interceptors. Their durability made them ideal for long‑range reconnaissance, formation strikes, and heavy escort missions, often operating in tight three‑ship flights. Even as the Empire rose, the ARC‑170 remained a respected and feared starfighter—its combination of firepower, range, and crew coordination marking it as one of the most formidable starfighters of its era.
To assemble, first glue on the copilot and gunner's seats on to the top. Then, glue the widest section of the engine to the main body on each side. Make sure that the holes for the wings are level and facing outward. Once you have glued on the engines and upper windscreens, slide the two tabs on the wings into the two slots on the engines. Depending on your model's size, you may need to apply glue in the engine slots before putting the engines in. After that, glue on the four smaller wings to the top and bottom of each big wing. Finally, put the guns on the end of the large wings. If you want to paint it, it doesn't really matter whether you paint it before or after assembly. In the displayed image, it was painted after. Once assembled, glue the bottom onto the stand. I just used hot glue for the whole project, but it would probably be better (and take longer) with model glue or something.
License
You shall not share, sub-license, sell, rent, host, transfer, or distribute in any way the digital or 3D printed versions of this object, nor any other derivative work of this object in its digital or physical format (including - but not limited to - remixes of this object, and hosting on other digital platforms). The objects may not be used without permission in any way whatsoever in which you charge money, or collect fees.
Comment & Rating (0)