Search models, users, collections, and posts


Achievements
MakerWorld Guardian
This badge has expired
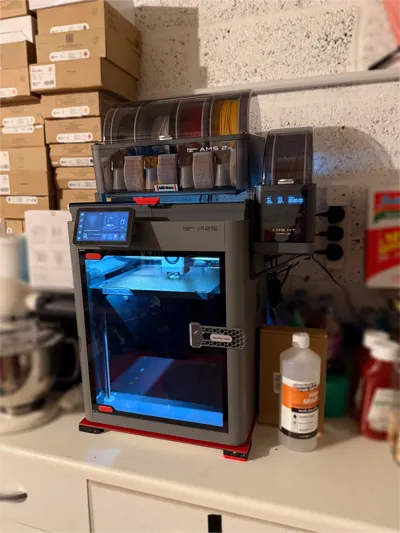
Printed in PETG-CF to match the riser. Printed perfectly. I printed the version with the upper hooks but found the fit to be snug enough not to need them. Lightweight and looks great.
Share
0
0
0
Great idea but not perfect as the filament sometimes "sticks" or jars as it tries to thread through.
Share
0
0
0
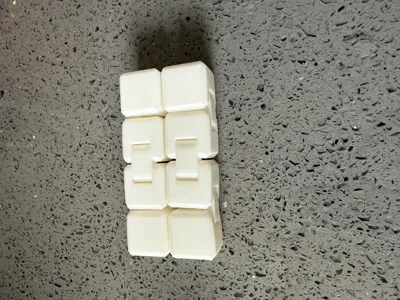
There are many holes in the base of the P2S and many sets of covers for them. However, most of these sets tend to ignore the 3 small screw holes next top the z-axis so I thought I'd print my own.
Internal Bottom Screw Hole covers
3
12
Share
0
0
0
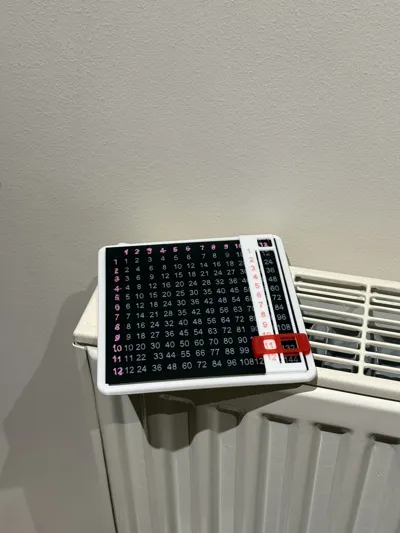
Reduced size to 75% for pocket-ability and increased to 12x table (what the UK curriculum tends to require).
Still took many attempts to print (usually adhesion or warping issues) but got there in the end.
Nicely designed and my little one loves it.
Printed in PLA with 0.12mm high quality setting.
Share
0
0
0
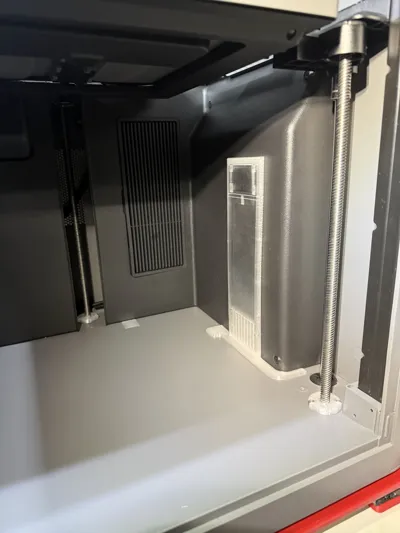
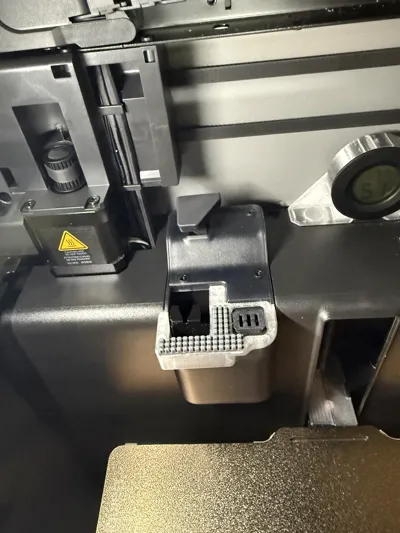
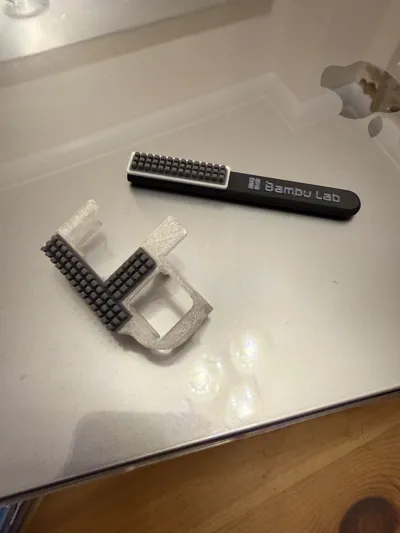
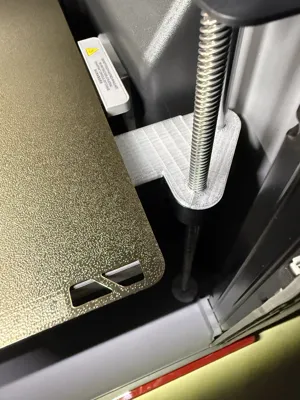
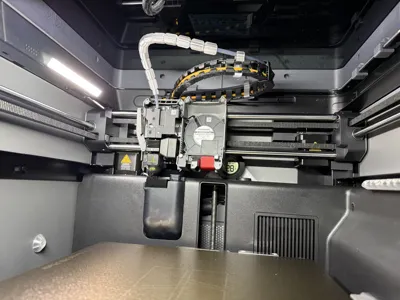
I also combined it into 1 part which was then printed on it's side. Initially used "normal auto" support but they're so difficult to separate it actually ripped the channel into 2!!! I then used "tree auto" instead and they're much easier to remove at the end but still difficult (one single lower blade edge broke which I've superglued back together so it's fine but be careful).
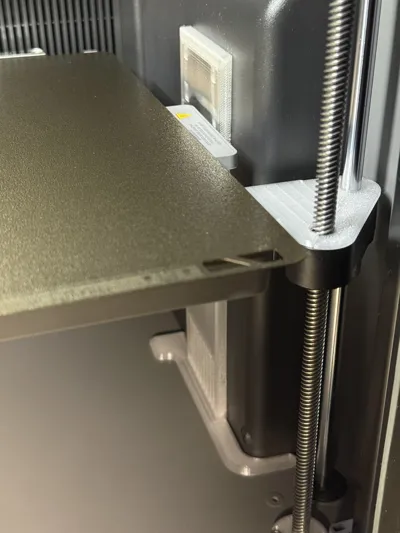
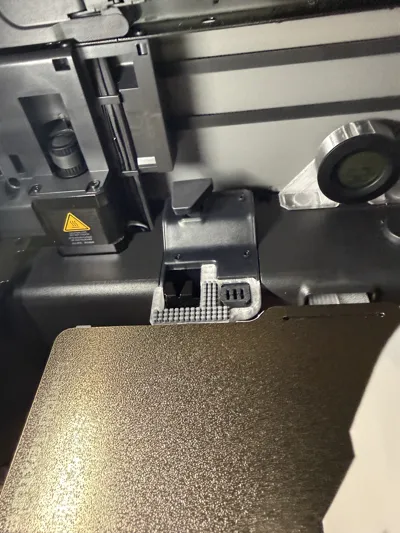
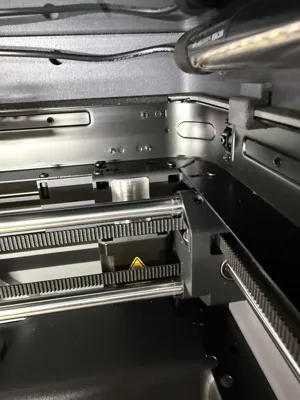
As you can see, clearance is good and fit is VERY snug (thought I might end up snapping something but it went in in the end - I don't think it's coming out for anything though).
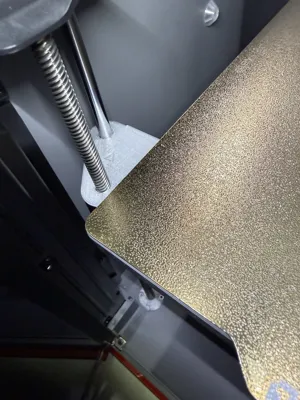
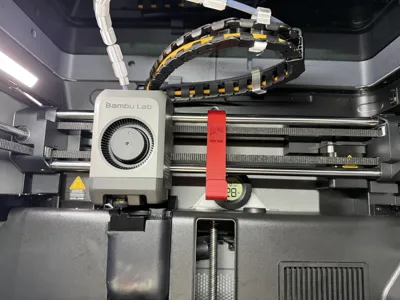
Put bed at max height to install and then tested by running fan at 100% - can confirm no leaks around edges and lower blast of uniform air. I previously had a simply cover which diverted the hot air immediately downwards but then had issues with uneven bed temps and warping so am hoping this channelling (rather than simple deflecting) will work better. Also like the idea of the bottom plate acting as 2 hole covers - very well designed.

Share
0
0
0
Excellent. I printed the extreme version in PETG and apart from removing the supports (which was tricky as it left the underlying surface very rough - which is why the lower lip looks raised but if you follow the top of the wiper they're sitting perfectly flat), everything is sized perfectly with good clearance. Superglued the wipers and left overnight to set as per recommendation. Most importantly, works really well and has definitely reduced the amount of debris lying on the heat bed. Recommended.

Share
0
0
0
Great. Fits the mini wiper perfectly.

Share
0
0
0
Great idea but far too thin and flimsy. Like others I thickened them to 1.9mm and they still fit great...
Share
0
0
0
Won't fit Swann Morton handles. When scaled up for correct hole size, whole item becomes far too large. Have resorted to using individual scalpel caps instead.
Share
0
0
0
Excellent. Printed well in clear PETG and fit snugly.

Share
0
0
0
Great design but far too thin for me. I thickened them to 1.9mm and they're more robust but still with great clearance.
I only printed the front 2 (already had another rear axis one) and they were quick in PETG (mono colour with no writing).
Share
0
0
0
Excellent - printed with supports then cut myself trying to remove them :). Once completed, they are one of the few covers that snugly fit my SwannMorton blades. Great
Share
0
0
0
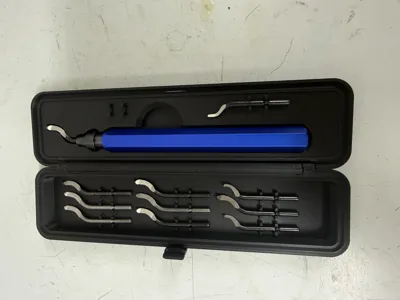
Nice case. Needs some modifications to function well for me:
1: the hinges needed some material filing off to allow the parts to snap together without breaking anything
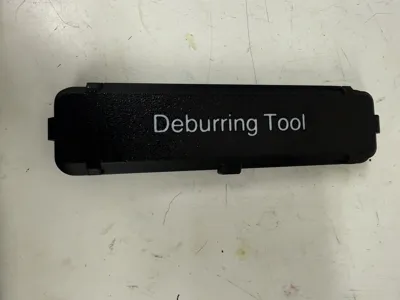
2: I put the label back on otherwise would just have another nameless box in the drawer (0.32mm = 2 layers thick, text modifier)
3: I had to Dremel a significant amount of material away from the inside “bump” on the clasp otherwise it’s very difficult to open/close without significant force. It’s now much easier/smoother so a slightly smaller bump helps
4: fits the body but the cutout is only shaped for one type of attachment. If you have a variety of them (e.g. larger or straighter) then maybe a roomier/more universal cutout that fits all attachments would work better?
Otherwise works really well once those mods are done, is sturdy (keeps the tool safe) and looks good.
Share
0
0
0
Printed perfectly first time (I ticked the support box which it automatically added to the inside hinge areas and manually added Brim Ears to the four corners).
Hinges a bit stiff at first bit quickly work loose - my kid loves it.
Share
0
0
0
Brilliant. I have deep pile carpets so increased the vertical height by 50% and it works perfectly.
Share
0
0
0
Defeated by my 18month old within 1minute. For deep pile carpets, it simply gets pulled out or it just sinks in and the door rides over it.
I think it either needs to be taller or have an upright notch at the "hole" end to stop the door going over.
However for hard floors it's fine provided the floor isn't too smooth (e.g. concrete floor like in garage is ideal).
Share
0
0
0
Excellent.
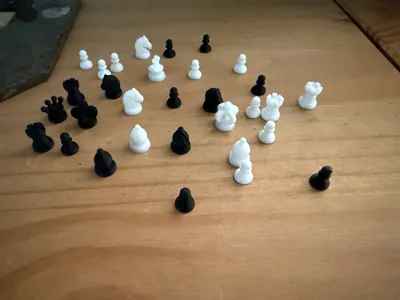
One of the few chess piece sets with STANDARD pieces that aren't so ornate that you spend half the game trying to figure out what you're moving. Easy to identify, easy to use.
Trying to teach my little one chess and these pieces will make it much more straight forward.
I printed at 0.16mm High Quality, used a Brim and printed perfectly on 2 separate plates (one for white, one for black). Scaled down for my small board and printed quickly - highly recommended.
Share
0
0
0
Good model. At the settings it comes with (0.2mm standard) it doesn't print the numbers/markings as legibly as in the photos. I would suggest maybe 0.16 or 0.12mm?
It's also a bit weak at the join. Would increasing the fillets to 3 from 2 maybe help here? I superglued mine and clamped in a vice to ensure stable fit. Once done, it works very well.
Able to measure both my children's feet and appears to be accurate. Thumbs up.
Share
0
0
0
Great print. Reduced mine to 2mm thick and printed in white PLA so the children can colour them in.
Share
0
0
0
Share
0
0
0