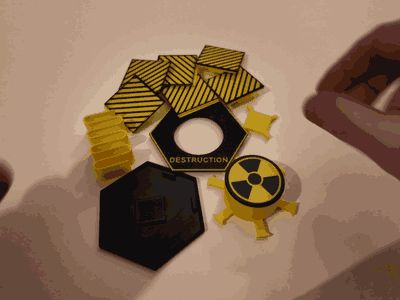
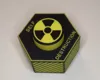
Self-Destruction Prank Button


Print Profile(3)


Description
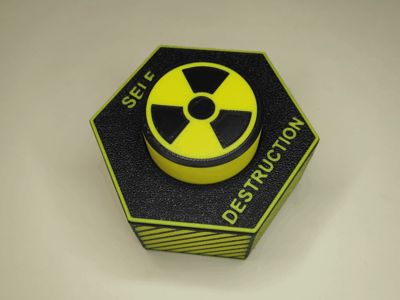
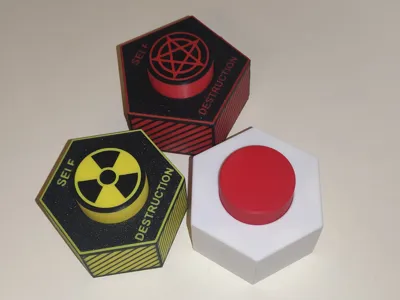
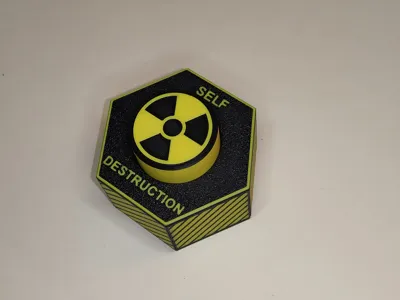
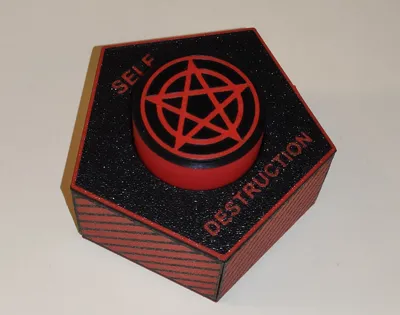
Self-Destruction Button is a fun 3D-printed prank prop made for April Fools’ Day.
You can find the assembly video in the description, or as a GIF file in the gallery (the last one).
The text description of the assembly process is at the end of the page.
At first glance, it looks like a serious warning button. But the trick is simple: when someone hits it, the whole thing falls apart and literally self-destructs.
The model is fully 3D printable and designed to be quickly assembled again in about half a minute, so the prank can be repeated over and over.
Boost Me (for free)
If you enjoy my models and would like to see more unique designs, your support means a lot!
Tips
- Follow the assembly guide (video, GIF in the gallery, description at the end of the page)
- Clean the build plate thoroughly before printing.
- After printing, wait until the build plate cools down before removing the parts, so they do not deform.
- Assemble and break the button a few times first — it works better after a short break-in.
Features
- Versions for printing with AMS and without AMS
- Funny self-destruction concept
- Falls apart on impact
- Fast and easy reassembly
- Great as a desk prank or April Fools’ prop
- Fully 3D printed
Assembly guide (text):
- Hang the button on two fingers (put them inside the button).
- Attach all the walls one by one to the button.
- After that, place the top cover on it.
- With your other hand, hold the button while pressing the cover against the walls with your fingers.
- Then bend the walls inward one by one — they should easily snap into place in the cover.
- Next, keep holding the button while pressing the cover with your fingers, and turn the whole assembly upside down.
- Insert the spring into the cover and simply connect the bottom part.
- The button is ready.
- Just place it on the table carefully so it doesn’t fall apart from the impact.
Membership
The Commercial License lets you sell physical prints of any MakerWorld model I publish, for as long as your membership is active.
License
You shall not share, sub-license, sell, rent, host, transfer, or distribute in any way the digital or 3D printed versions of this object, nor any other derivative work of this object in its digital or physical format (including - but not limited to - remixes of this object, and hosting on other digital platforms). The objects may not be used without permission in any way whatsoever in which you charge money, or collect fees.
Comment & Rating (68)